Introduction — If you run a restaurant, cafe or food truck, clear, appetizing menu photos are non-negotiable. This DoorDash Image Optimization Guide explains why images matter, DoorDash’s specific approval rules, a step-by-step DIY workflow for shooting and editing, and practical ways to avoid rejections that waste time and money. You will also learn how to use AI tools like YummyPic to automatically format, enhance and deliver platform-ready photos in seconds. By following these recommendations you can reduce rejected uploads, increase conversions and capture more orders from delivery platforms.
Why good menu photos matter for delivery platforms
Food images are one of the strongest conversion levers in online ordering. According to DoorDash Newsroom, 38% of customers rely on menu photos to decide which restaurant to try. DoorDash’s own merchant data shows menus with item photos can see up to 44% higher monthly sales, according to the DoorDash Merchant Blog. Menu images are not just decoration — they reduce doubt, set expectations and can meaningfully lift average order value and frequency.
Poor images cost real business: MenuCapture reports that 73% of diners say they won’t order from a restaurant without seeing a photo. That means missing photos or low-quality images directly reduce footfall from delivery apps. This DoorDash Image Optimization Guide aims to close that gap with actionable practices you can use today.
What are DoorDash’s image size and format requirements?
DoorDash requires clean, focused photos that show the full item, without text overlays, logos or promotional badges. Common technical rejection reasons include incorrect zoom (item not fully visible), busy or artificial backgrounds, and added text overlays. The DoorDash Merchant learning resources list these as the most frequent causes of photo rejection.
Practically speaking, upload JPEG or PNG files with the subject centered and clearly visible. While DoorDash’s automated moderation evaluates compliance quickly, you should deliver images that match the expected aspect and quality. To avoid rejections, ensure images are neither heavily cropped nor zoomed out, and avoid filters that obscure the food’s natural appearance.
- File types: JPEG or PNG (high-quality, no excessive compression)
- Background: neutral, non-distracting, no artificial textures
- Composition: entire item visible, well-lit and in focus
- No overlays: avoid logos, text, price tags or promotional badges
How can I get my photos approved on DoorDash?
DoorDash now uses AI-driven moderation to auto-approve compliant menu photos in roughly one minute, according to the DoorDash Newsroom. That makes meeting the platform’s compositional and technical rules more important than ever: compliant photos are approved almost instantly, while non-compliant images are rejected for manual correction.
“At DoorDash, we believe AI should make life easier for restaurants—not more complicated... AI-powered tools are built to take everyday tasks off operators’ plates.”
DoorDash
To maximize first-time approvals: follow the file rules above, test uploads from the Merchant Portal, and keep your shot list consistent. Save time by pre-checking images with a quick checklist—full item visible, neutral background, natural color—with every upload. If you frequently see rejections, audit the reasons: zoom/cropping and text overlays are the most common issues to fix.
Do better menu images really increase DoorDash orders?
Yes — the data is clear. DoorDash’s merchant research shows menus with item photos achieve as much as 44% higher monthly sales, and DoorDash Newsroom notes 38% of customers use photos to choose restaurants. High-quality images increase click-through, reduce cart abandonment and set accurate expectations that reduce negative reviews and refunds.
“Merchants need incredibly high quality images to differentiate themselves in a marketplace filled with so much choice.”
Ryan Scott
Beyond platform stats, real-world A/B tests often show immediate lifts when replacing generic or low-quality photos with consistent, appetizing images. Use this DoorDash Image Optimization Guide to prioritize items with the highest margin or highest impressions first — those deliver the fastest ROI.
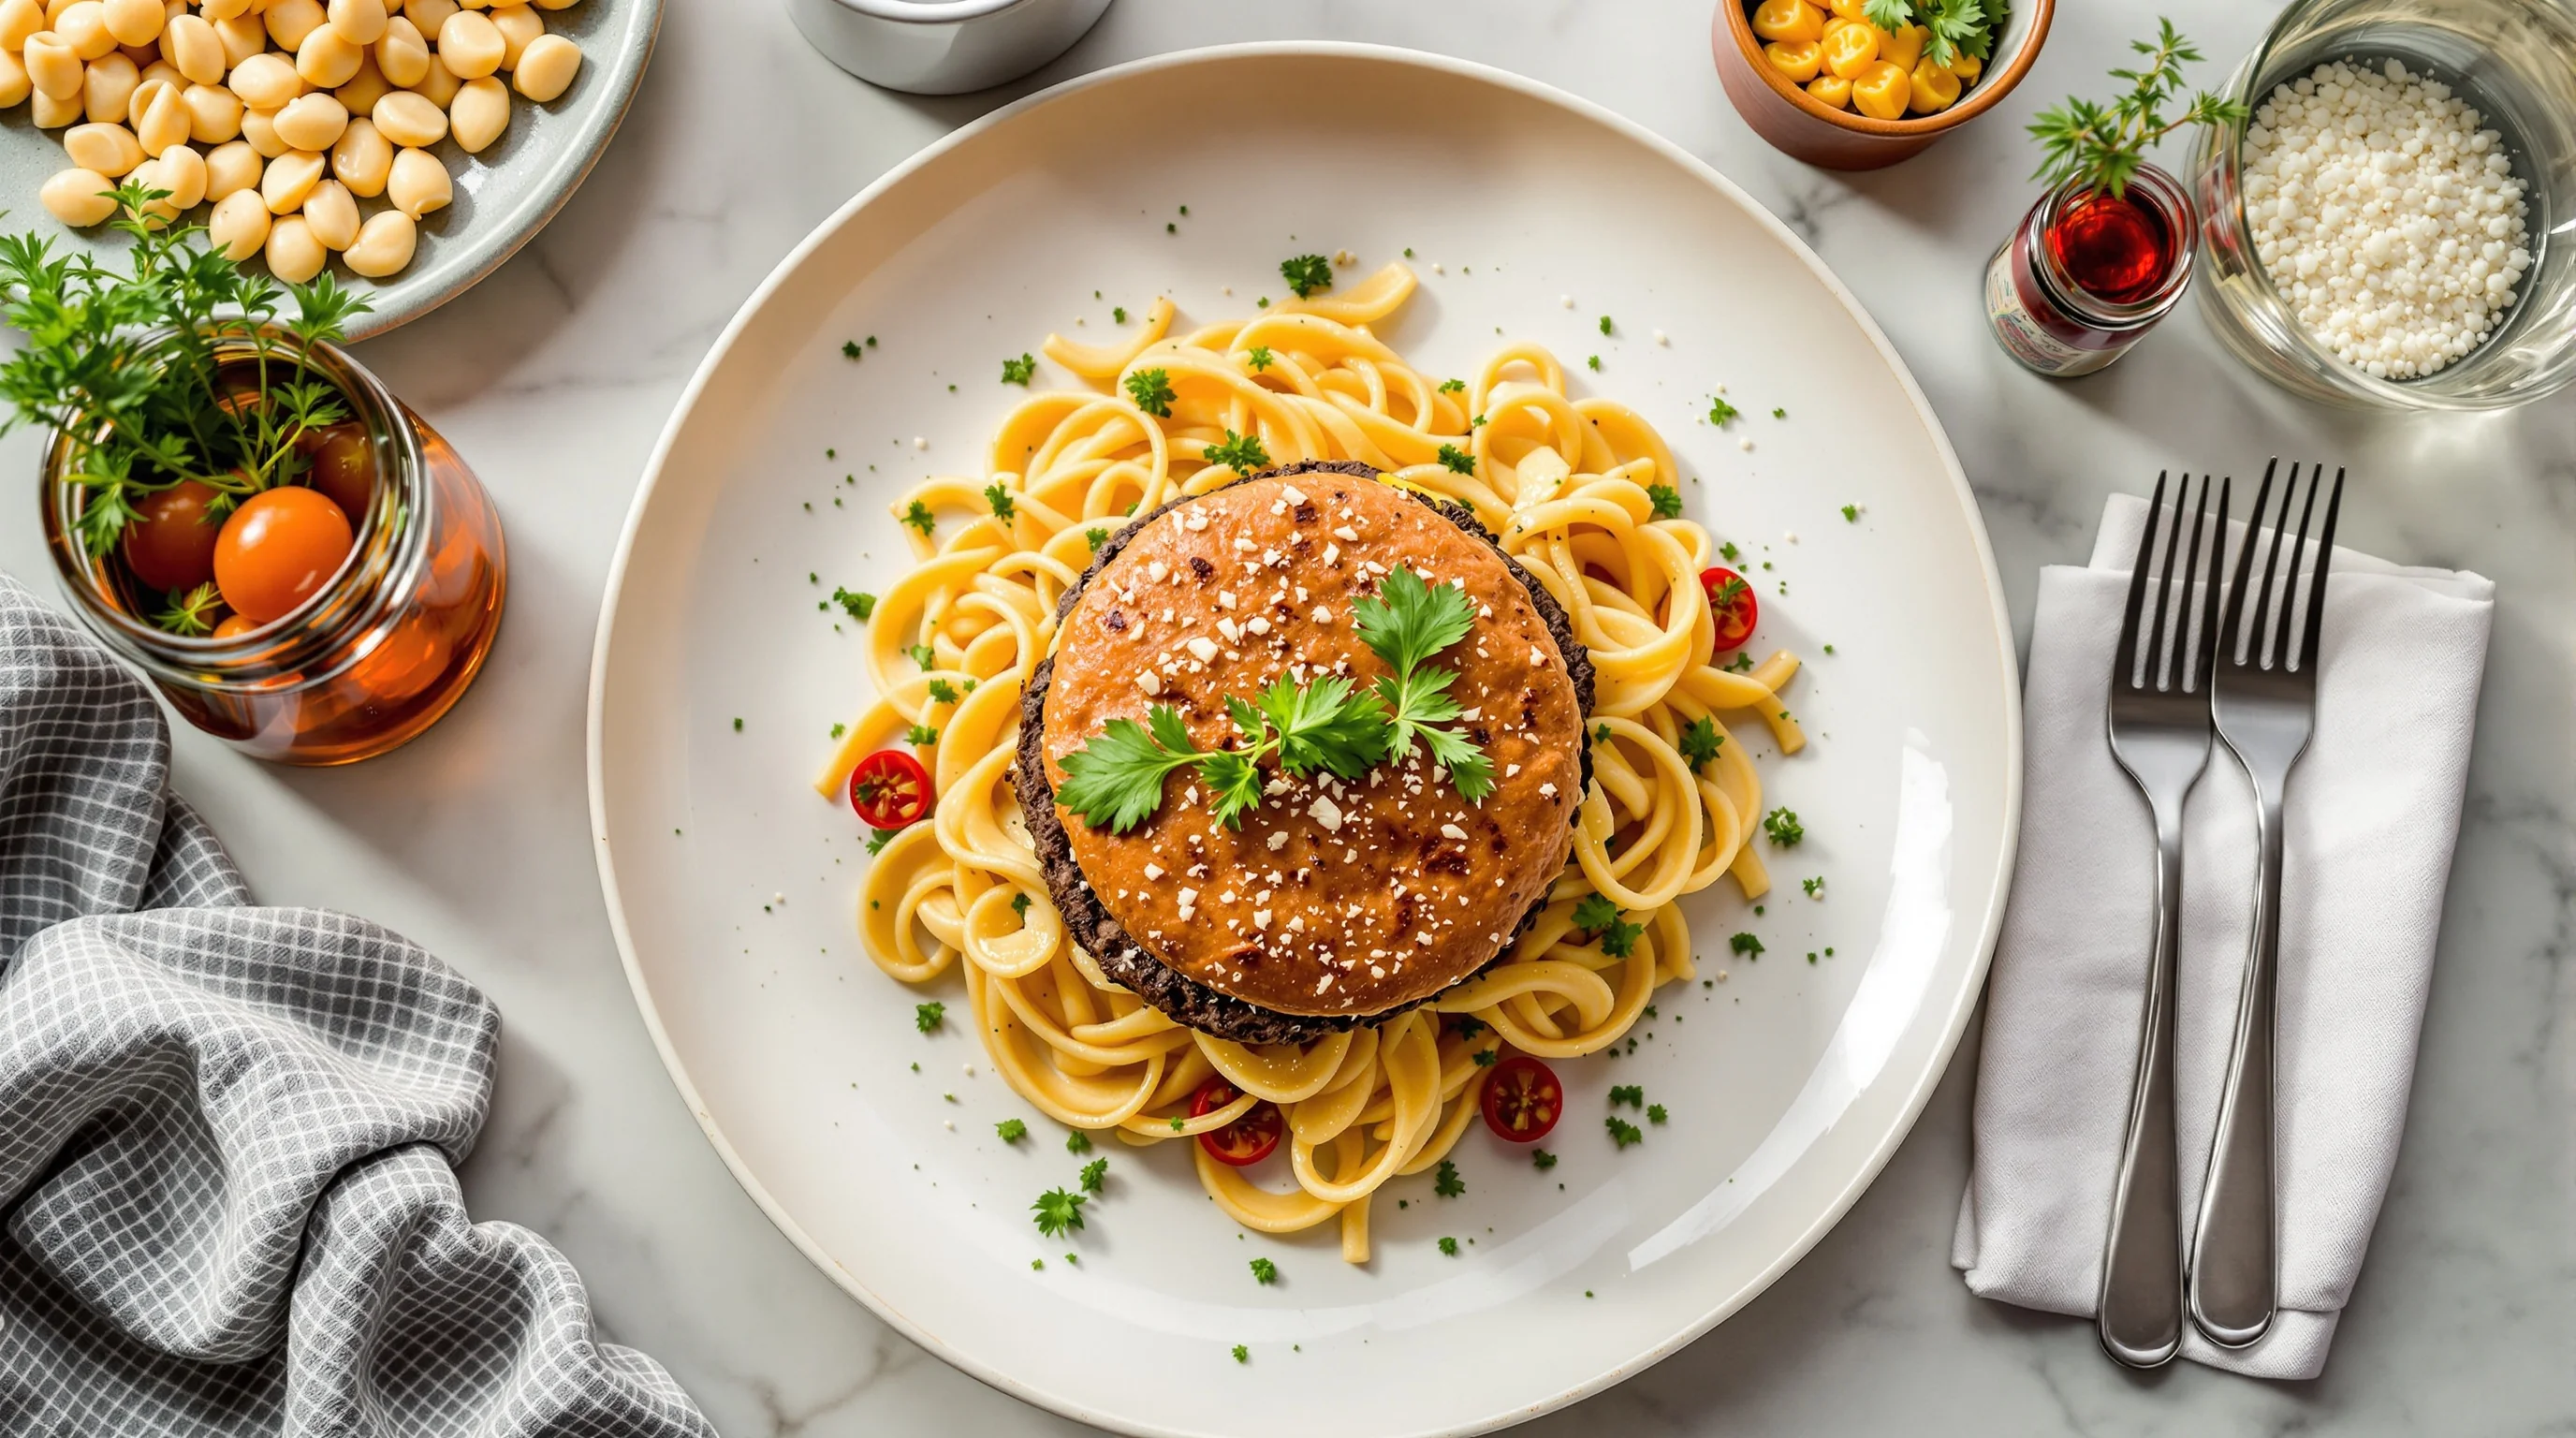
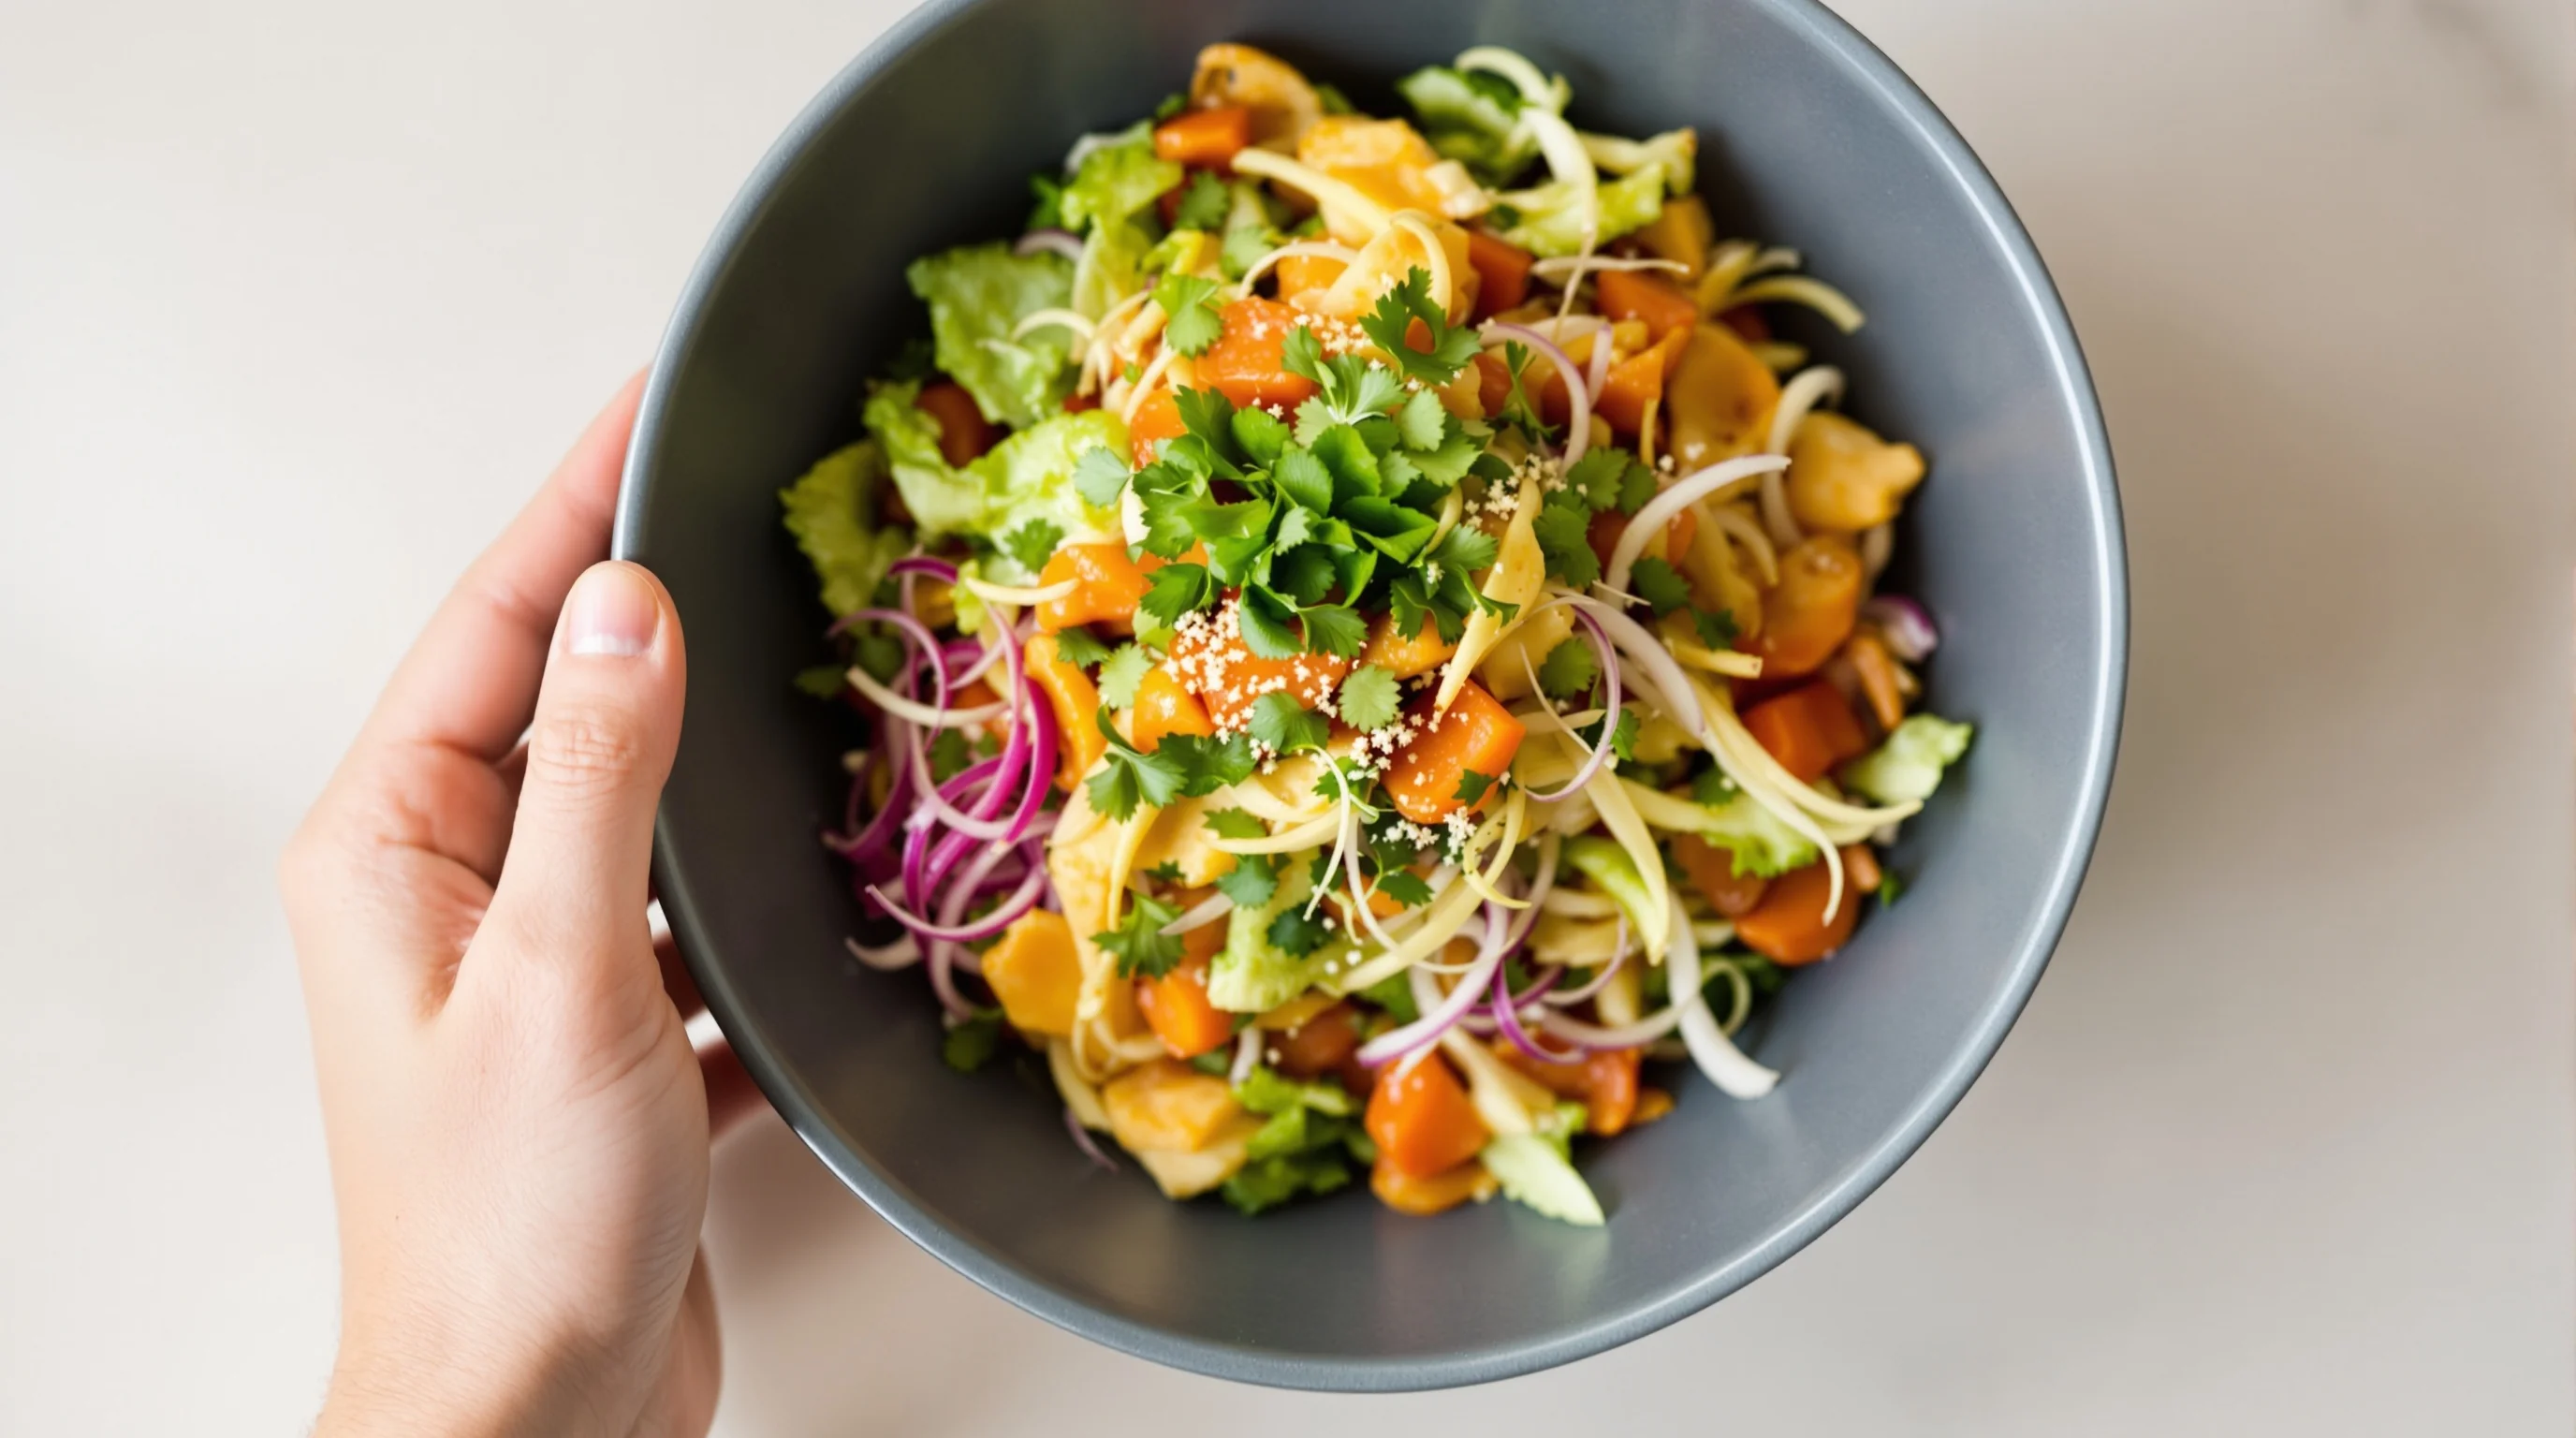
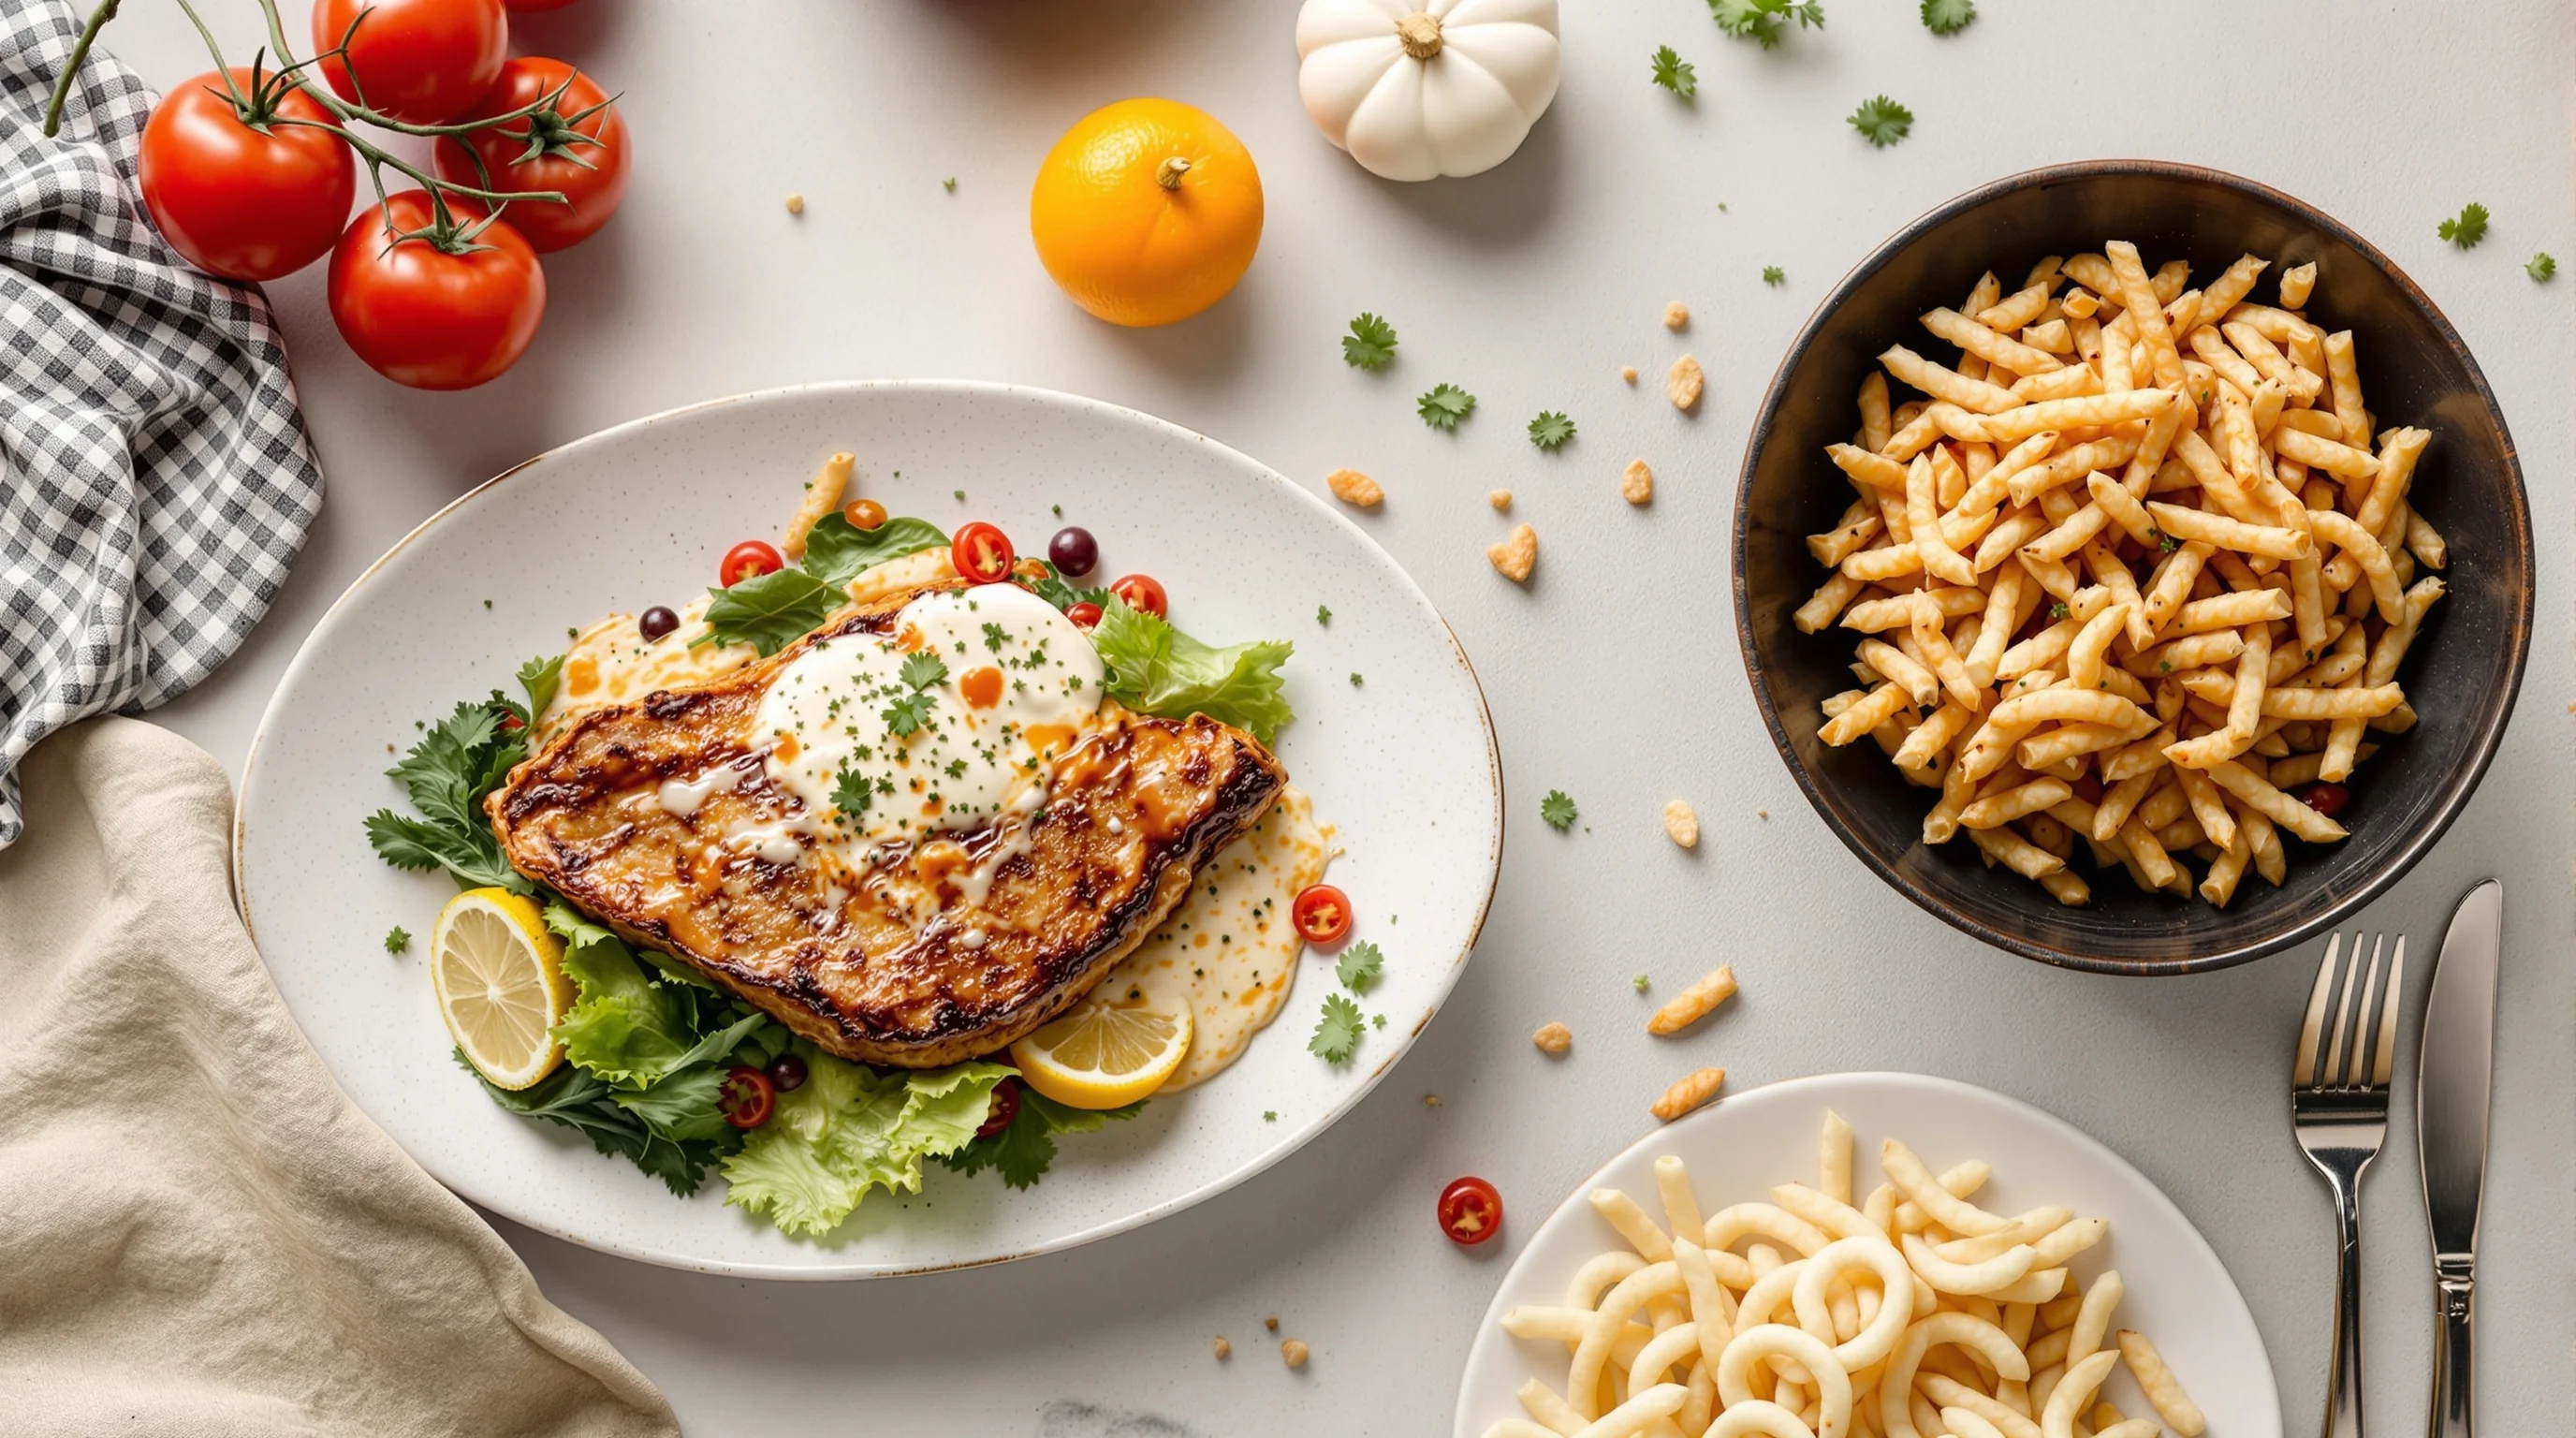
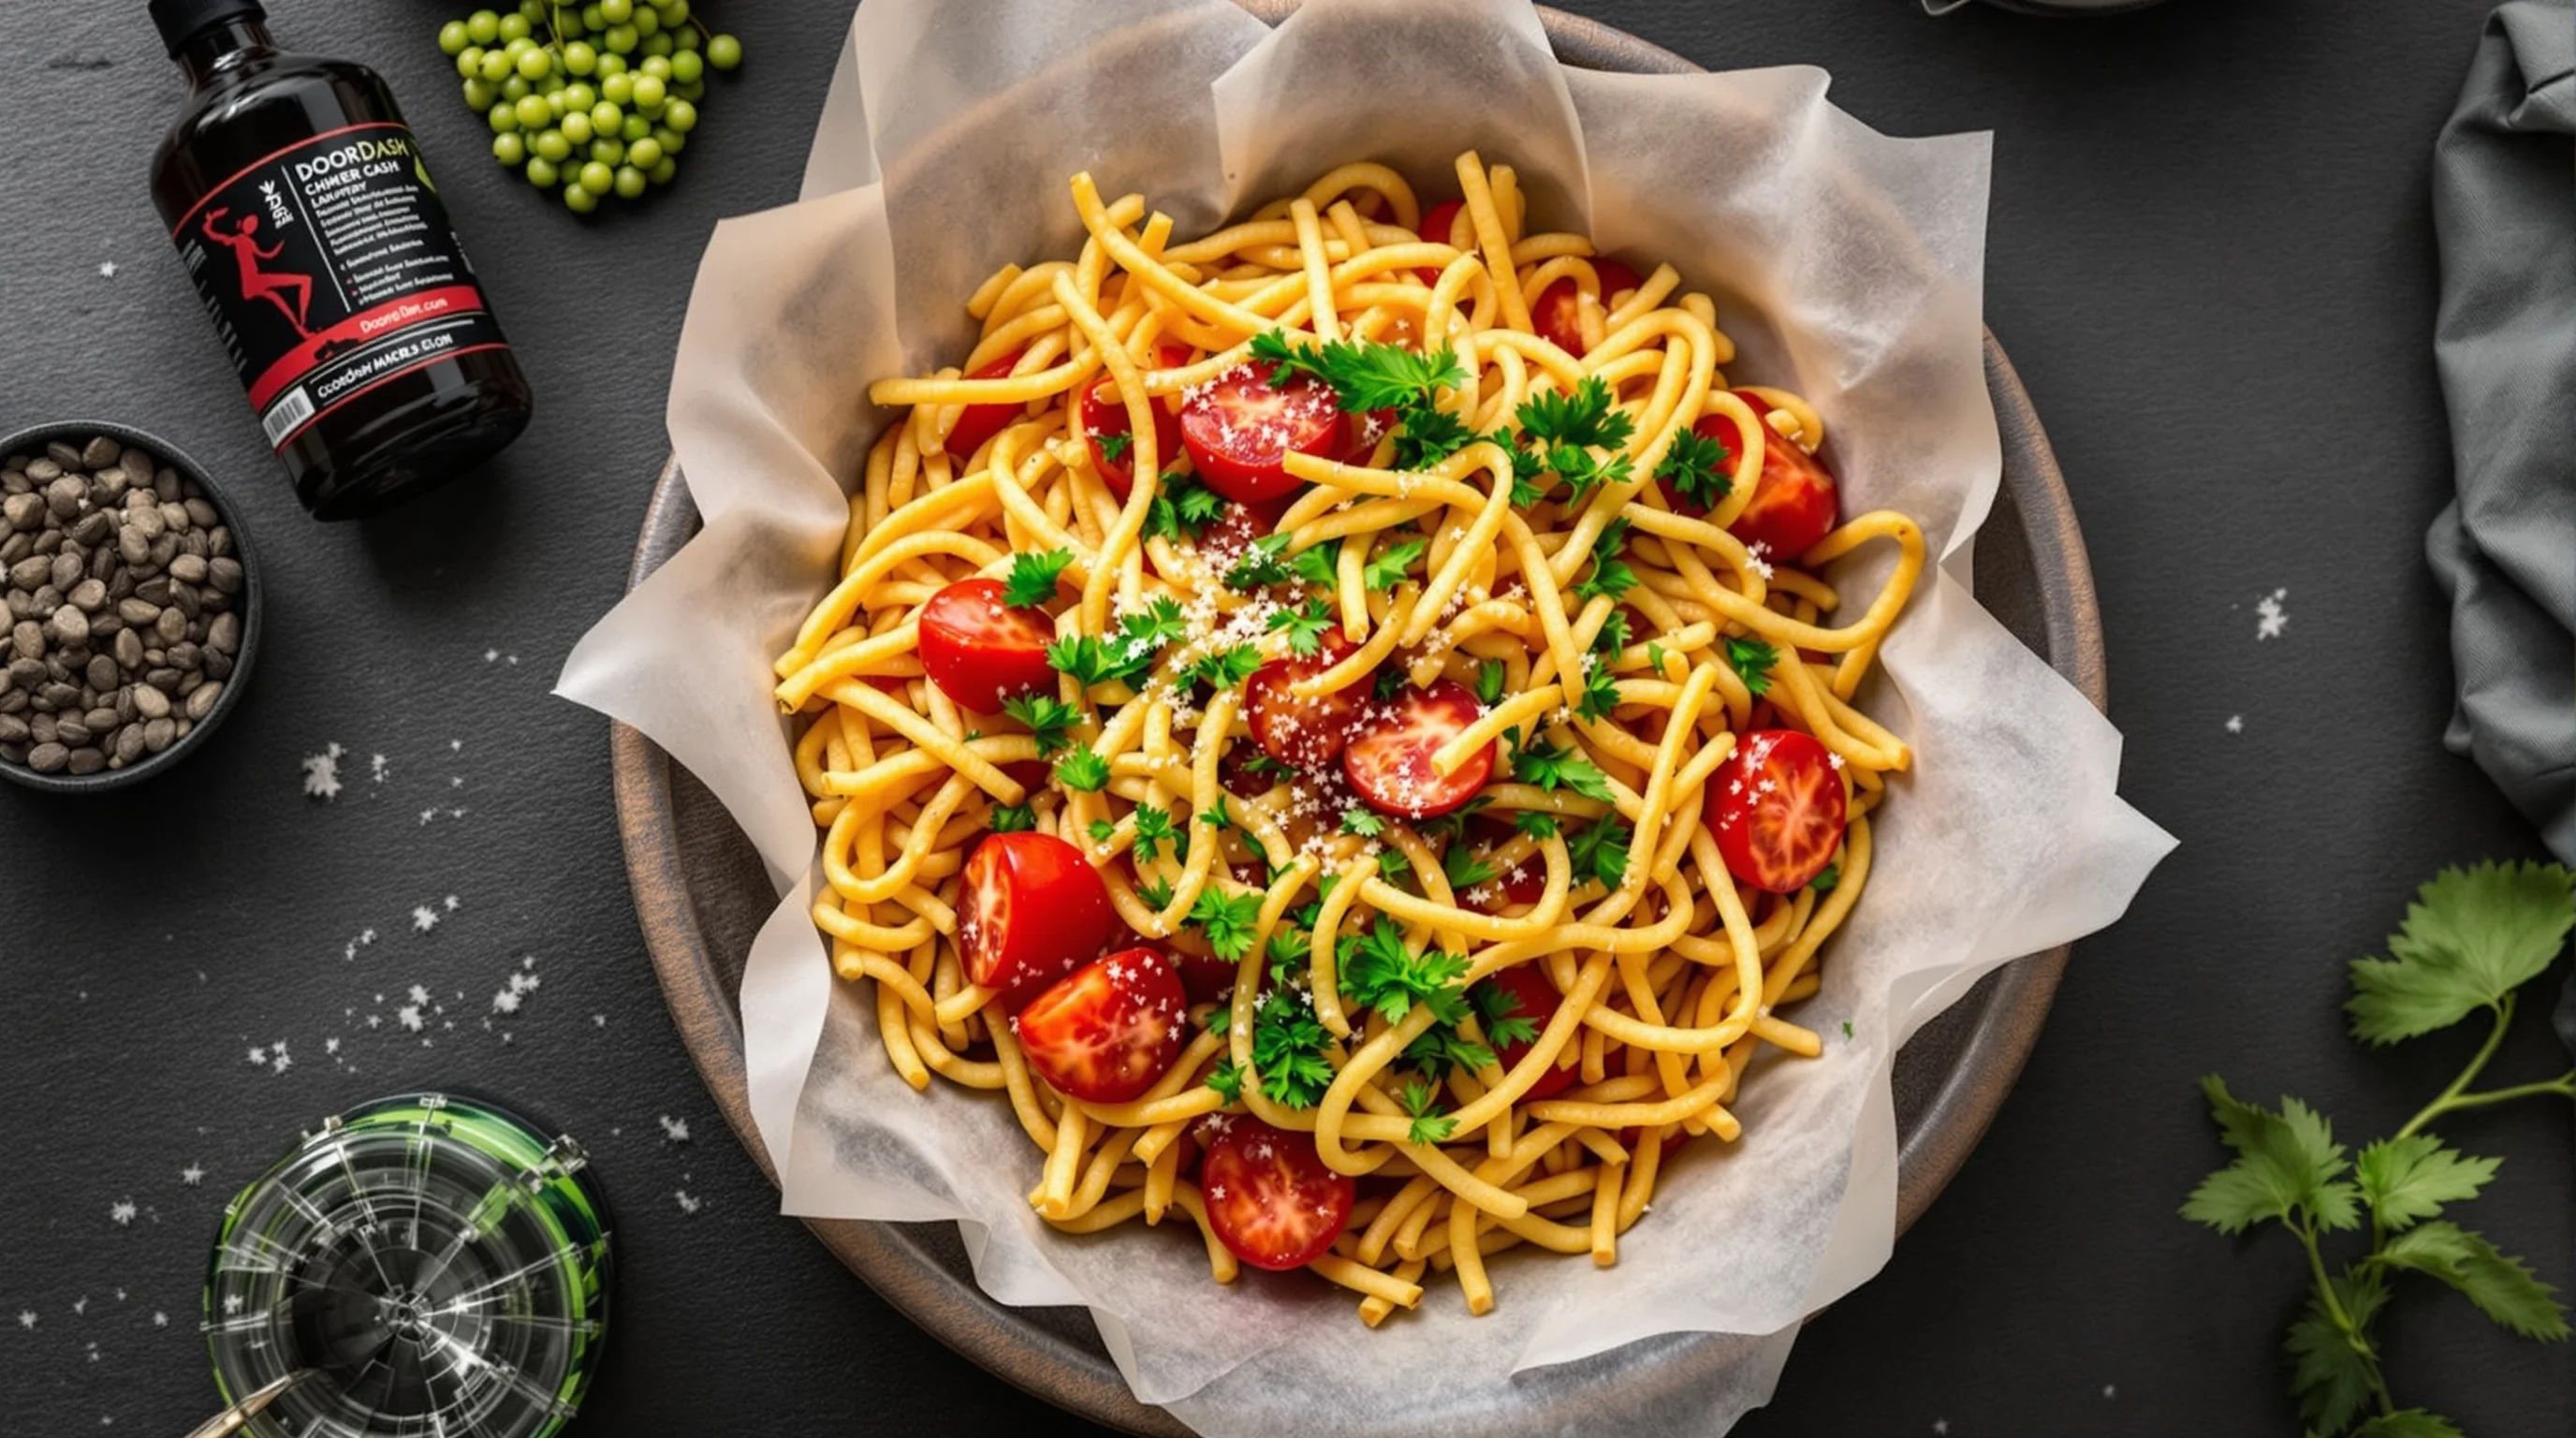
Best practices for taking food photos for DoorDash
The fundamentals are simple and repeatable: clean presentation, consistent framing, natural lighting and minimal props. For delivery menus, simplicity wins: one dish per frame, plate centered, and a neutral background help the food read well on small phone screens. Use a 45° or overhead angle depending on the dish — bowls and stacked items prefer 45°, flat-lays work for pizza, salads and platters.
- Lighting: use window light or a soft LED panel; avoid mixed color temperatures
- Composition: keep the entire item visible and centered
- Styling: fresh garnish, tidy edges, remove distracting utensils
- Camera: smartphone or entry DSLR with a shallow depth of field
- Consistency: match background, angle and distance across items
If you need deeper technique, our guide on Best Camera for Food Photography and the post The Easy Way to Capture Perfect Overhead Food Shots — Flat-Lays cover camera settings, mounts and exact angles. For quick fixes on dull photos, see My Restaurant Photos Look Bad — Here’s How to Fix Them.
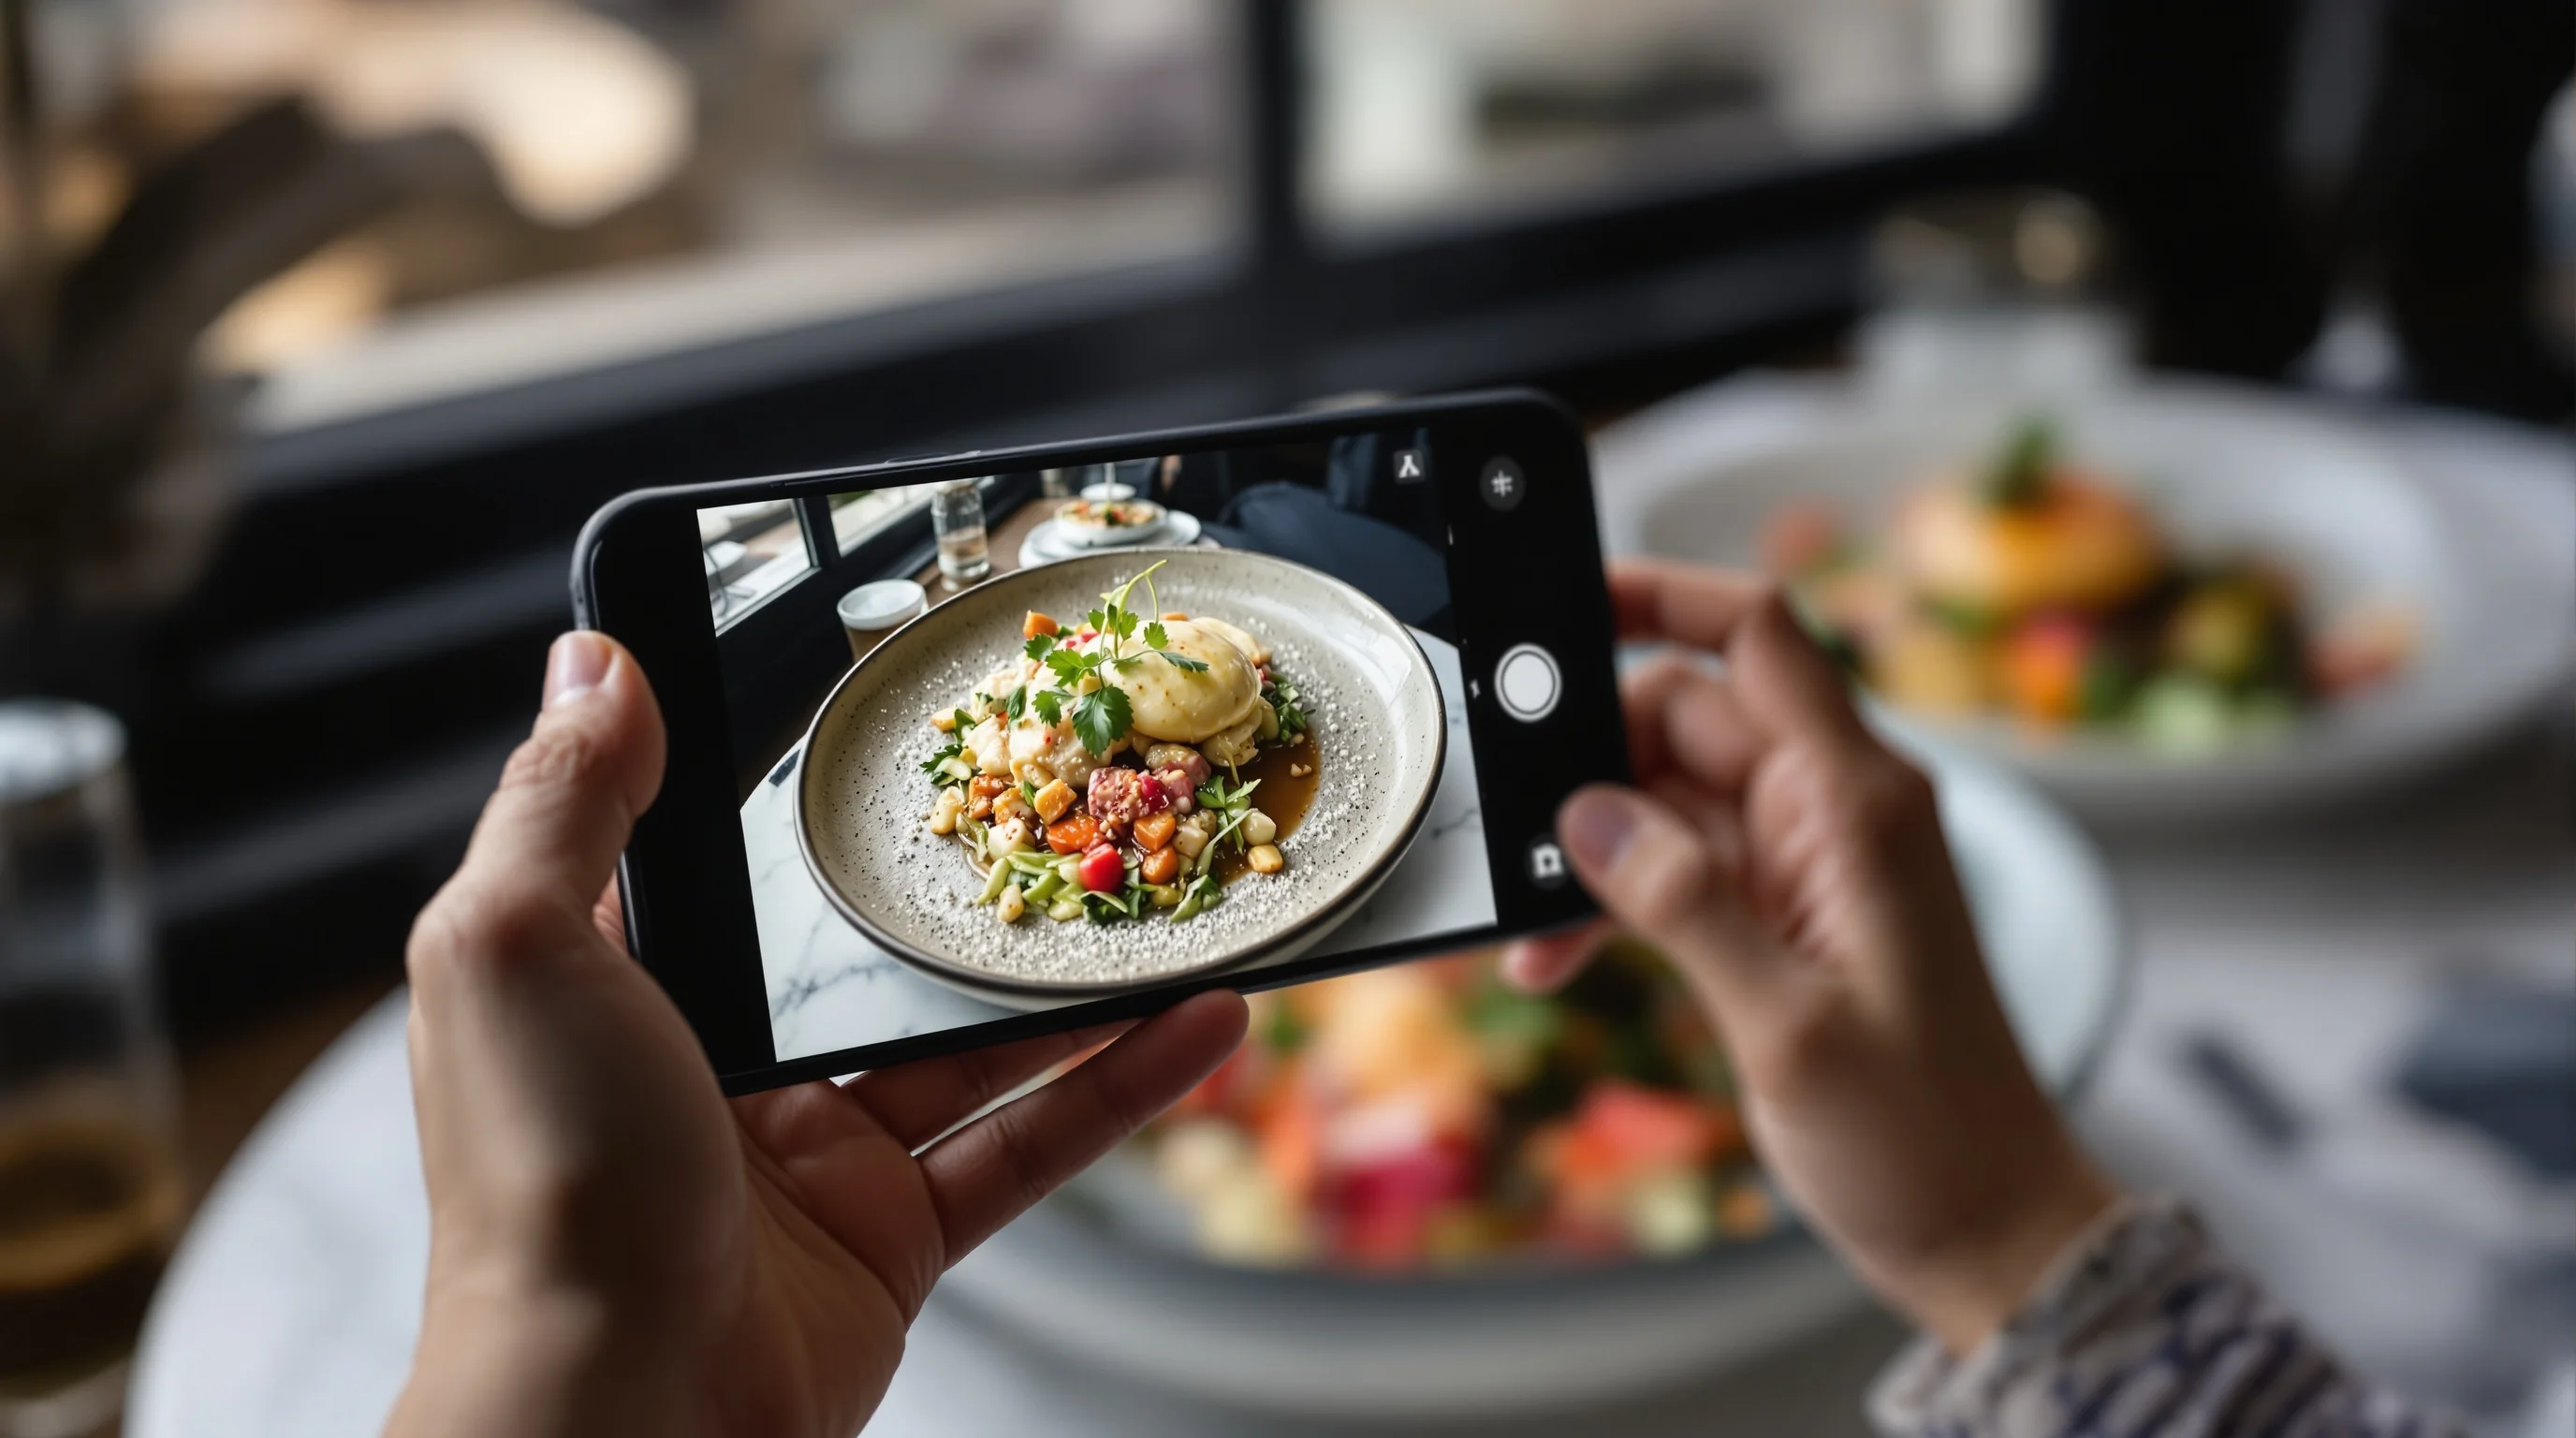
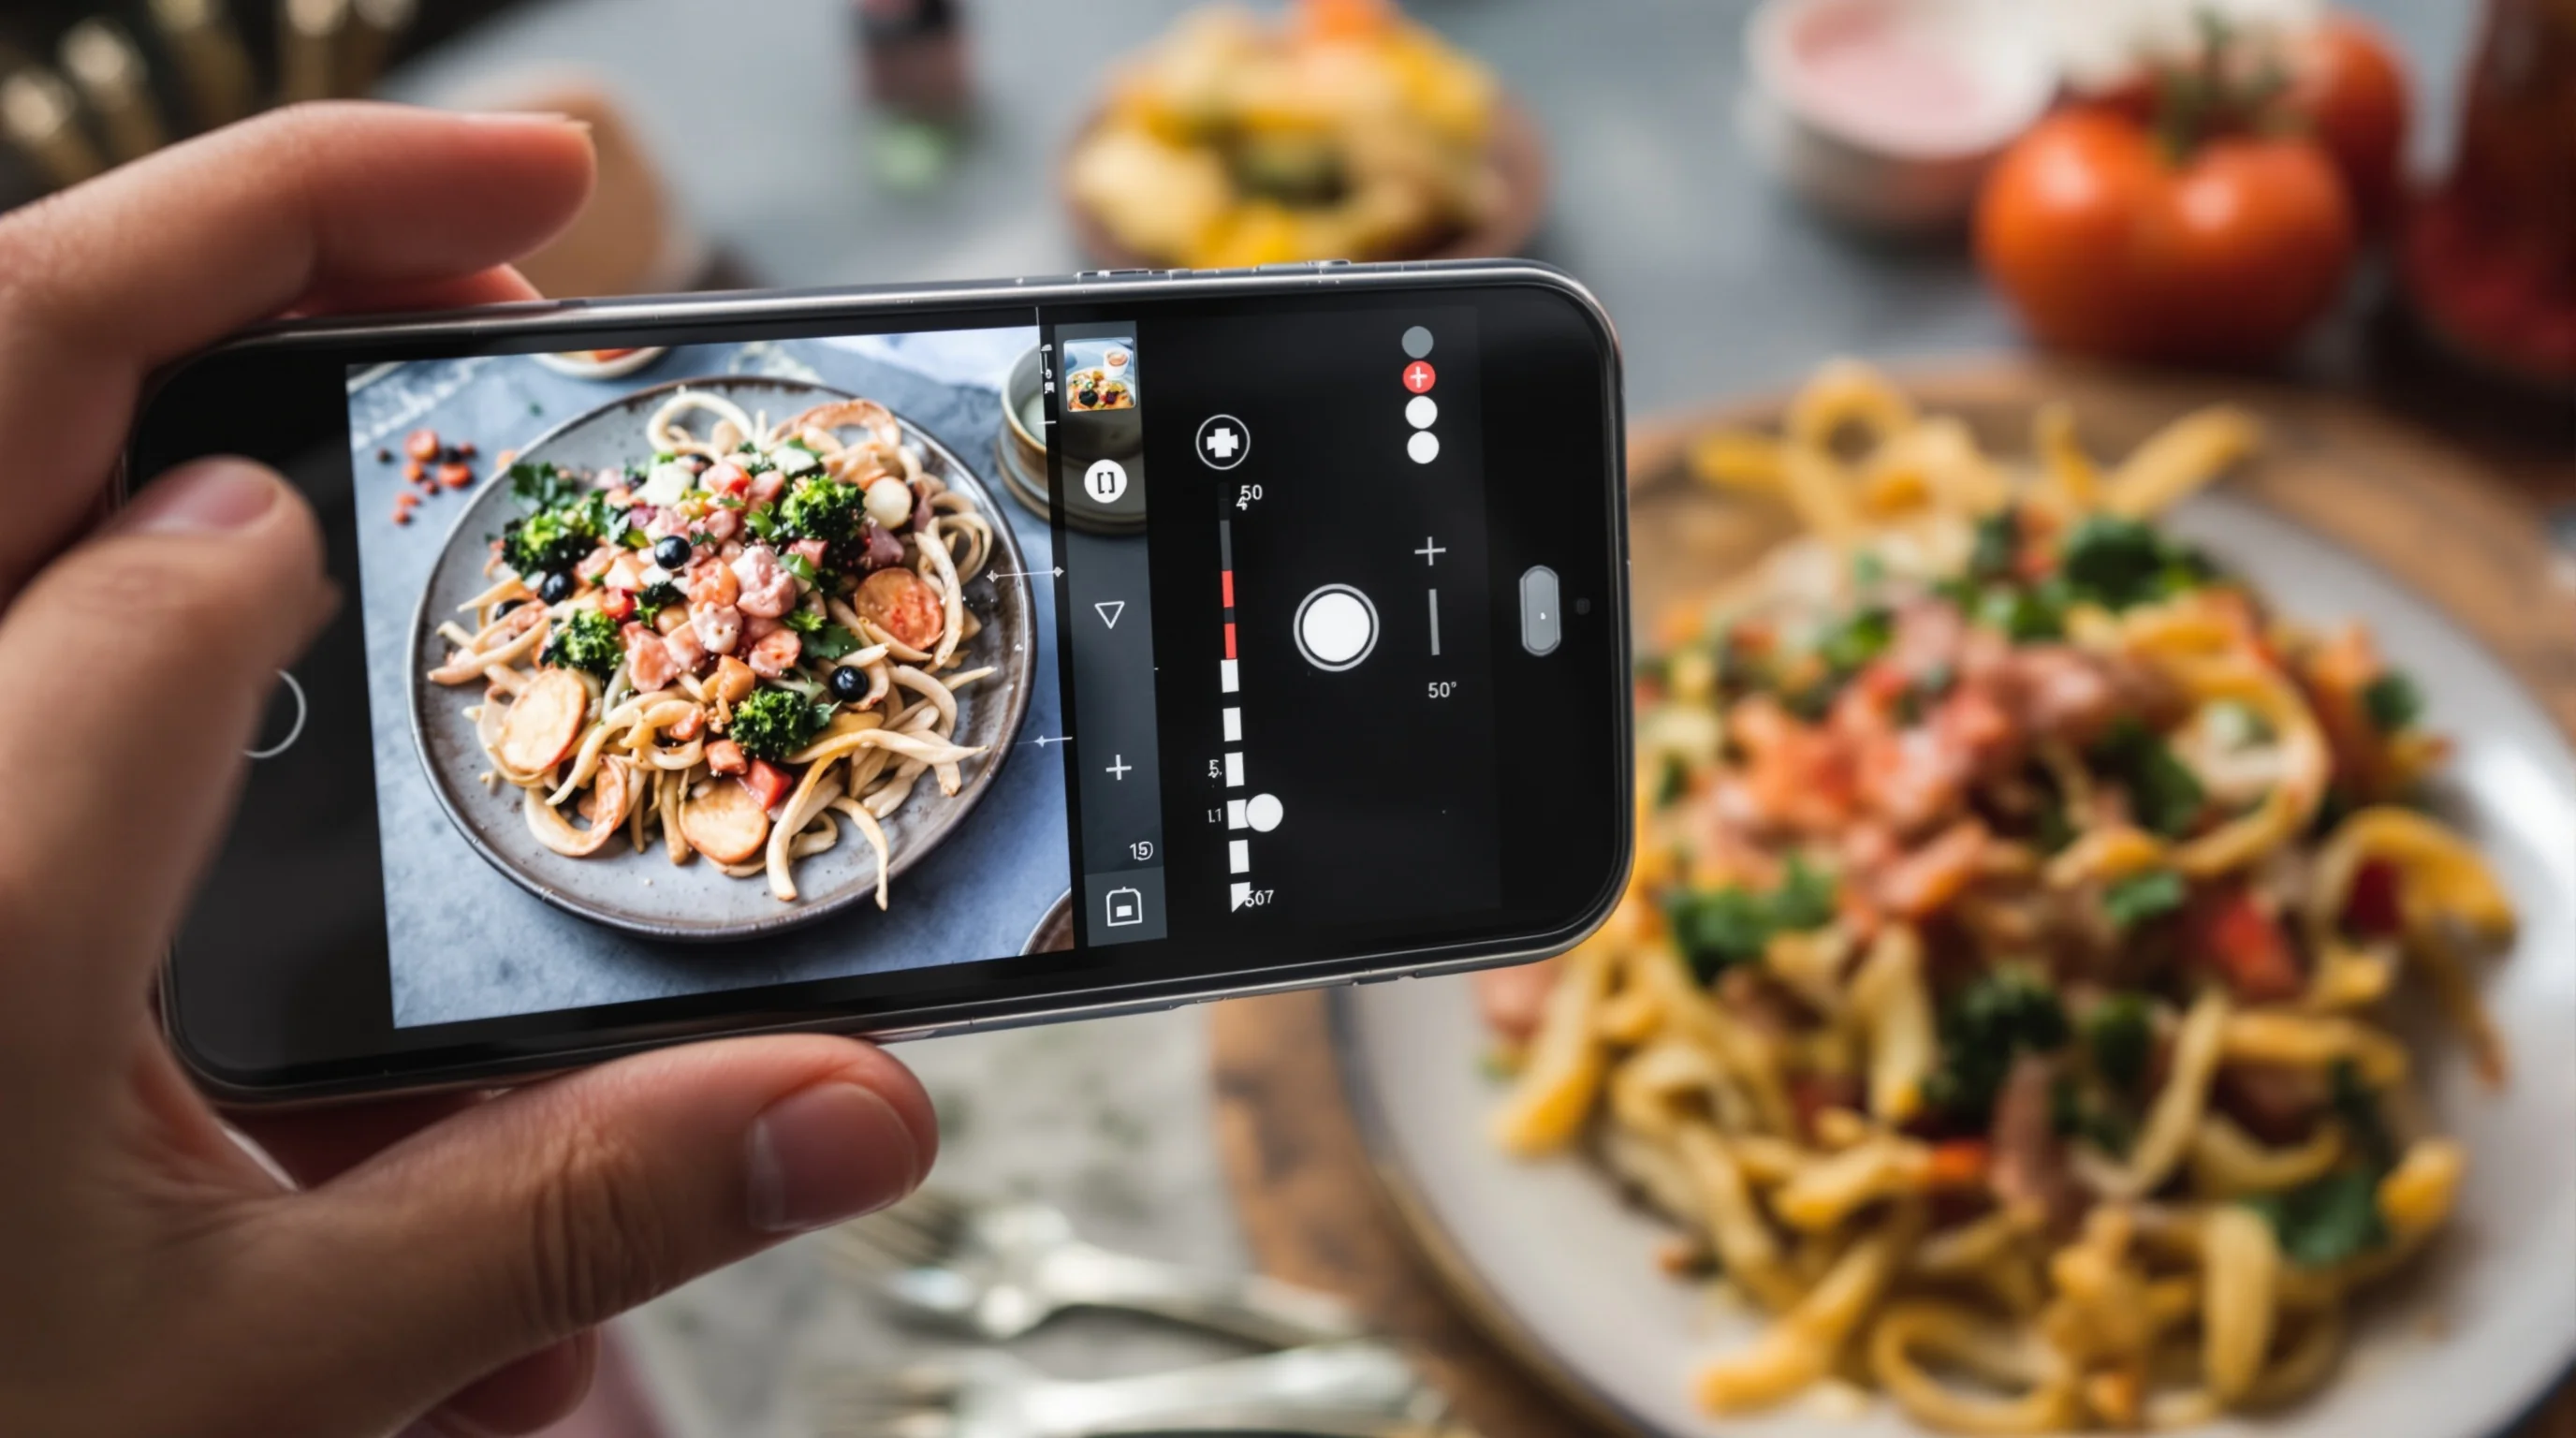
Step-by-step DIY workflow: shoot, edit, export
This practical workflow fills a common content gap: how to move from a raw phone shot to a DoorDash-ready image without expensive gear. Follow these steps each time you shoot to stay efficient and compliant with DoorDash’s requirements.
- Plan: create a shot list for your top-selling items and any new launches.
- Shoot: use natural side light, stabilize your phone, and take multiple angles.
- Select: pick the sharpest, most appetizing frame with the full item visible.
- Edit: crop to show the whole plate, adjust exposure and color balance, remove distractions.
- Export: save as high-quality JPEG/PNG with moderate compression and correct dimensions.
- Upload: test one image first in the Merchant Portal and review rejection reasons if any.
For quick learning, our checklist in 10 Steps to Prepare for a Food Photoshoot is a useful companion that helps you plan and execute consistent menu photography sessions.
How to fix and avoid the most common rejection reasons
Repeated rejections usually stem from a handful of avoidable issues. DoorDash lists incorrect zoom, busy/artificial backgrounds, and text overlays as the primary causes of photo denial. Fix these systematically and your approval rate will rise dramatically.
- Zoom/crop errors — step back slightly so the full item is visible in-frame.
- Background clutter — use a plain table or sweep in a neutral board behind the plate.
- Text overlays — never add labels or prices directly to the image.
- Heavy filters — keep color natural; avoid stylized presets that change the food’s appearance.
If manual editing is slow, consider tools that pre-validate and auto-correct typical issues before upload. They significantly reduce the time lost to repeat retakes and resubmissions.
Does DoorDash offer free professional photography for merchants?
Yes. DoorDash offers merchants complimentary professional menu photoshoots in many markets — often covering up to 20 items plus a header image — as reported by MenuPhotoAI. These programs aim to help new restaurants populate their listings with high-quality images and can be a great option if you prefer studio-grade results without the upfront cost.
Even with free shoots, it’s valuable to maintain an internal workflow for updates, seasonal menus and off-menu specials. Use professional shoots for hero items and fast AI or DIY methods for frequent changes.
Cross-platform image strategy: DoorDash, Grubhub and Uber Eats
A common content gap is treating each platform separately. The best approach is a unified library of master images that you adapt for platform-specific crops and sizes. Each delivery app displays photos differently; maintain a master high-resolution file and export resized versions for DoorDash, Grubhub and Uber Eats.
For fast, platform-specific exports and quick improvements for Uber Eats, see our practical guide Improve Your Uber Eats Photos Fast. For Grubhub-specific guidance, check Grubhub Food Photo Guide.

Using AI to speed image optimization — YummyPic and other tools
AI tools close the practical gap between smartphone snaps and platform-ready images. YummyPic is an example of an AI-powered food photography platform that automatically crops, compresses and enhances images to meet DoorDash’s specifications. This step removes repeated manual edits and increases first-time approval rates, saving time and money compared with traditional shoots.
- Speed: produce professional images in seconds, not hours
- Cost-effective: lower cost than hiring a photographer
- Quality: multiple styles from bright & airy to dark & moody
- Convenience: no props or lighting gear required
YummyPic also helps with cross-platform exports and offers instant high-resolution downloads so you can maintain a master library for DoorDash, Grubhub and Uber Eats. For a deeper discussion of AI options and when to use them versus traditional shoots, see The Rise of AI Menu Image Creators and Why AI Restaurant Photo Services Matter.
Concrete pro tips and a quick checklist
Small, repeatable habits deliver the biggest uplift. Use the checklist below before you hit upload, and you’ll dramatically reduce rejections and improve conversions from DoorDash.
- Show the whole item and plate; step back if the subject is cropped.
- Use consistent background and angle for all items in a category.
- Avoid text overlays, logos and promotional badges on images.
- Keep colors natural; correct white balance during editing.
- Export a high-res master and platform-specific compressed copies.
💡 Pro Tip
If you’re short on time, use YummyPic to auto-format, crop and compress images for DoorDash. Many merchants report significantly faster approvals and less time wasted on re-uploads.
Conclusion
This DoorDash Image Optimization Guide covered the essential rules, a step-by-step workflow, rejection fixes and modern AI options to streamline the process. High-quality menu photos are proven to increase orders — DoorDash reports up to 44% higher monthly sales for listings with item photos — so invest time in a repeatable system. Use free DoorDash shoots where available, maintain a master image library, and consider AI tools like YummyPic to save time and guarantee DoorDash-compliant exports. Consistency and speed win: better photos mean more clicks, more orders and fewer customer disappointments.