Introduction: Restaurants live and die by first impressions online. This Grubhub Image Optimization Guide for Restaurants explains why menu photos matter, what Grubhub requires, and practical steps—DIY and paid—to transform bland images into order-driving assets. Research shows that including photos in your Grubhub menu can increase item sales by up to 30%, and restaurants that follow menu best practices see as much as 70% more orders and 65% higher sales, according to Grubhub. Whether you manage a café, food truck, or full-service restaurant, this guide gives actionable shooting tips, a step-by-step upload workflow, troubleshooting for rejected images, and modern AI options to deliver compliant, high-converting photos fast.
Why food images matter for online orders
High-quality photos improve conversion, reduce ordering errors and speed decision-making. Multiple studies support this: Grubhub reports a 30% increase in menu item sales when photos are added, while Orders.co finds roughly 15% more orders when images are high quality. Another study summarized by FoodPix AI shows a typical 25% boost in menu conversion when images are used thoughtfully. Beyond immediate sales, photos build trust—90% of diners research a restaurant online before visiting, according to Grubhub—so strong visuals are marketing and customer service in one asset.
Good photos also reduce questions and incorrect orders. When customers see an accurate picture of portion size, plating and key ingredients, the number of special requests and mistakes drops. Grubhub also notes that adding images helps customers order faster and reduces errors, leading to happier customers and fewer refunds or negative reviews. That’s why investing time in menu photography pays off across operations and revenue.
Grubhub’s image requirements and best practices
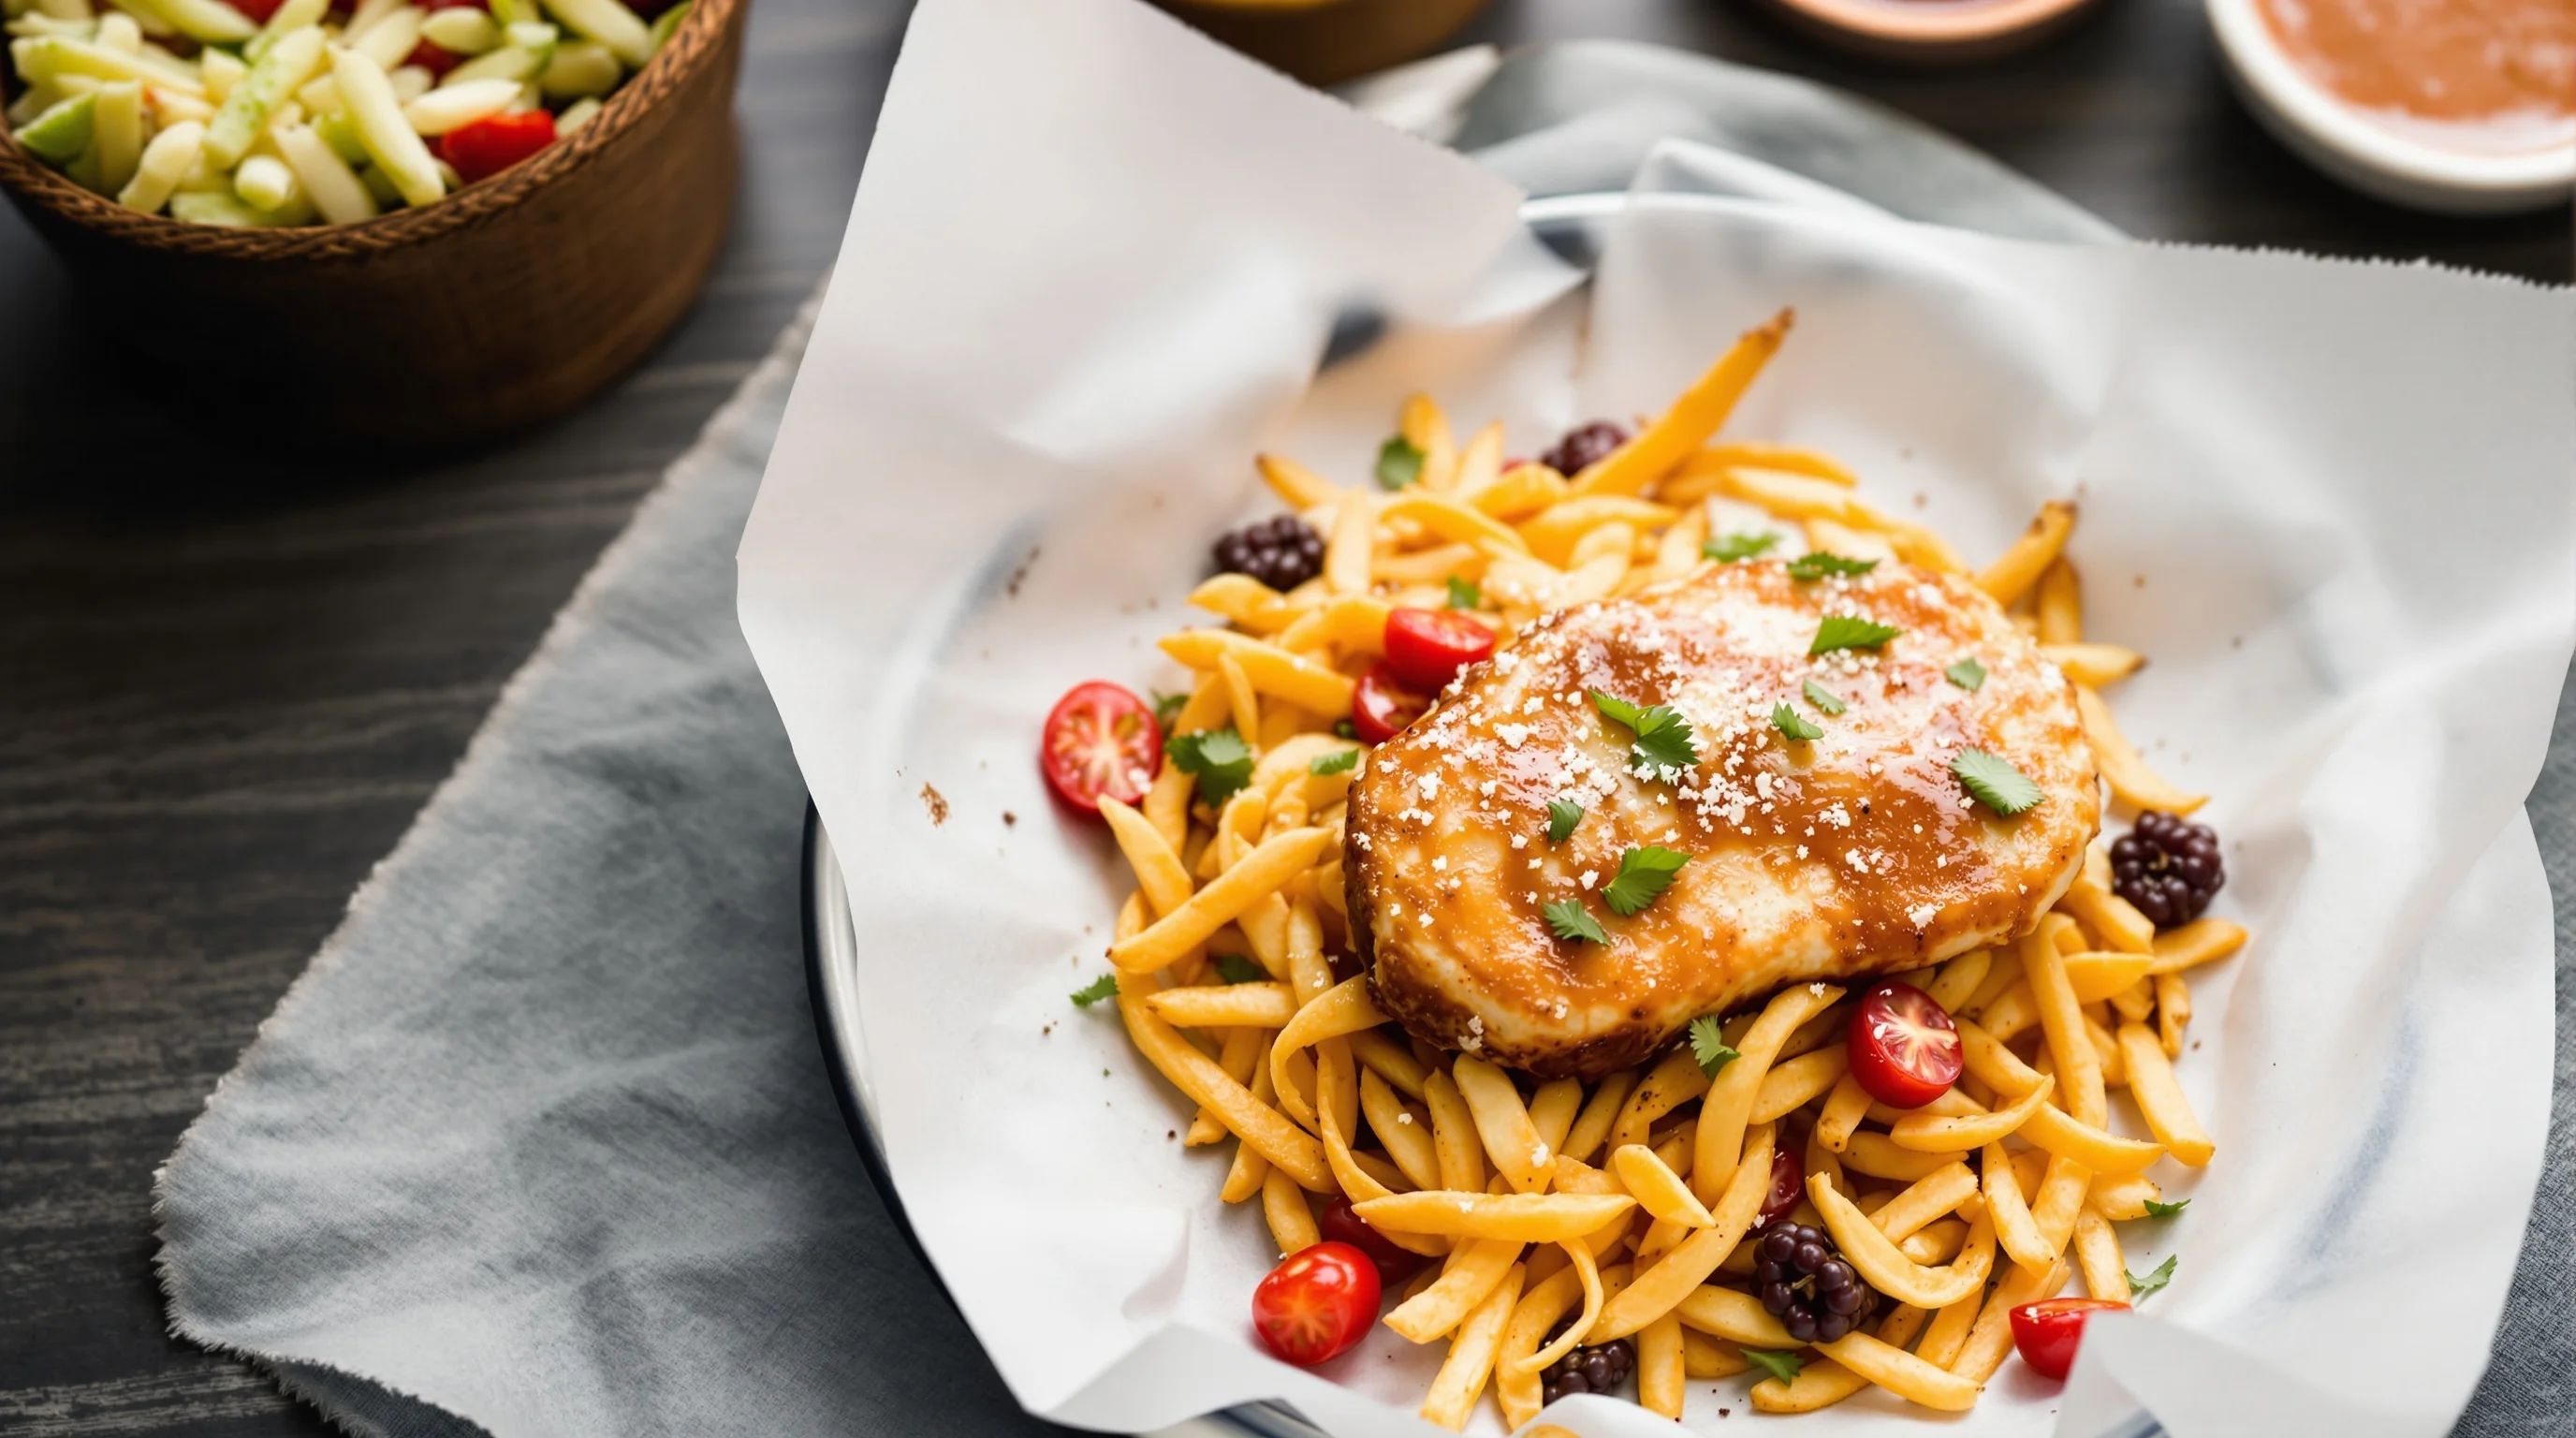
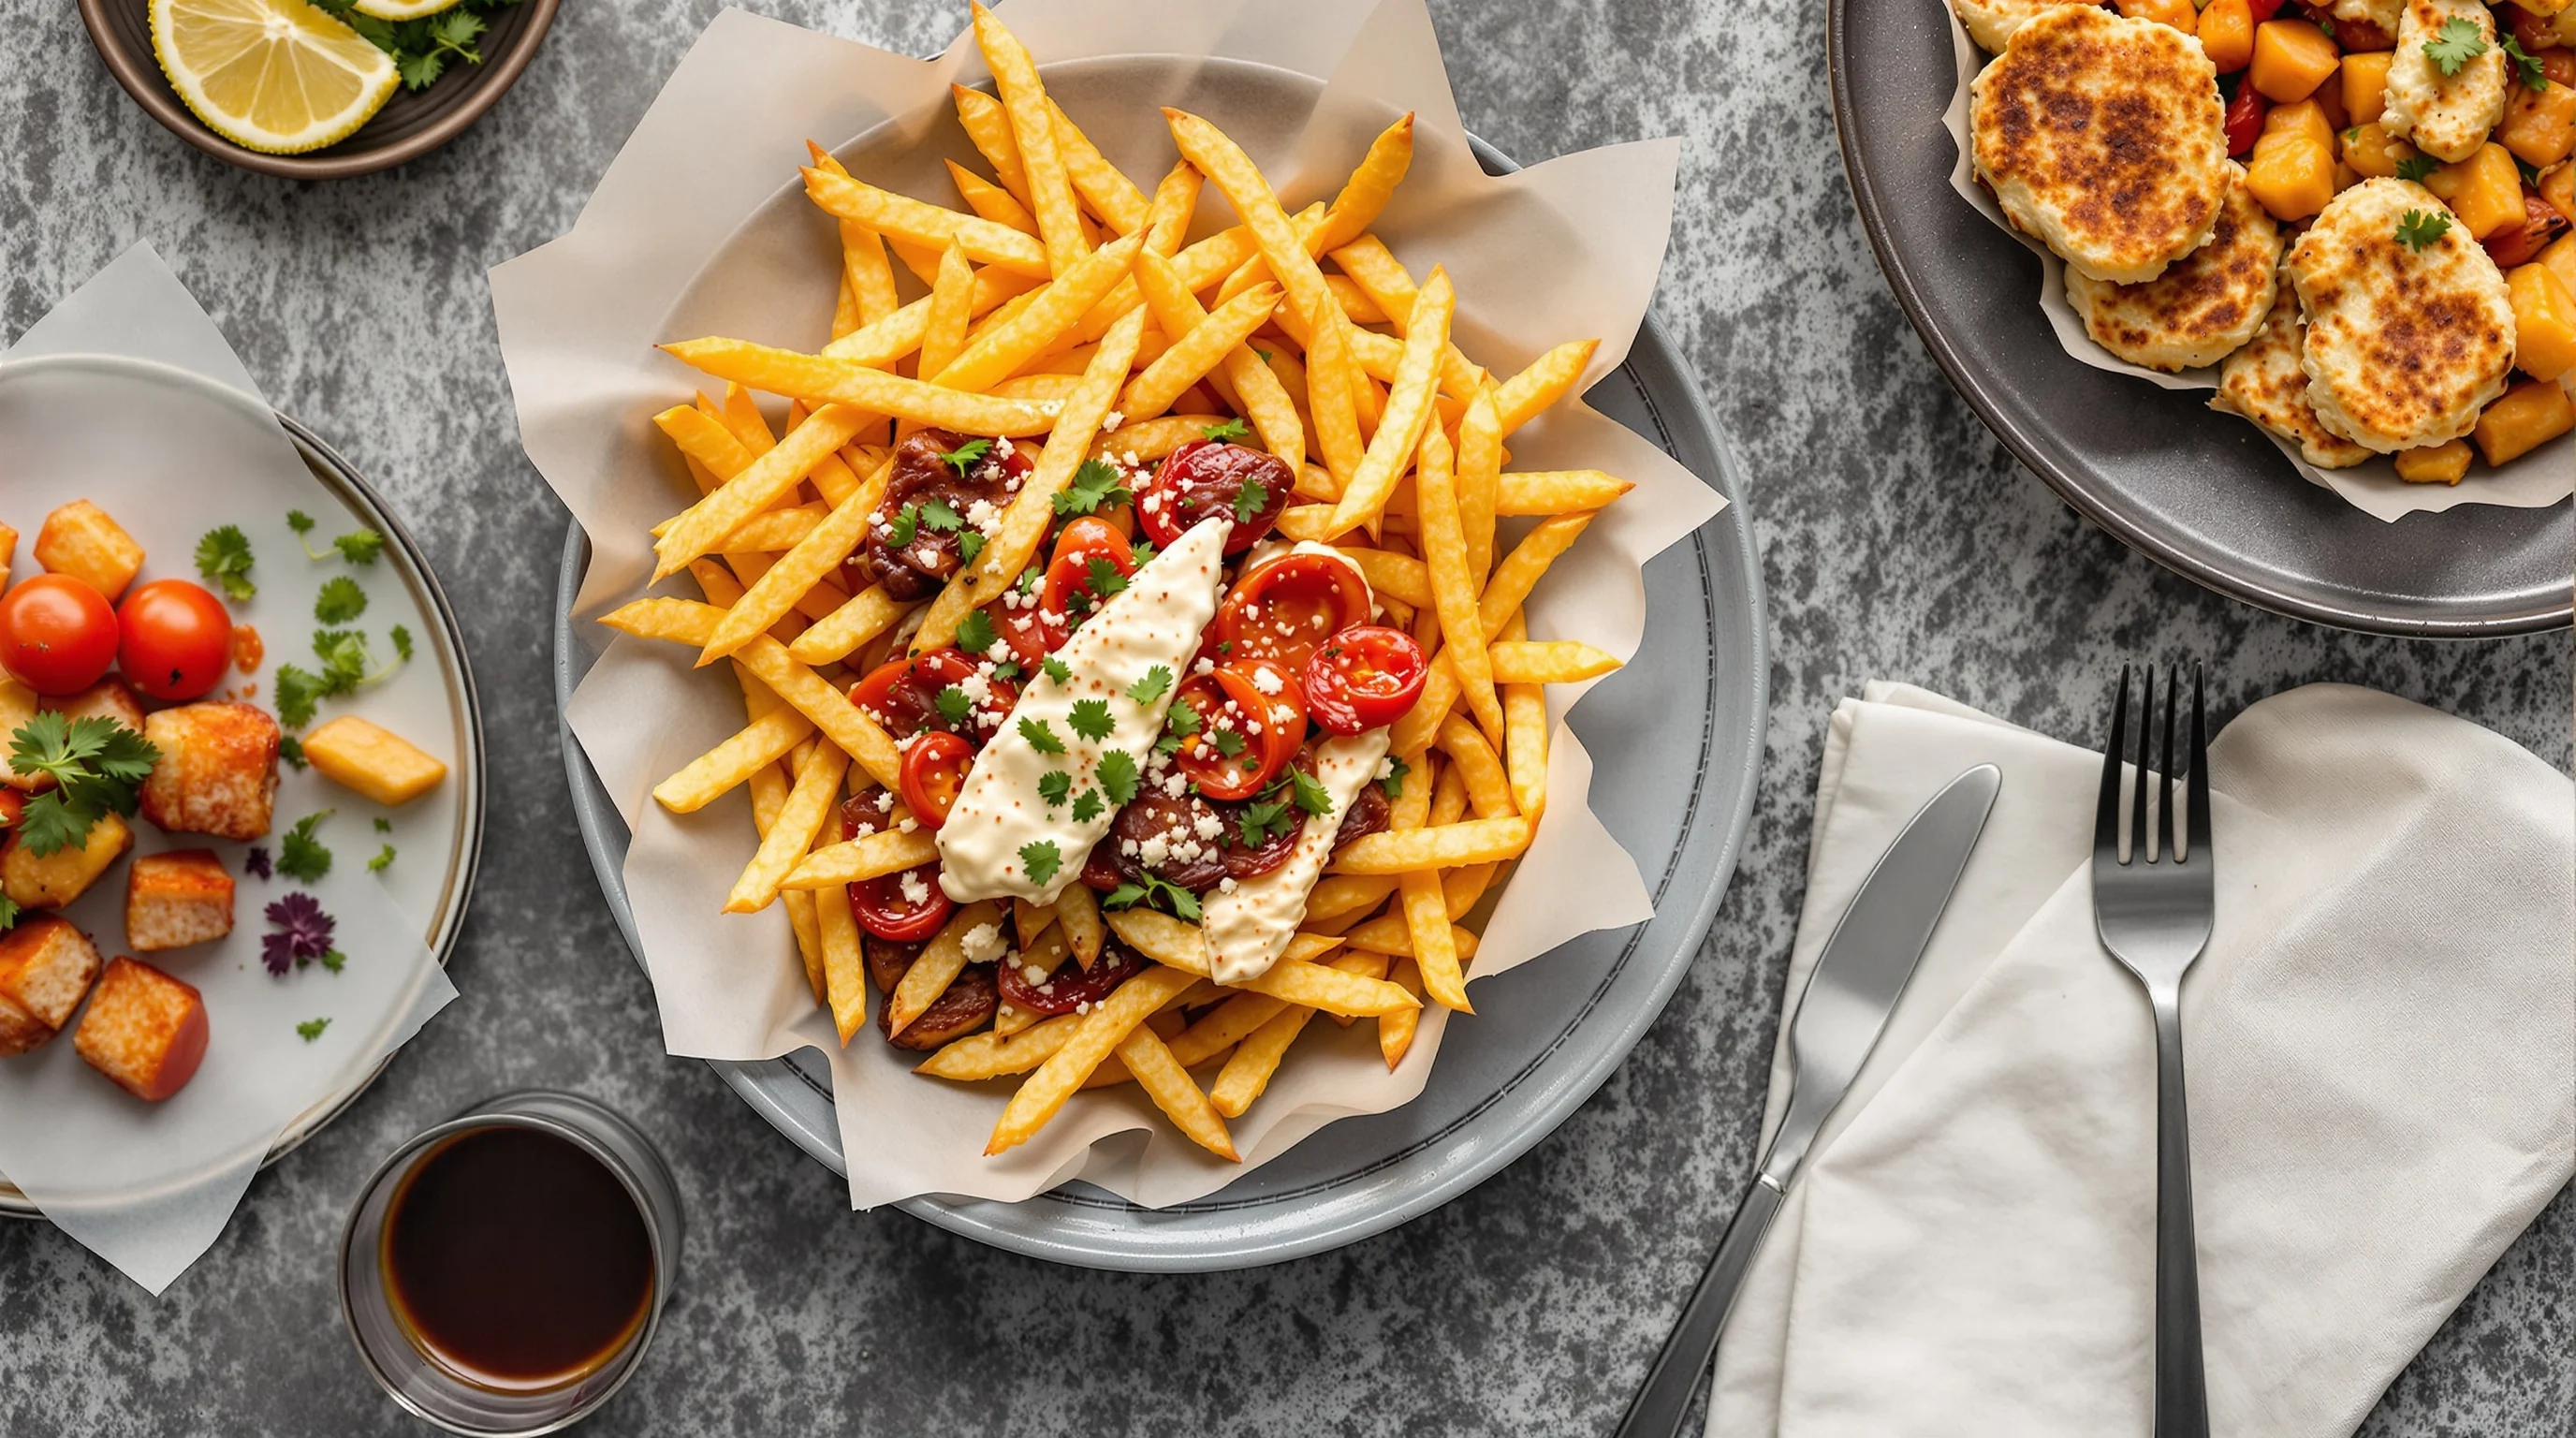
Before shooting or uploading, follow Grubhub’s technical rules. Menu images must be square (1:1 aspect ratio), at least 200×200px, and in PNG format. Only actual food photos are accepted—no coupons, interior shots or generic stock images. Clean plating and neutral backgrounds maximize the food focus; Grubhub recommends images that go straight toward the food rather than busy styling. Meeting these technical specs prevents automatic rejections and speeds approval, which is critical when you want changes live quickly.
Best-practice checklist: crop to square, save as PNG, ensure the file is high-resolution but optimized for web, and keep the subject centered. If you need different crops for other platforms, export platform-specific versions; for cross-platform workflows see our cross-platform photo workflow and consult platform-specific guides like our Uber Eats Image Optimization Guide and DoorDash Photography page for nuances.
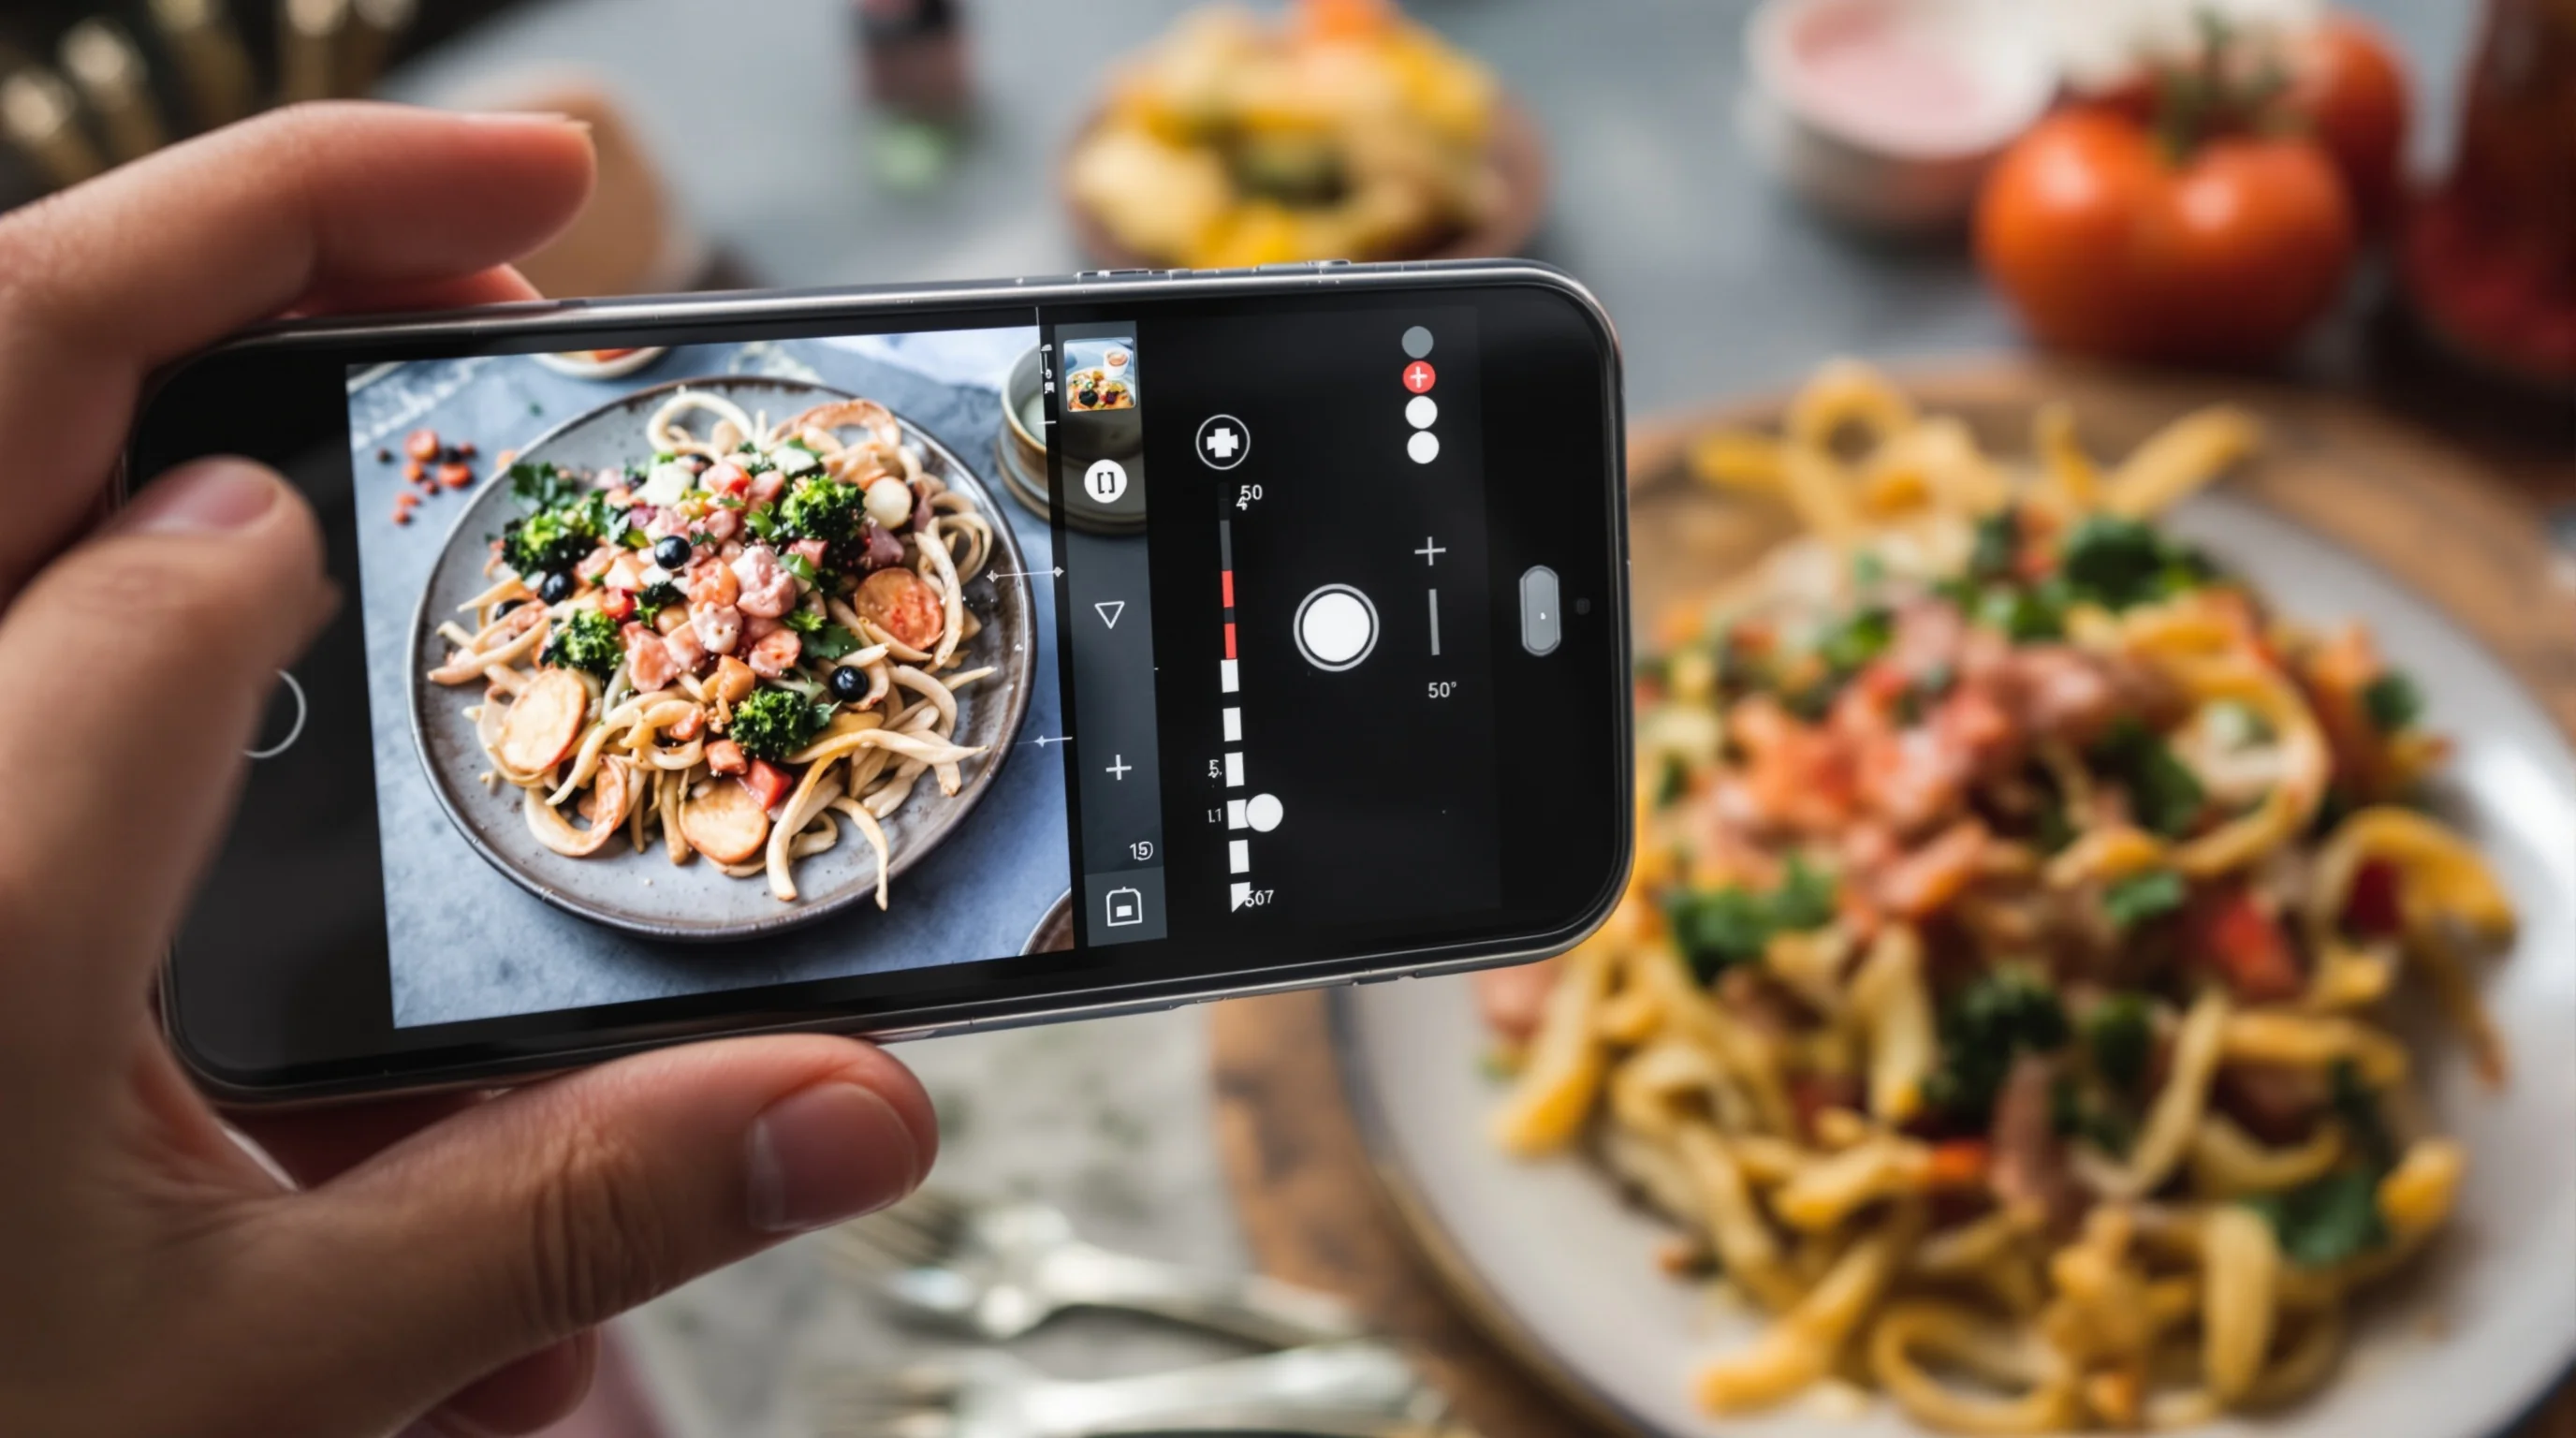
How do I upload and format food photos on Grubhub?
Uploading correctly avoids delays. Log into your Grubhub for Restaurants dashboard, open the Menu section, select the menu item and choose Add Photo. Prepare your image as a square PNG at or above 200×200px, named clearly so your team can manage files (example: "chicken-parmesan_12oz_v1.png"). In the item editor you can add a short description and confirm the photo displays correctly in the thumbnail. Save changes and wait for Grubhub’s moderation if required. If you have many items, batch-upload using the menu CSV import and attach images with the file names referenced in your import.
Step-by-step upload guide: 1) Edit photo to square PNG, 2) Use descriptive file names and keep a spreadsheet of images, 3) Open Menu > Item > Add Photo in your Grubhub dashboard, 4) Add alt-text and a clear description to help customers, 5) Save and verify live. For more on staging and shot lists before a shoot, see our 10 Steps to Prepare for a Food Photoshoot.
What are Grubhub’s technical requirements for menu images?
Direct answer: square 1:1 aspect ratio, minimum 200×200 pixels, saved as .png, and only real food photos. Grubhub explicitly disallows promotional images, logos-only pictures, or interior shots as item images. Those rules are strict because the platform wants consistent thumbnails and accurate depictions of dishes for customers. Keep backgrounds neutral and ensure color accuracy so customers receive what they expect, reducing complaints and returns.
Also consider alt-text and file naming for internal SEO and team organization. While Grubhub does not expose traditional SEO fields like a website, descriptive file names and concise item descriptions help customers and your staff. A name like "grilled-salmon-with-asparagus_1.png" is far more useful than "IMG_1234.png" for batch uploads and future edits.
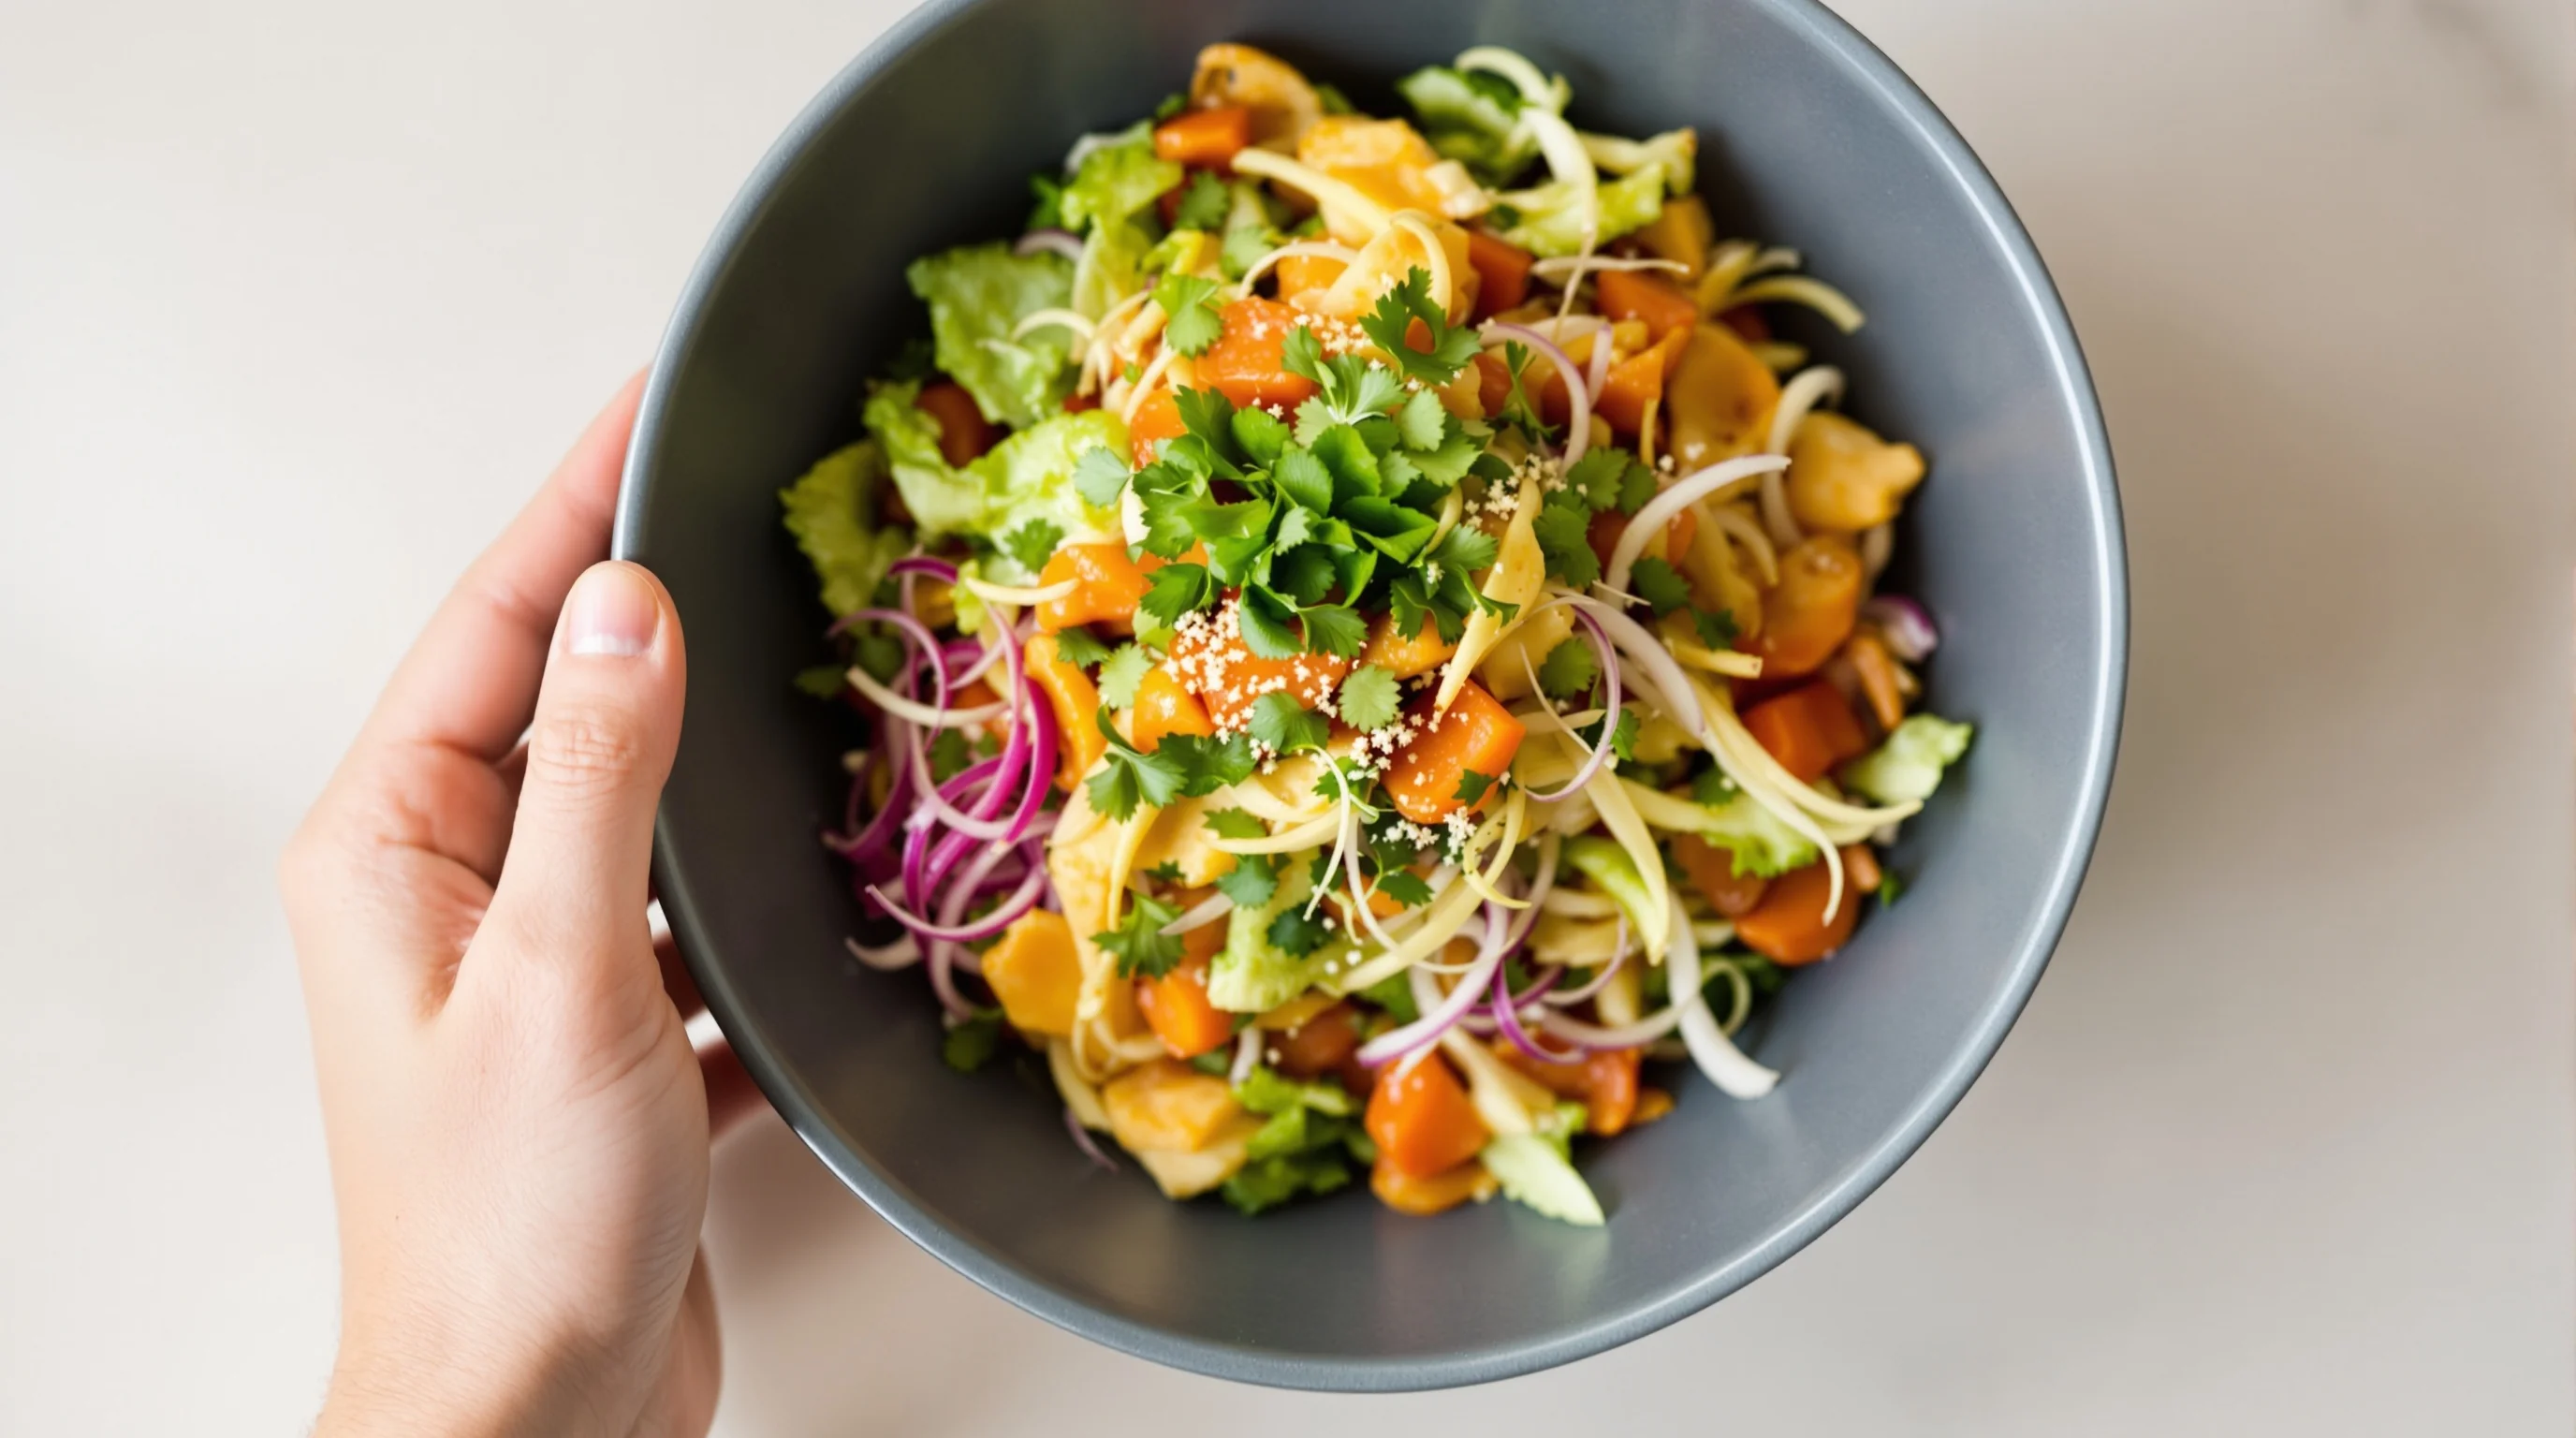
DIY food photography tips for busy restaurants
You don’t need a studio to take menu-ready photos. Natural window light, a clean neutral plate, and simple composition make the difference. Shoot from three reliable angles—overhead flat-lay, 45° for bowls and burgers, and close-up for toppings or texture. Keep props minimal and avoid distracting tablecloths. Clean plating and a single garnish can dramatically improve perceived value. For practical staging, follow our guide How to Stage Food Like a Professional Stylist.
- Use window light and white reflector; avoid direct sunlight
- Stabilize your smartphone on a tripod or stack of books
- Shoot at the dish’s natural height—avoid extreme angles
- Edit minimally: exposure, white balance, crop to square and export PNG
If lighting is inconsistent, try seven restaurant lighting tricks from our practical guide to make images pop without extra gear. For quick overheads, our flat-lay tutorial is helpful: Flat-Lay Guide.

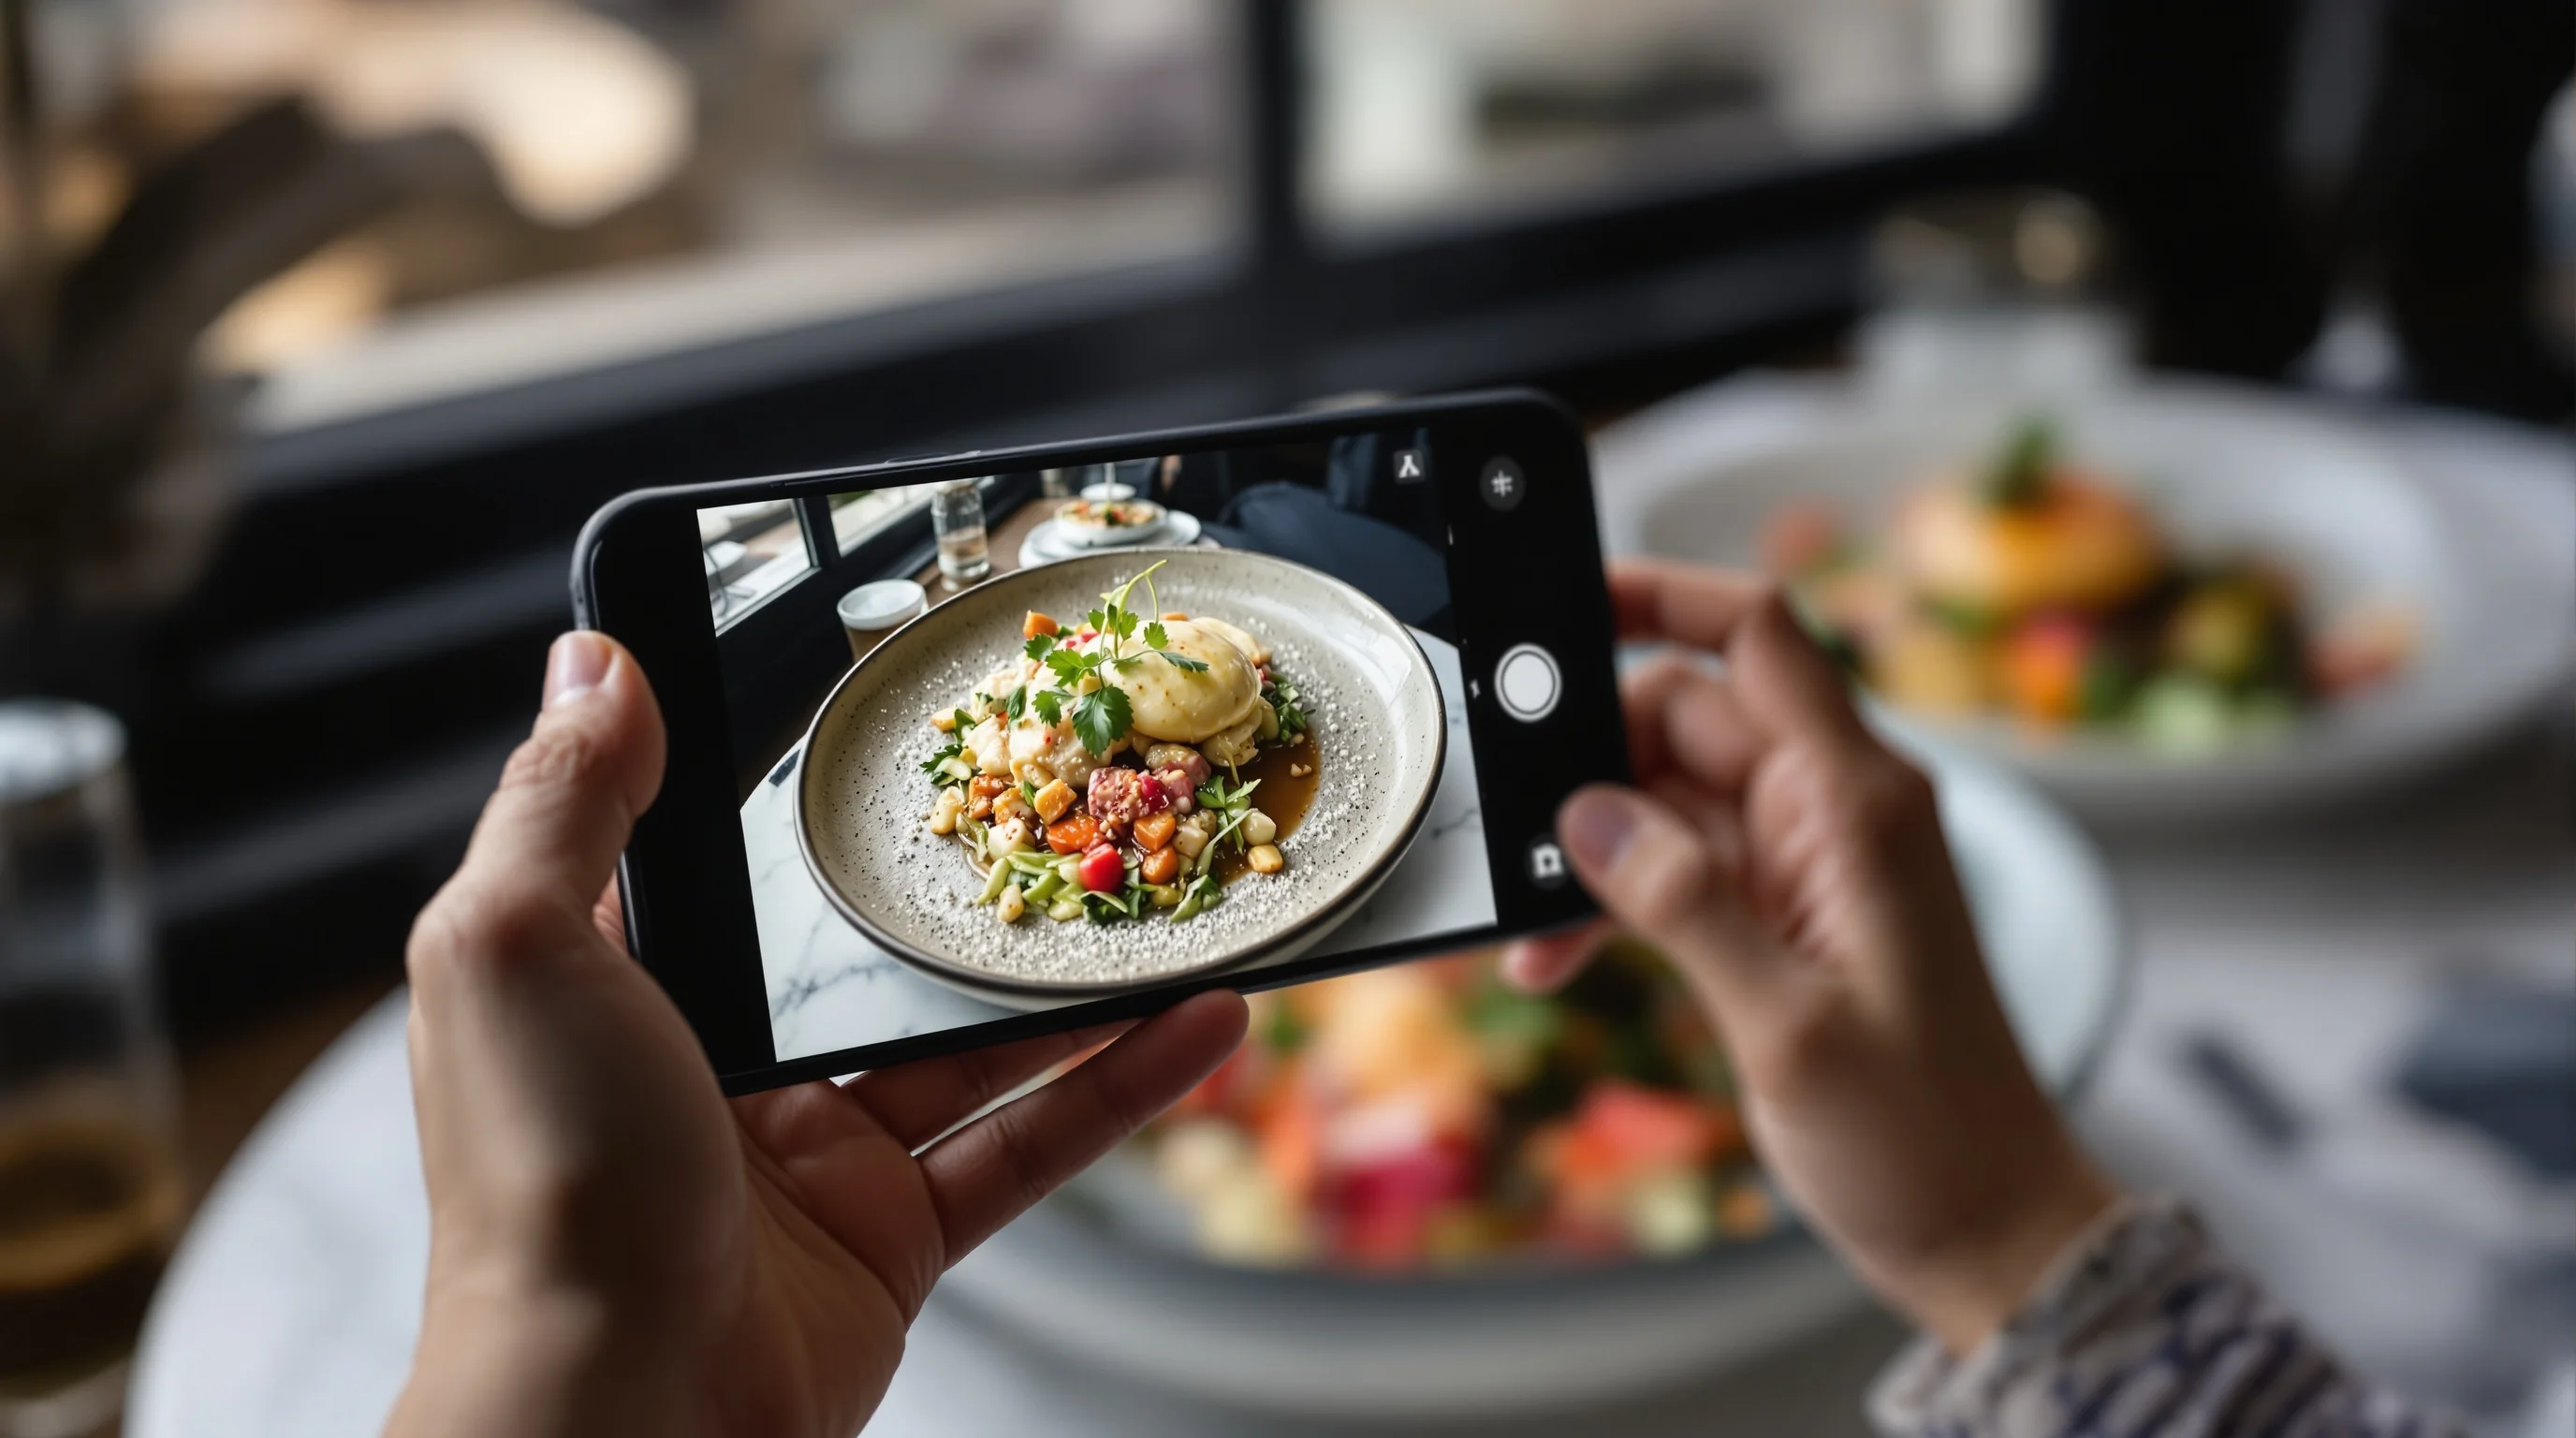
Fast fixes: AI and affordable solutions for menu images
If you lack time or budget for pro shoots, AI tools are a practical option. YummyPic transforms phone photos into Grubhub-compliant images in seconds, with multiple styles and instant downloads. The platform converts simple shots into PNGs cropped correctly for Grubhub and optimizes color and composition. YummyPic’s workflow promises professional results without lighting rigs—perfect when you need many images fast and at low cost.
Benefits of using AI like YummyPic: immediate turnaround, lower cost than a traditional photographer, and consistent output across menu items. For many restaurants, AI reduces time-to-live for new menu items and supports promotions where speed matters. See our deeper discussion of AI menu tools in The Rise of AI Menu Image Creators.
- Transforms phone photo to Grubhub-compliant PNG in ~60 seconds
- Multiple styles: bright & airy, dark & moody
- Low cost per image compared with professional shoots
- Instant approval rate when images meet Grubhub specs
Comparing professional photography vs AI-enhanced photos
A pro shoot delivers creative control, custom styling and brand-specific imagery; it’s ideal for hero shots and campaigns. However, it can be expensive and slow. AI-enhanced photos like those from YummyPic are cost-effective, fast and scale well for full menus. For many operators, the optimal approach blends both: hire a photographer for hero images and use AI to fill out the remainder of the menu quickly.
Cost example: a professional food photographer can charge per-image or a day rate, while AI services often cost a few dollars per image. Our pricing page covers options and credits for rapid image turnaround and shows how AI reduces per-image cost dramatically: see Pricing for details. If budget is tight, AI is a pragmatic way to capture the 30% potential sales uplift Grubhub reports without a full shoot.
Troubleshooting rejected photos and moderation tips
If Grubhub rejects an image, common reasons include non-food content, wrong file type, or improper aspect ratio. Immediately check the file format (must be PNG), confirm it’s square, and verify the content shows the actual dish. If the issue is moderation delay, contact Grubhub support and provide the item name and image file name. Keep a revision history and spreadsheet of uploads to quickly swap files if needed.
Include alt-text and a concise description when uploading to reduce ambiguity. If you run frequent promotions or seasonal items, pre-format those images and keep them ready for rapid swaps. For more hands-on fixes to common image problems, consult My Restaurant Photos Look Bad — Here’s How to Fix Them.
Concrete case: quick wins and measurable impact
Practical examples show real lifts: restaurants that upgraded menu photos often see a 30% increase in orders, as reported by YummyPic, and Grubhub notes that adding photos and descriptions can drive as much as 70% more orders and 65% higher sales. One fast-service kitchen replaced bland cropped phone shots with AI-enhanced PNGs and observed a 25% conversion boost within two weeks, echoing FoodPix AI’s findings on image-driven sales improvements.
Quote: "Including photos can increase sales of menu items by up to 30 percent" — Grubhub. Quote: "Restaurants that follow menu best practices (adding pictures) receive as much as 70% more orders and 65% higher sales" — Grubhub. These verbatim insights underline the measurable value of investing in menu imagery.
Practical checklist before you go live
Use this pre-launch checklist to avoid common mistakes and ensure consistency across platforms. Crop and export PNGs sized for Grubhub, name files descriptively, attach alt-text and concise descriptions, batch upload where possible, and spot-check thumbnails on mobile. If you use the same images on DoorDash or Uber Eats, create platform-specific exports and use our platform pages for guidance: DoorDash Photography and Uber Eats Photography.
- Crop to 1:1 and export as PNG at a minimum of 200×200px
- Use descriptive file names and keep a CSV or spreadsheet index
- Write short item descriptions and alt-text
- Batch upload and verify thumbnails on mobile
- Monitor order changes and customer feedback after updates
Brand integration: YummyPic as a fast solution
If you need instant, compliant images, YummyPic provides a fast AI workflow that converts any phone photo into a Grubhub-ready PNG in about 60 seconds. YummyPic’s strengths are speed, affordability and consistent style options—useful when you must populate many menu items quickly. The tool also addresses pain points like poor lighting, incorrect composition and the PNG/1:1 requirement, offering a practical middle ground between DIY and a full pro shoot.
- Speed: professional-looking photos in seconds
- Cost-effective: a fraction of a professional shooter
- Quality: multiple styles and instant downloads
- Convenience: no props, lights or shoot days required
Conclusion
This Grubhub Image Optimization Guide for Restaurants gives clear, actionable steps: meet Grubhub’s PNG and 1:1 rules, stage and shoot simply, name files clearly, upload via the dashboard or CSV, and use AI tools like YummyPic for fast, affordable image upgrades. The data is compelling—Grubhub and independent studies show significant order and sales uplifts when restaurants invest in menu photos. Start small by improving best-sellers and scale to cover your full menu. Accurate, appetizing images convert browsers into paying customers and reduce order friction across the board.