Introduction: A striking menu image can change how customers perceive your restaurant. DoorDash Menu Photos: How to Stand Out and Boost Orders breaks down practical, affordable ways to transform casual photos into high-converting menu images. Menus with photos can drive major lifts—DoorDash data shows merchants saw up to 44% more monthly sales when items included photos—and small improvements in lighting, plating and cropping can produce immediate revenue gains. This guide is written for restaurant owners, cafe managers, food truck operators and marketing teams who need fast, reliable results without the time and cost of large studio shoots.
Why high-quality DoorDash menu photos matter
Visuals influence ordering behavior on delivery apps. According to DoorDash Merchant Blog, 38% of customers check photos when discovering a new restaurant. Other industry research finds that adding photos to online menus can increase sales by up to 30% (Restolabs), while professional images often improve item sales by 20–40% (Flavor365). Transitioning from text-only to photo-based menus can raise conversion rates by roughly 25% (CSConnect). Put plainly: DoorDash Menu Photos: How to Stand Out and Boost Orders is not optional — it’s a direct path to more clicks and orders.
Good photography reduces buyer uncertainty. When customers see an appetizing, accurate image they can visualize the meal, set expectations, and decide faster. Even modest upgrades to your menu photography typically return revenue quickly. Several restaurants reported roughly 30% order increases after updating images, according to case studies by YummyPic partners and industry summaries. Investing in menu photos pays off.
How can I make my DoorDash menu photos more appealing?
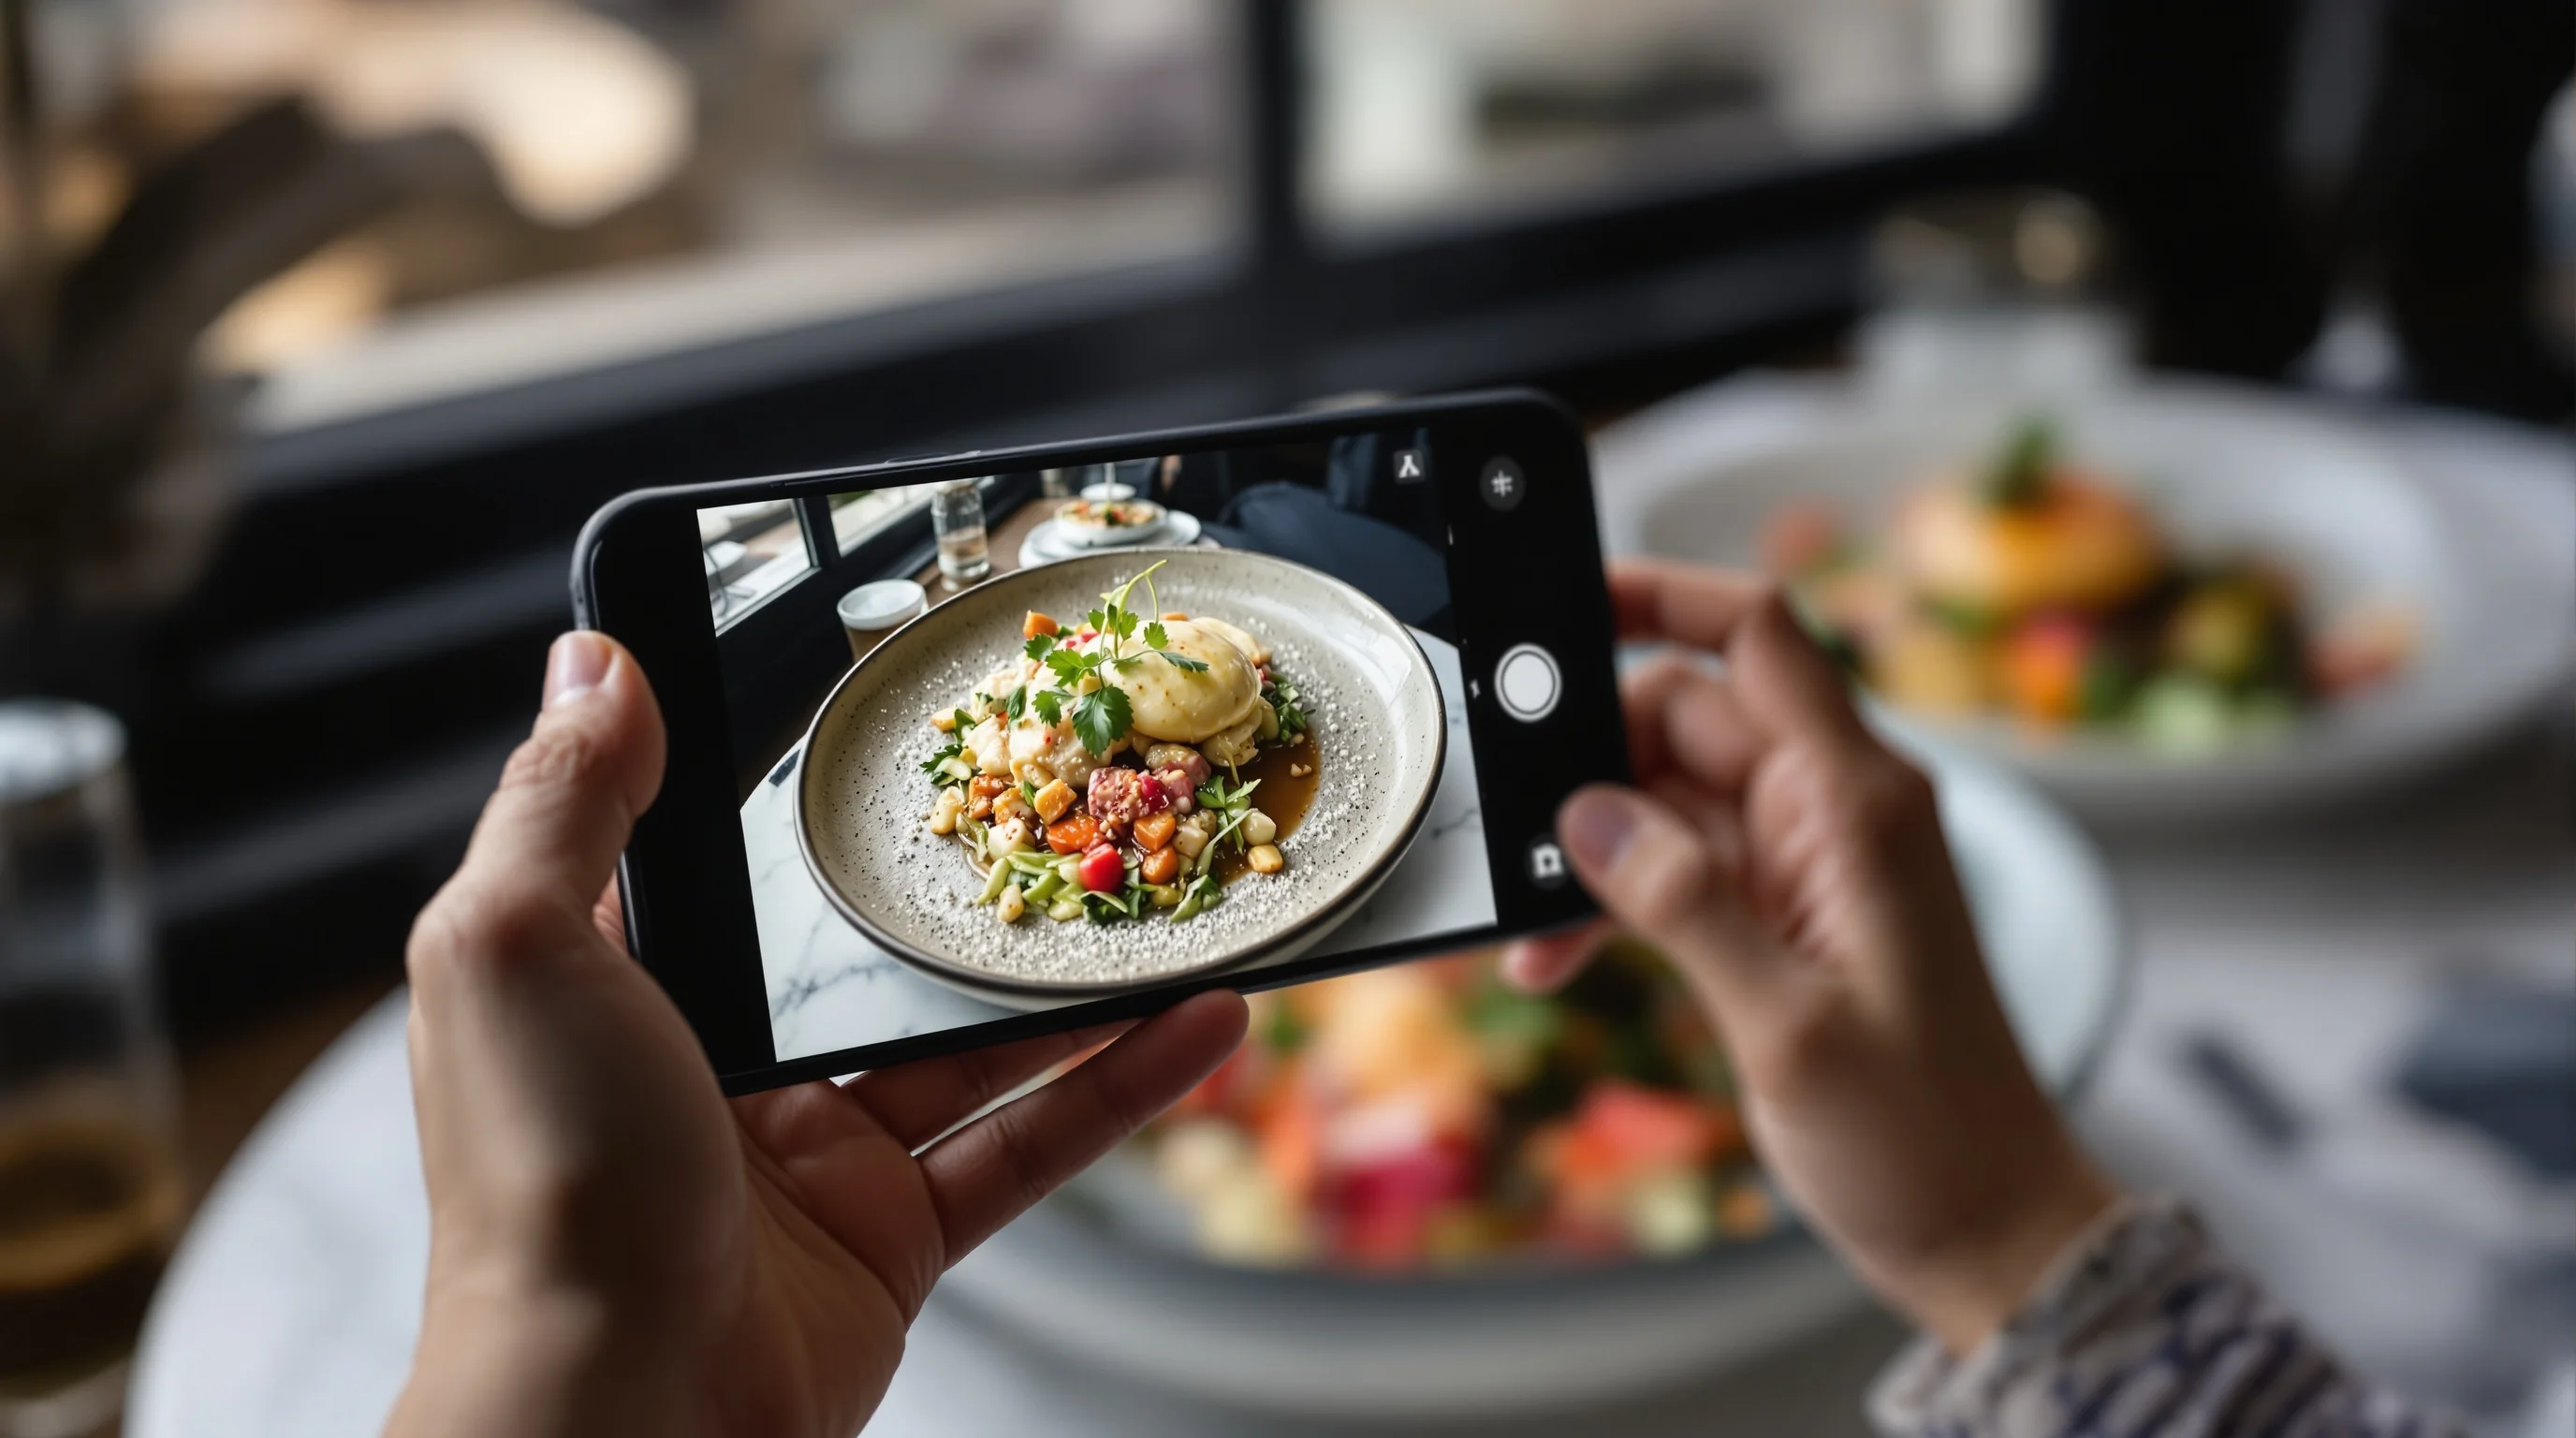
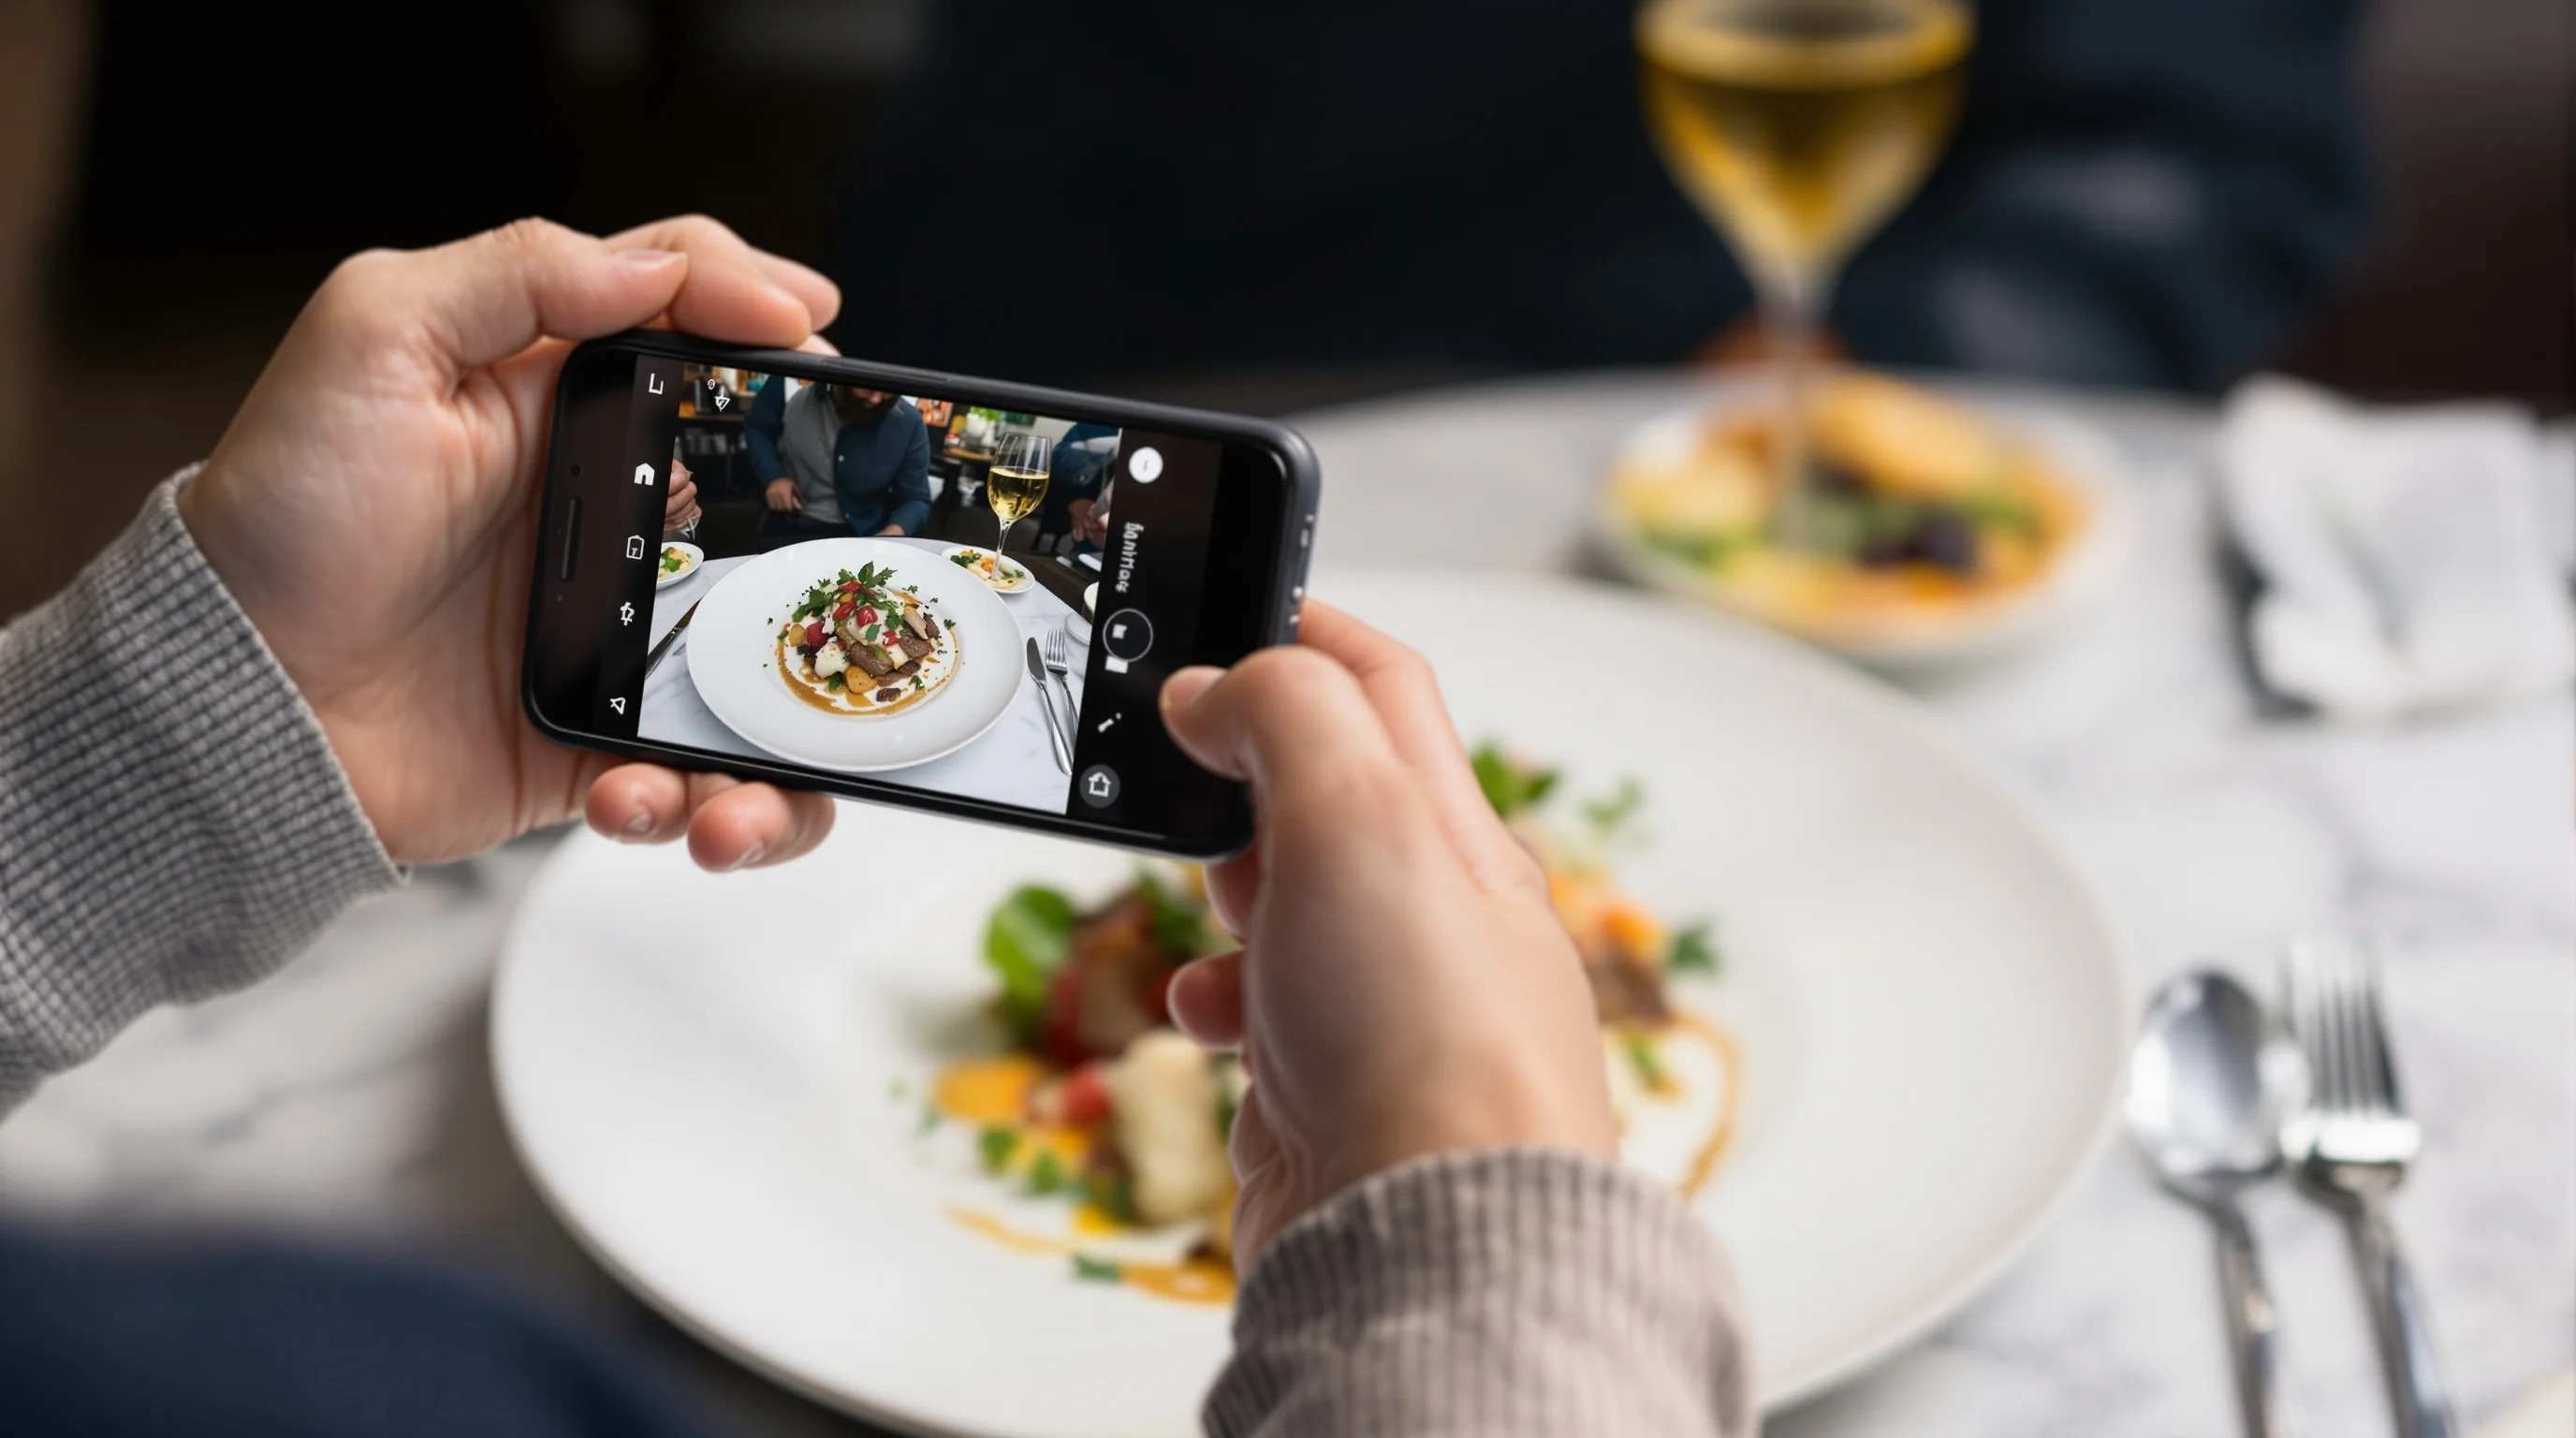
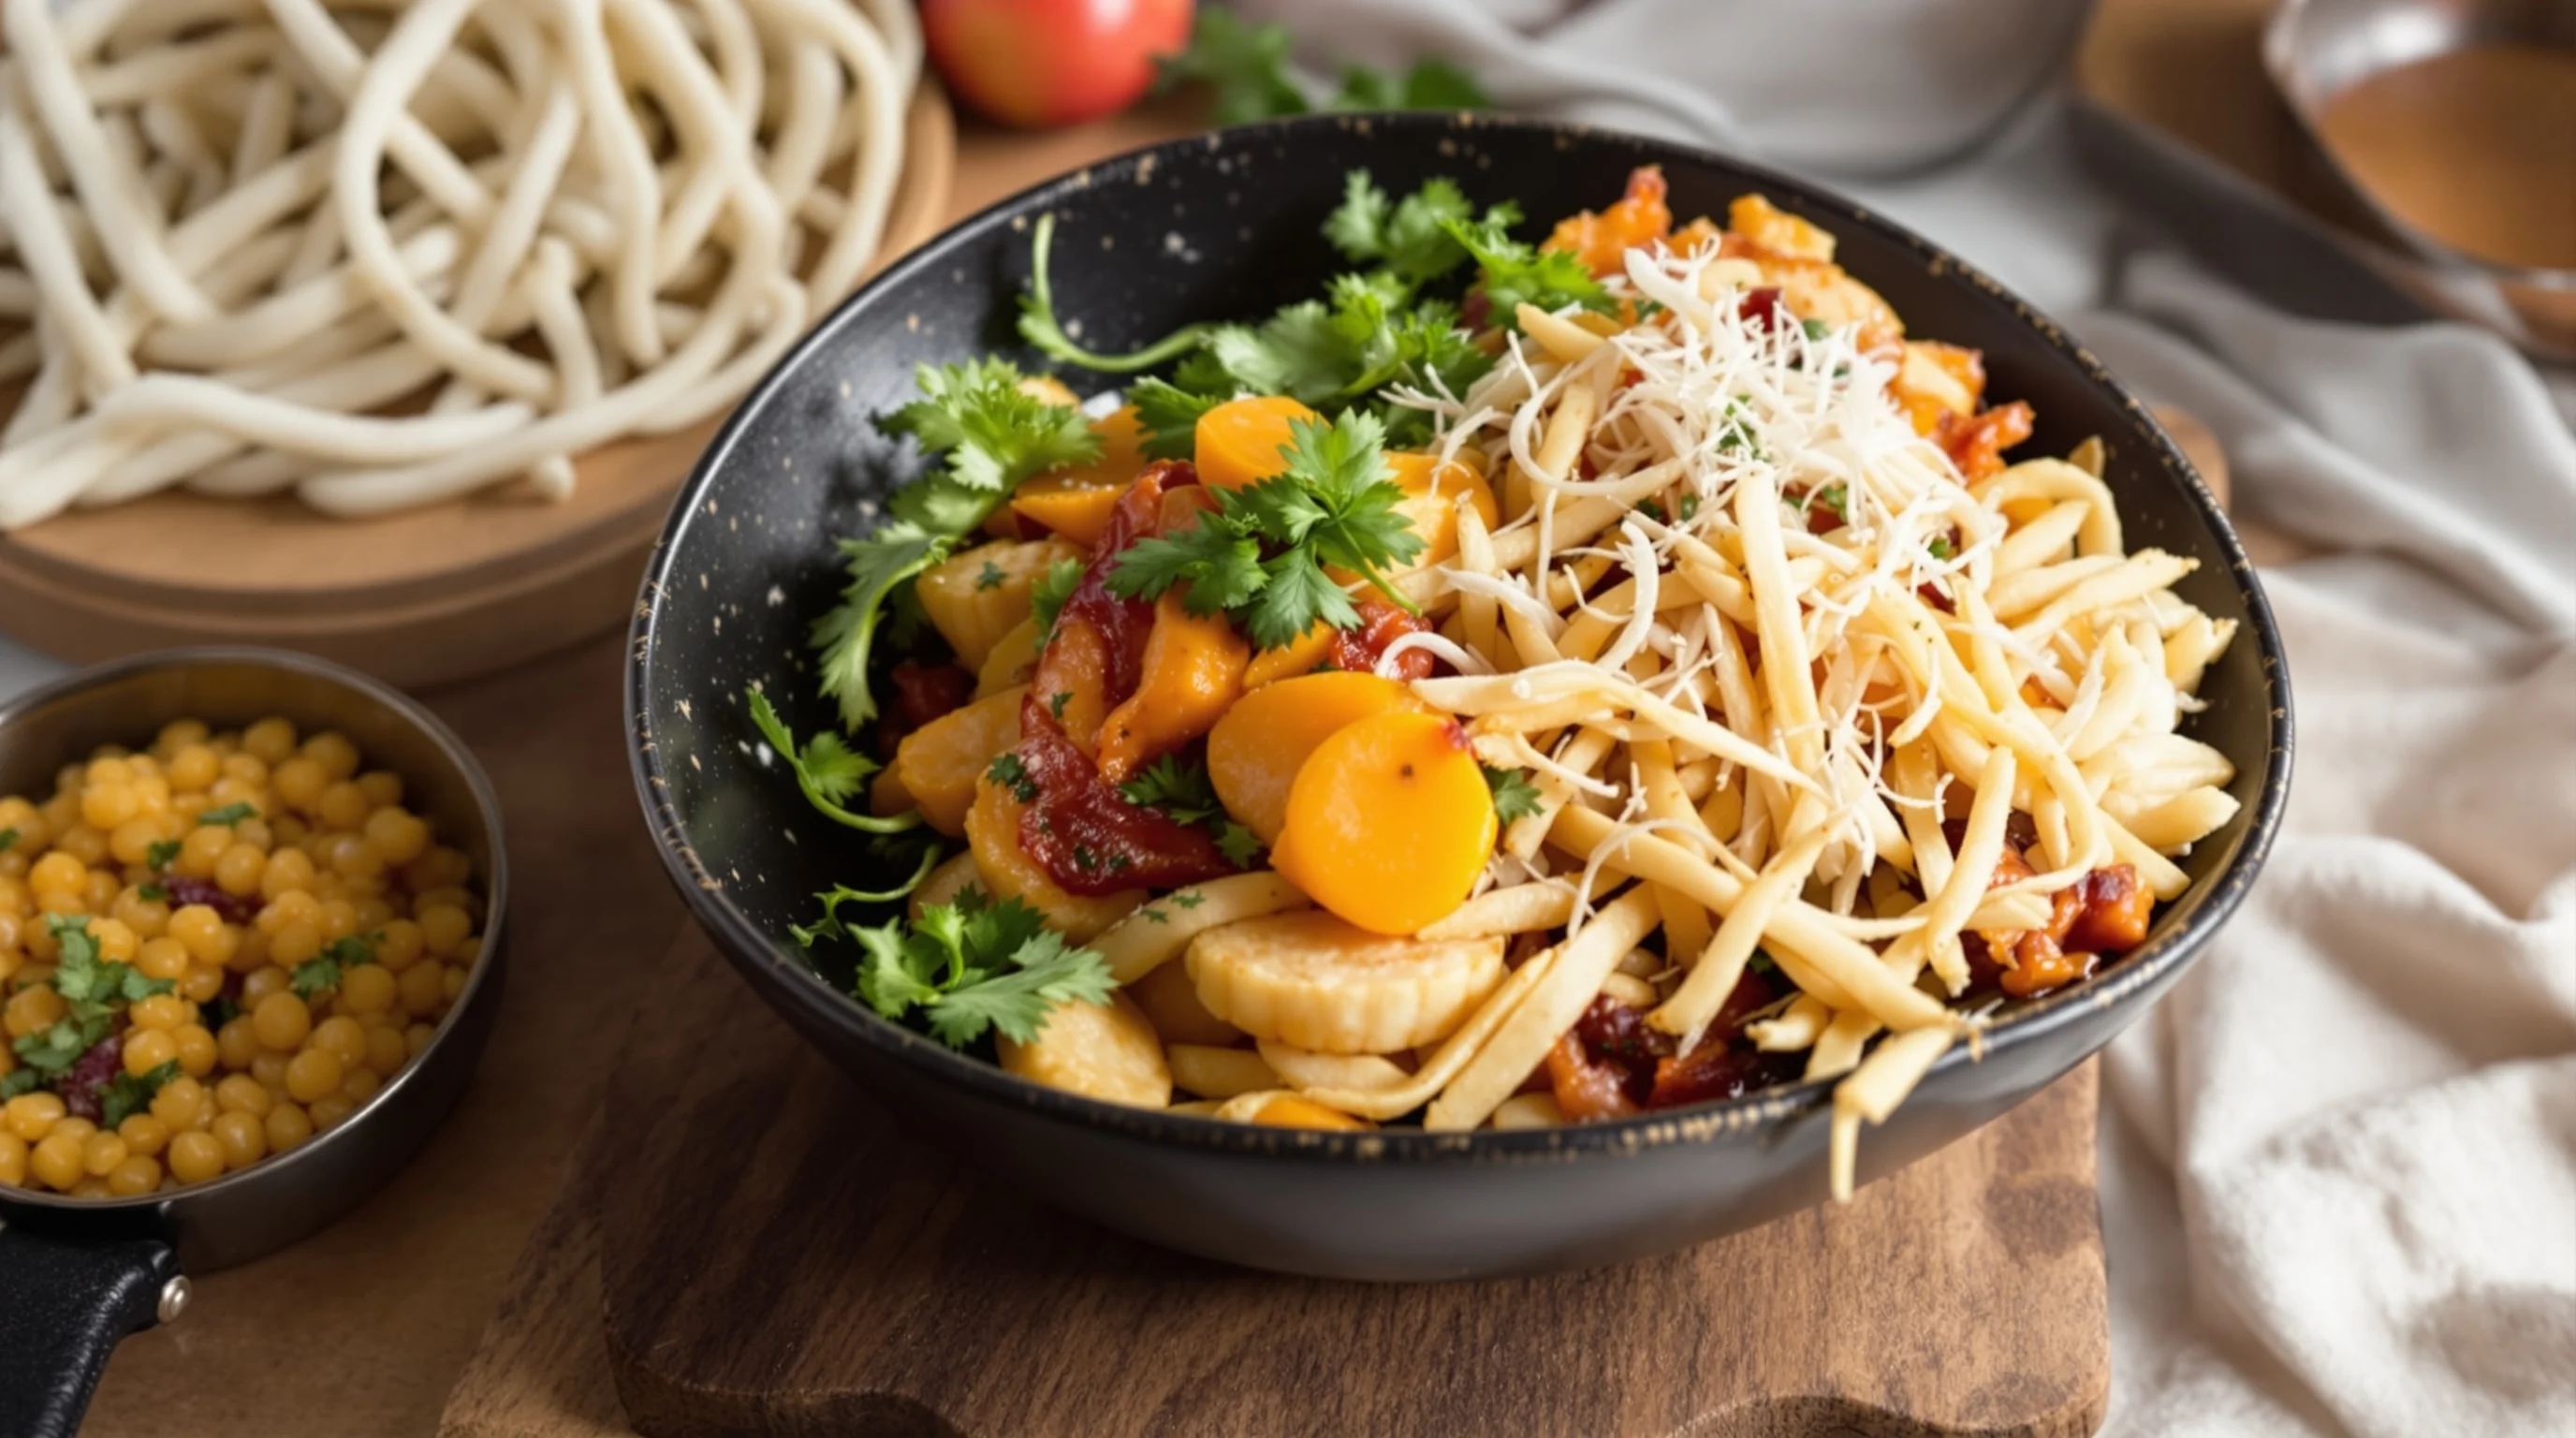
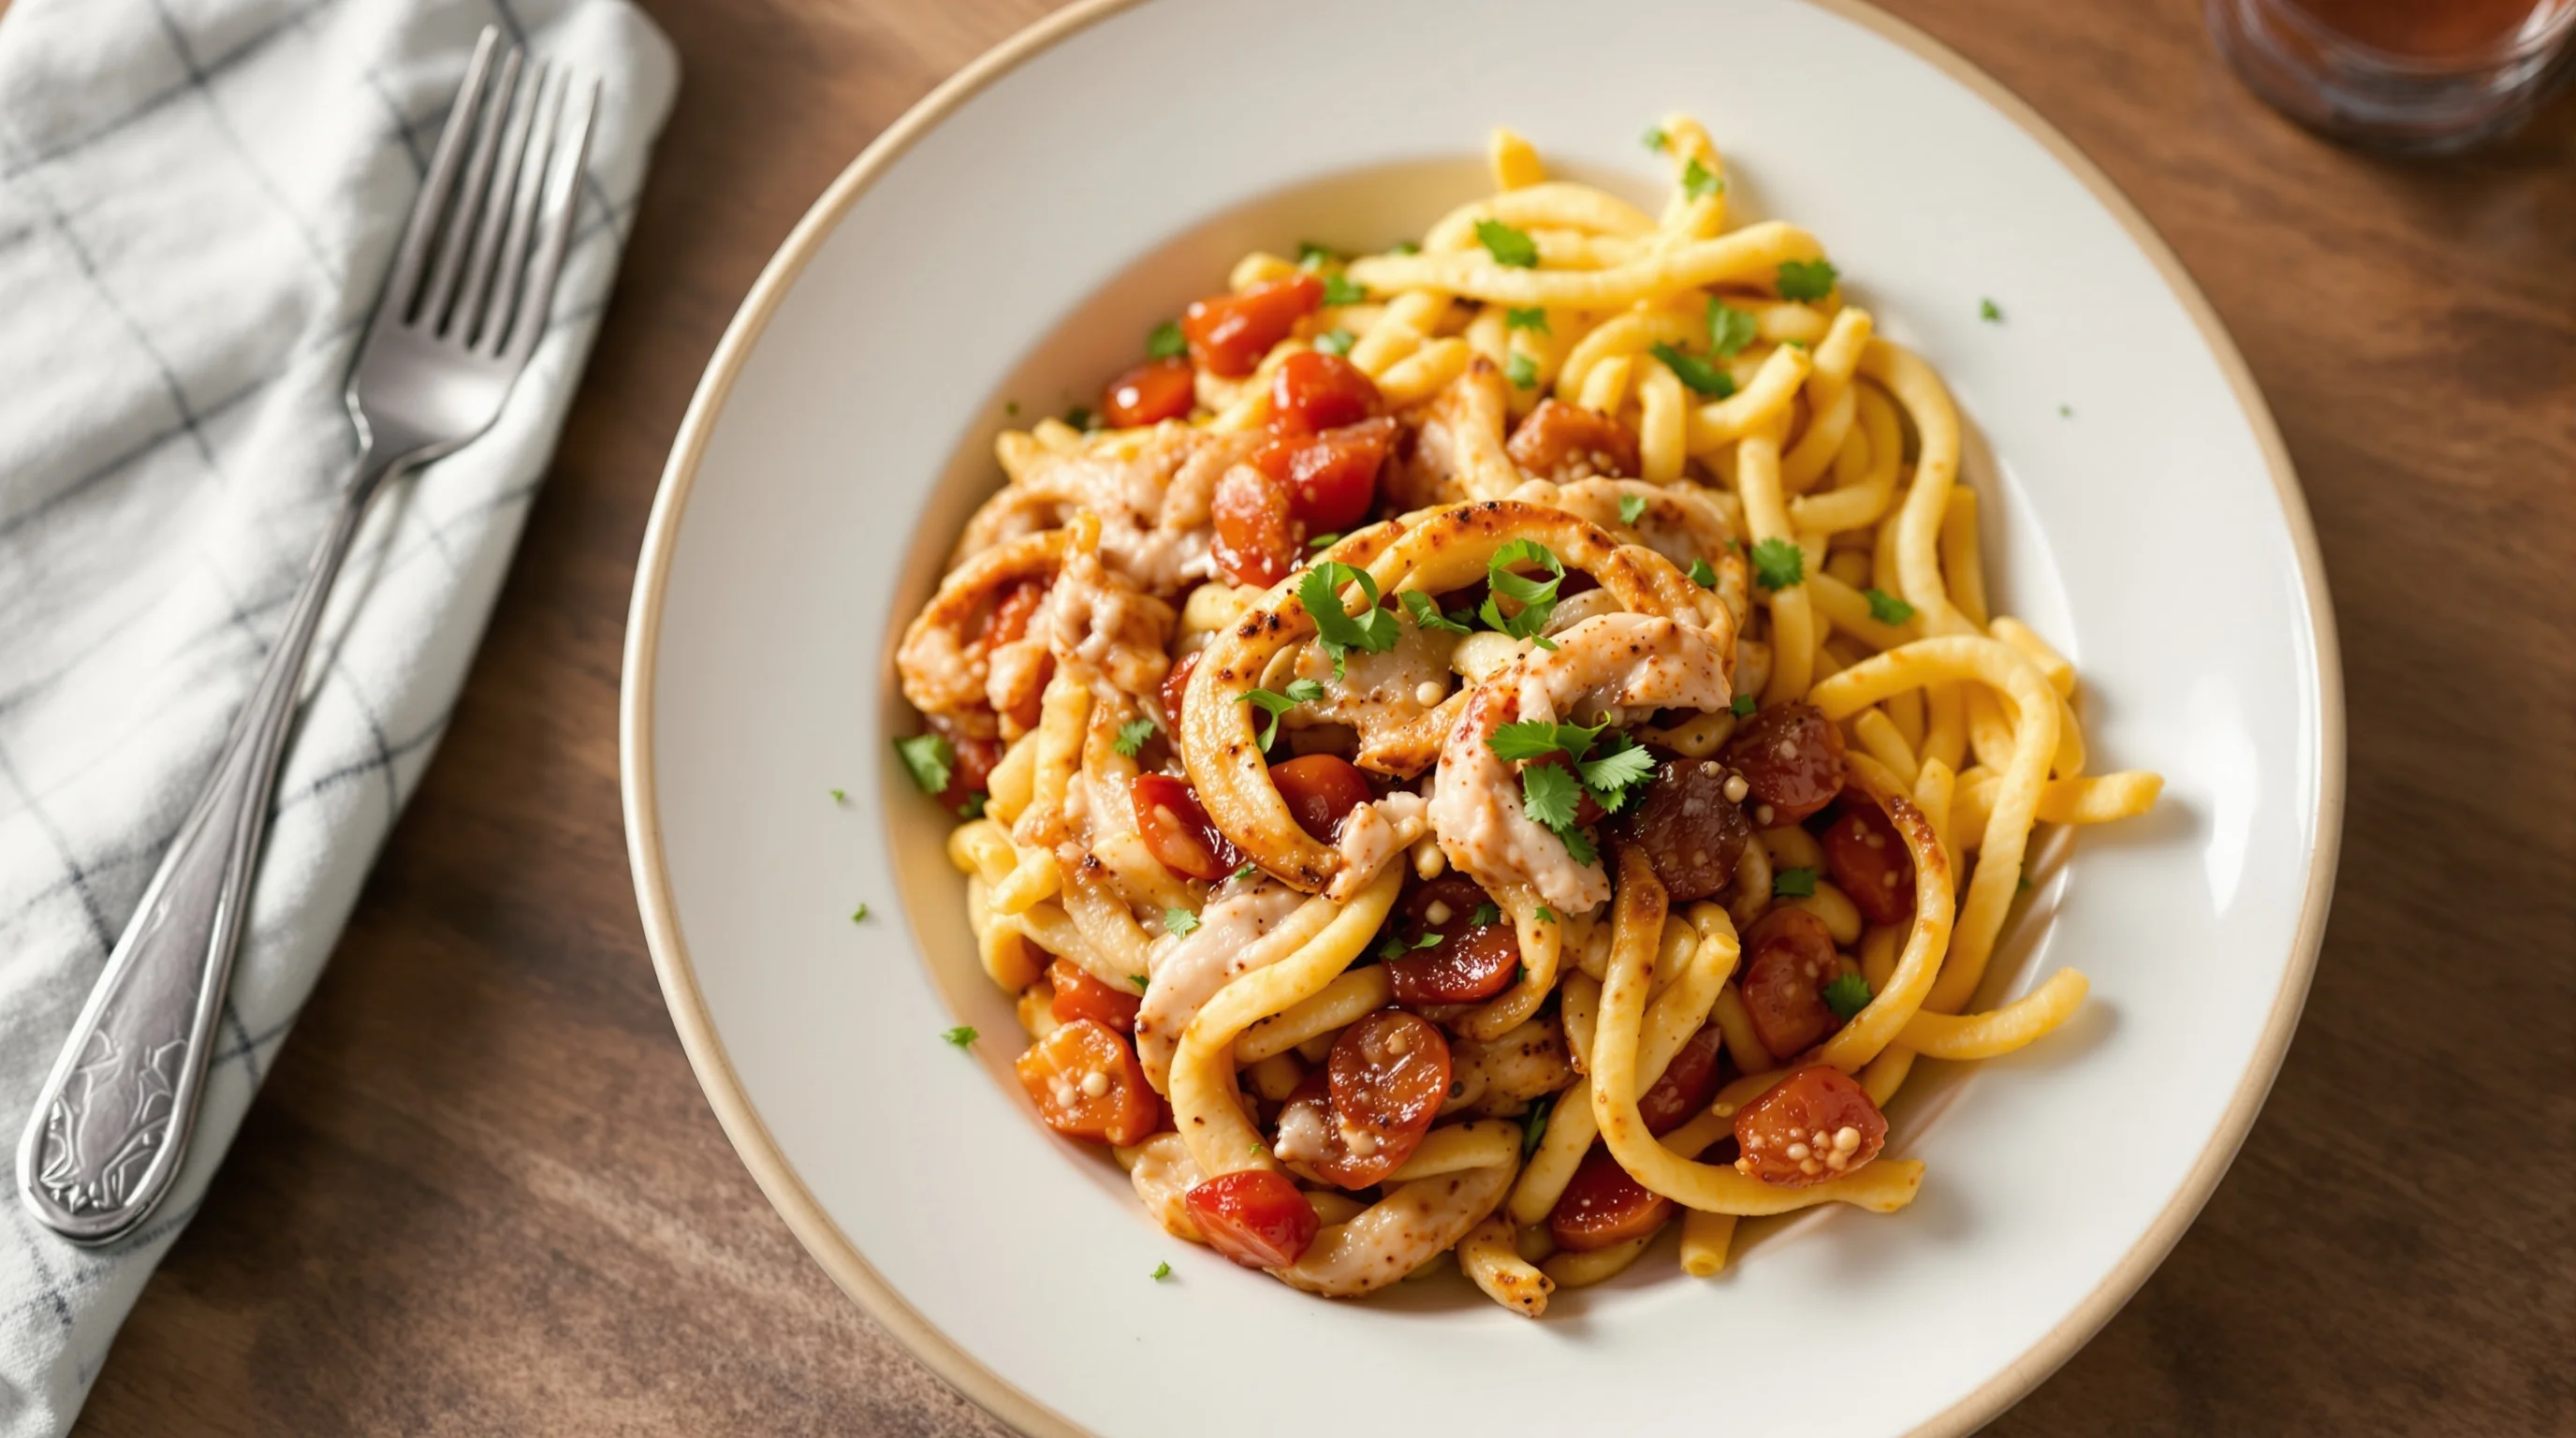
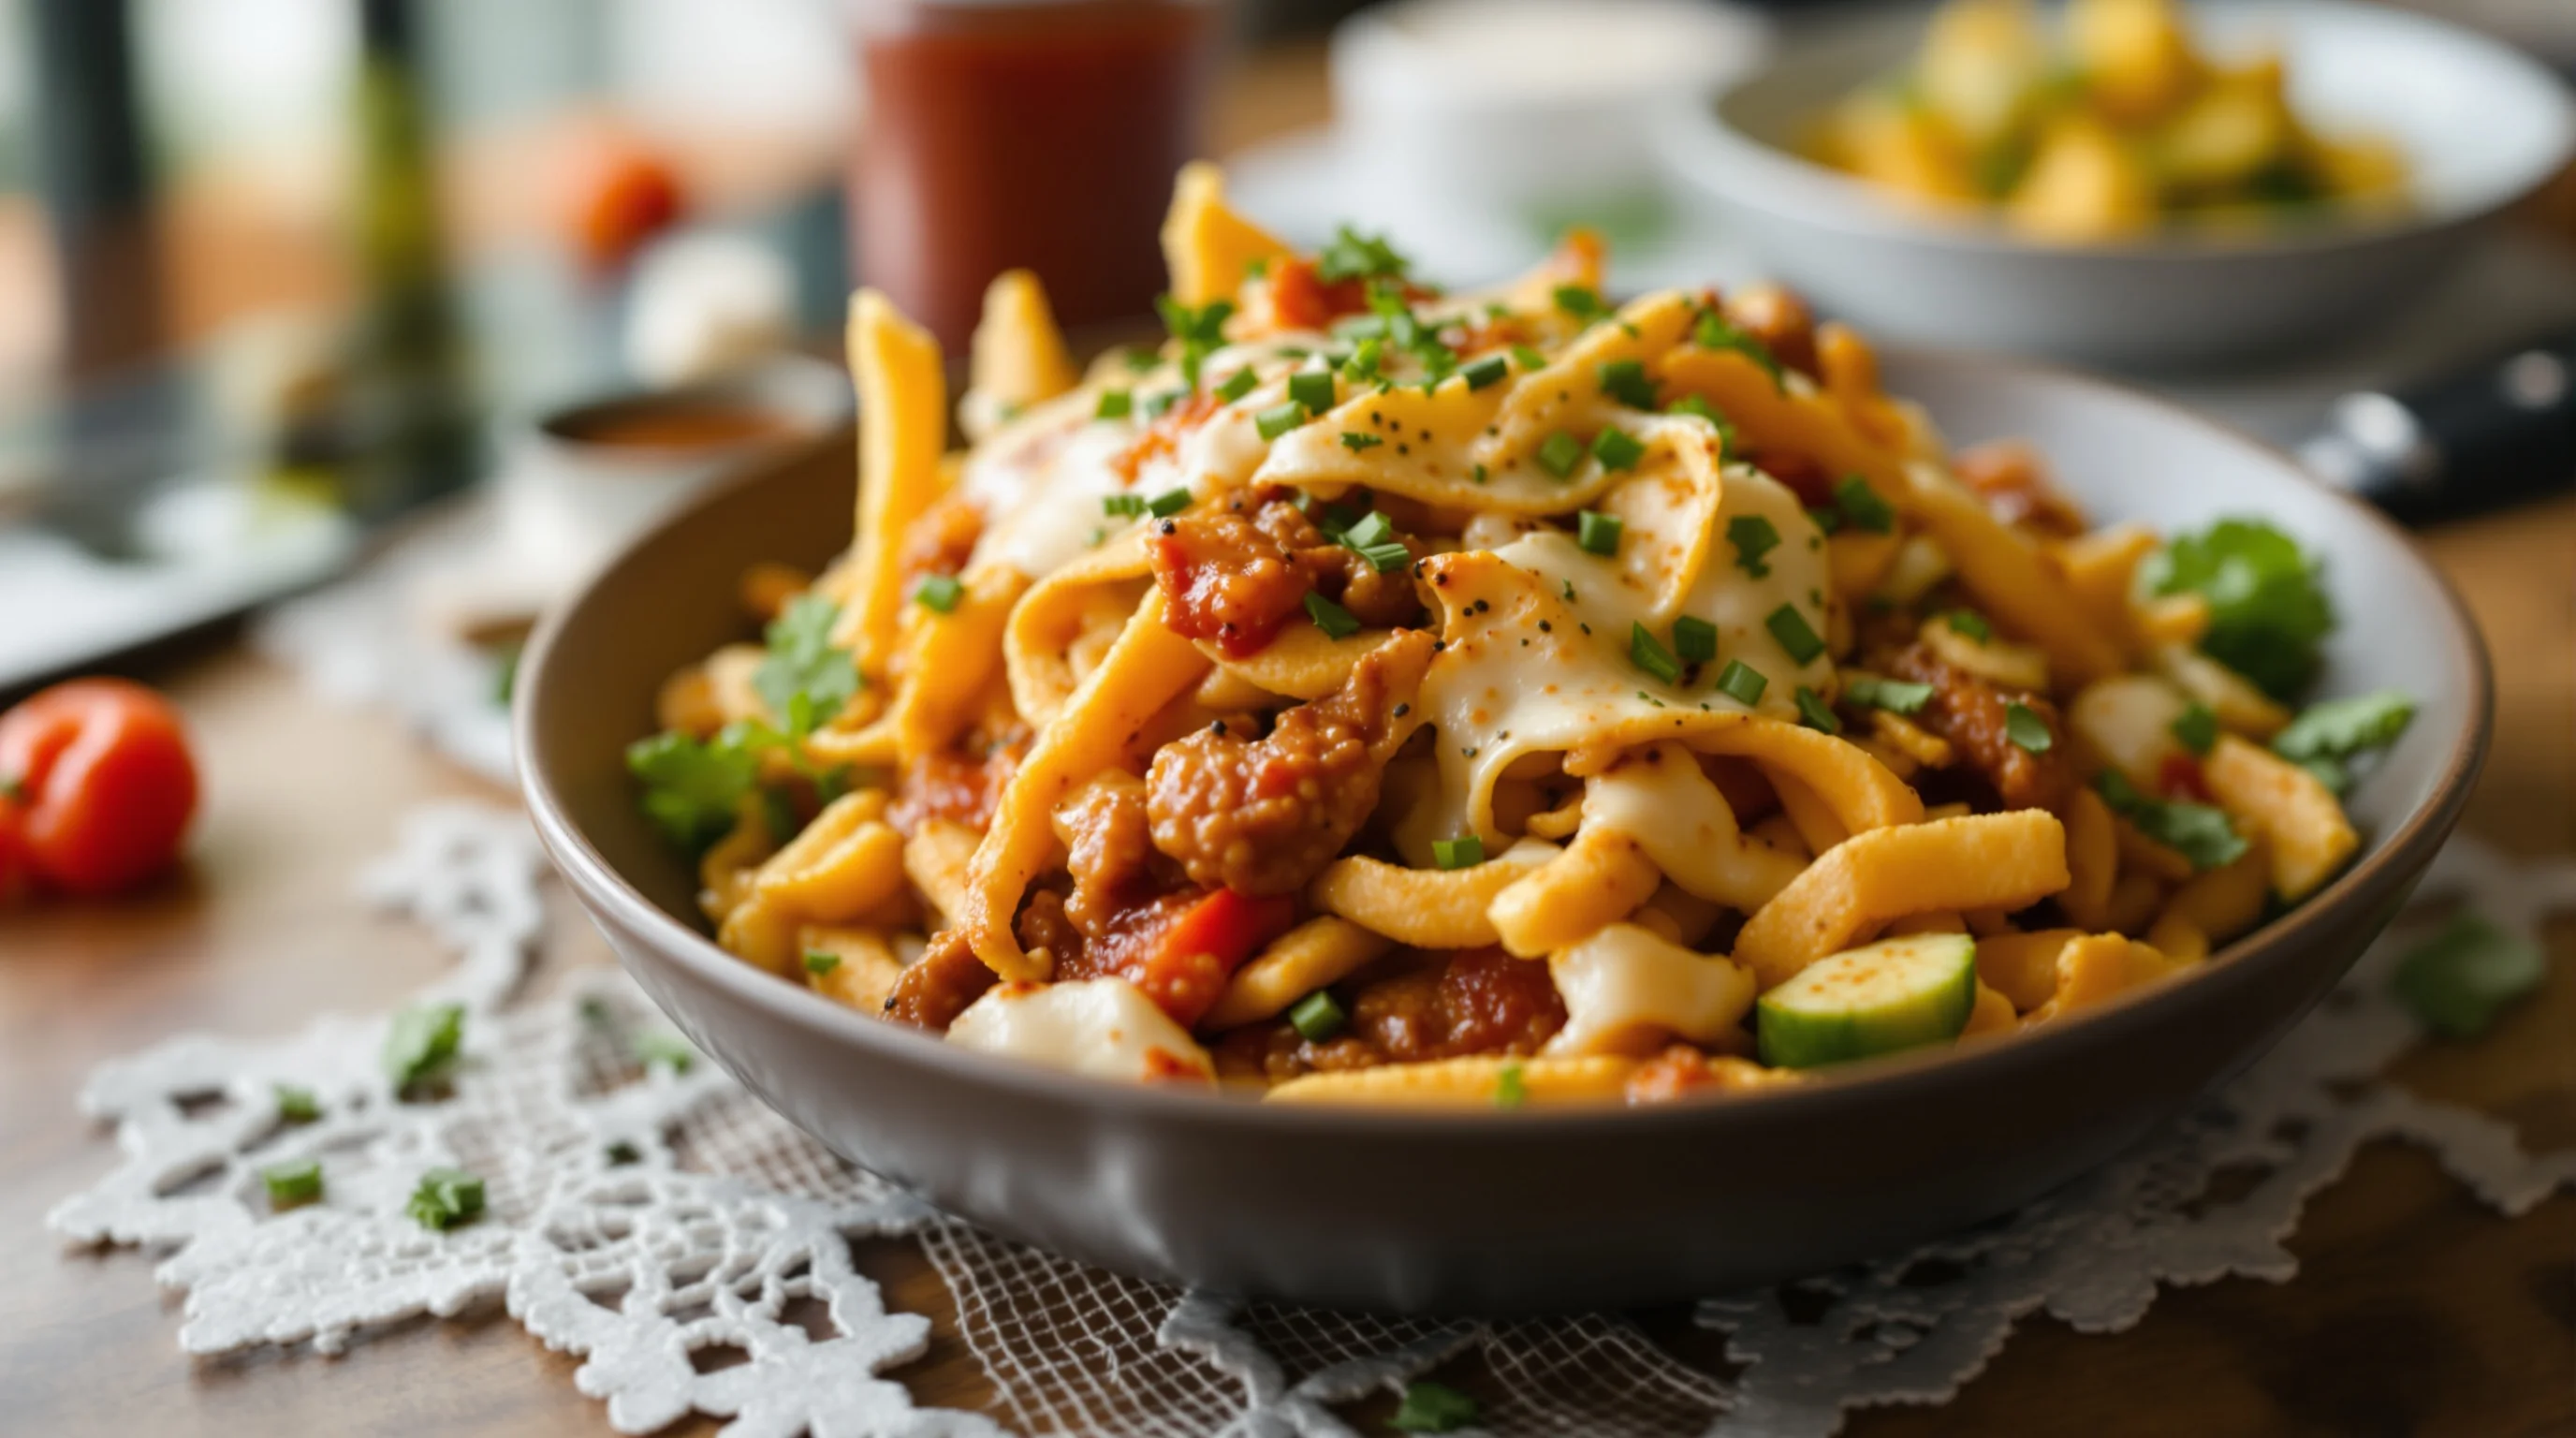
Start with straightforward fixes: use natural light, choose uncluttered backgrounds, and plate items to show the most interesting angle. Think about color contrast, texture and a single focal item per shot. If you’re unsure where to begin, create a simple checklist for each dish: clean plate, fresh garnish, no sauces smeared on the rim, and a serving size that matches what customers receive. The goal is authentic, consistent imagery that matches the dish they will get when their DoorDash order arrives.
If you have existing photos that underperform, A/B test replacements. Replace one photo at a time on DoorDash and monitor click-through and item-level sales. Small changes—brighter lighting, tighter crop, or a different plate—frequently deliver measurable lifts. This experimentation is central to DoorDash Menu Photos: How to Stand Out and Boost Orders.

What lighting and composition tips work best for DoorDash food photos?
Lighting and composition are two of the fastest levers to improve images. Use soft, diffused natural light from a window whenever possible; avoid overhead restaurant fluorescents and mixed color temperatures. Compose with the rule of thirds, keep negative space on one side for app crops, and shoot from angles that reveal texture: 45° for bowls and plates, overhead for flat-lays like salads or pizzas. For close-up detail shots, use a shallow depth of field to isolate the dish and create appetizing bokeh.
"A photograph is worth 1,000 words, but food photos truly capture what words can’t"
Source: DoorDash
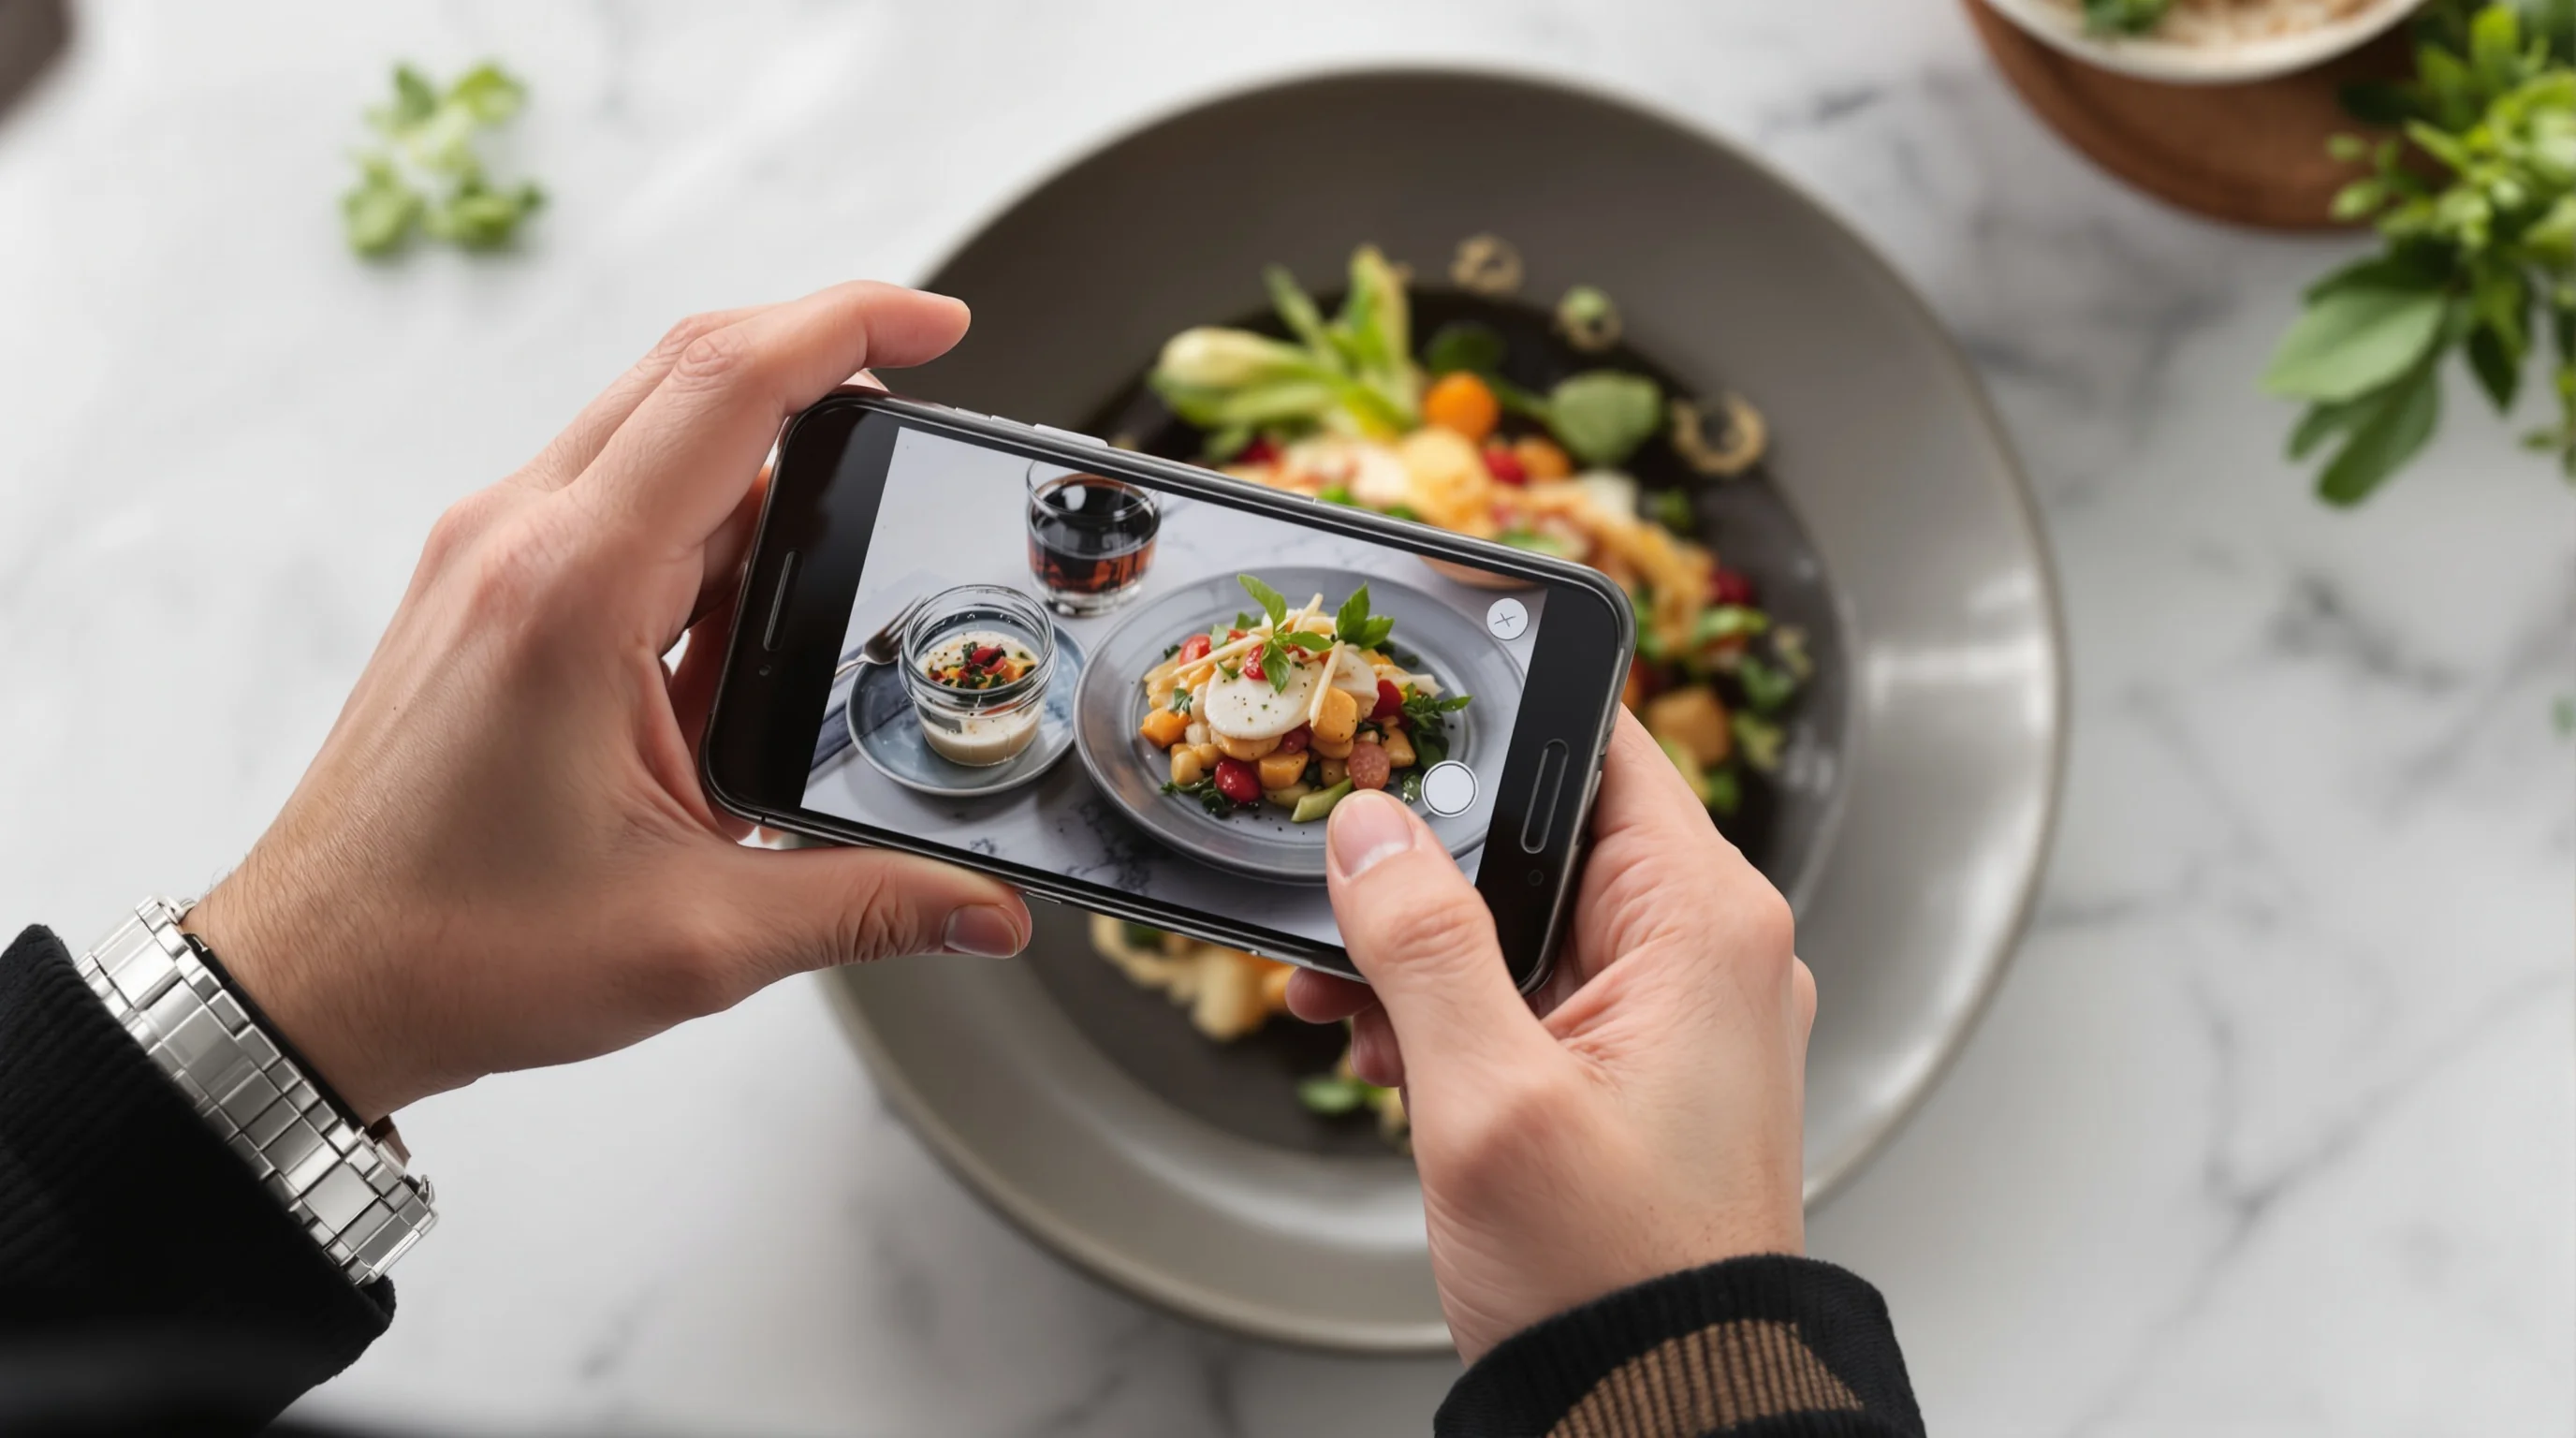
When shooting with a smartphone, stabilize the camera with a small tripod and use the phone’s exposure lock. If you need a clean background and consistent colors for a full menu, a simple backdrop board and one window light provide surprisingly professional results. Read our guide on Food Photography Tips for Beginners for step-by-step camera and smartphone tips.
Should I hire a photographer or use a smartphone for DoorDash menu photos?
Both options work—choose based on budget, speed and volume. A professional shoot gives polished, consistent brand imagery but costs more and takes planning. Smartphone workflows are fast, flexible and ideal for frequent menu updates. Many restaurants combine both: a handful of hero shots by a pro for flagship items, and smartphone plus AI editing for daily specials and new dishes.
If cost and time are constraints, consider AI tools that upgrade phone shots to studio-grade images. YummyPic’s AI transforms quick smartphone photos into high-quality 16:9 images in seconds, giving the speed and cost-effectiveness of phone photography with the polish of a studio session. Many merchants report order lifts after switching to improved images, making the hybrid approach effective for DoorDash Menu Photos: How to Stand Out and Boost Orders.
Simple step-by-step smartphone workflow (DIY)
A repeatable workflow saves time and produces consistent results. Follow these steps each time you photograph an item for DoorDash.
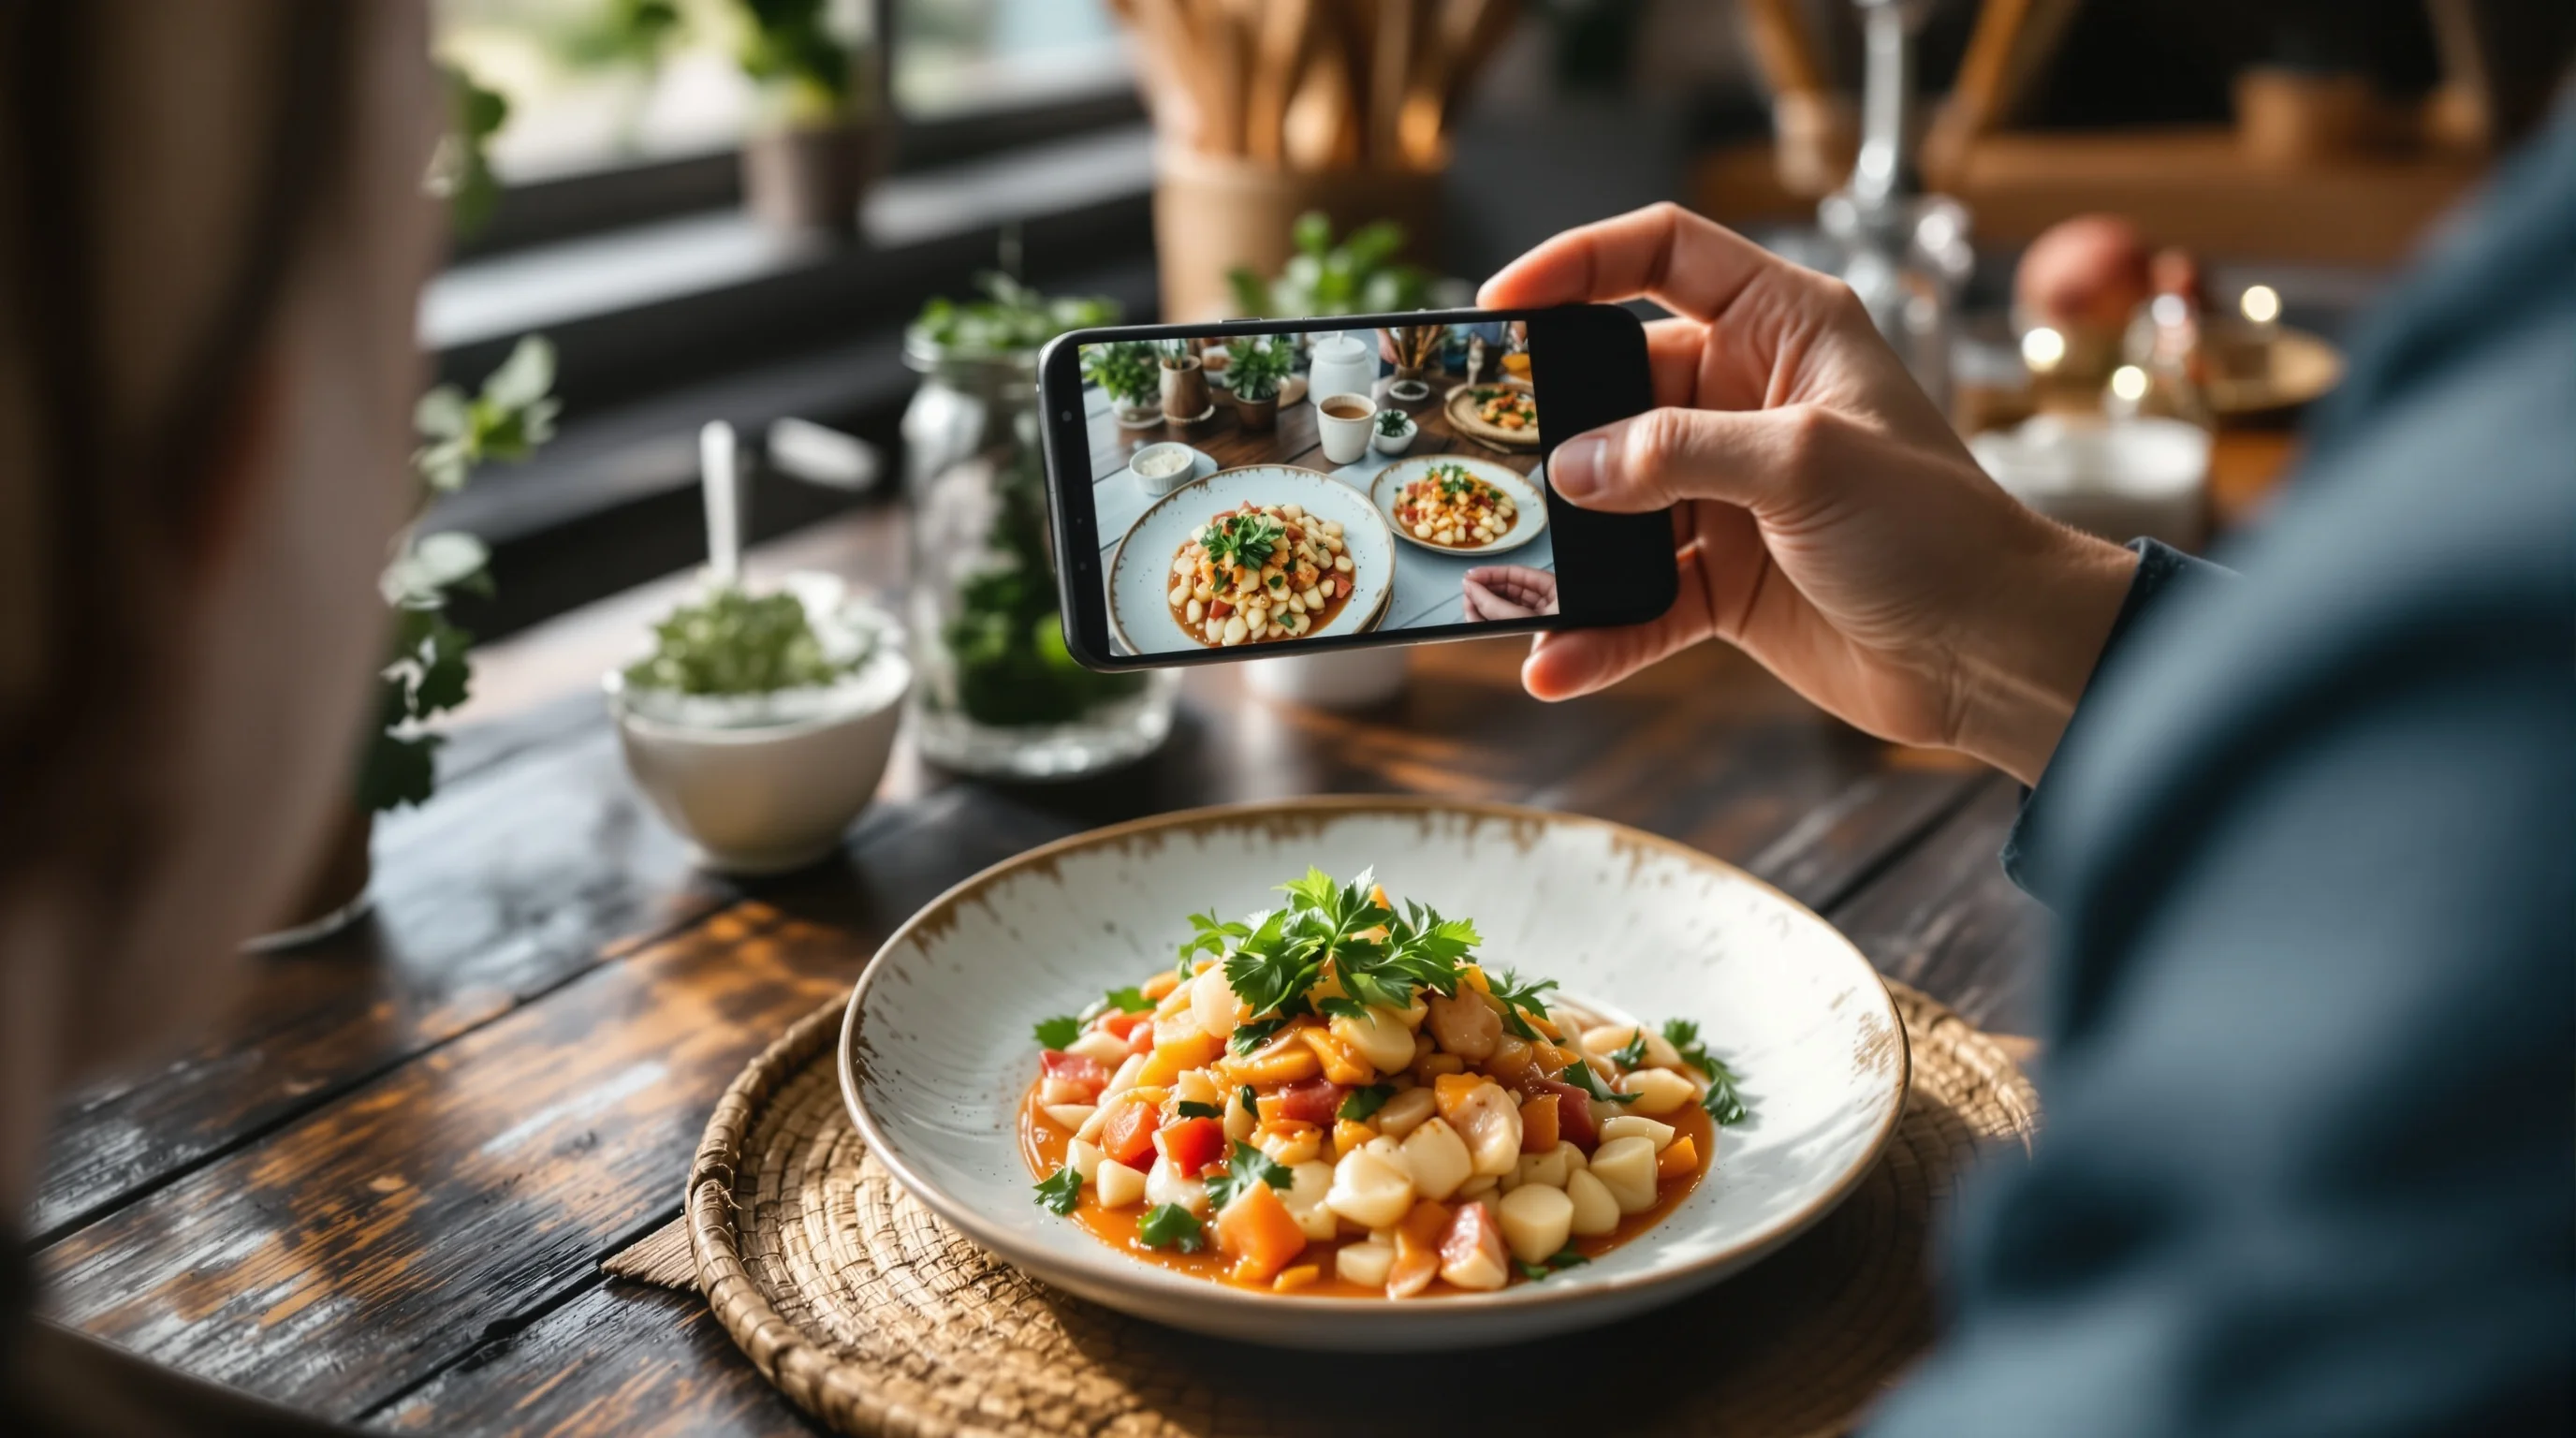
- Prep: Plate the dish as served; remove distractions and wipe the rim.
- Light: Position near a large window; diffuse harsh sun with parchment or translucent paper.
- Angle: Choose 45° for bowls and plated mains, overhead for flat-lays and shared plates.
- Stabilize: Use a small tripod or steady surface; enable gridlines and exposure lock.
- Capture: Take multiple shots, both wider and tighter crops; include one hero angle.
- Edit: Crop to app-friendly aspect ratios, adjust exposure/white balance and sharpen.
- Optimize: Use an AI tool like YummyPic to produce a 16:9, platform-ready image instantly.
This method supports fast menu updates and seasonal item photography. For more advanced styling techniques, explore our article on food photography props and How to Photograph Burgers Like a Pro.
Editing, formats and DoorDash image guidelines
DoorDash generally prefers clear, high-resolution landscape or neutral-crop images and enforces file-type and size requirements in the Merchant Portal. To avoid rejections, provide clean files: high-resolution JPEG or PNG, correct orientation, and an accurate representation of the dish. Many merchants use a 16:9 crop for optimal display across mobile and desktop. If you’re unsure, use automated resizing tools that preserve composition and meet recommended aspect ratios.
YummyPic specifically optimizes for delivery platforms by producing studio-quality 16:9 images that match common platform crops and file standards. This solves the frequent pain point of low-quality or incorrectly formatted photos that lead to lost sales.
DoorDash upload tips and rejection troubleshooting
If DoorDash rejects an image, the typical causes are incorrect orientation, excessive file size, or images that misrepresent menu items. Keep a submission checklist: confirm aspect ratio, validate resolution, and ensure the dish in the photo matches the menu description. If DoorDash flags an image, review the Merchant Portal’s feedback and re-upload using the corrected crop. For recurring issues, document your successful photo settings and share them with staff to standardize uploads.
When in doubt, reprocess the photo through an AI tool that enforces door-friendly framing and file types automatically. This reduces manual rejections and saves staff time.
Real-world examples: small wins and measurable lifts
Concrete before/after examples illustrate the ROI of menu photography. Several YummyPic case studies show restaurants lifting orders by about 30% after replacing low-quality images with AI-enhanced, platform-optimized photos. DoorDash reports merchants saw as much as a 44% lift in monthly sales with item photos, and Flavor365 notes item sales can improve by 20–40% with professional imagery. Even a single well-shot hero image can boost visibility and conversions for that menu item.
Use A/B testing on DoorDash: swap the image for one item during a low-risk window and track views, click-through rate and item sales. Document results to build an internal playbook that guides when to invest in pro shoots versus AI-assisted phone pictures.
How AI and tools accelerate DoorDash menu photo production
"AI should make life easier for restaurants... We're excited to help drive more orders, save time, and support continued growth for our restaurant partners." This view from a DoorDash product leader highlights how AI fits restaurant workflows. AI tools can fix lighting, remove cluttered backgrounds, and generate multiple stylistic versions for testing. That means restaurants can publish fresh photos for daily specials, limited-time offers and seasonal menus without scheduling a photographer.
YummyPic is the AI food photography platform built for this need. It transforms casual phone shots into professional, restaurant-quality images in seconds, offering speed, cost-effectiveness and multiple styles. Benefits include instant 16:9 output for DoorDash, fewer rejections, and the ability to create consistent visuals across DoorDash, Grubhub and Uber Eats. If you want rapid results, YummyPic helps implement the core promise of DoorDash Menu Photos: How to Stand Out and Boost Orders.
- Speed: professional photos in seconds
- Cost-effective: fraction of a photographer’s fee
- Multiple styles: bright, moody, overhead, close-up
- Platform-ready: optimized for DoorDash, Grubhub and Uber Eats
Practical checklist for launching better DoorDash menu photos
Use this checklist to standardize your DoorDash photography process: document preferred crops and angles for each category, create a simple plating standard, schedule weekly or biweekly photo updates for specials, and assign one staff member to manage uploads. Include a workflow for rapid edits using smartphone apps and an AI tool for fast, consistent results. This enables small teams to maintain high-quality images without disrupting service.
For camera gear questions or choosing the right lens, see our guides on Best Camera for Food Photography and What Lens for Food Photography.
Conclusion
DoorDash Menu Photos: How to Stand Out and Boost Orders is a practical blueprint: strong photos convert, modest investments produce measurable returns, and modern tools make high-quality imagery accessible. Use natural light, consistent composition, and platform-aware crops. Combine pro hero shots with smartphone + AI workflows for volume and speed. Remember the data: merchants saw as much as 44% lift in monthly sales with item photos (DoorDash Merchant Blog), and adding photos often increases online menu sales by up to about 30% (Restolabs). Start small, measure results, and iterate—better DoorDash photos reliably lift clicks and orders.