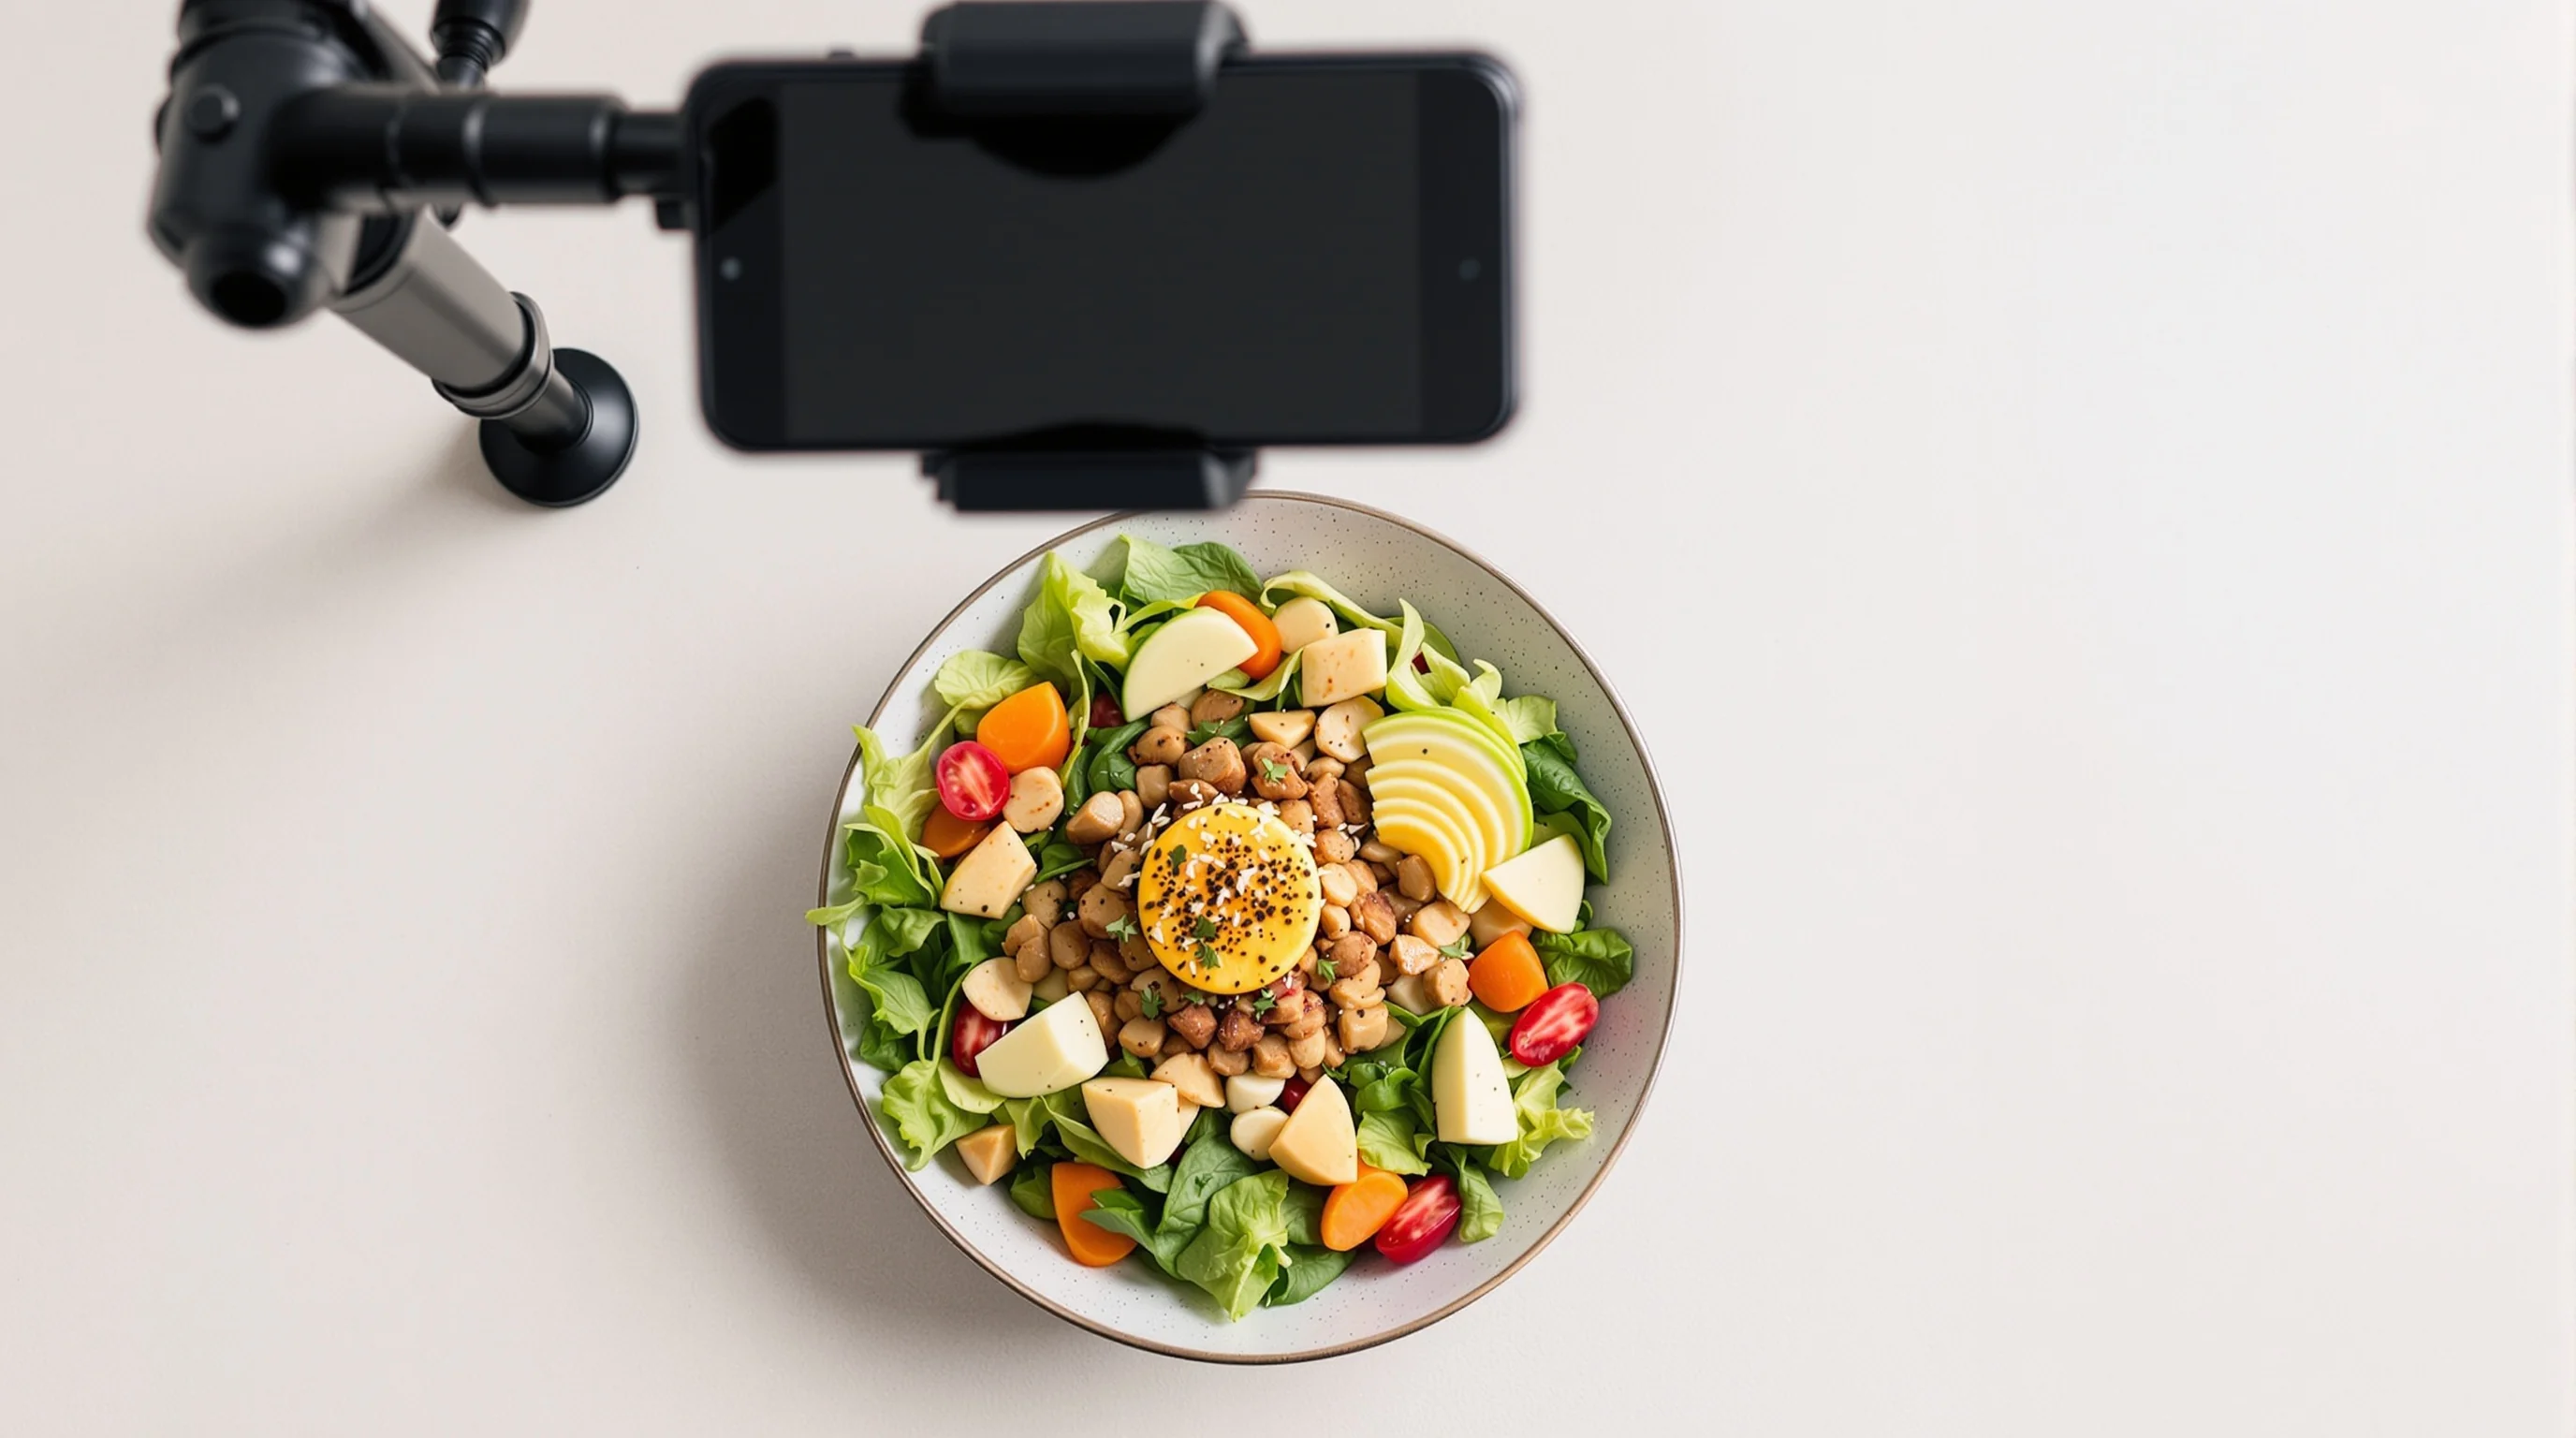
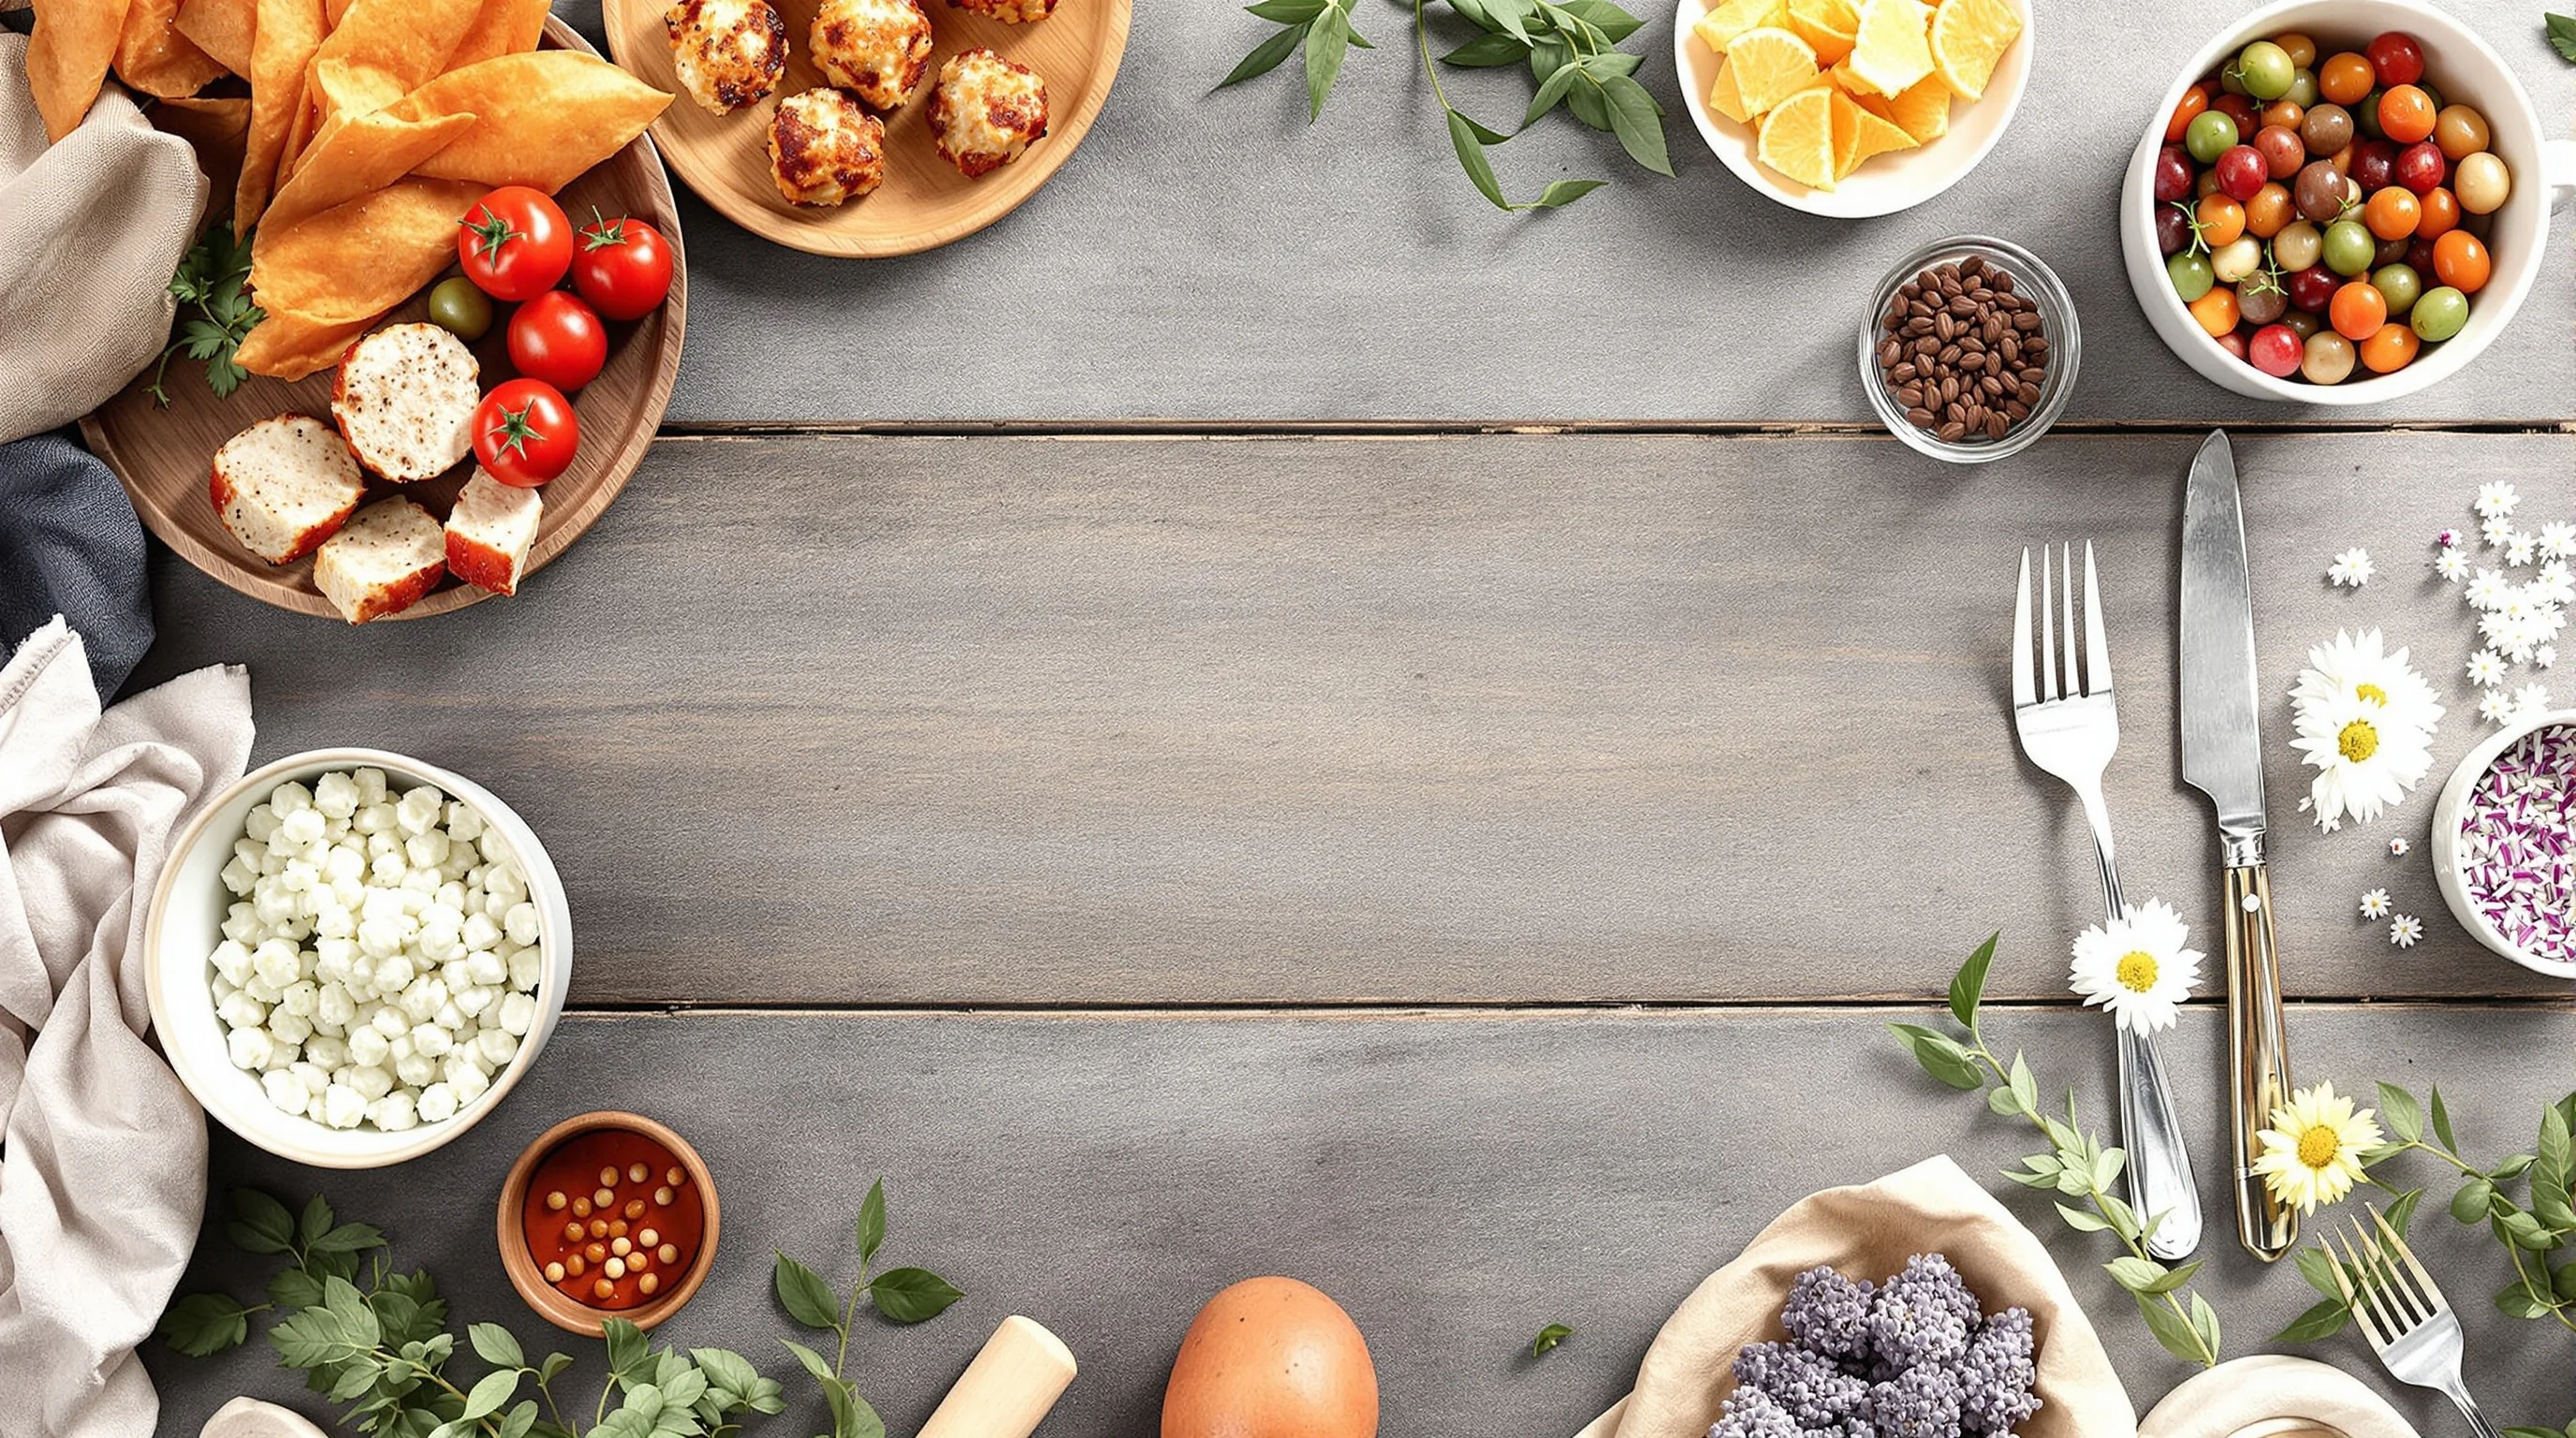
Introduction — Good food photography starts long before the shutter clicks. The right food photography props tell a story, set mood and make dishes irresistible. For restaurants, cafes and food creators a thoughtful prop kit turns an ordinary shot into a mouthwatering image that drives clicks, orders and bookings. This guide explains which props work best, how to combine them into cohesive scenes, where to buy or source affordable items, and quick styling rules you can use today.
Why props matter: sight sells food
Presentation impacts appetite. As the first-century gourmand Apicius famously said, “We eat first with our eyes,” and that still holds true for food photography (source: https://shotkit.com/food-photography-props/). Props are not decoration only — they’re visual cues that communicate cuisine, quality and portion size. Great shots with consistent props help restaurants stand out on delivery platforms and social media where food images typically get higher engagement. Research shows food and drink are a top interest for roughly 43% of Instagram users, and food images receive around 30% higher engagement than non-food images (source: https://www.soocial.com/food-photography-statistics/).
Beyond attraction, props guide the viewer. As one industry expert put it, “Props are the reliable narrator of your story,” clarifying context whether the food is casual, rustic, refined or fast-casual (source: https://greatbigphotographyworld.com/food-photography-props/). Choosing the wrong props—loud patterns or shiny surfaces—can distract from your dish. The goal: complementary, purposeful items that enhance texture, color and composition without stealing focus.
Essential prop categories every kitchen should own
Start with a small, versatile kit that covers the basics. These categories form the backbone of most food photography setups and help maintain a cohesive look across multiple dishes, platforms and seasons.
- Neutral dinnerware (matte white, cream, soft grey) — keeps the food front and center
- Wooden boards and textured backgrounds — add warmth and depth
- Cutlery and utensils (brass, matte black, worn silver) — for human scale and action
- Glassware and jars — offer transparency and shine when needed
- Linens (linen napkins, tea towels) — add texture and color accents
- Garnishes (fresh herbs, citrus wedges, spices) — create detail and freshness
- Unique vessels (small skillets, teacups, ramekins) — for signature dishes
- Background boards (marble, slate, painted MDF) — quick scene changes
What are the best props for food photography?
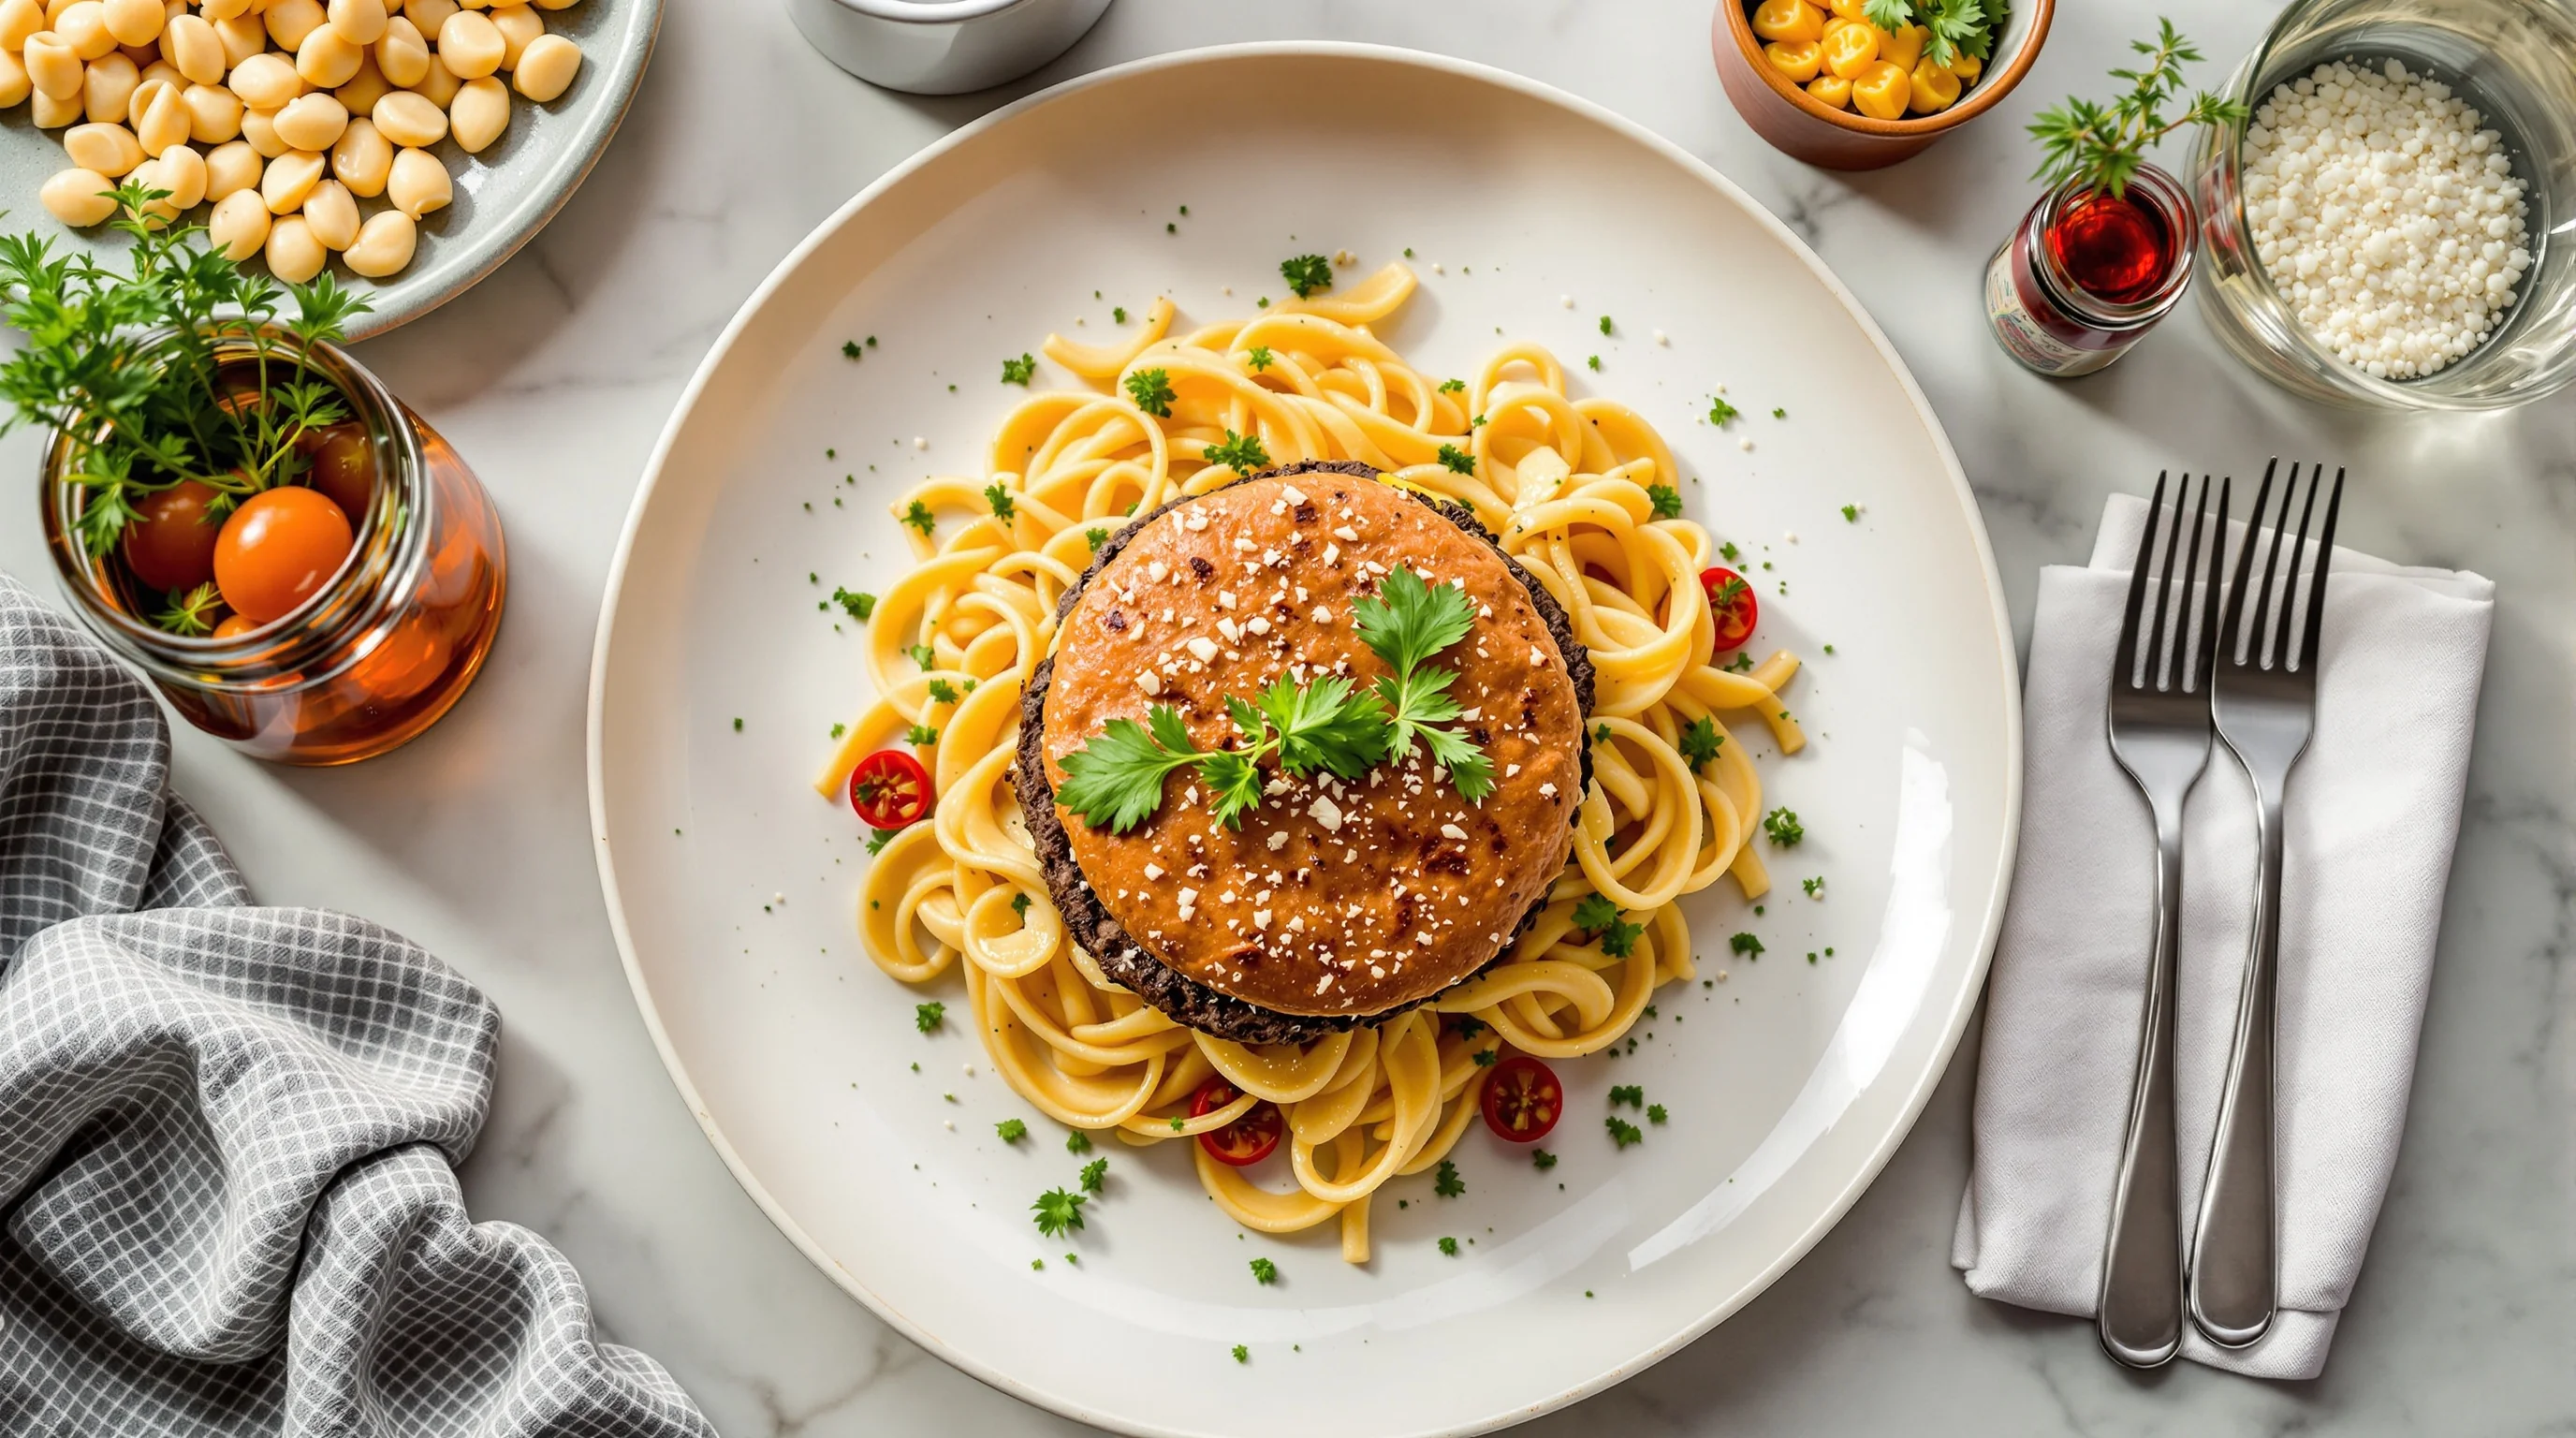
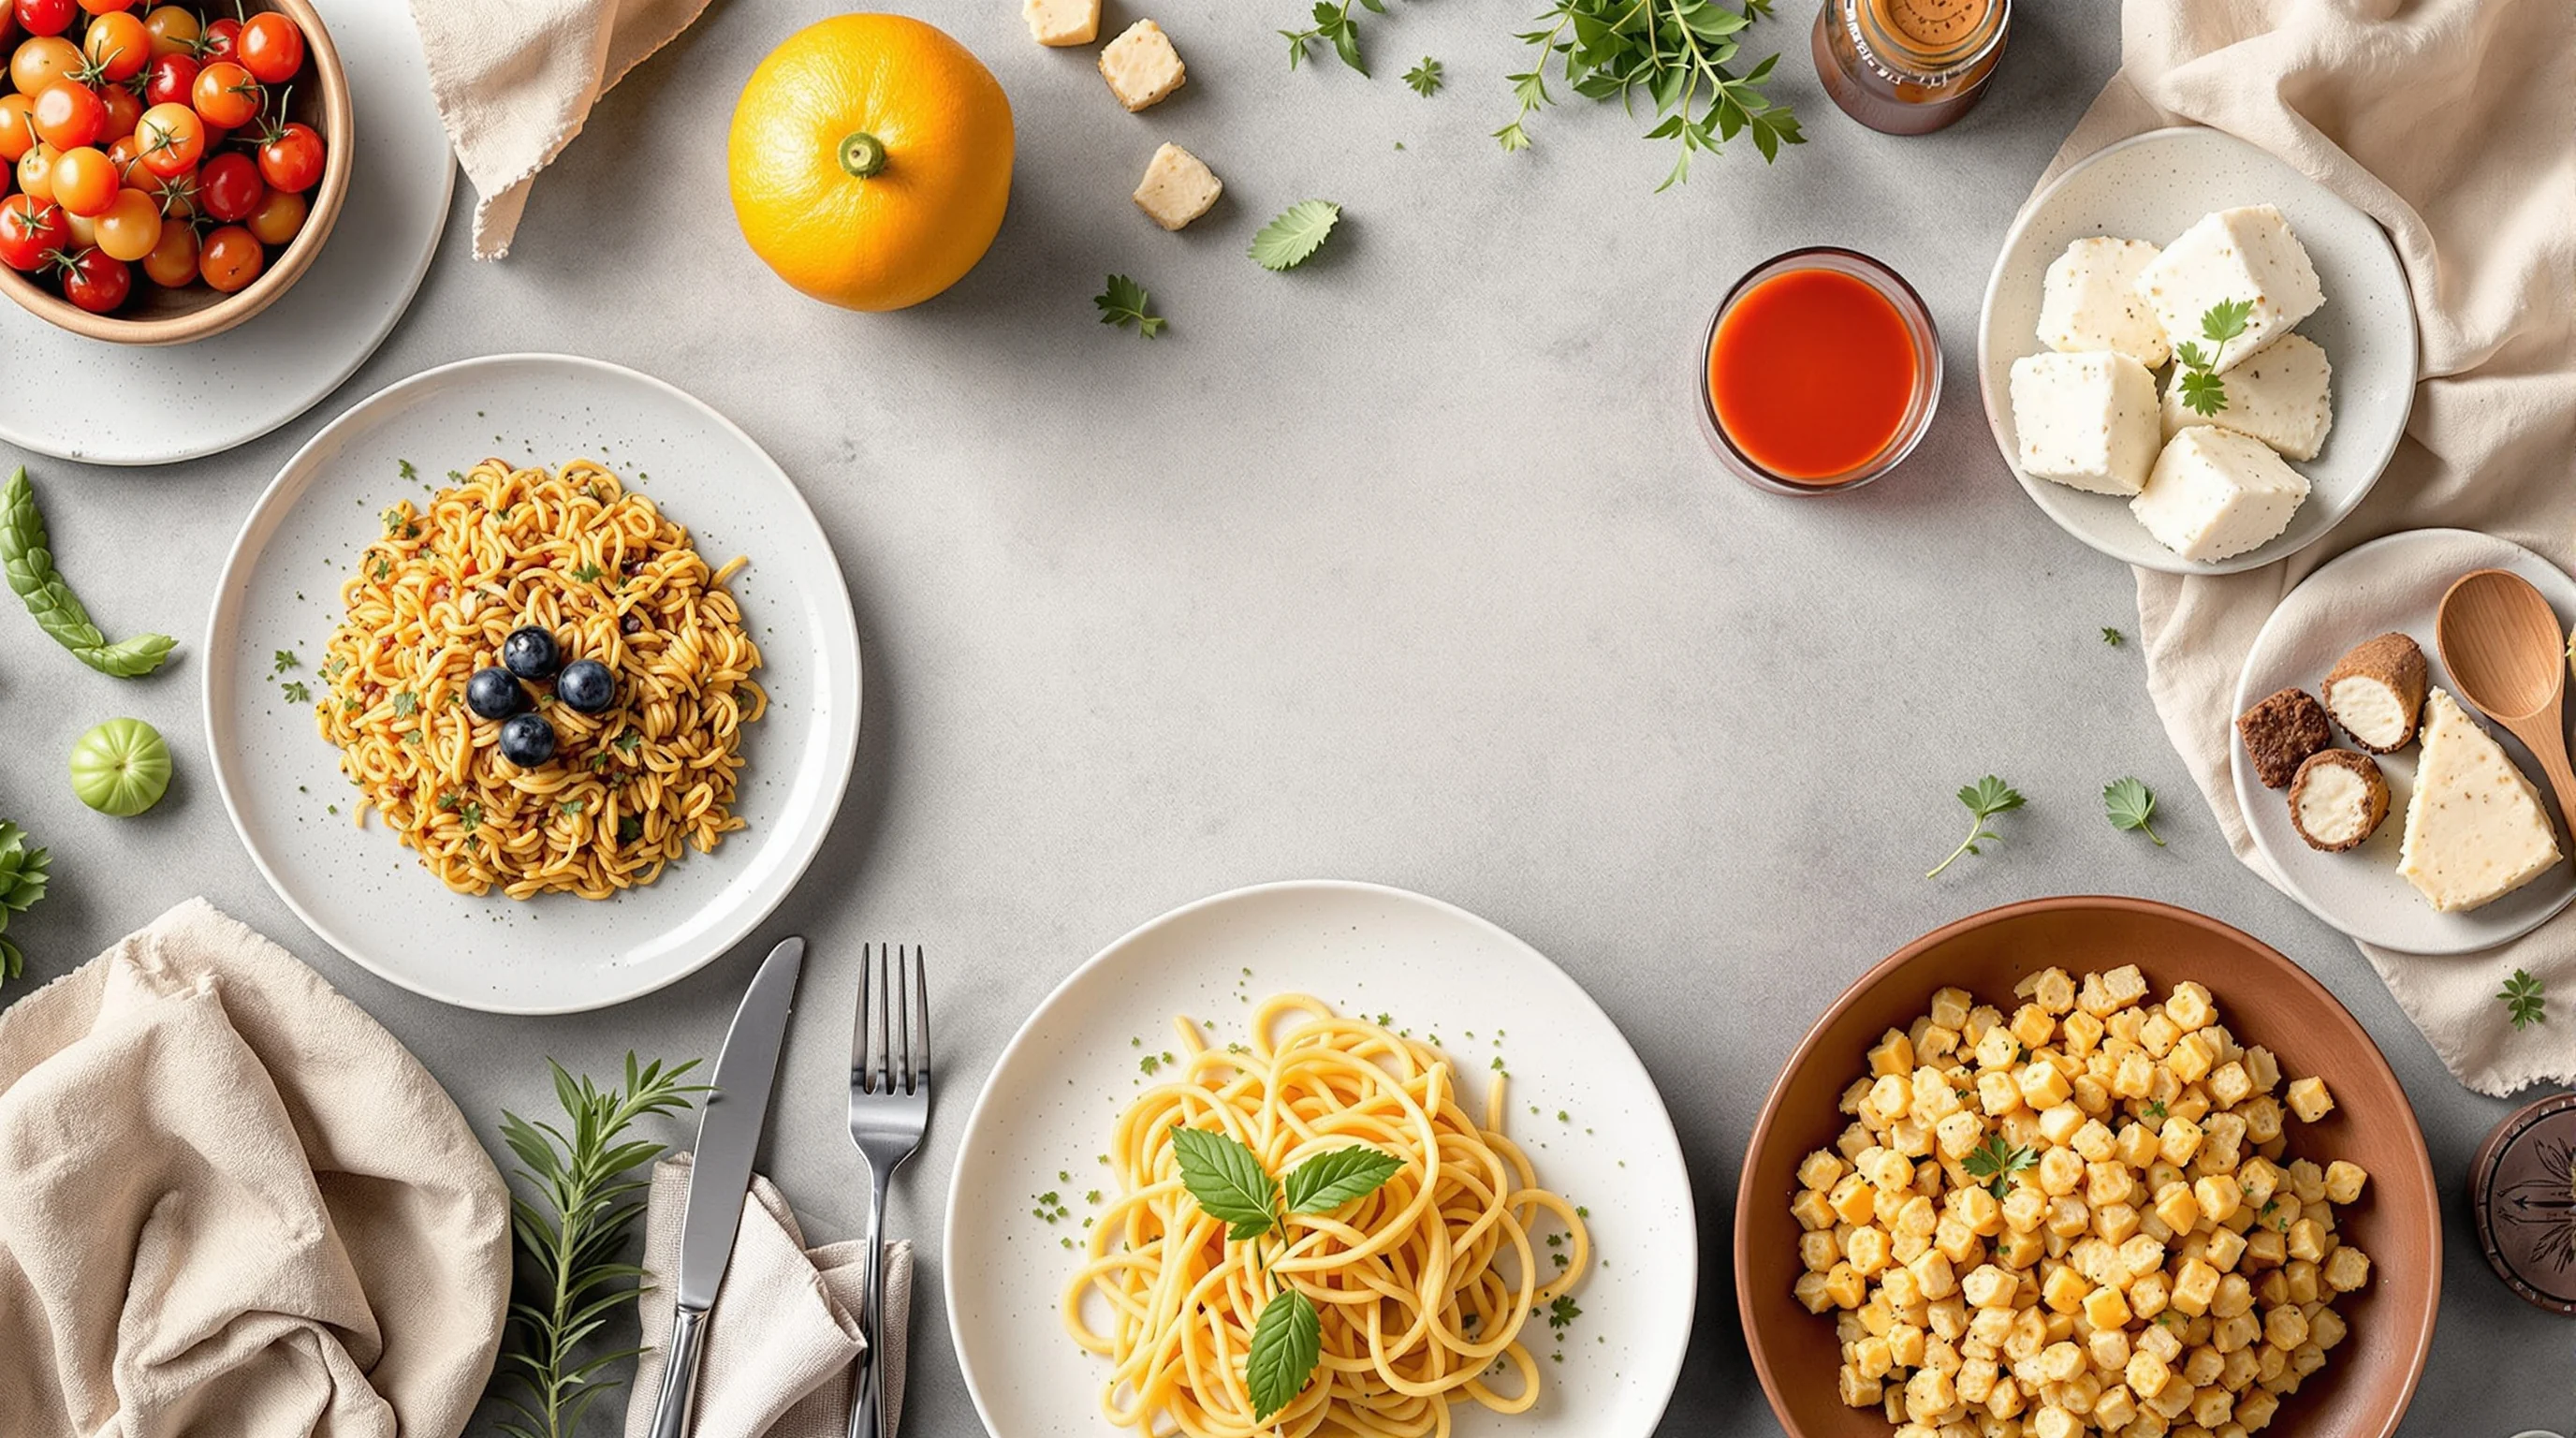
Best props depend on the cuisine and brand voice, but neutral, matte plates and simple backgrounds consistently perform well. Many experts recommend neutral dinnerware so the dish remains the focal point (source: https://www.restaurantware.ae/blogs/food-presentation/must-have-photography-props-for-food-bloggers). Matte surfaces reduce unwanted reflections; soft linens and wooden boards add texture. For bright, airy food photos choose light, natural props; for moody or rustic shots use darker boards, patinaed utensils and deep-hued ceramics.
If you serve a variety of menu items, prioritize versatility: a set of plain white plates in two sizes, one wooden board, one marble or slate board, two napkin colors and a few distinctive utensils will cover most needs. For beverages, keep simple glassware and a small carafe or jar for pours and props that show liquid texture. Use “food styling props” like small bowls of spices or herbs intentionally to guide the eye rather than crowd the frame.
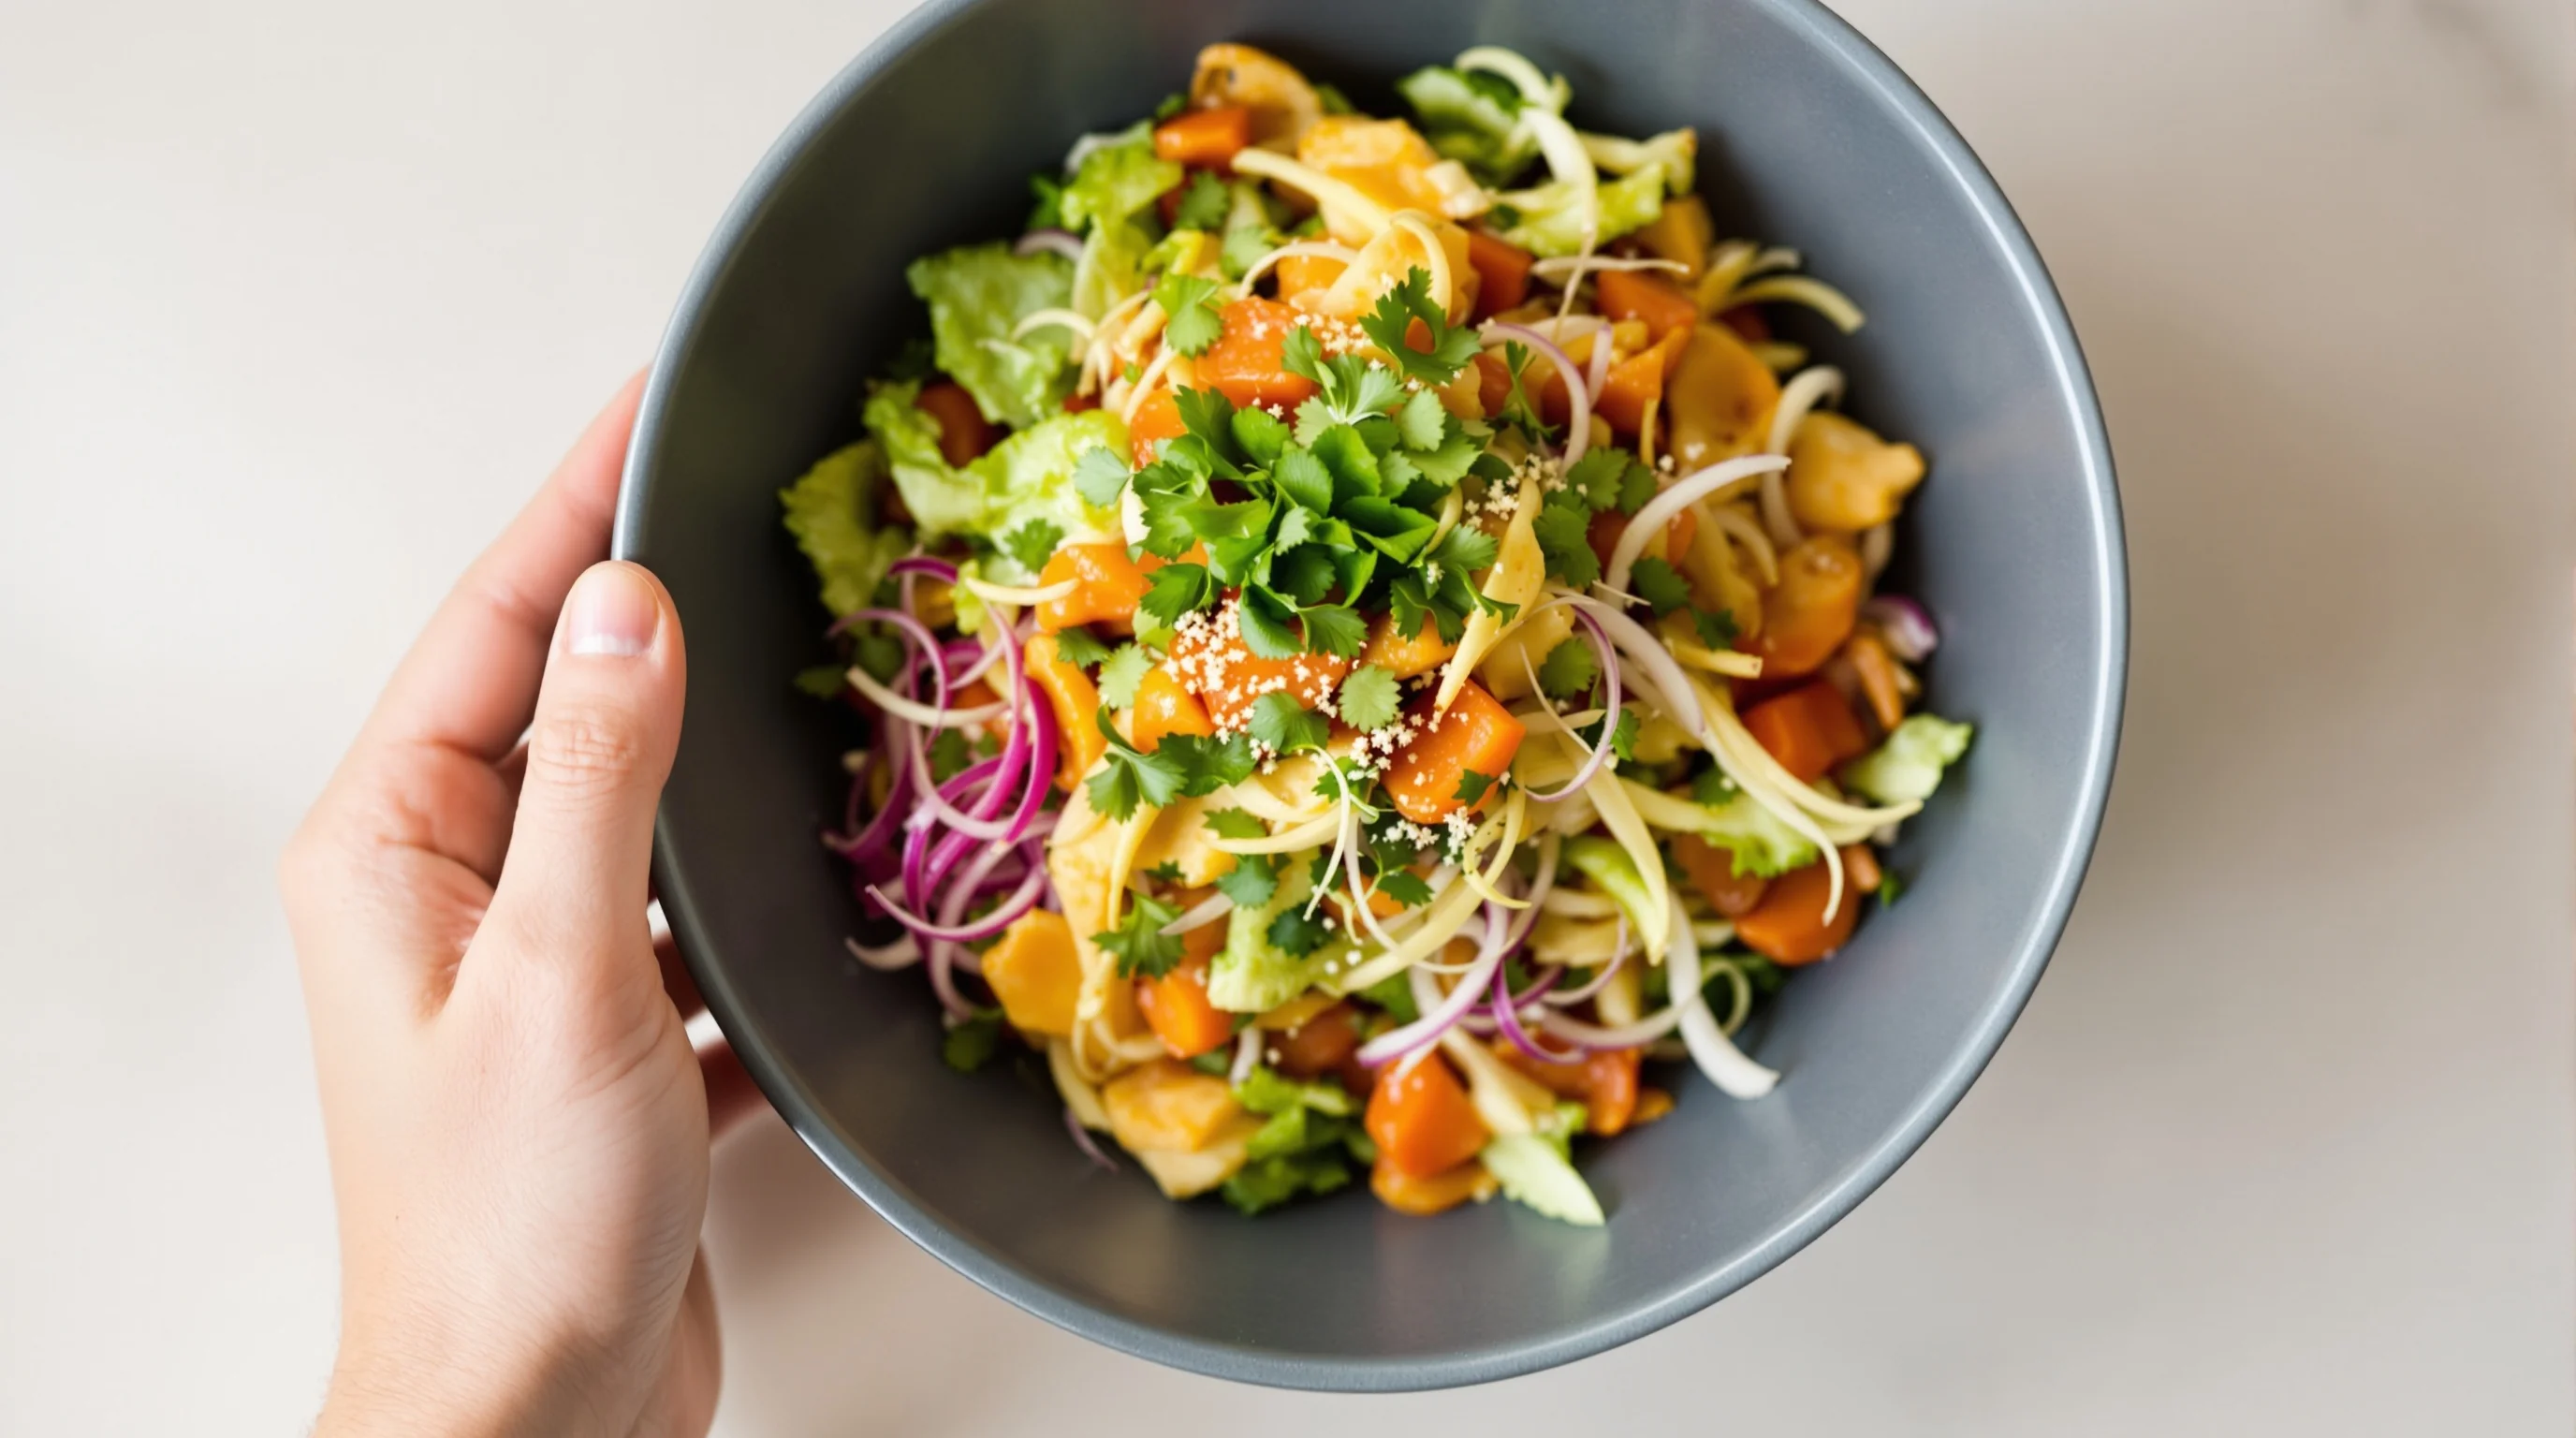
How do I choose props that won’t distract from the food?
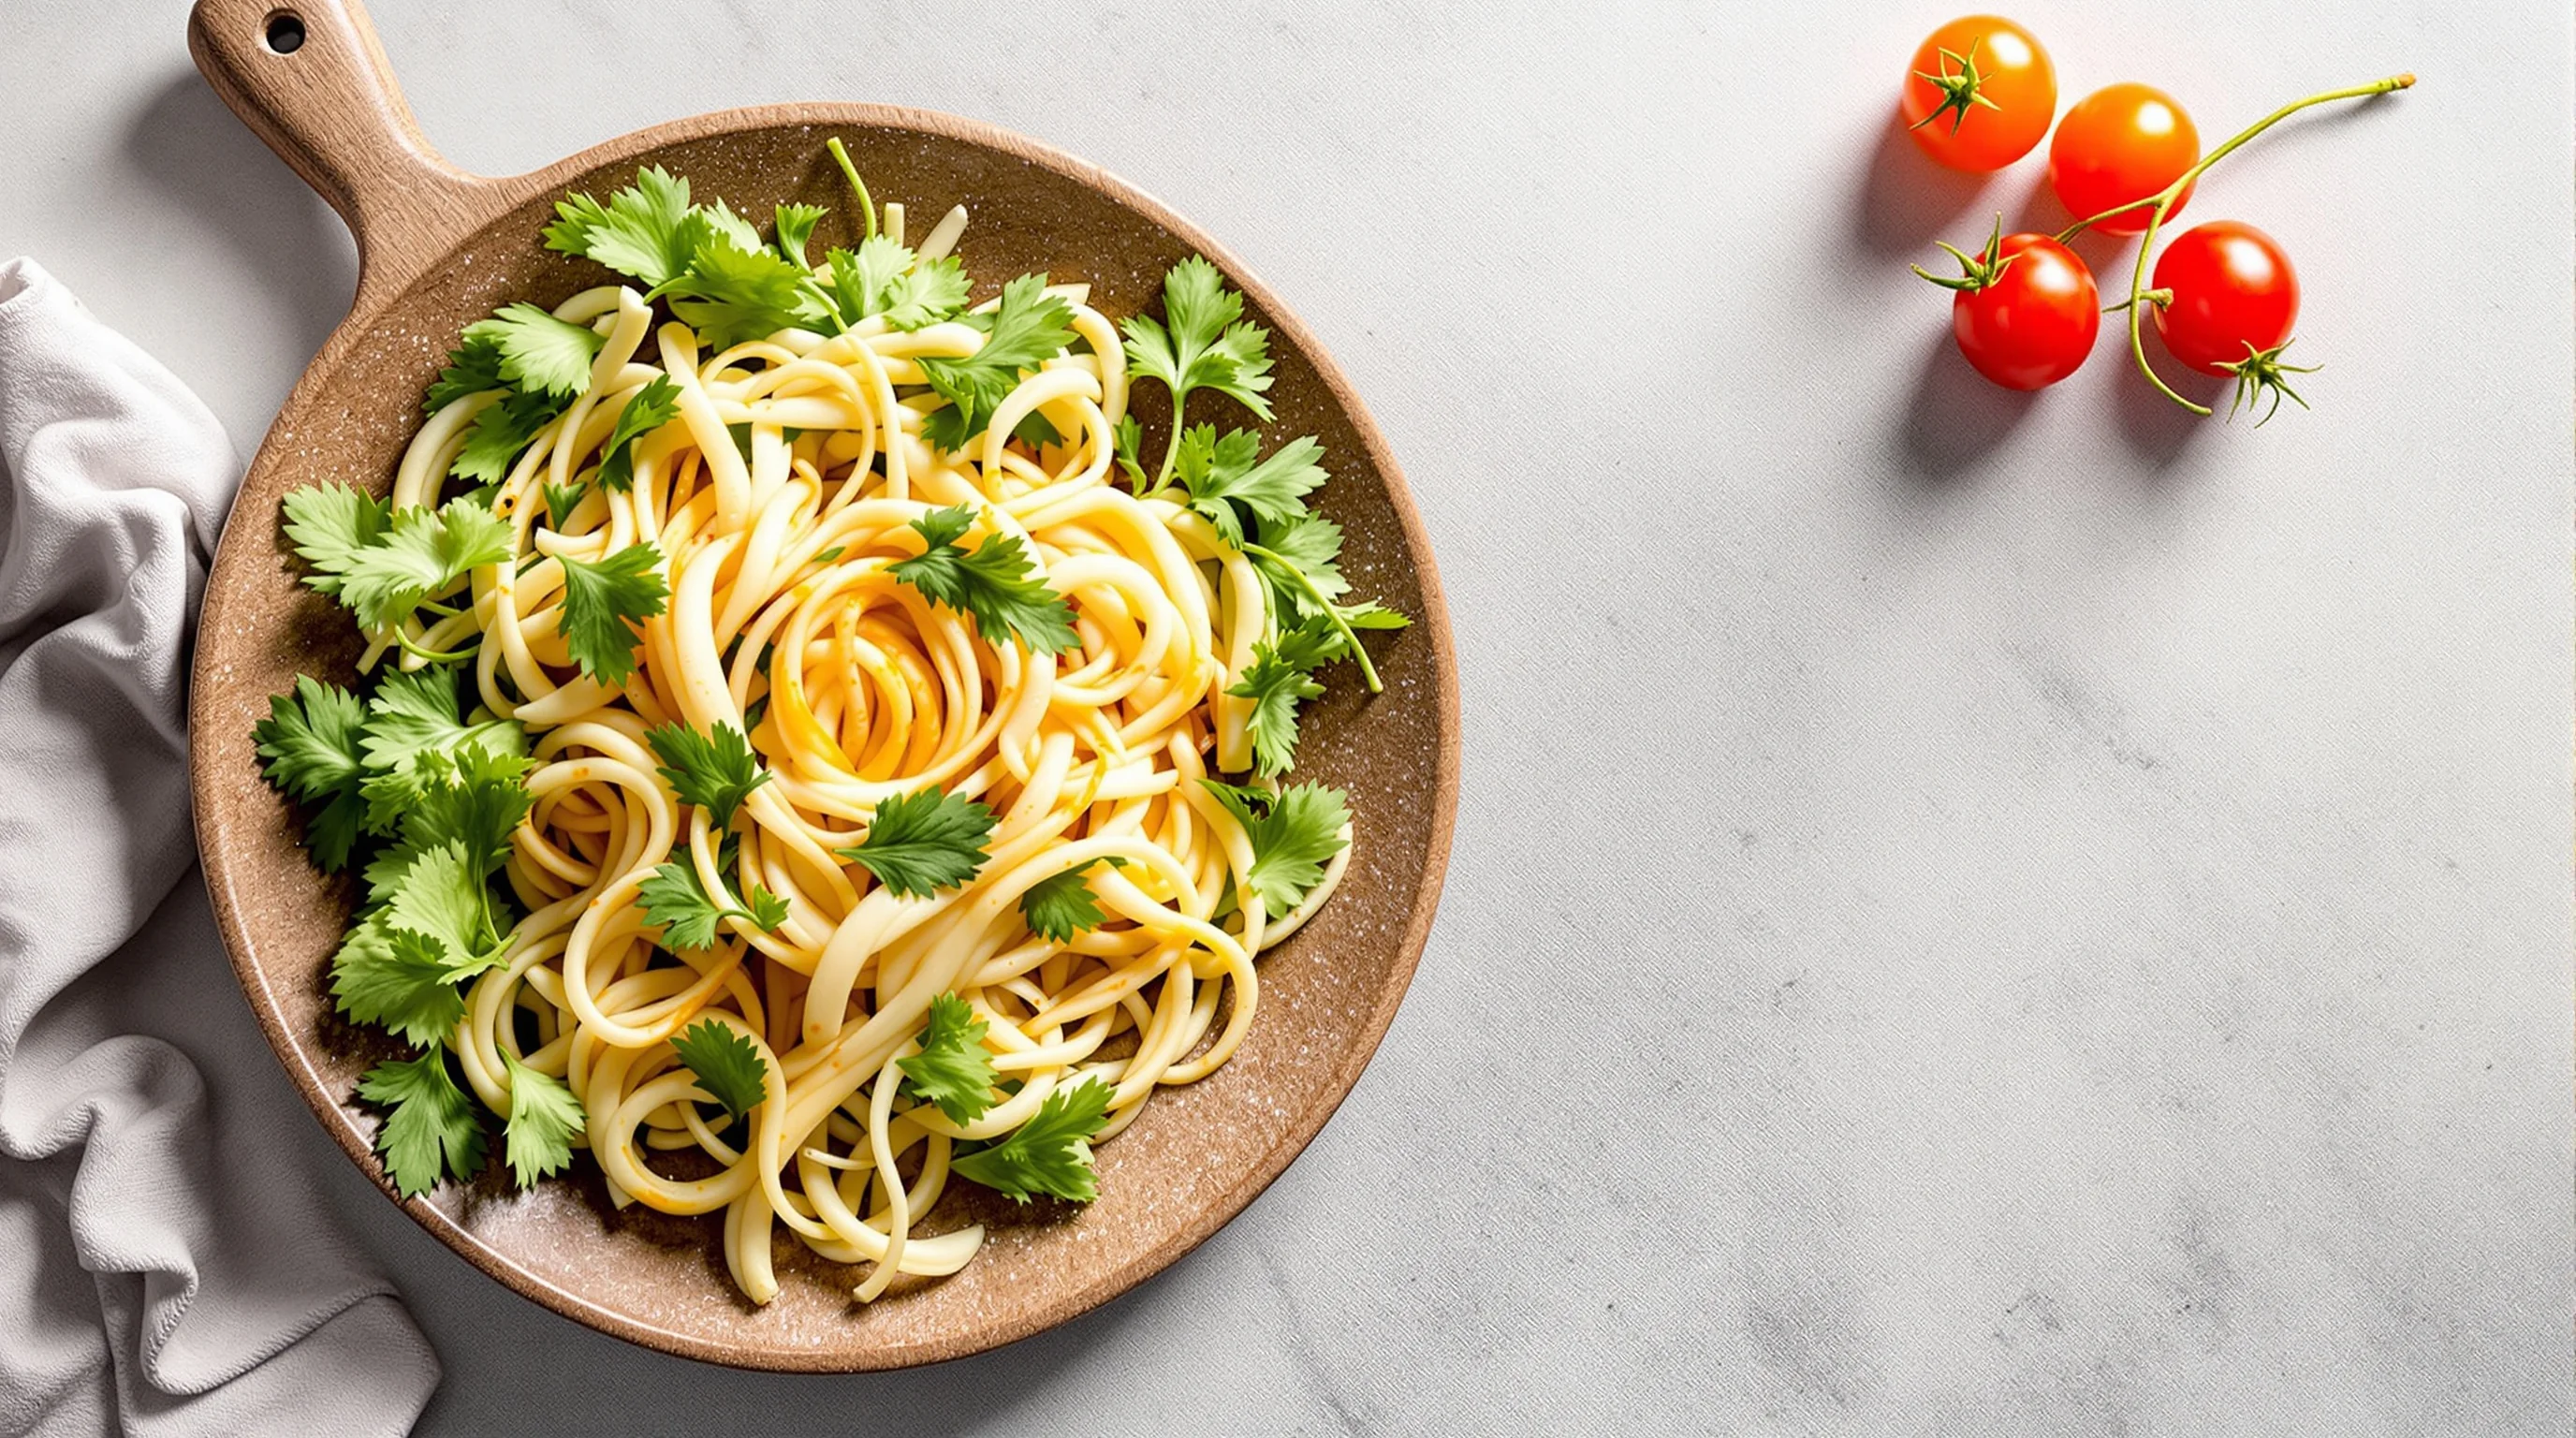
Start with the rule of thirds: one primary prop (plate or bowl), one secondary prop (background or board), and one accent (napkin, herb sprig, utensil). Keep colors harmonious — avoid patterns that clash with the food. For example, a bright berry dessert looks best on a simple light plate with a textured napkin and a wooden spoon rather than on a patterned plate that competes for attention.
“We eat first with our eyes,”
Apicius (quoted in Shotkit)
Use scale and negative space to your advantage. Leave breathing room around the dish so viewers focus on texture and color. Think in layers: background, platform, main plate, garnish, and foreground detail (crumbs, a dribble of sauce). Test shots quickly on your phone — if the prop draws the eye away from the dish, swap it for something simpler.
Styling tips for cohesive scenes and brand consistency
One of the gaps in existing guides is combining props into a consistent visual language. Create mood boards for your restaurant: choose 3–4 key colors, 2 textures (e.g., wood + linen), and 2 types of serveware (matte ceramic + clear glass). Across menus and social posts, reuse these elements to build recognizable imagery. This makes procurement and styling faster and improves brand recall on DoorDash, Grubhub and Instagram.
- Define brand mood: bright & airy, dark & moody, rustic, or minimalist.
- Select a limited palette of props that match that mood.
- Photograph the same dishes using the palette to ensure consistency.
- Store props together in labeled kits for quick shoots.
Don’t be afraid to create themed prop kits for cuisine types — think rattan placemats and bamboo for Southeast Asian, enamelware and gingham for comfort food, or slate and black cutlery for modern bistro dishes. Matching props to cuisine helps the viewer understand the food immediately and avoids mixed signals.
Budget-friendly sourcing and DIY prop ideas
Many restaurant owners worry about cost. You can assemble a professional-looking kit on a tight budget. High-quality secondhand shops, flea markets and thrift stores often yield unique plates and utensils. DIY background boards are easy: paint MDF boards with chalk paint, seal with matte varnish or use peel-and-stick laminate. Everyday household items like mason jars, cake stands, ceramic mugs and wooden spoons are excellent food photo accessories.
For sustainable choices, prioritize durable materials and local sourcing. Buying one high-quality background board and a few neutral plates is better than chasing trendy single-use props. If you prefer ready-made sets, look for curated prop kits designed for food creators — they save time and ensure cohesiveness between pieces.
Where can I buy affordable, cohesive food photography props?
Good suppliers include restaurant supply stores, homeware retailers, craft stores, and online marketplaces. For durable, photography-friendly backdrops and boards, search specialty stores that sell photography background boards and slate or marble slabs. If you need quick, consistent images without investing time into props, platforms like YummyPic can transform simple food photos into restaurant-quality images instantly — no props required.
- Thrift shops and flea markets — unique, budget-friendly finds
- Restaurantware and catering suppliers — durable, plain serveware (source: https://www.restaurantware.ae)
- Online marketplaces (Etsy, eBay) — handmade or vintage pieces
- Photography backdrop sellers — marble, slate, wood effect boards
- Local pottery makers — unique ceramics for signature dishes
When buying, choose matte finishes where possible to avoid reflections. Stick to a small set of reusable items in neutral tones, and add one or two signature pieces to express the restaurant’s personality. If cohesion and speed are priorities, consider investing in a curated prop kit or using an AI platform like YummyPic to create multiple styles without repeated shoots.
Quick setup checklist for a successful shoot
Before you shoot, run through a short checklist to avoid common mistakes and save time. Keeping a consistent routine helps kitchen staff and managers capture usable images even during busy service hours.
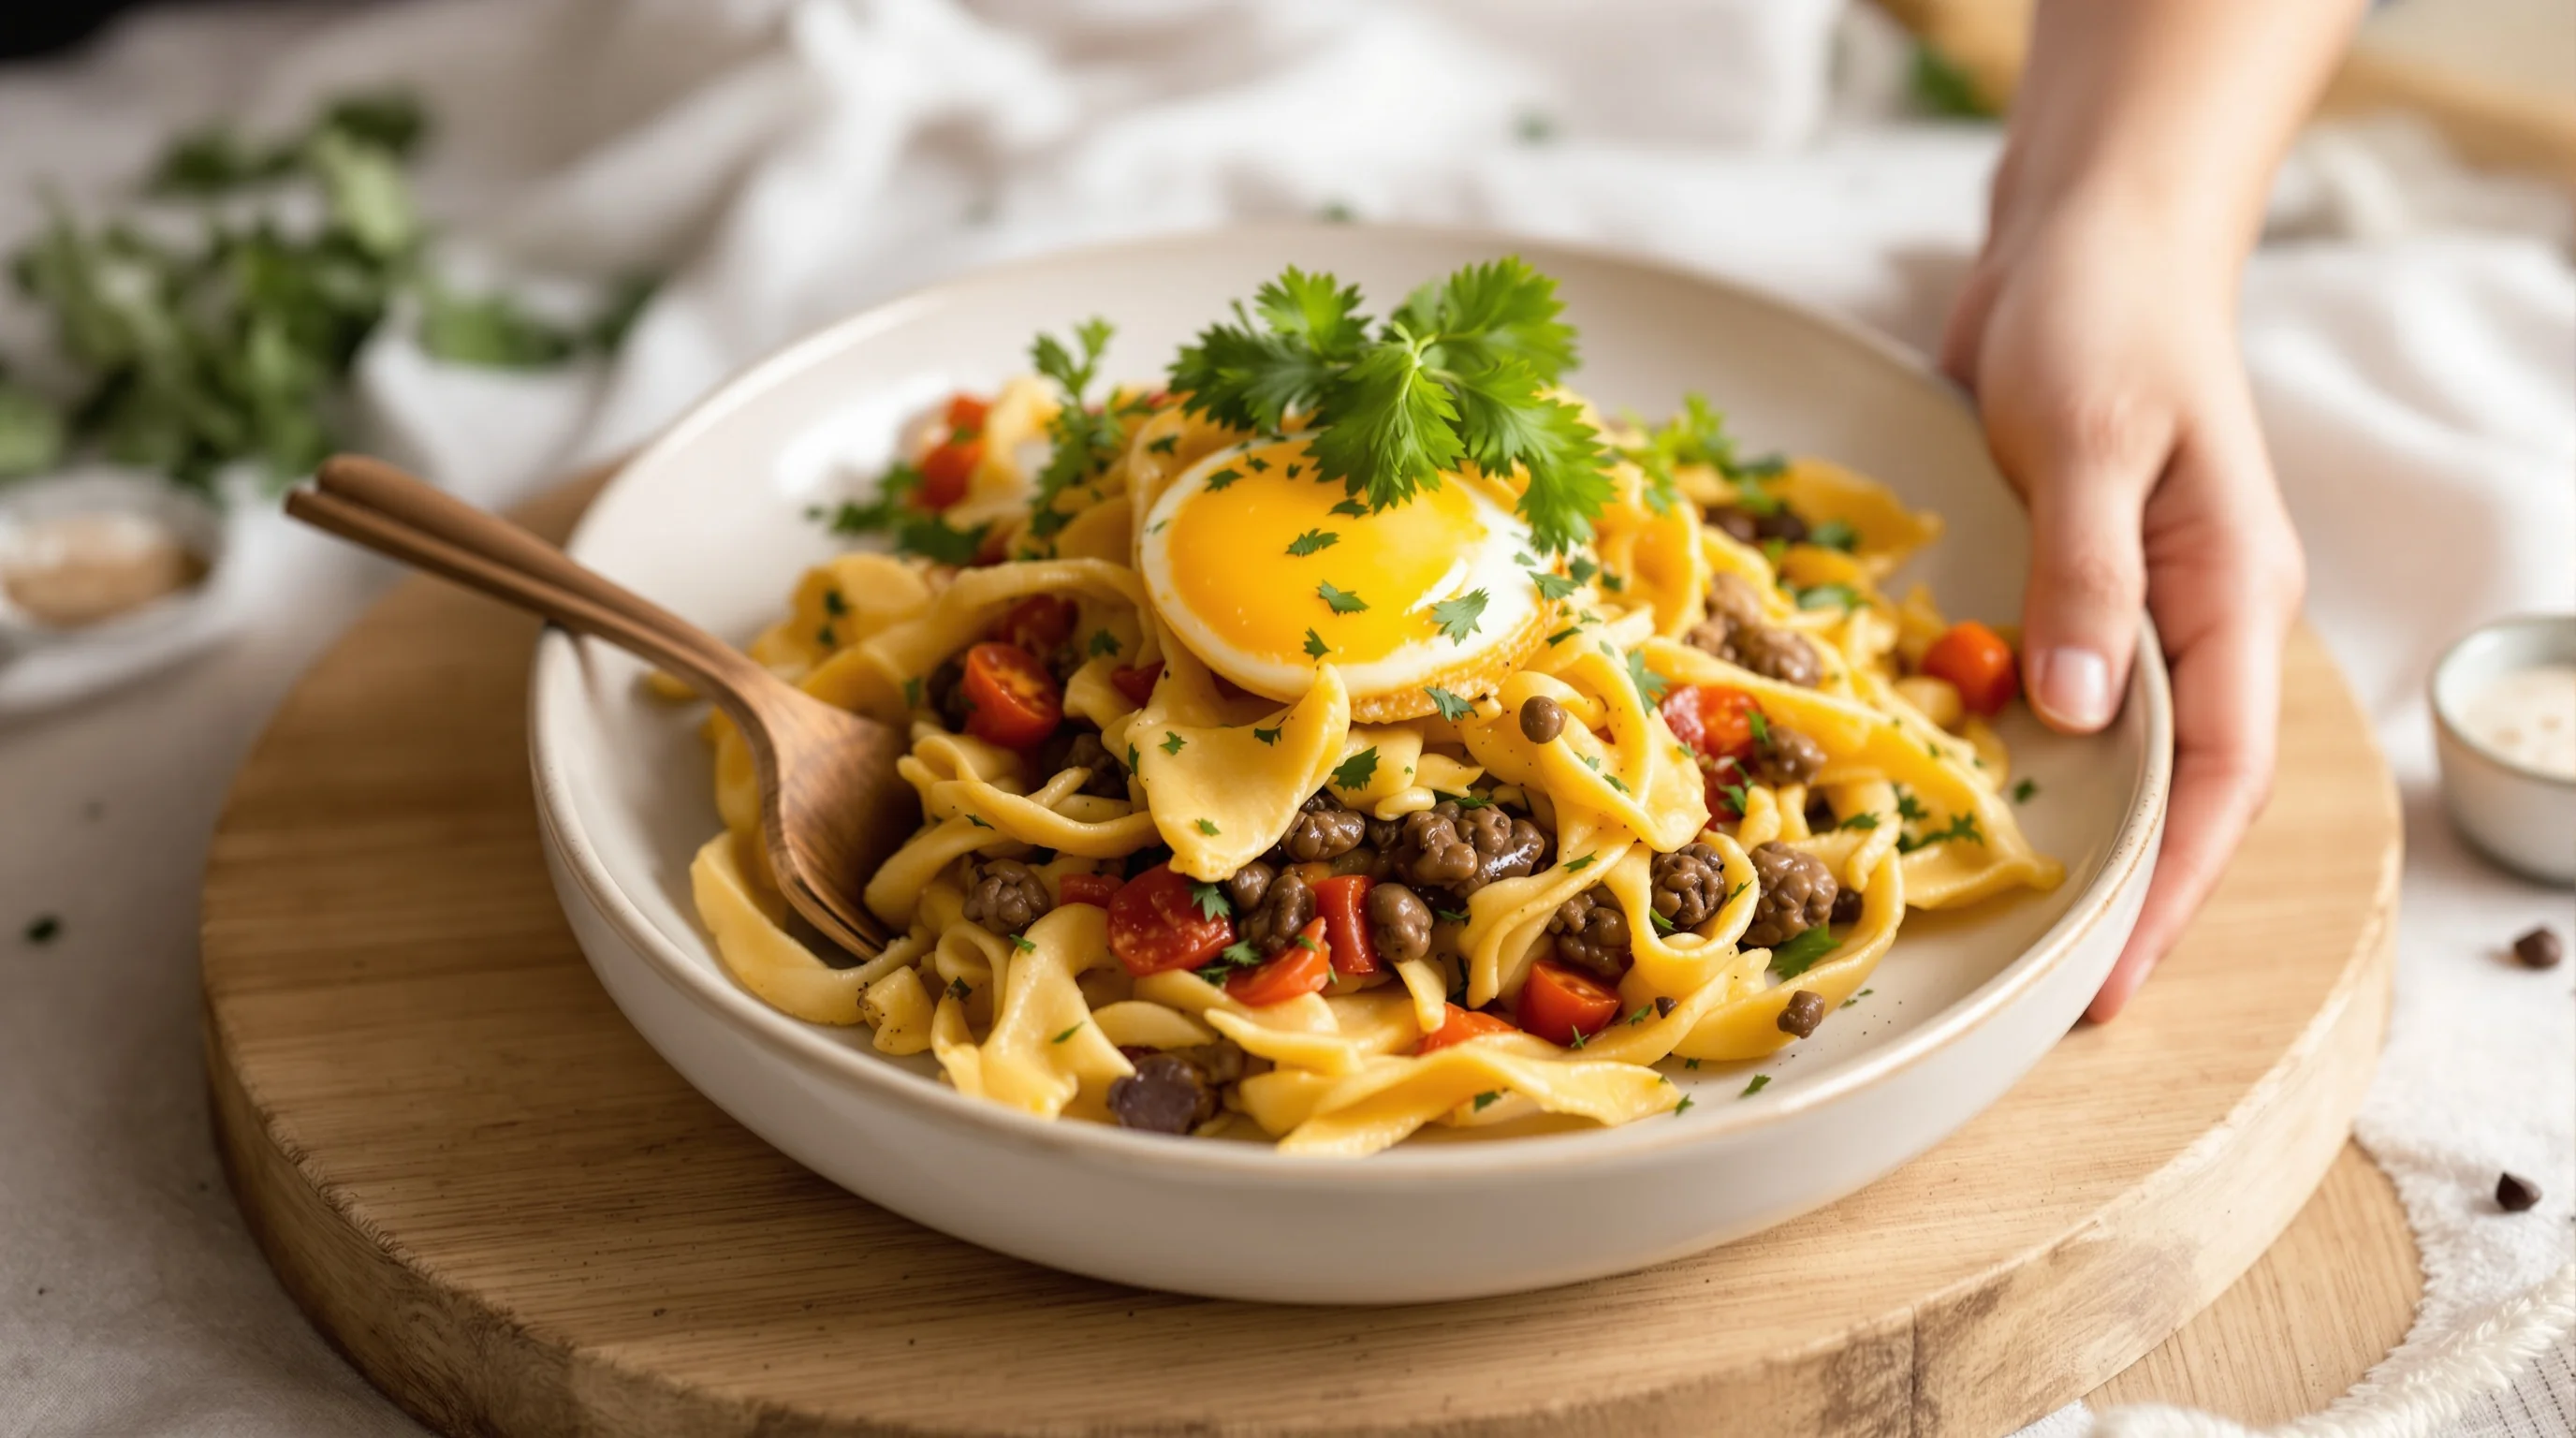
- Clean and plate the dish with final garnishes last.
- Use natural light and position dishes near a window; diffuse harsh sun.
- Choose one background and one primary plate from your kit.
- Add subtle garnishes for color and texture; avoid over-cluttering.
- Shoot multiple angles: overhead, 45-degree, and close-up.
- Review images quickly and adjust props or lighting as needed.
A short, labeled prop kit with pre-selected combinations lets staff replicate on-brand shots across locations. If you want to reduce time and equipment further, YummyPic turns a single phone photo into multiple professional images in seconds — ideal for busy restaurants that need delivery-optimized photos quickly.
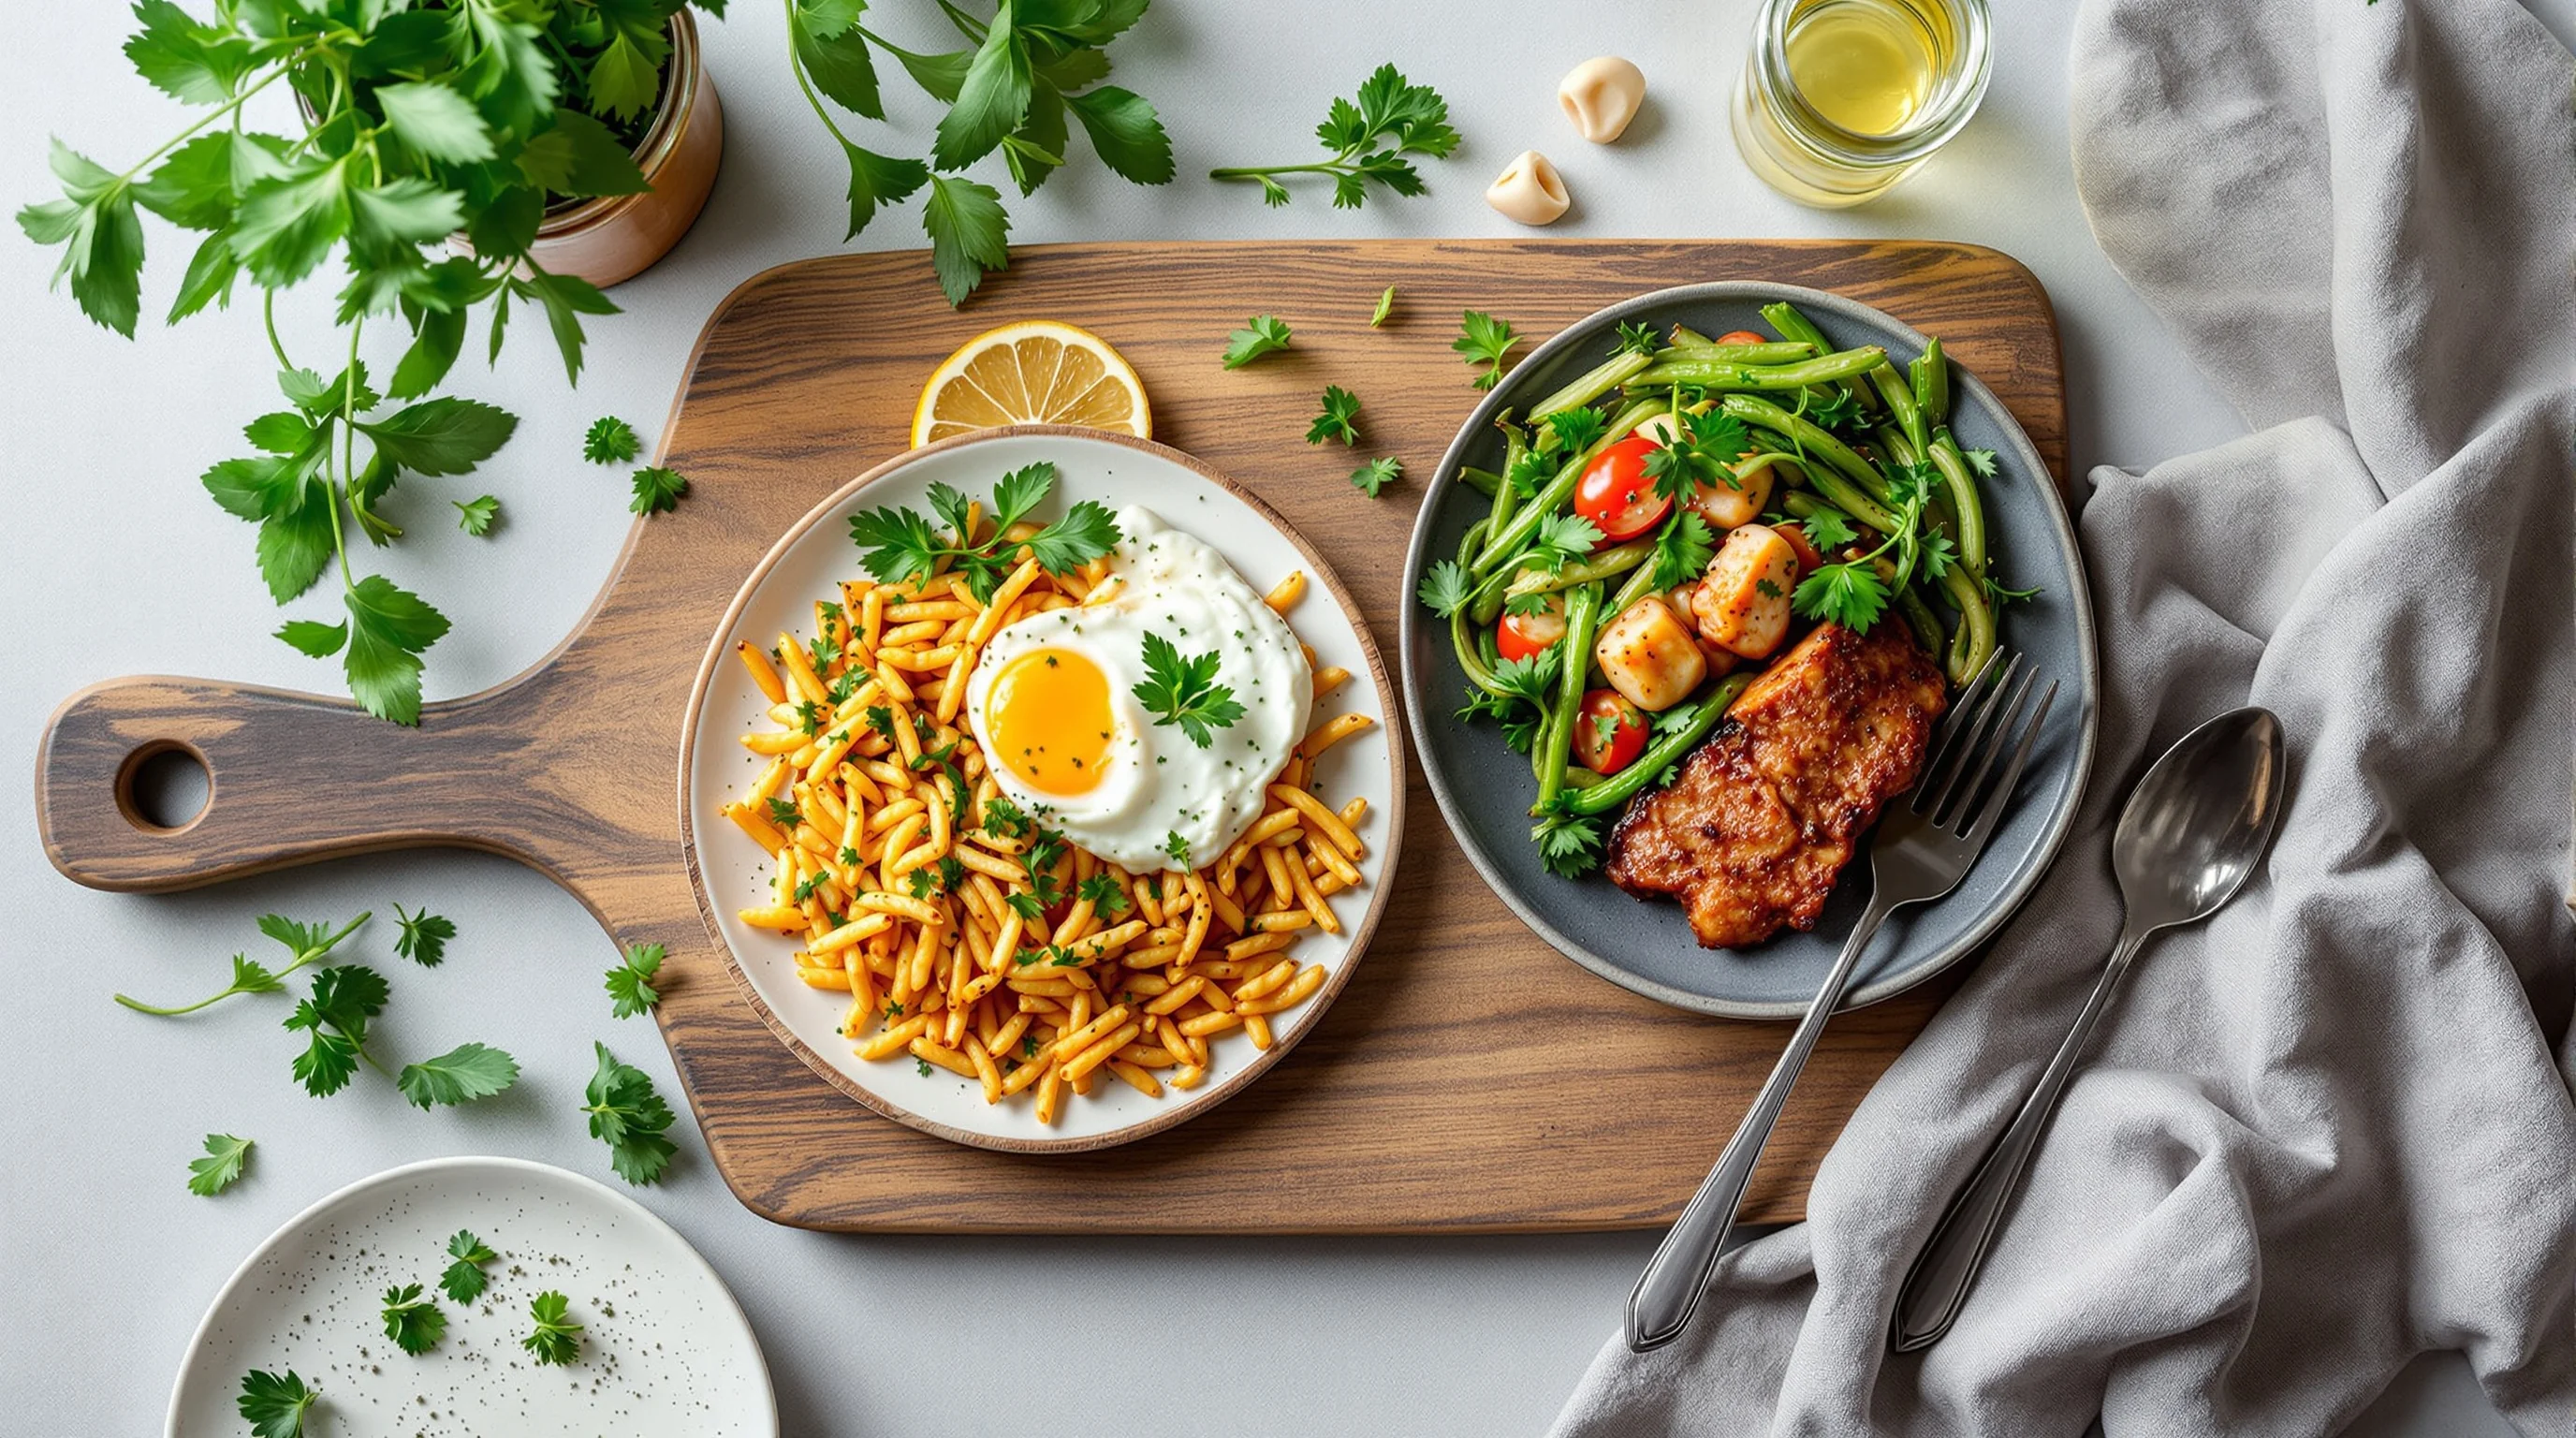
Using props to match cuisine and brand style
Match props to cuisine: rustic wood and earthenware for wood-fired pizza, delicate porcelain and linen for fine dining, or colorful ceramics and woven mats for Latin or Mediterranean menus. Brand style should guide prop selection: modern minimalism uses clean lines and monochrome palettes; comfort food leans into warm textures and familiar utensils.
Document your prop choices in a simple style guide: list approved plate types, napkin colors, background boards and garnishes. This makes it easier for new staff or franchise locations to produce consistent food photography, improving recognition across social platforms and third-party apps.
Brand integration: speed and consistency with YummyPic
For restaurants that need consistent, high-quality images without investing in a large prop library or photography team, YummyPic offers a practical alternative. Upload a simple phone photo and YummyPic’s AI generates multiple restaurant-quality styles—bright & airy, dark & moody, and delivery-optimized—instantly. This solves the pain point of wasting time and money on mismatched or low-quality props and provides a fast, cost-effective way to refresh menus and social feeds.
- Speed: Professional photos in seconds
- Cost-effective: Cheaper than hiring a photographer
- Variety: Multiple photography styles from one upload
- Convenience: No lighting, background boards, or props needed
Conclusion: build a small kit, shoot smart, or simplify with AI
Good food photography starts with thoughtful prop choices: keep dinnerware neutral, add texture with boards and linens, and use a restrained accent to steer the viewer’s eye. Fill the content gaps many guides miss by documenting cohesive prop palettes, using household items for DIY savings, and matching props to cuisine and brand. For restaurants pressed for time or budget, YummyPic provides an instant, consistent way to produce high-quality images across delivery platforms and social media. Whether you build a small, sustainable prop kit or choose AI-assisted imaging, the goal is the same: make food look irresistible.