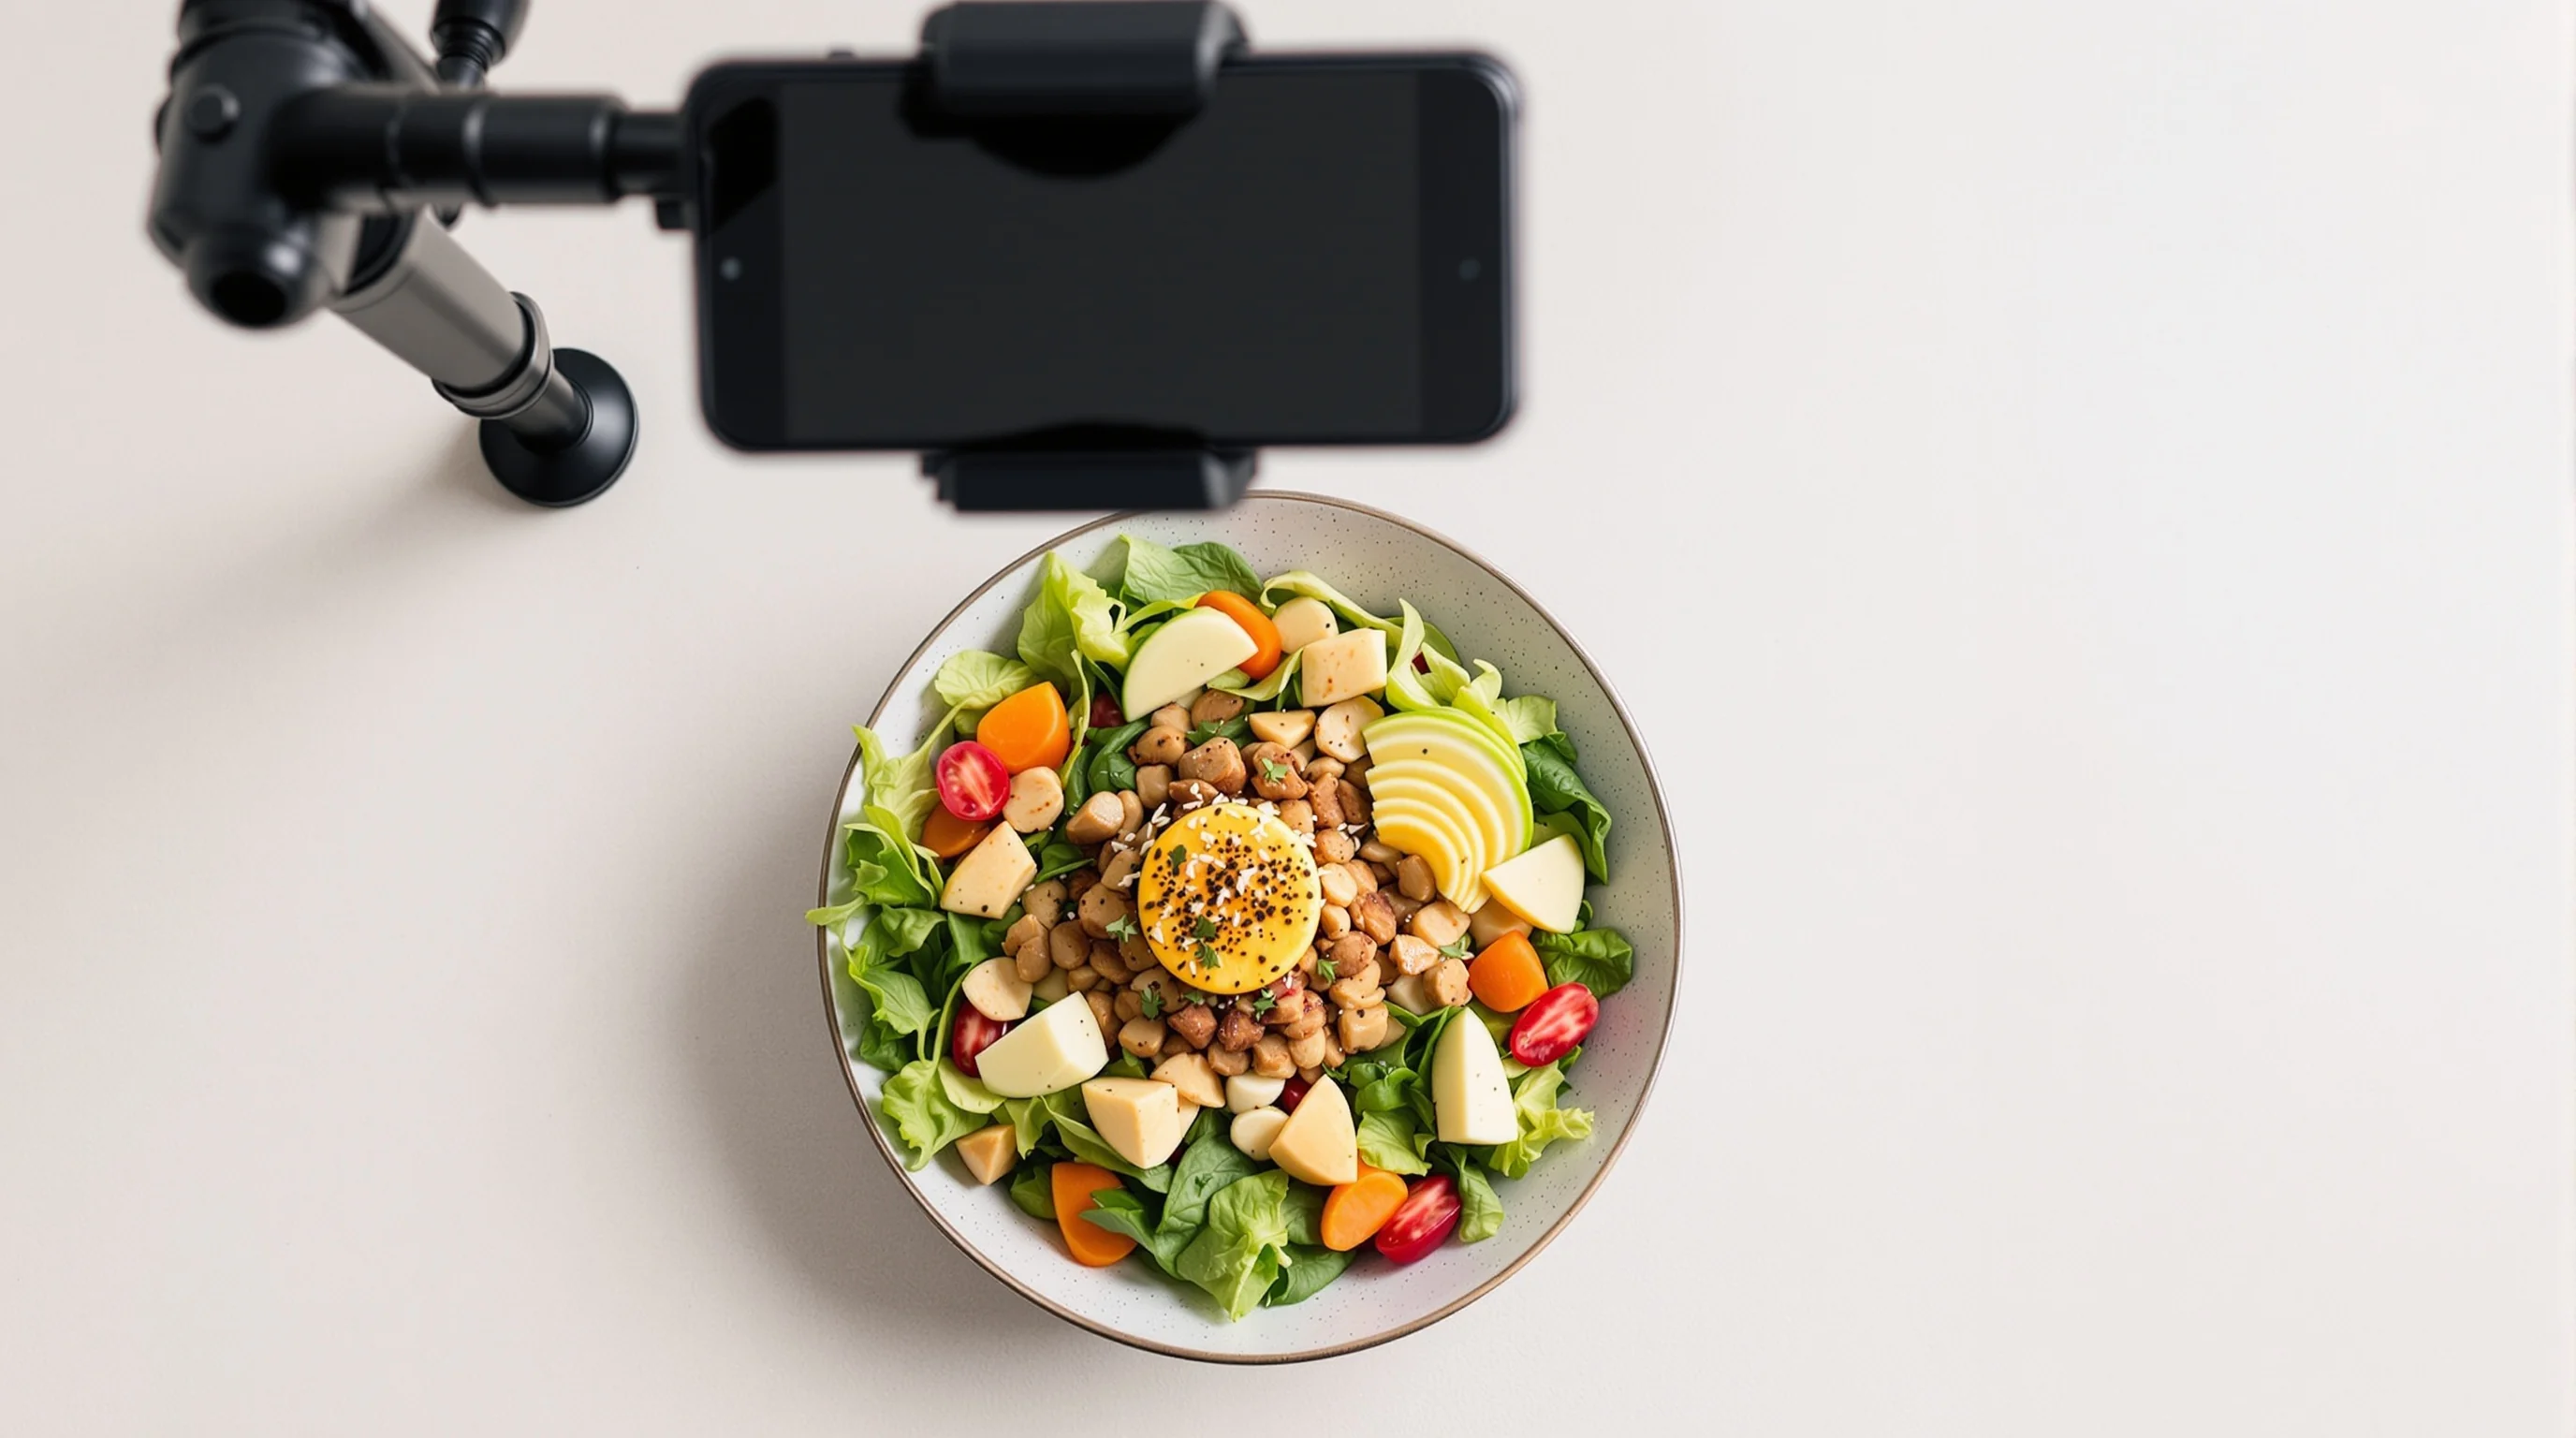
Introduction: Great food photography starts with composition, lighting — and the right backdrop. Whether Sie photograph overhead flatlays for Instagram, menu shots for DoorDash, or plated images for a printed menu, the background sets mood, contrast and focus. This guide explains how to choose materials, sizes and colors, offers DIY construction steps that go beyond a painted board, and shows where to buy durable, portable options. Along the way we address common concerns — glare, upkeep and transport — and include research-backed tips and expert quotes so Sie can confidently pick food photography backdrops that enhance rather than compete with your dishes.
Why backdrops matter more than Sie might think
A backdrop does three jobs at once: it frames the food, sets emotional tone and controls visual weight. When chosen well, food photography backdrops make colors read richer, textures feel tactile and composition simpler. Experts remind us that backgrounds should support the subject: “The backdrop should be a supporting player, not the star of the show,” advises acclaimed food photographer Andrew Scrivani (metrobi.com). That supporting role is practical too — good backgrounds reduce editing time, minimize distracting reflections and deliver consistent images for menus or delivery platforms.
Research on viewing habits also highlights the value of strong food imagery: food and drink are top interests for roughly 43% of Instagram users, which explains why high-quality visuals help restaurants stand out on social and delivery platforms (Soocial). Choosing the right food photography backdrops is therefore an investment: better images increase engagement on Instagram and improve perceived value on DoorDash, Grubhub and other services.
How do I choose a backdrop color that makes food look great?
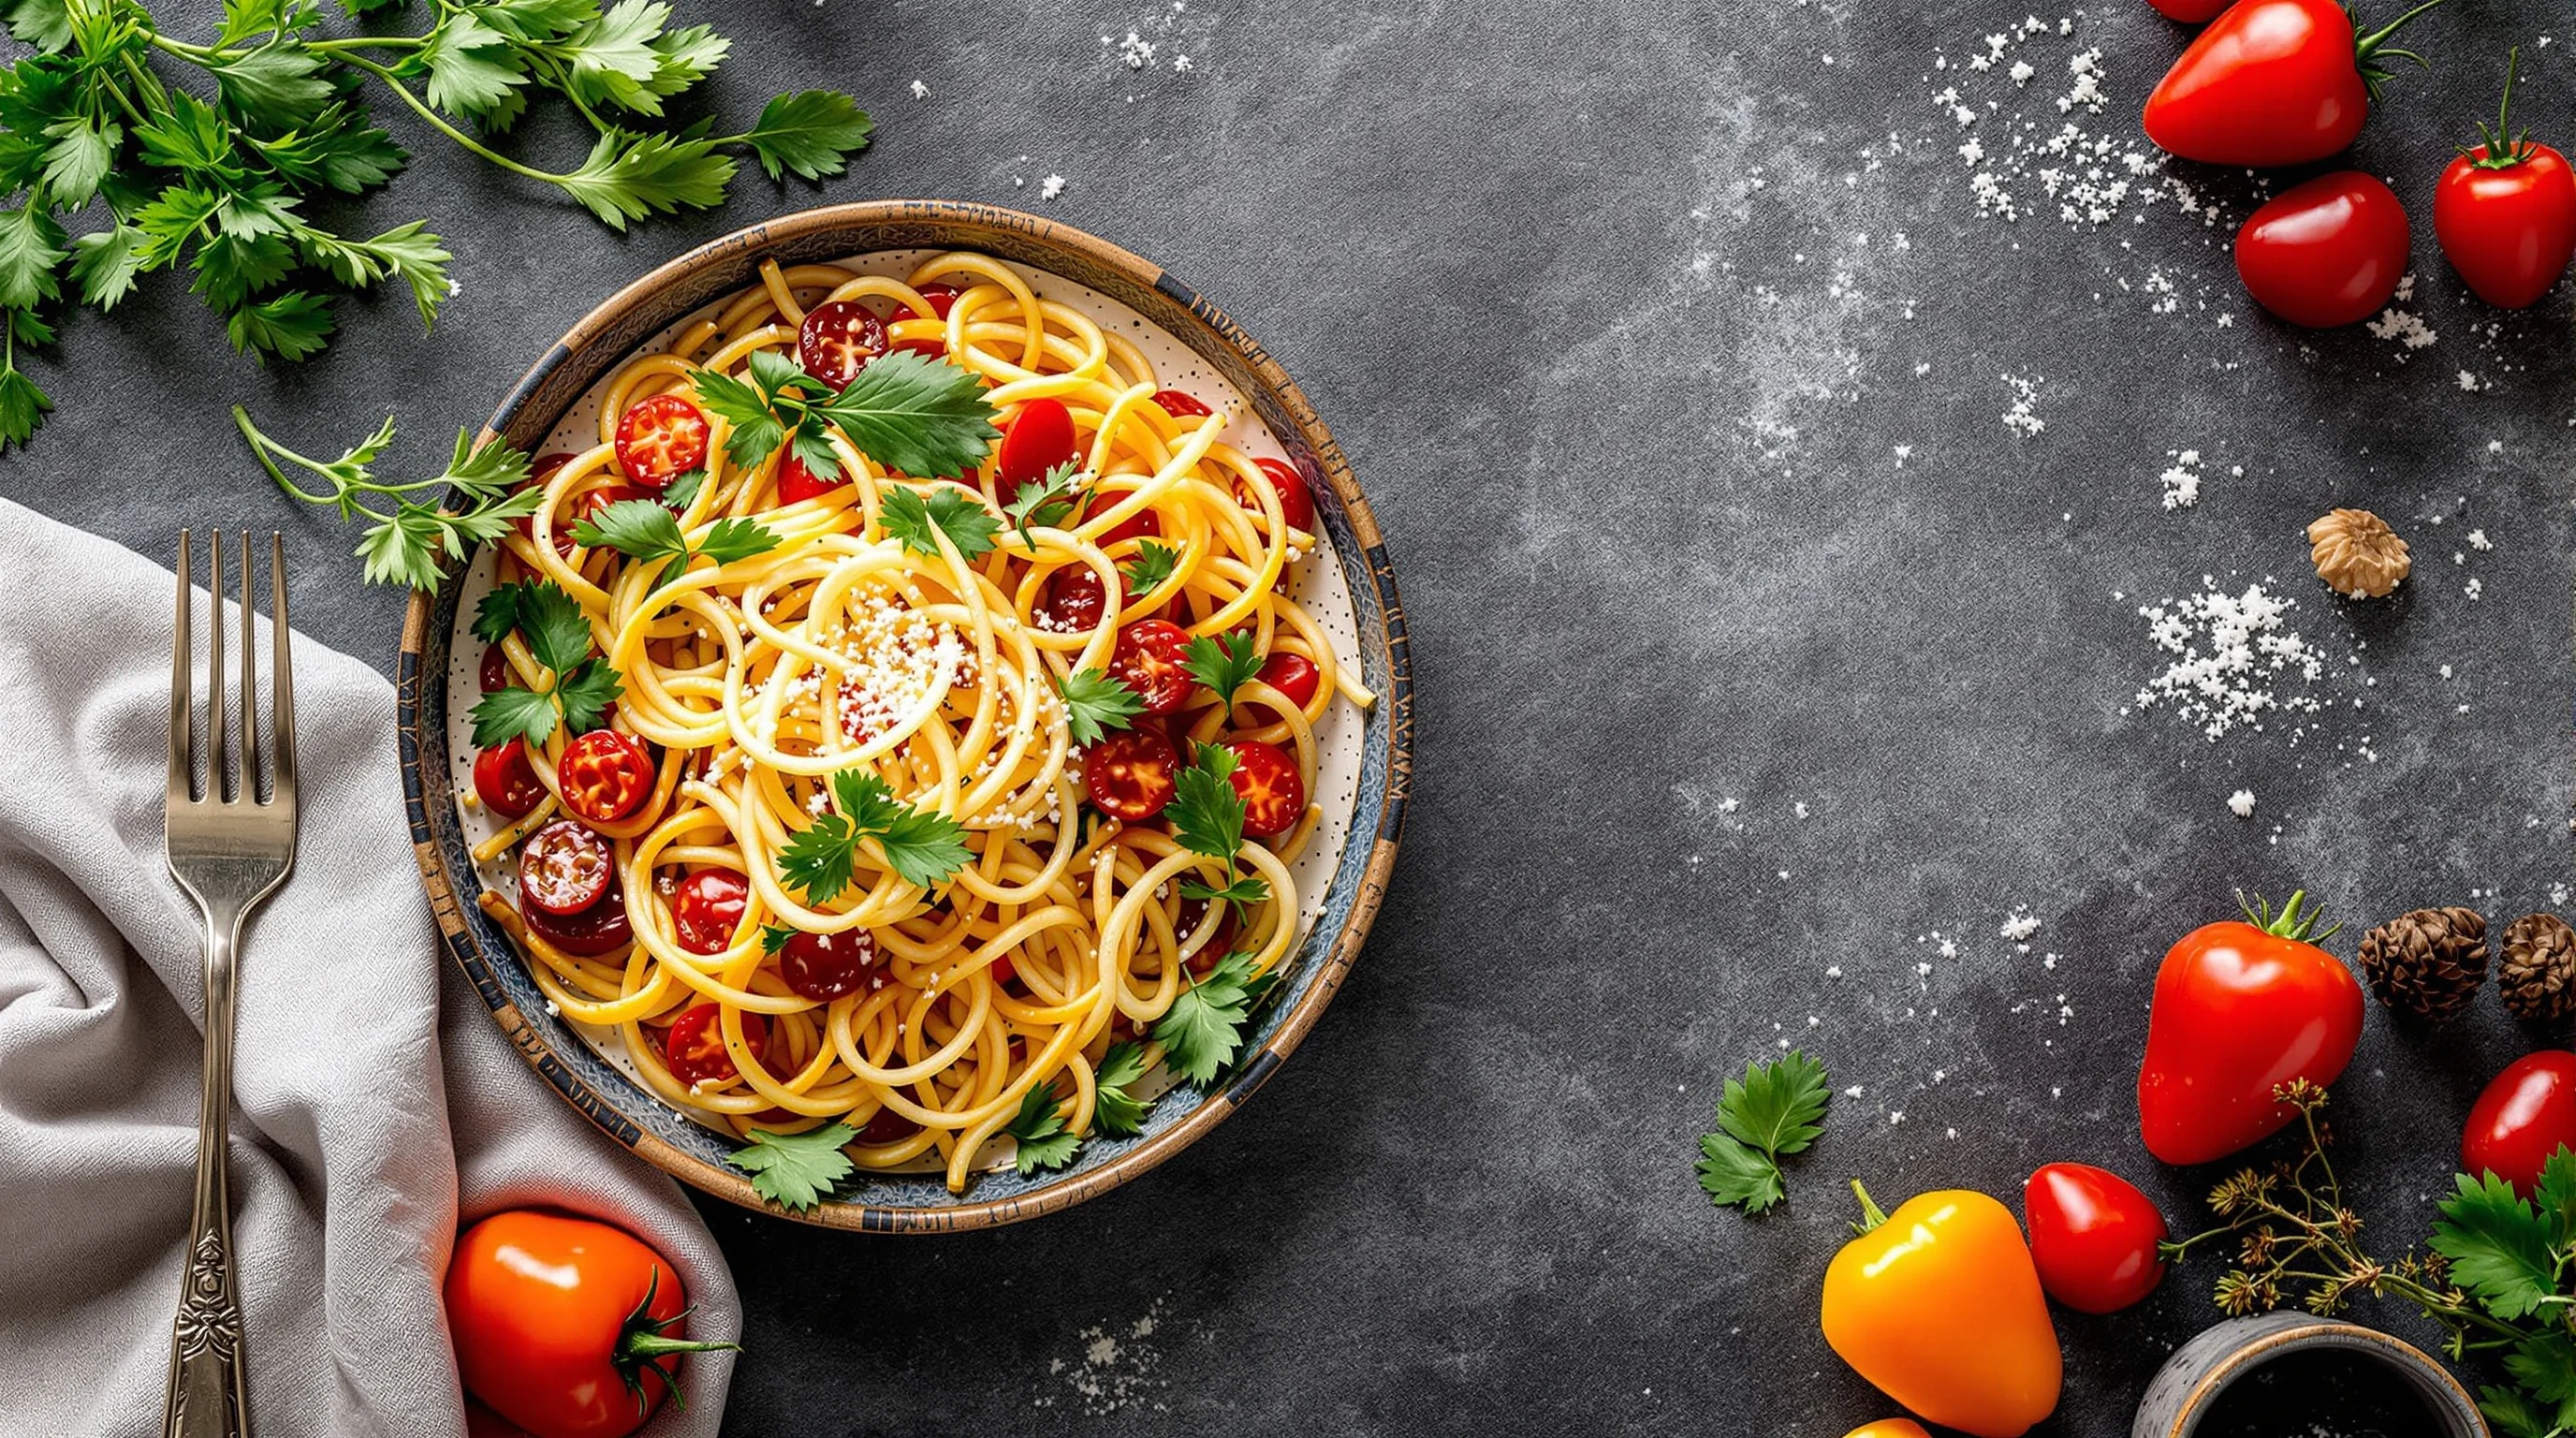
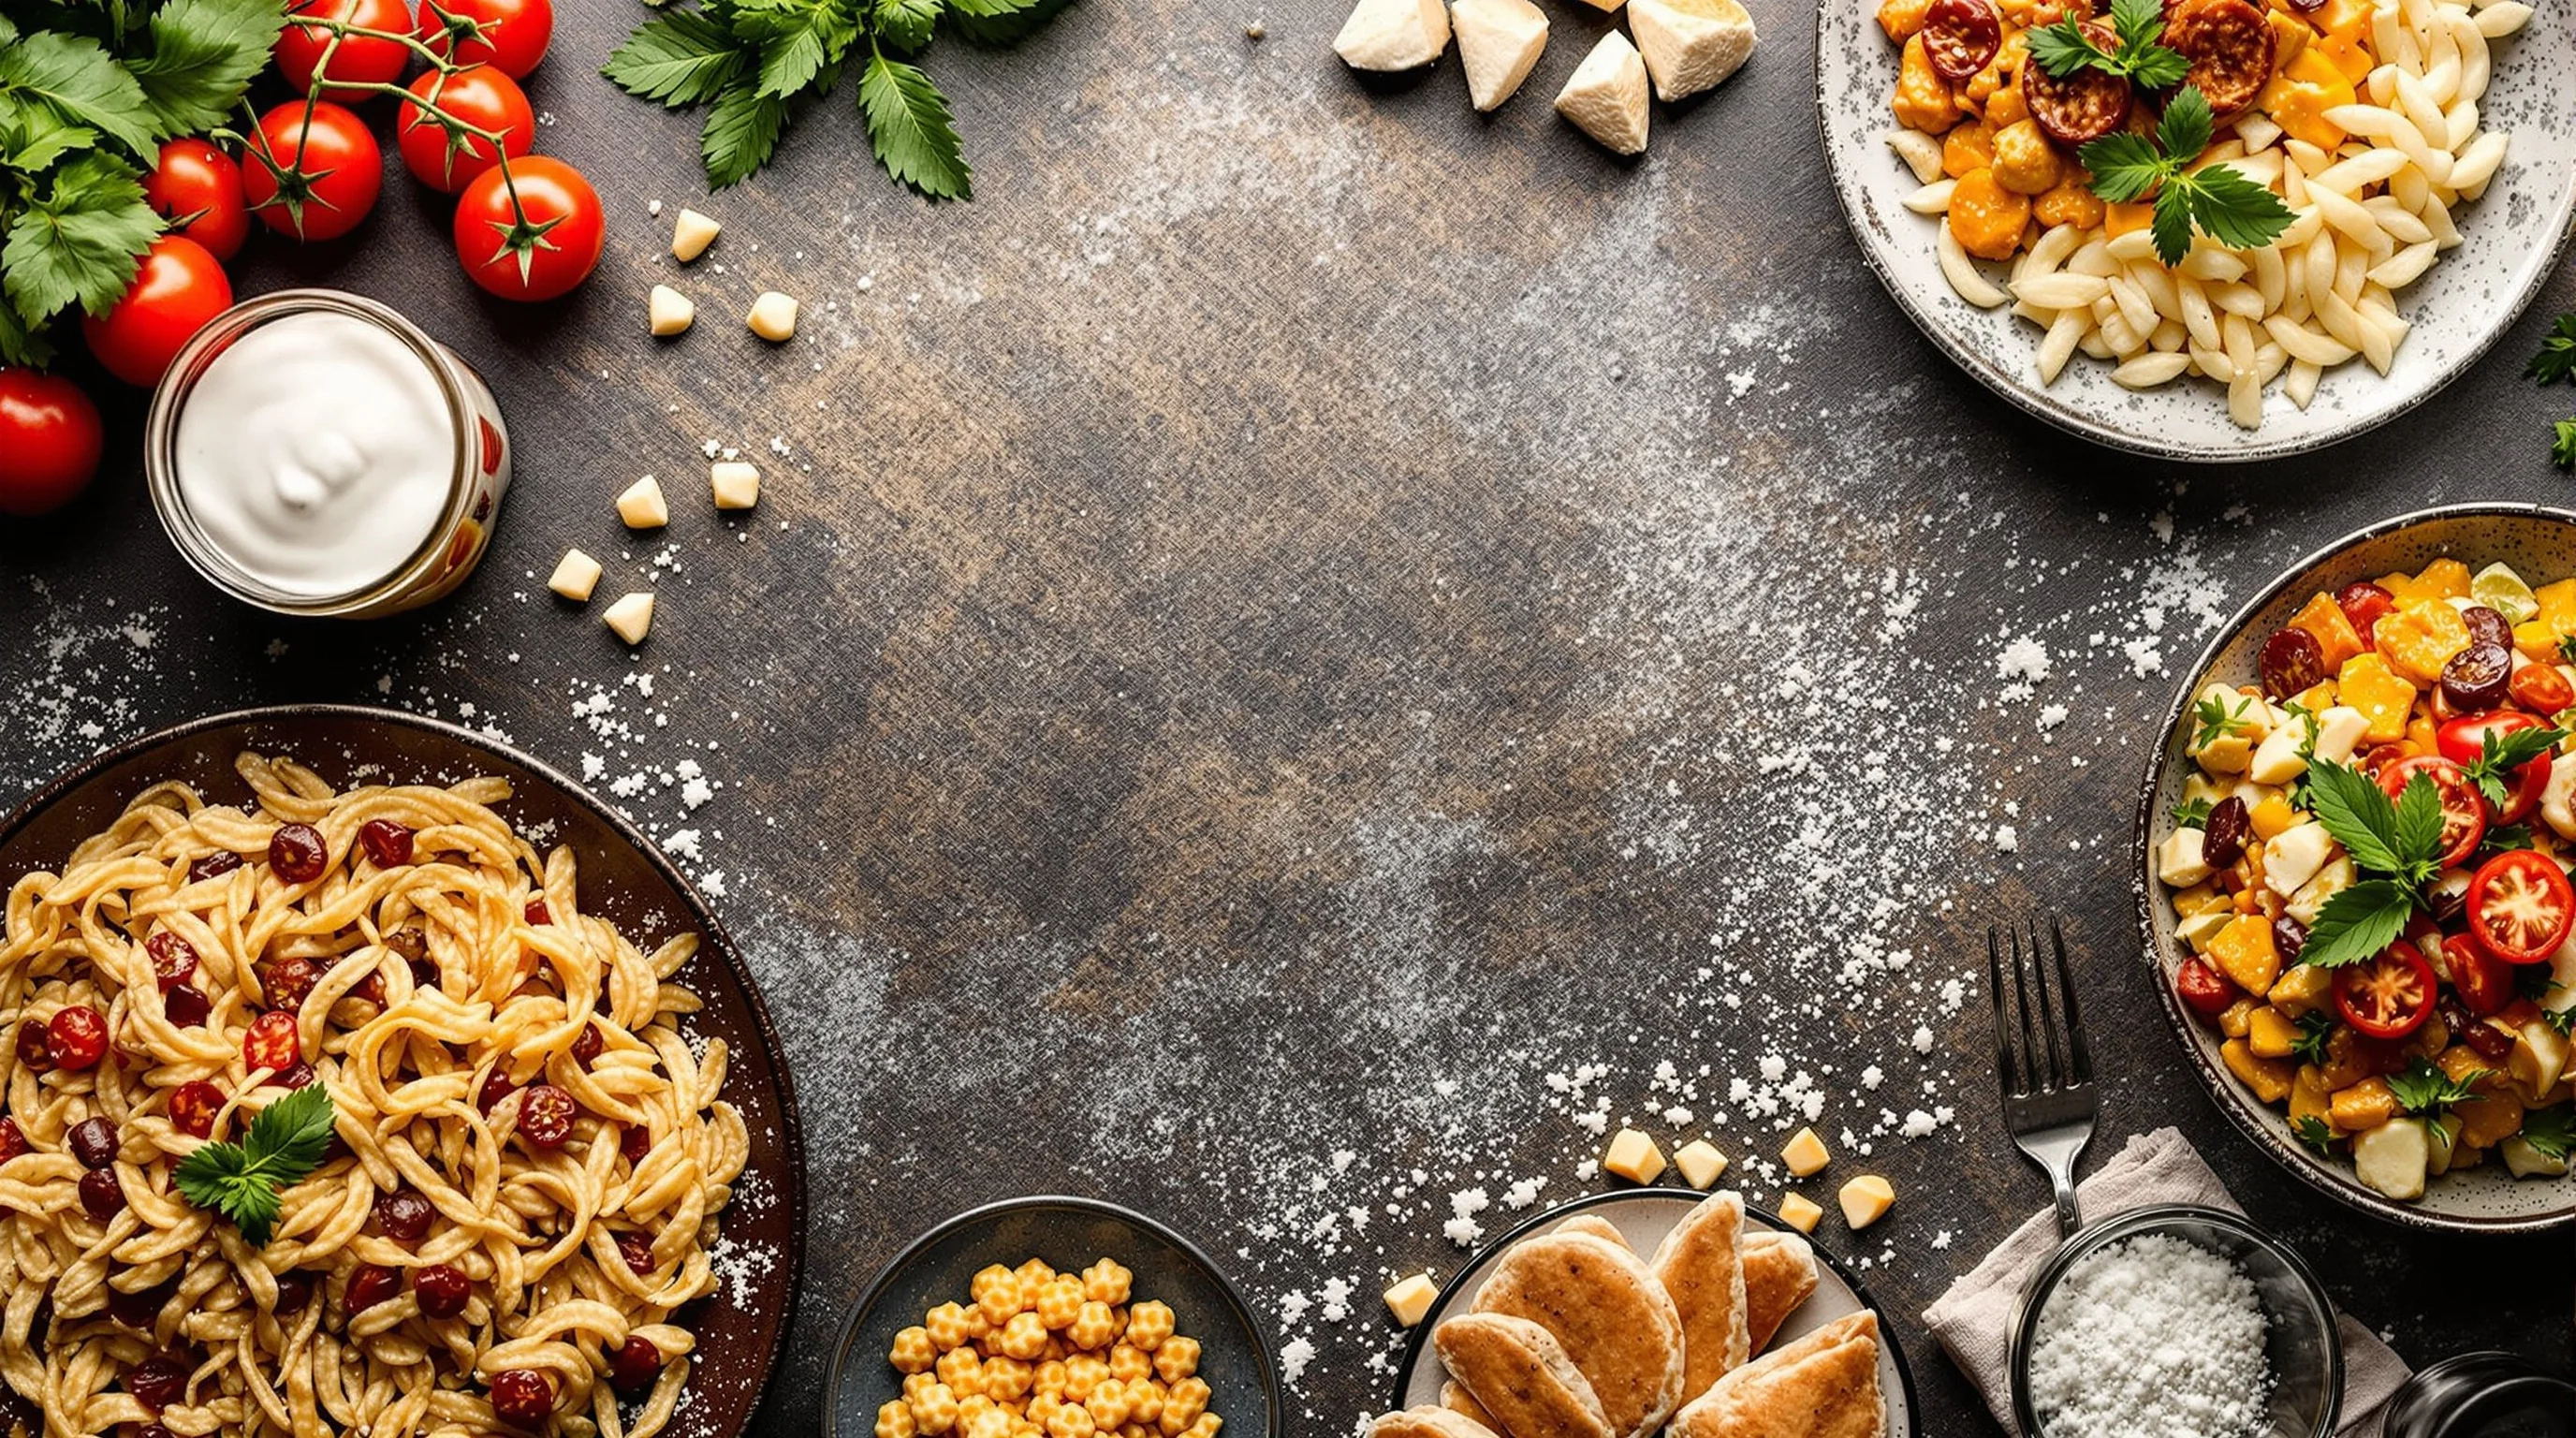
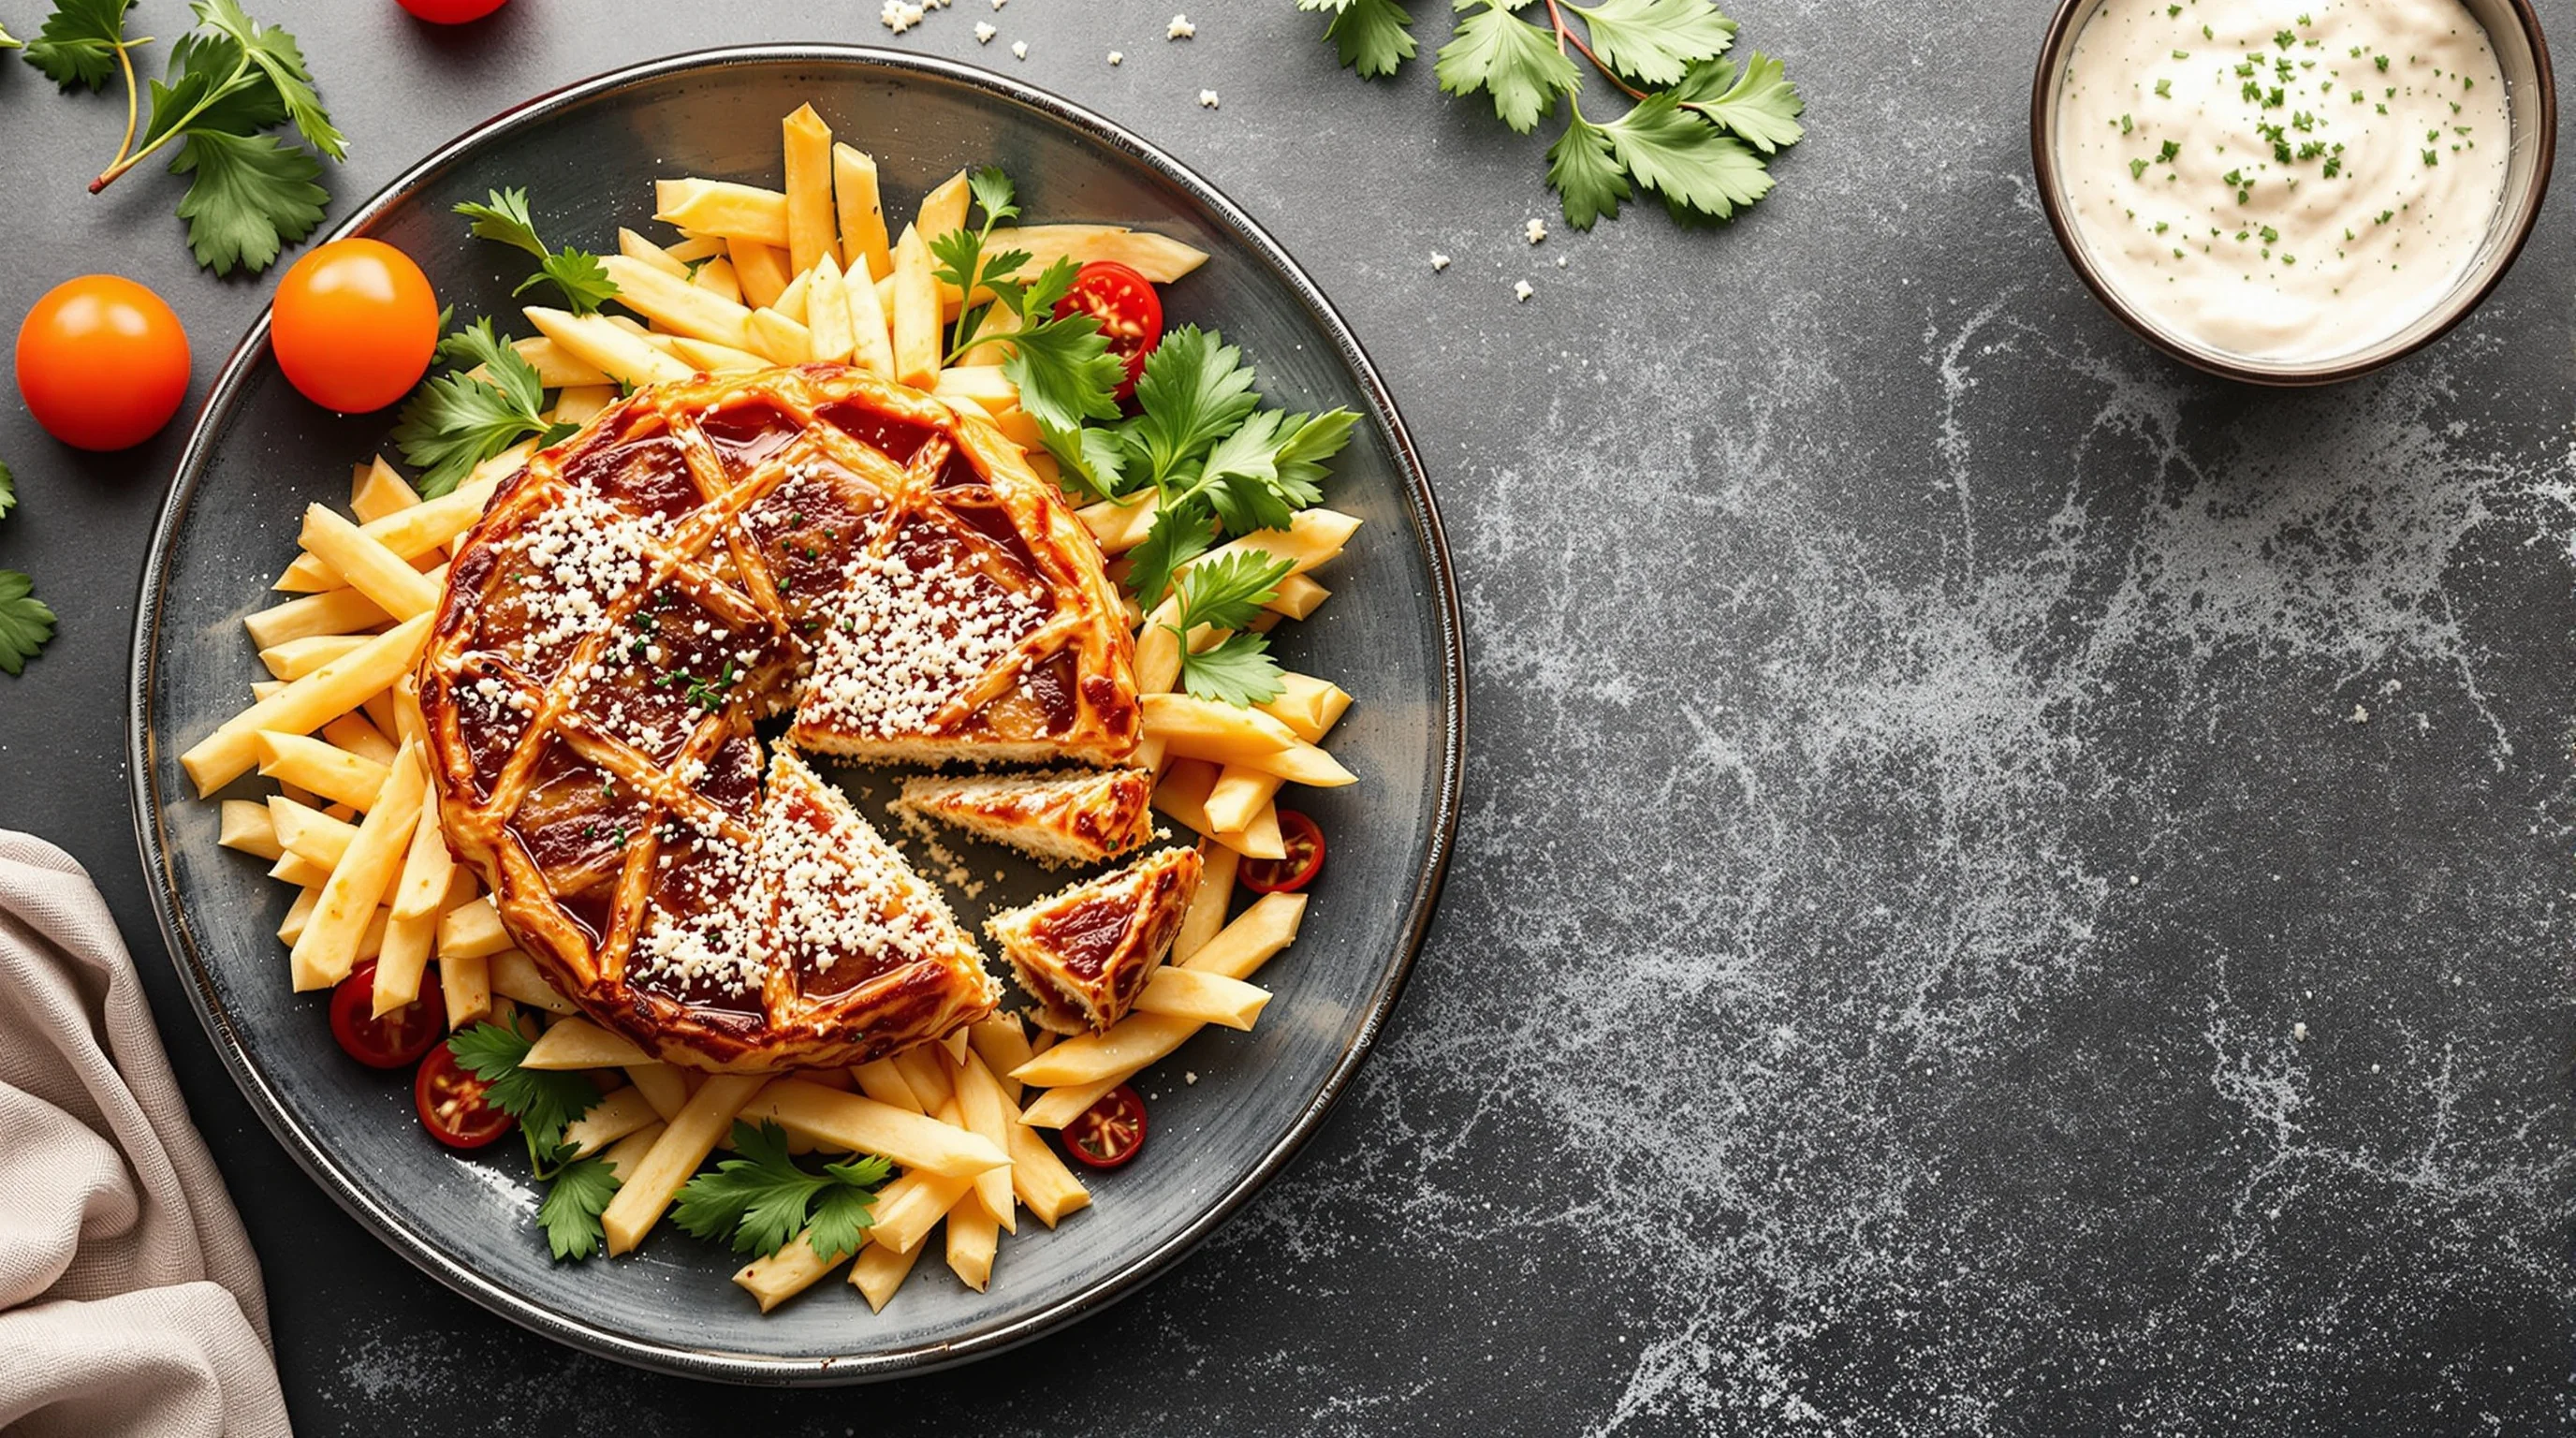
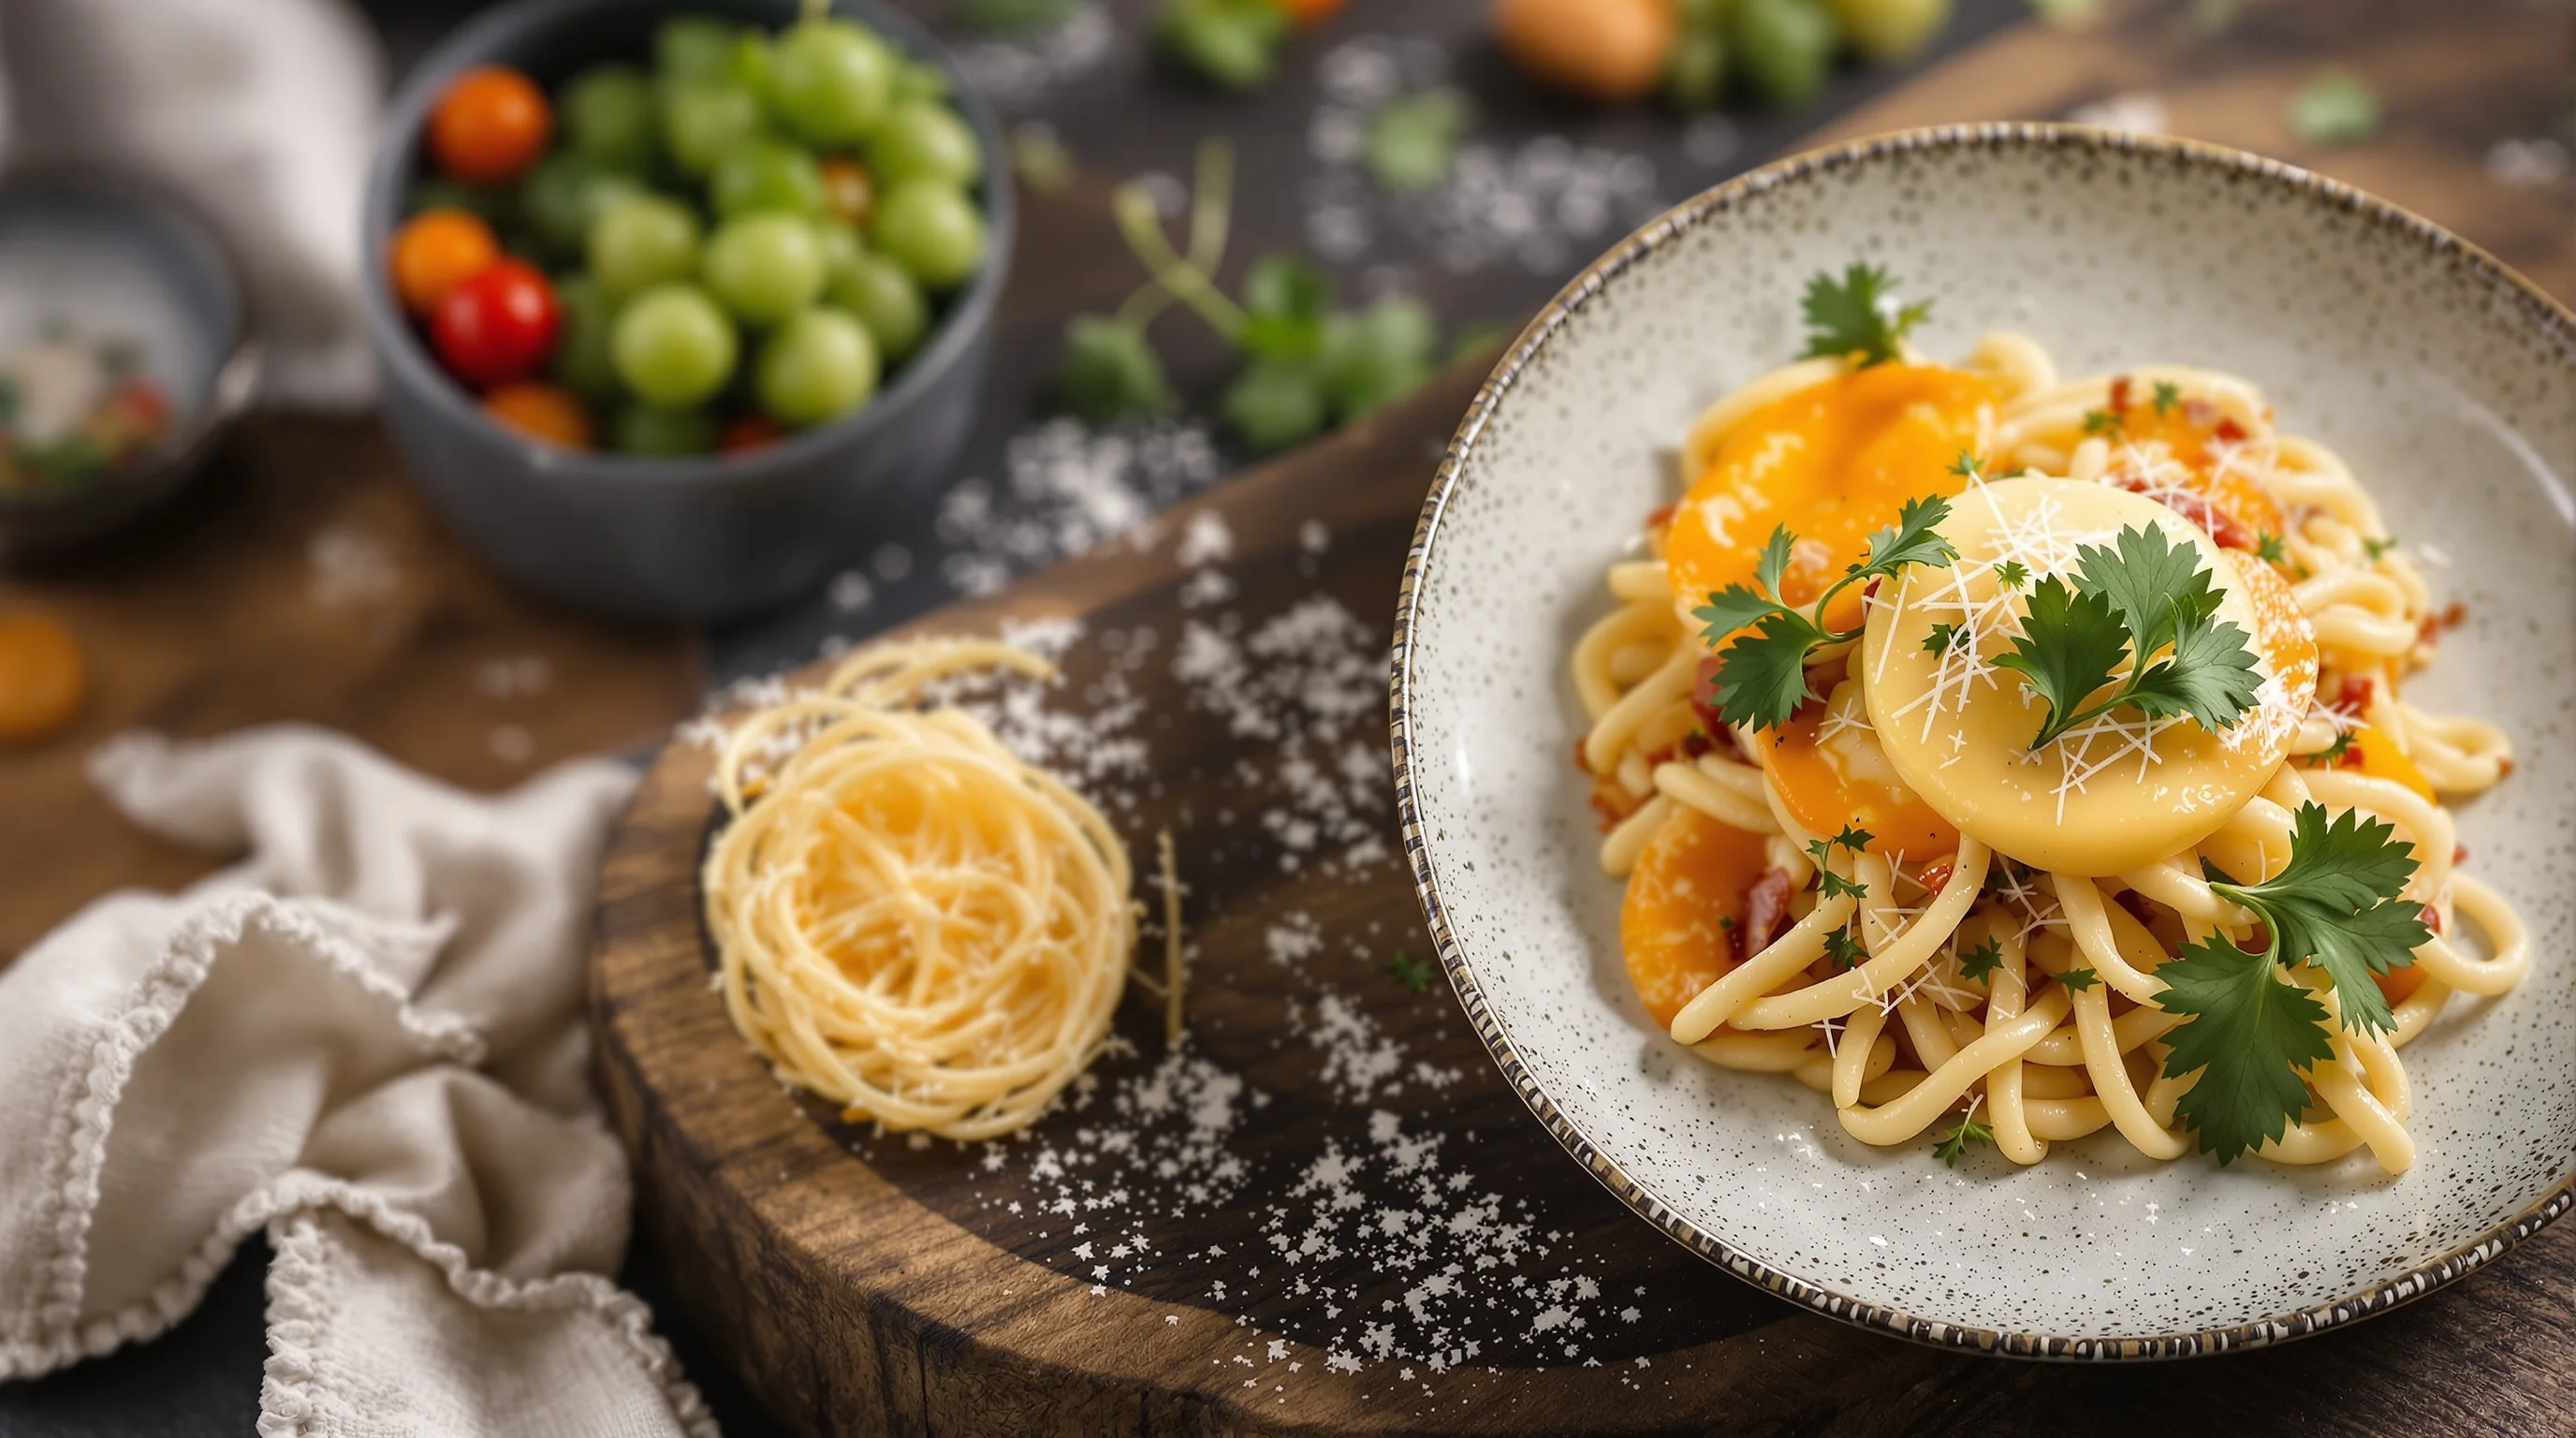
Color choice is one of the fastest ways to make food pop. In general, neutral, desaturated backgrounds — soft grays, warm whites, deep charcoals and blacks — let the dish’s color and texture appear most vibrant (SLR Lounge). Bright or saturated backgrounds can work for bold, playful styling, but neutral tones tend to increase perceived freshness and maintain focus on the food. Consider the dish’s dominant colors and choose a contrasting or complementary background: green-rich salads often sing on warm gray or beige, while tomato-based dishes stand out on cool grays or dark woods.
"We actually register texture information before processing color or even recognizing the subject," notes a veteran food photographer, so the background's texture "establishes the emotional foundation" of the image.
Replica Surfaces
Texture matters as much as color. A subtle matte texture adds depth and suggests craft or rusticity; too much pattern or shine distracts. Matte, non-reflective food photography backdrops are generally recommended to avoid glare and let composition shine (Whiskfully So). If you must use glossy surfaces for a specific look, control lighting carefully and consider polarizing filters to reduce reflections.
What are the best materials for food photography backdrops?
There is no single 'best' material — each option carries trade-offs for look, weight, cost and maintenance. Popular materials include wood boards, printed vinyl, fabrics like linen, and seamless paper. Wood offers authentic grain and warmth but can be heavy and needs sealing; vinyl is waterproof, lightweight and can be printed with high-resolution textures; fabric is easy to pack and drape but wrinkles and may catch spills; seamless paper is smooth and consistent but tears and stains easily (Whiskfully So, Clipping Path Studio).
- Wood: authentic texture and warmth; heavier and requires sealing.
- Vinyl: waterproof, durable, low-glare options; ideal for repeated restaurant shoots.
- Fabric (linen/canvas): portable and soft-looking; wrinkles and absorbs spills.
- Seamless paper: clean and consistent; inexpensive but replaces often.
- Mixed media/backer boards: reversible ambidextrous options for versatility.
If glare is a concern, choose matte finishes or vinyl designed to be non-reflective. For restaurants and delivery menu photography, waterproof, easily wipeable vinyl or coated boards make sense. Vinyl food backdrops, in particular, respond well to repeated messy shoots and simplify cleanup while delivering realistic printed textures.
What size backdrop is ideal for food photography?
Size depends on your shoot style. For overhead flatlays a common minimum is about 24×36 inches; many photographers prefer larger 3×4 ft or 4×6 ft boards for flexibility, room for props and to allow both portrait and landscape crops without seams (Whiskfully So, Clipping Path Studio). If Sie shoot plated single-dish images for menus or delivery photos, a 24×36 in board might suffice. For full tabletop scenes, invest in 3×4 ft or larger to ensure Sie don't show edges or awkward cropping.
Portability also matters: many restaurants and food trucks need lightweight, reversible boards that fit in a car. Consider foldable fabric backdrops or thin vinyl boards that roll up for storage. If storing multiple boards is impossible, reversible designs double your options without adding storage needs.
DIY food photography backdrops — beyond painted poster board
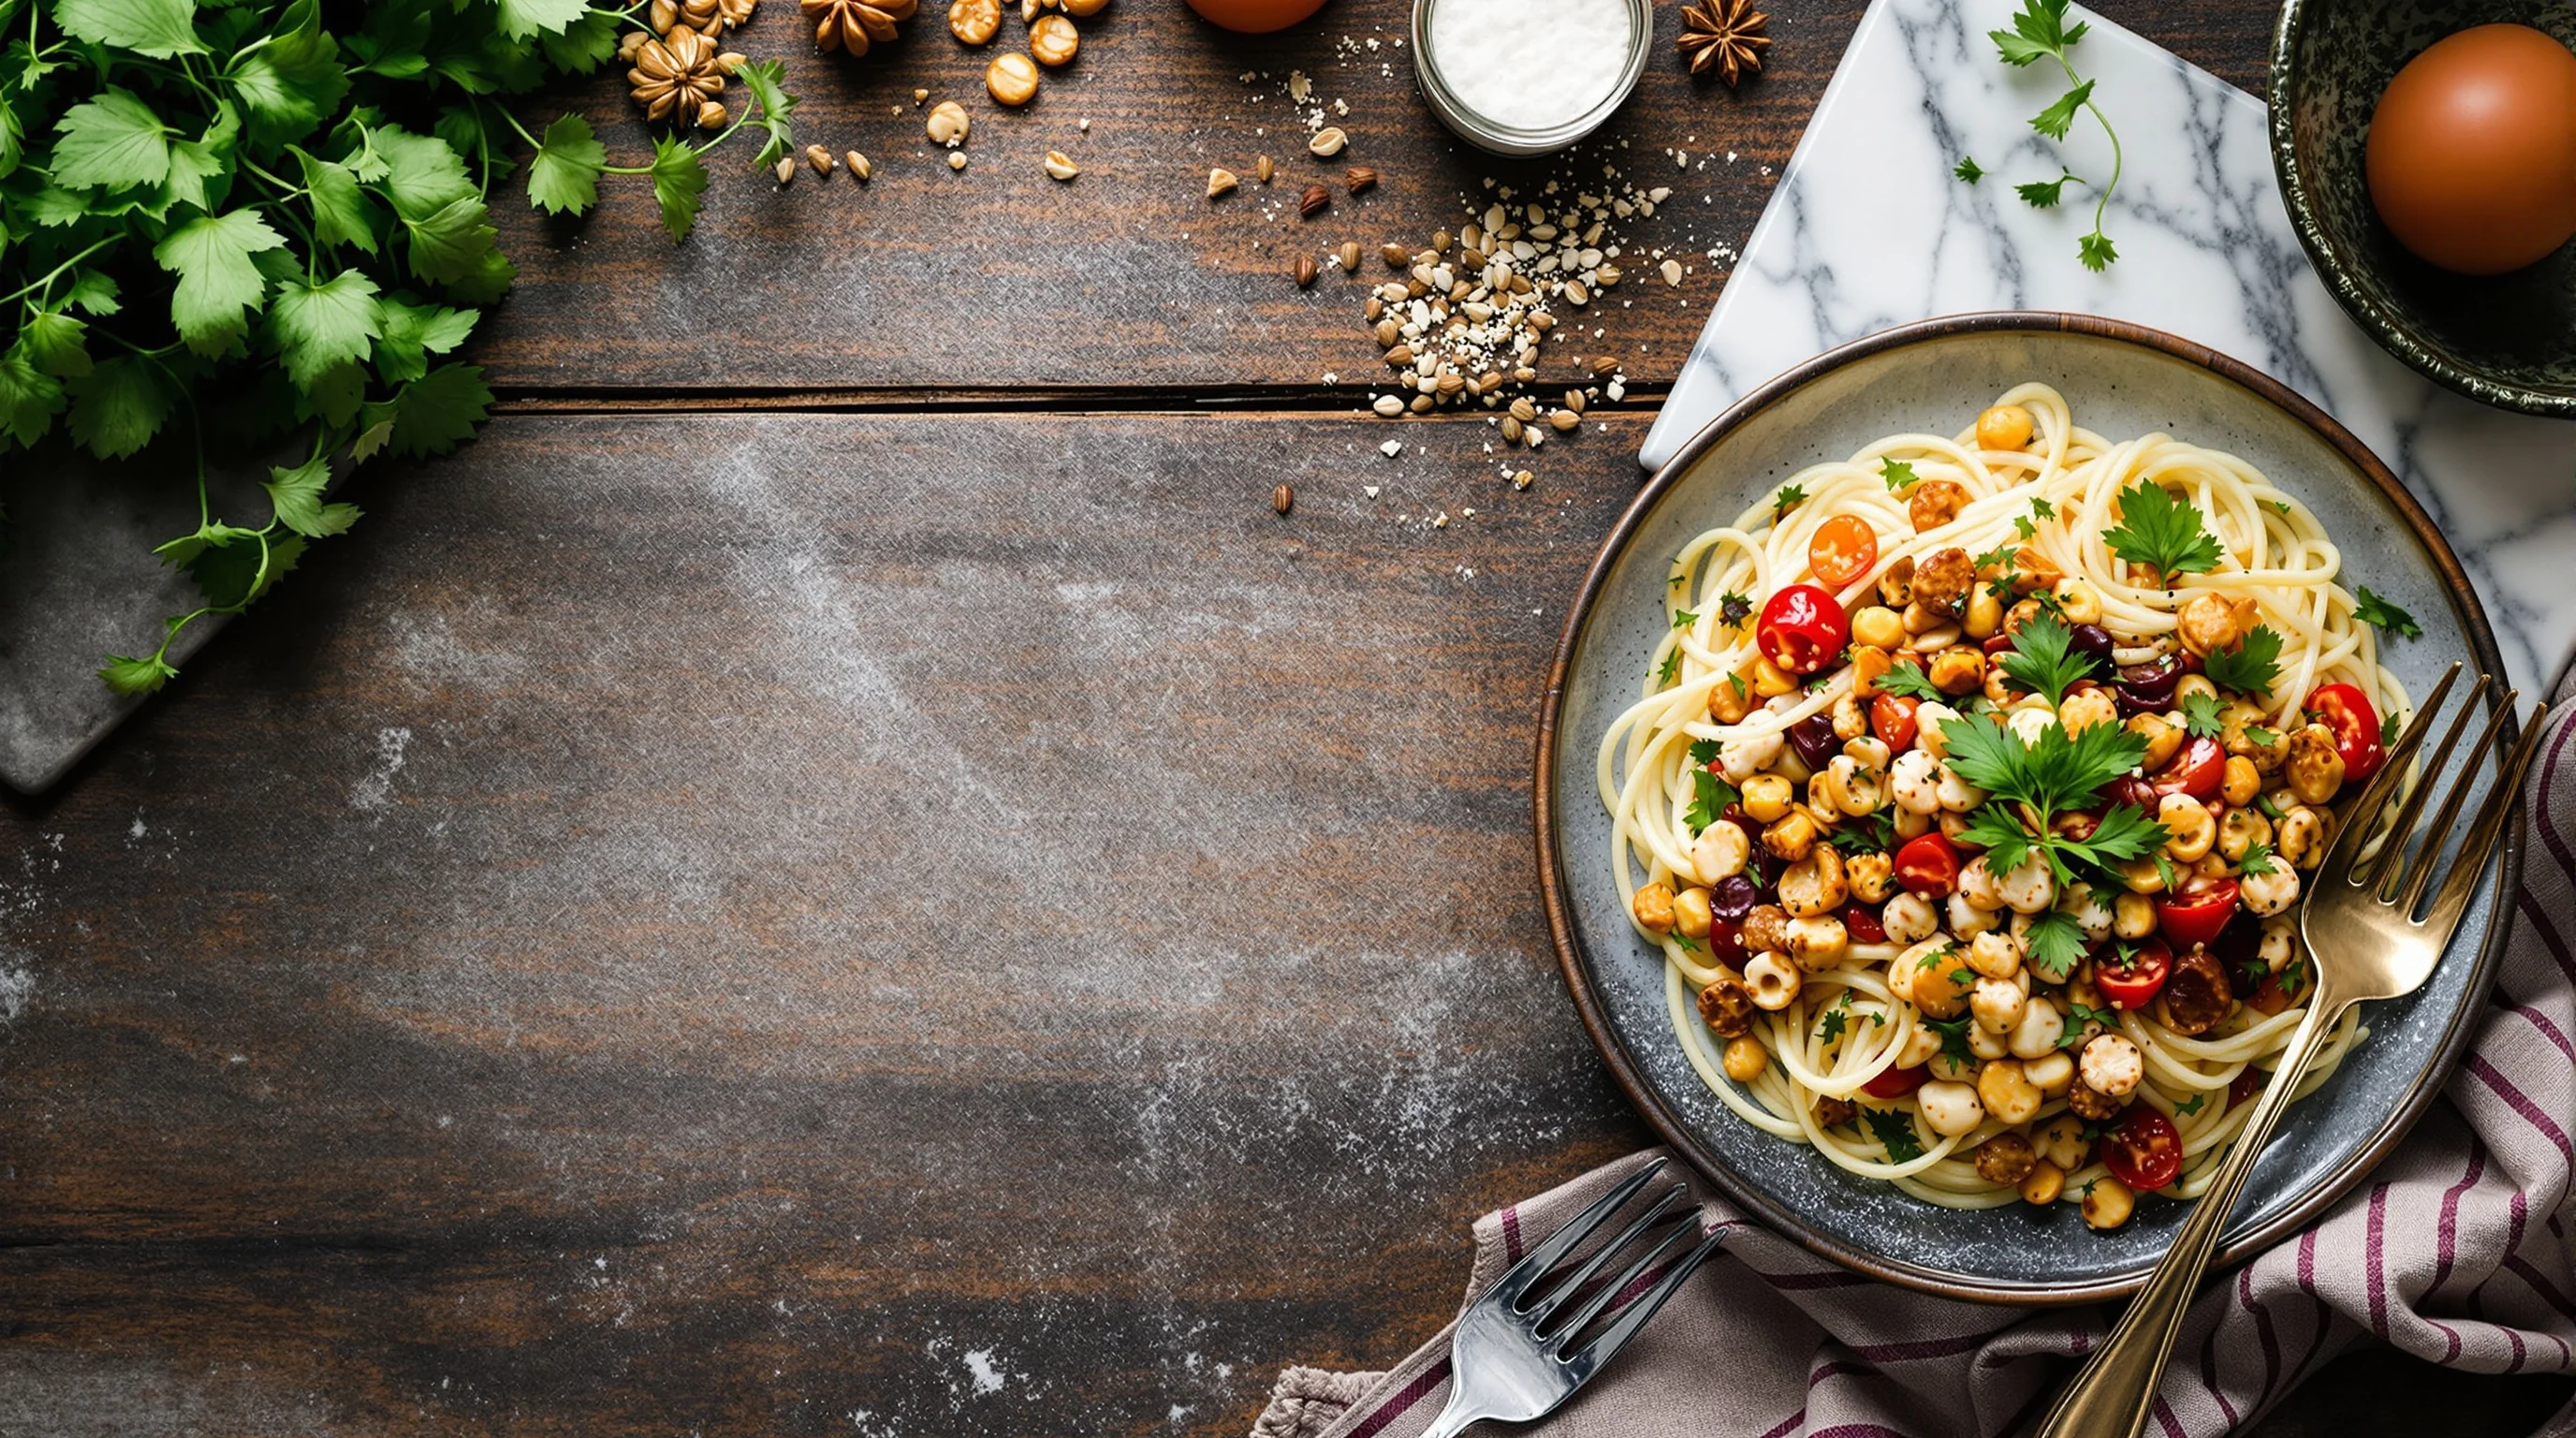
DIY is a cost-effective way to build a versatile backdrop kit. The common approach is to buy a 3×4 ft craft board and paint it, but Sie can expand options with layered techniques, textured finishes, and modular boards. Think of building a palette of 3–6 trusted surfaces: a warm wood, a cool gray, a dark matte, a light neutral, a marble slab, and one patterned piece for brand-specific shots.
- Prepare a primed MDF or gator board (3×4 ft recommended) and sand smooth.
- Apply a latex base coat, then use a sea sponge or stippling brush for subtle texture.
- Mix in a tiny bit of acrylic medium to create matte, durable finishes that wipe clean.
- Seal with a water-based satin sealer for durability while keeping low reflectivity.
- Create modular edges with Velcro or clamps so boards can be paired for larger scenes.
For marble or stone looks, printed vinyl panels or inexpensive contact paper over thin board can mimic expensive slabs at a fraction of the cost. If Sie need ultra-realism, consider a small marble tile as a prop for plating rather than a full marble slab — it’s cheaper and lighter.
Maintenance, cleaning and storage — practical tips
One of the content gaps among competitors is practical upkeep. Backdrop maintenance matters for restaurants that shoot frequently. Vinyl surfaces are the easiest: wipe with mild soap and water, avoid abrasive scrubbers, and store rolled in a tube to prevent creases. Sealed wooden boards should be spot-cleaned and periodically resealed if food contact is frequent. Fabrics should be laundered on gentle cycles and ironed flat before use. Paper backdrops should be used with placemats or plates and replaced when stained.
For transport, use padded tubes for rolled vinyl or custom carry cases for rigid boards. Label reversible boards on the edge so crews can quickly flip to the opposite side. Investing in two or three go-to options that are durable and easy to clean solves many of the pain points restaurant photographers face: cost, portability and upkeep.
Matte vs glossy, texture control and avoiding glare
Matte finishes generally win in food photography because they reduce specular highlights and focus attention on food texture. If Sie prefer glossy for a specific mood, use directional soft lighting and polarizing filters to control reflections. Texture should be present but subtle: too much pattern or high-relief texture will pull attention away from the plate (Whiskfully So). When experimenting, photograph the same dish on three different backdrops and compare: the one that keeps eyes on the food is the right choice.
- Use matte backdrops to avoid glare and minimize retouching.
- Keep texture subtle so it supports, not competes with, the subject.
- Control light angle to emphasize surface texture on the food rather than the backdrop.
- Test with props: simple food styling props can elevate a neutral background.
Where to buy: trusted sources and recommended brands
If DIY isn’t practical, buy from reputable vendors who specialize in photography backdrops. Options include dedicated backdrop brands, print-on-demand vinyl shops, and artisan sellers on marketplaces. When browsing, filter for matte, waterproof, and reversible options. YummyPic also offers lightweight, waterproof backdrop boards in creative designs and reversible, easily cleanable surfaces tailored to food photography needs — an option that solves the common pain points of durability, uniqueness and transportability for restaurants and cafes.
- YummyPic — lightweight, waterproof, reversible boards with food-focused designs.
- Print-on-demand vinyl shops — custom textures and marble/toile prints.
- Photography backdrop retailers — solid boards and collapsible systems.
- Local woodworking shops — custom-sealed wood slabs and reclaimed wood.
When choosing a vendor, ask about finish (matte vs satin), cleaning instructions, and return policies. For restaurants using delivery platforms, durable, wipe-clean surfaces save time and money over repeated shoots.
How YummyPic fits into your backdrop workflow
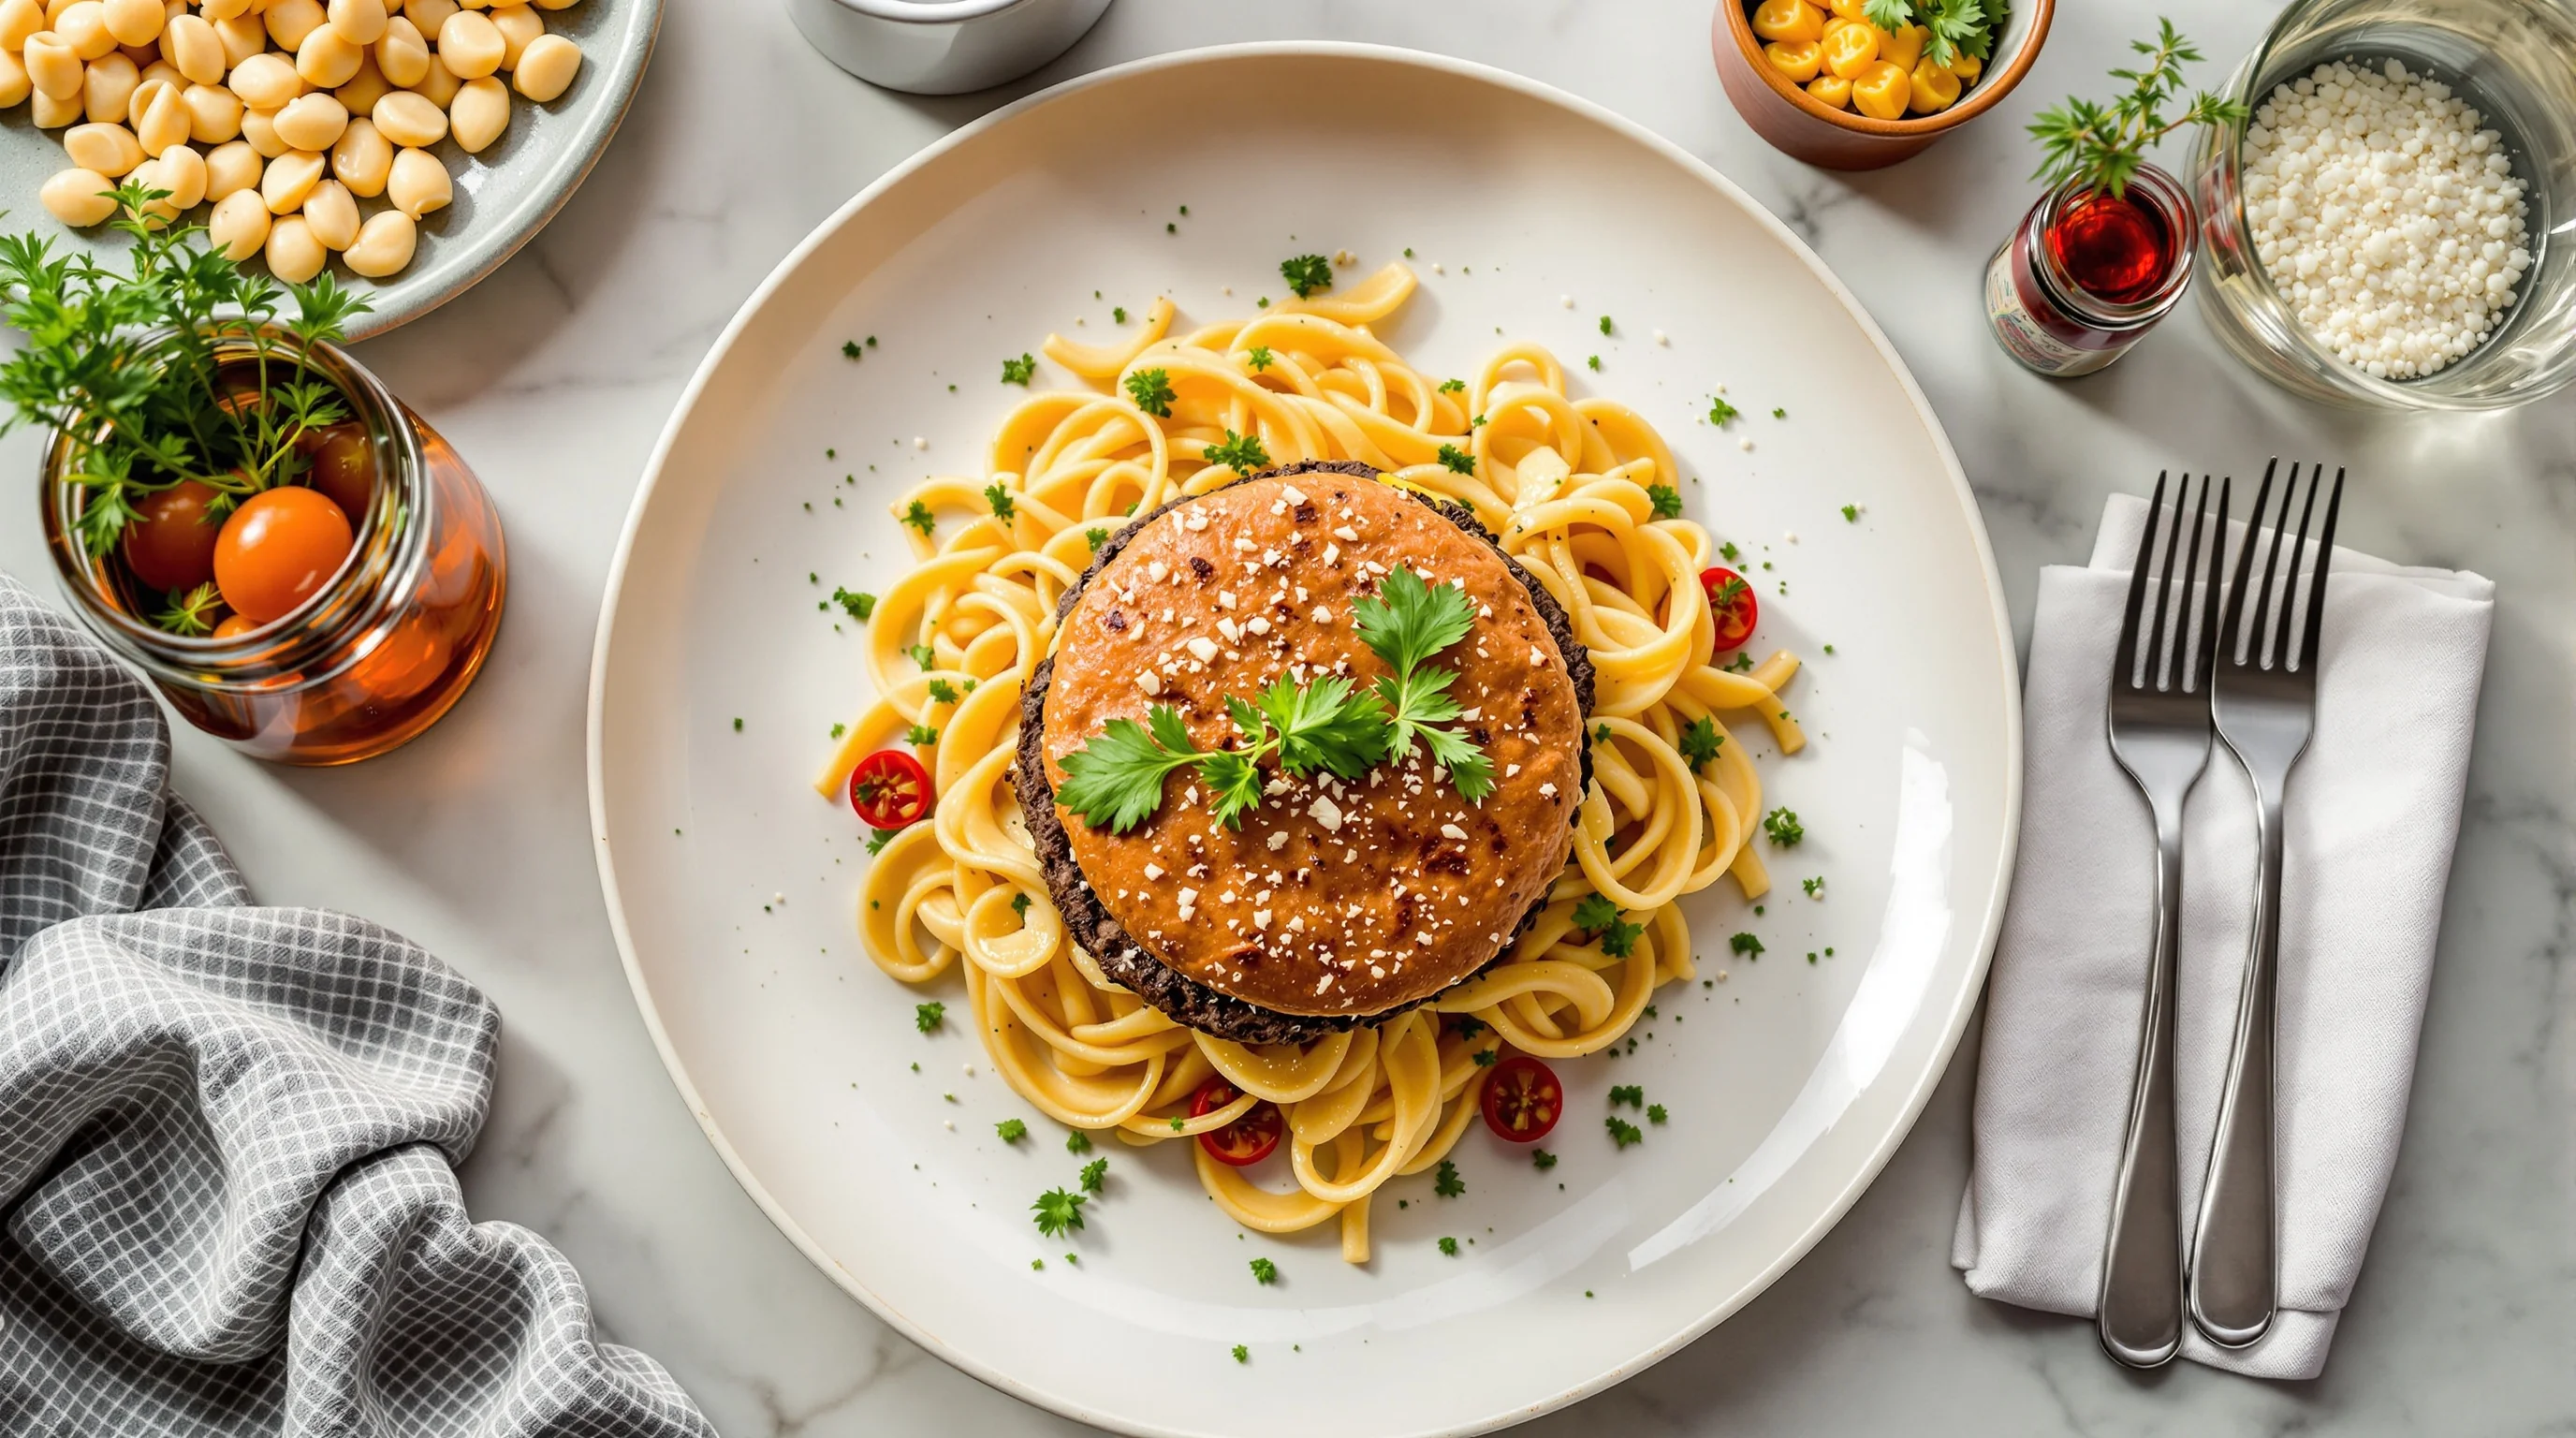
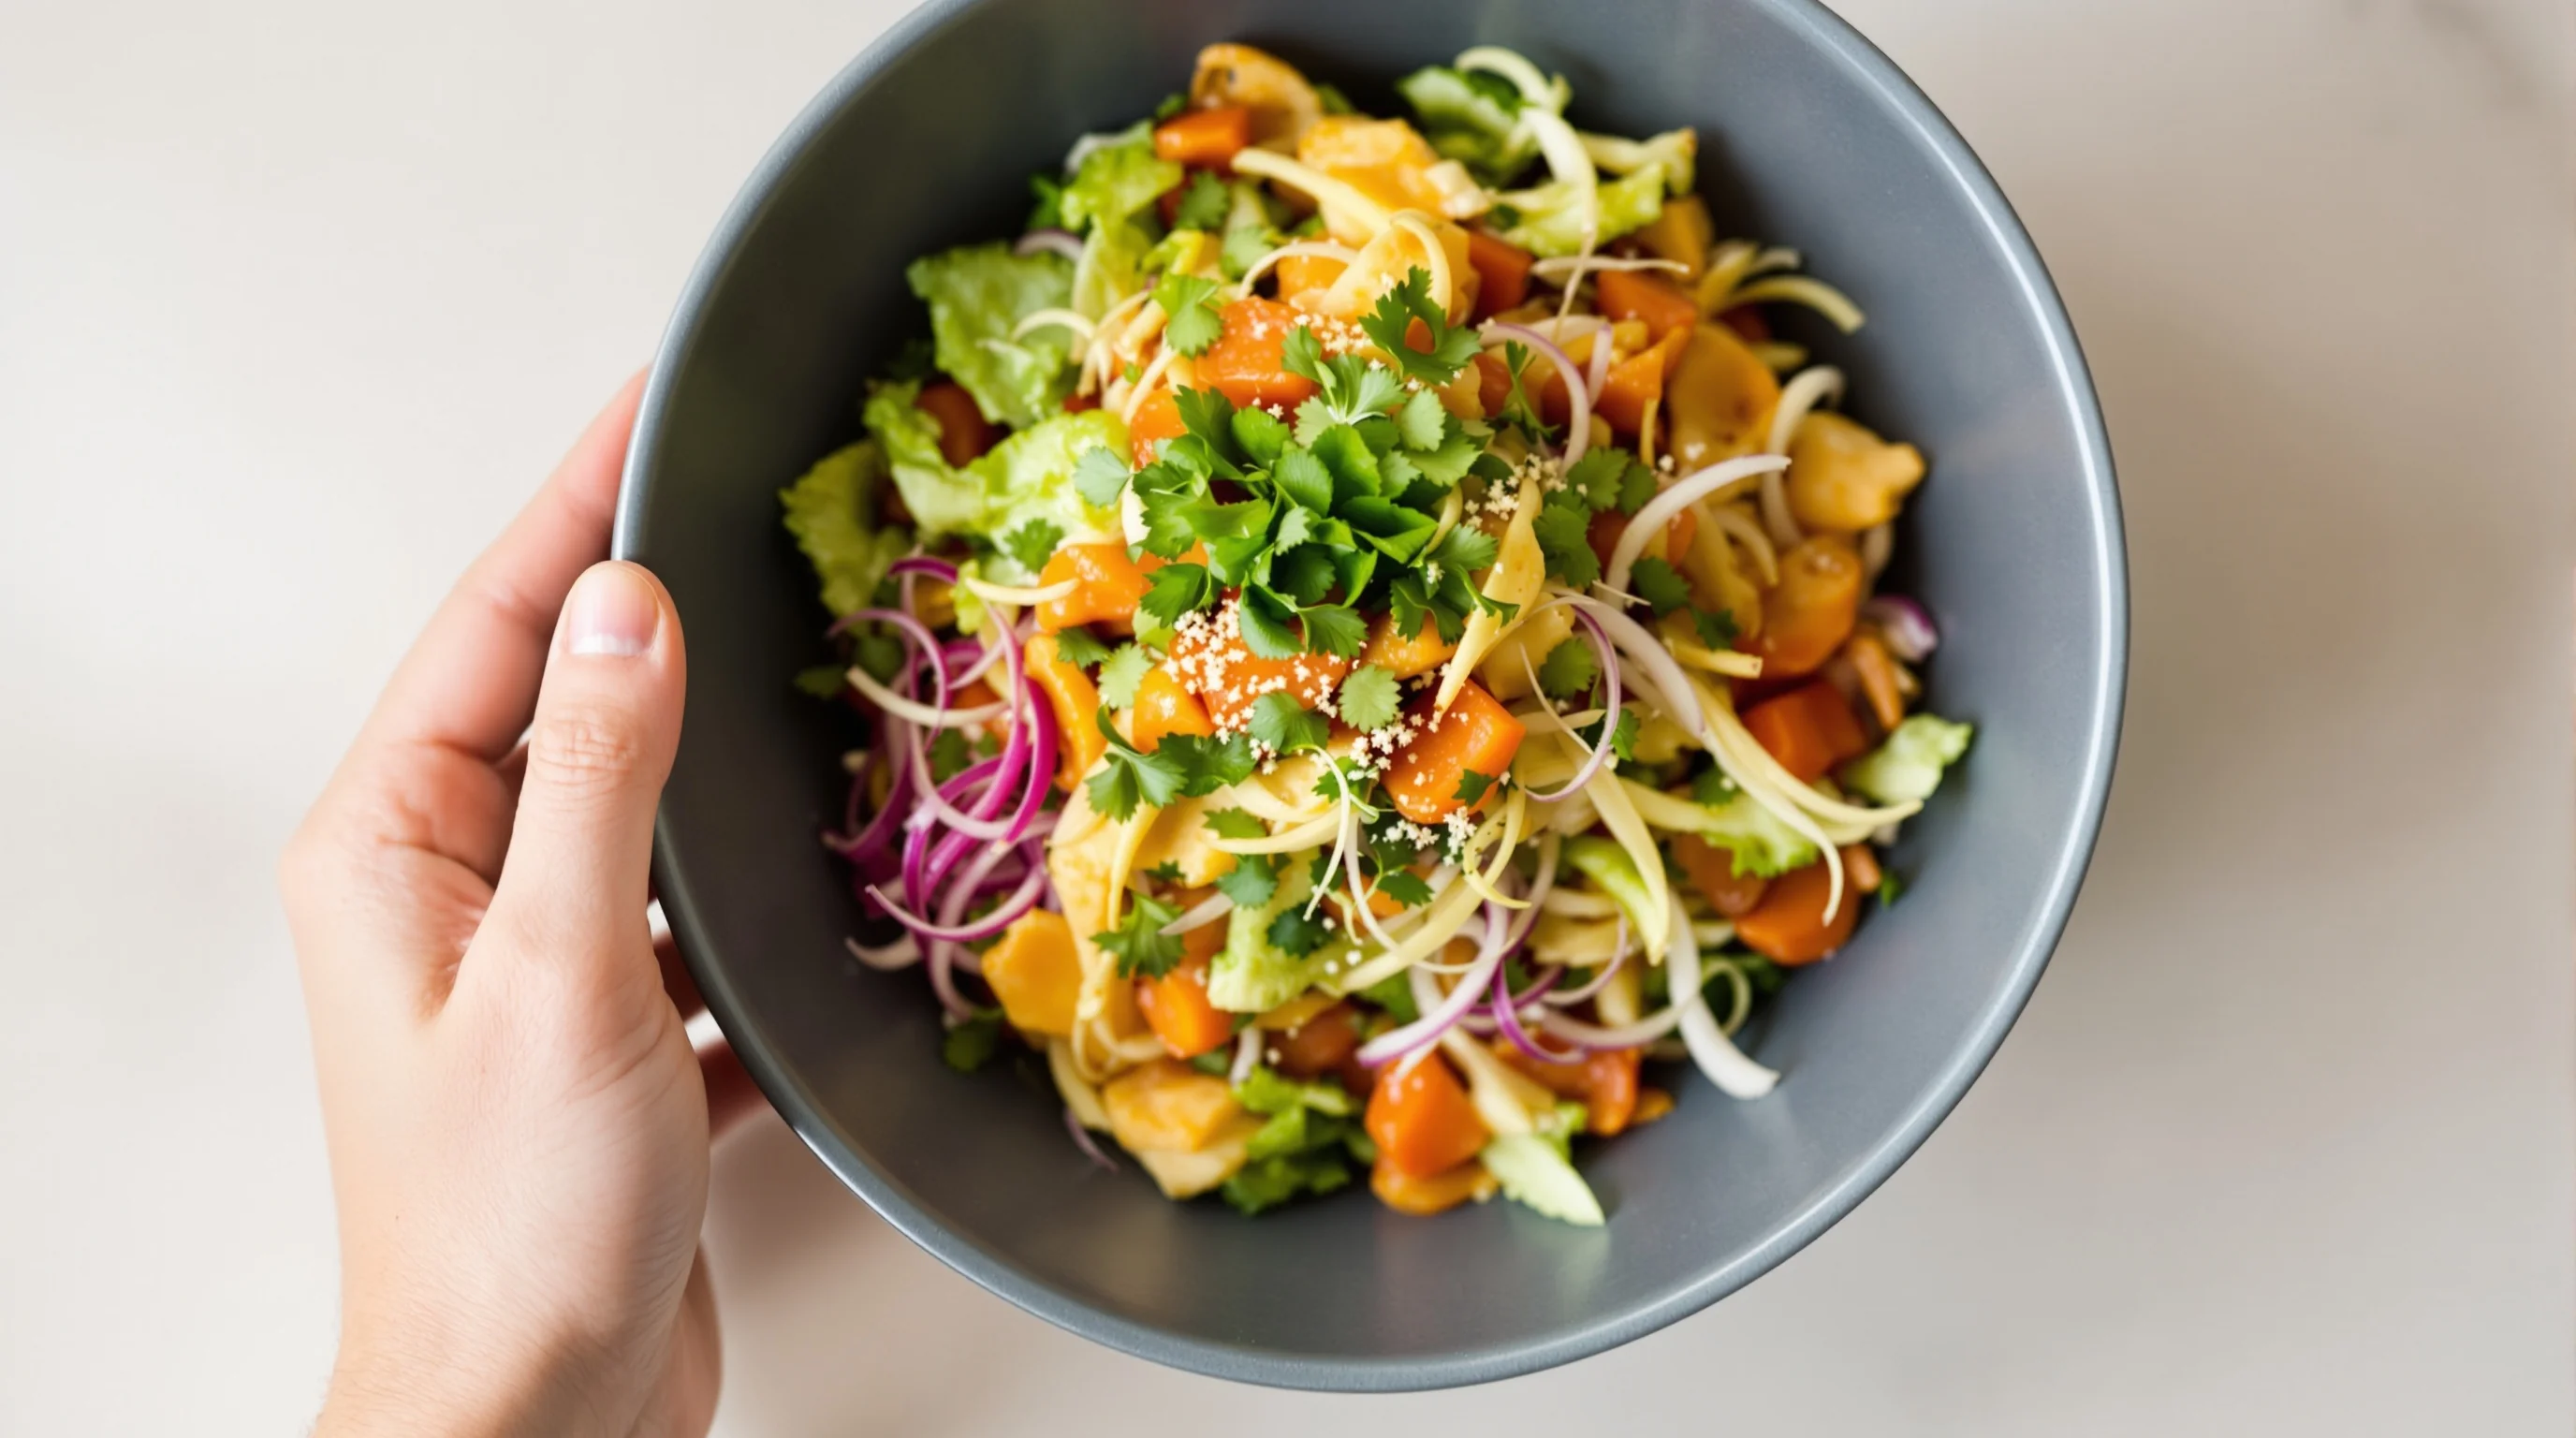
Not every restaurant has the time or budget for a full kit of backdrop boards. YummyPic offers an alternate route: an AI-powered platform that transforms simple food photos into restaurant-quality images in seconds. For busy restaurateurs, YummyPic reduces the need for large physical backdrop inventories and complex lighting setups by generating high-quality menu and delivery images quickly and affordably. This is particularly useful for food trucks, small cafes and franchises that need consistent, platform-optimized photos across DoorDash, Grubhub and Instagram.
- Speed: Professional photos in seconds versus hours with a photoshoot.
- Cost-effective: Fraction of the expense of hiring a pro photographer.
- Variety: Multiple photography styles from bright & airy to dark & moody.
- Convenience: No props, lighting or complex setups required.
Use YummyPic alongside a small physical kit: create one or two reliable in-house backdrops for on-premise photos and supplement with AI-generated styles when Sie need volume, platform-specific crops, or rapid image updates. This hybrid workflow addresses two key pain points: finding unique, durable backdrops without overspending, and avoiding the logistics of transporting multiple rigid surfaces.
Pro tips to speed up shoots and keep images consistent
Consistency is critical for menus and delivery listings. Pick a small set of backdrop looks (2–4) and stick to them so customers recognize your brand across Instagram and delivery apps. Label boards, record camera settings for each setup, and create a simple shot list (overhead burger, 45° pasta, hero dish straight-on). When possible, shoot with natural soft light and diffuse direct sunlight with a white sheet or foamcore.
💡 Pro Tip
Photograph each dish on two backdrops (light and dark) during one session — one will work better for social feeds, the other for delivery platform thumbnails.
Conclusion
Choosing the right food photography backdrops doesn't have to be expensive or complicated. Start with neutral, matte surfaces in practical sizes (24×36 in minimum for flatlays), add subtle texture, and prioritize materials that meet your needs for portability and cleaning. Use DIY techniques to expand your palette affordably, and consider hybrid workflows — a small physical kit plus YummyPic’s AI-powered image generation — to scale images across menus and delivery platforms quickly. With a few solid backdrops and consistent workflow, Sie will improve engagement, reduce editing time and present dishes that look as good as they taste.