Introduction — Mexican Food Photography: Make Tacos and Burritos Pop is a practical, restaurant-focused guide for anyone who needs authentic, mouthwatering images of Mexican dishes. Tacos and burritos often look flat or messy in photos, leaving owners frustrated and customers uninterested. In this article Sie erhalten klare Techniken zur Beleuchtung, Komposition, Styling und Nachbearbeitung sowie Smartphone- und Kameratipps, damit Ihre Tacos und Burritos in Bildern lebendig und einladend wirken. We will also address common pain points—uncertain lighting, awkward angles and styling messy fillings—so you can produce menu-ready visuals that convert.
Why Mexican ingredients make photography easier
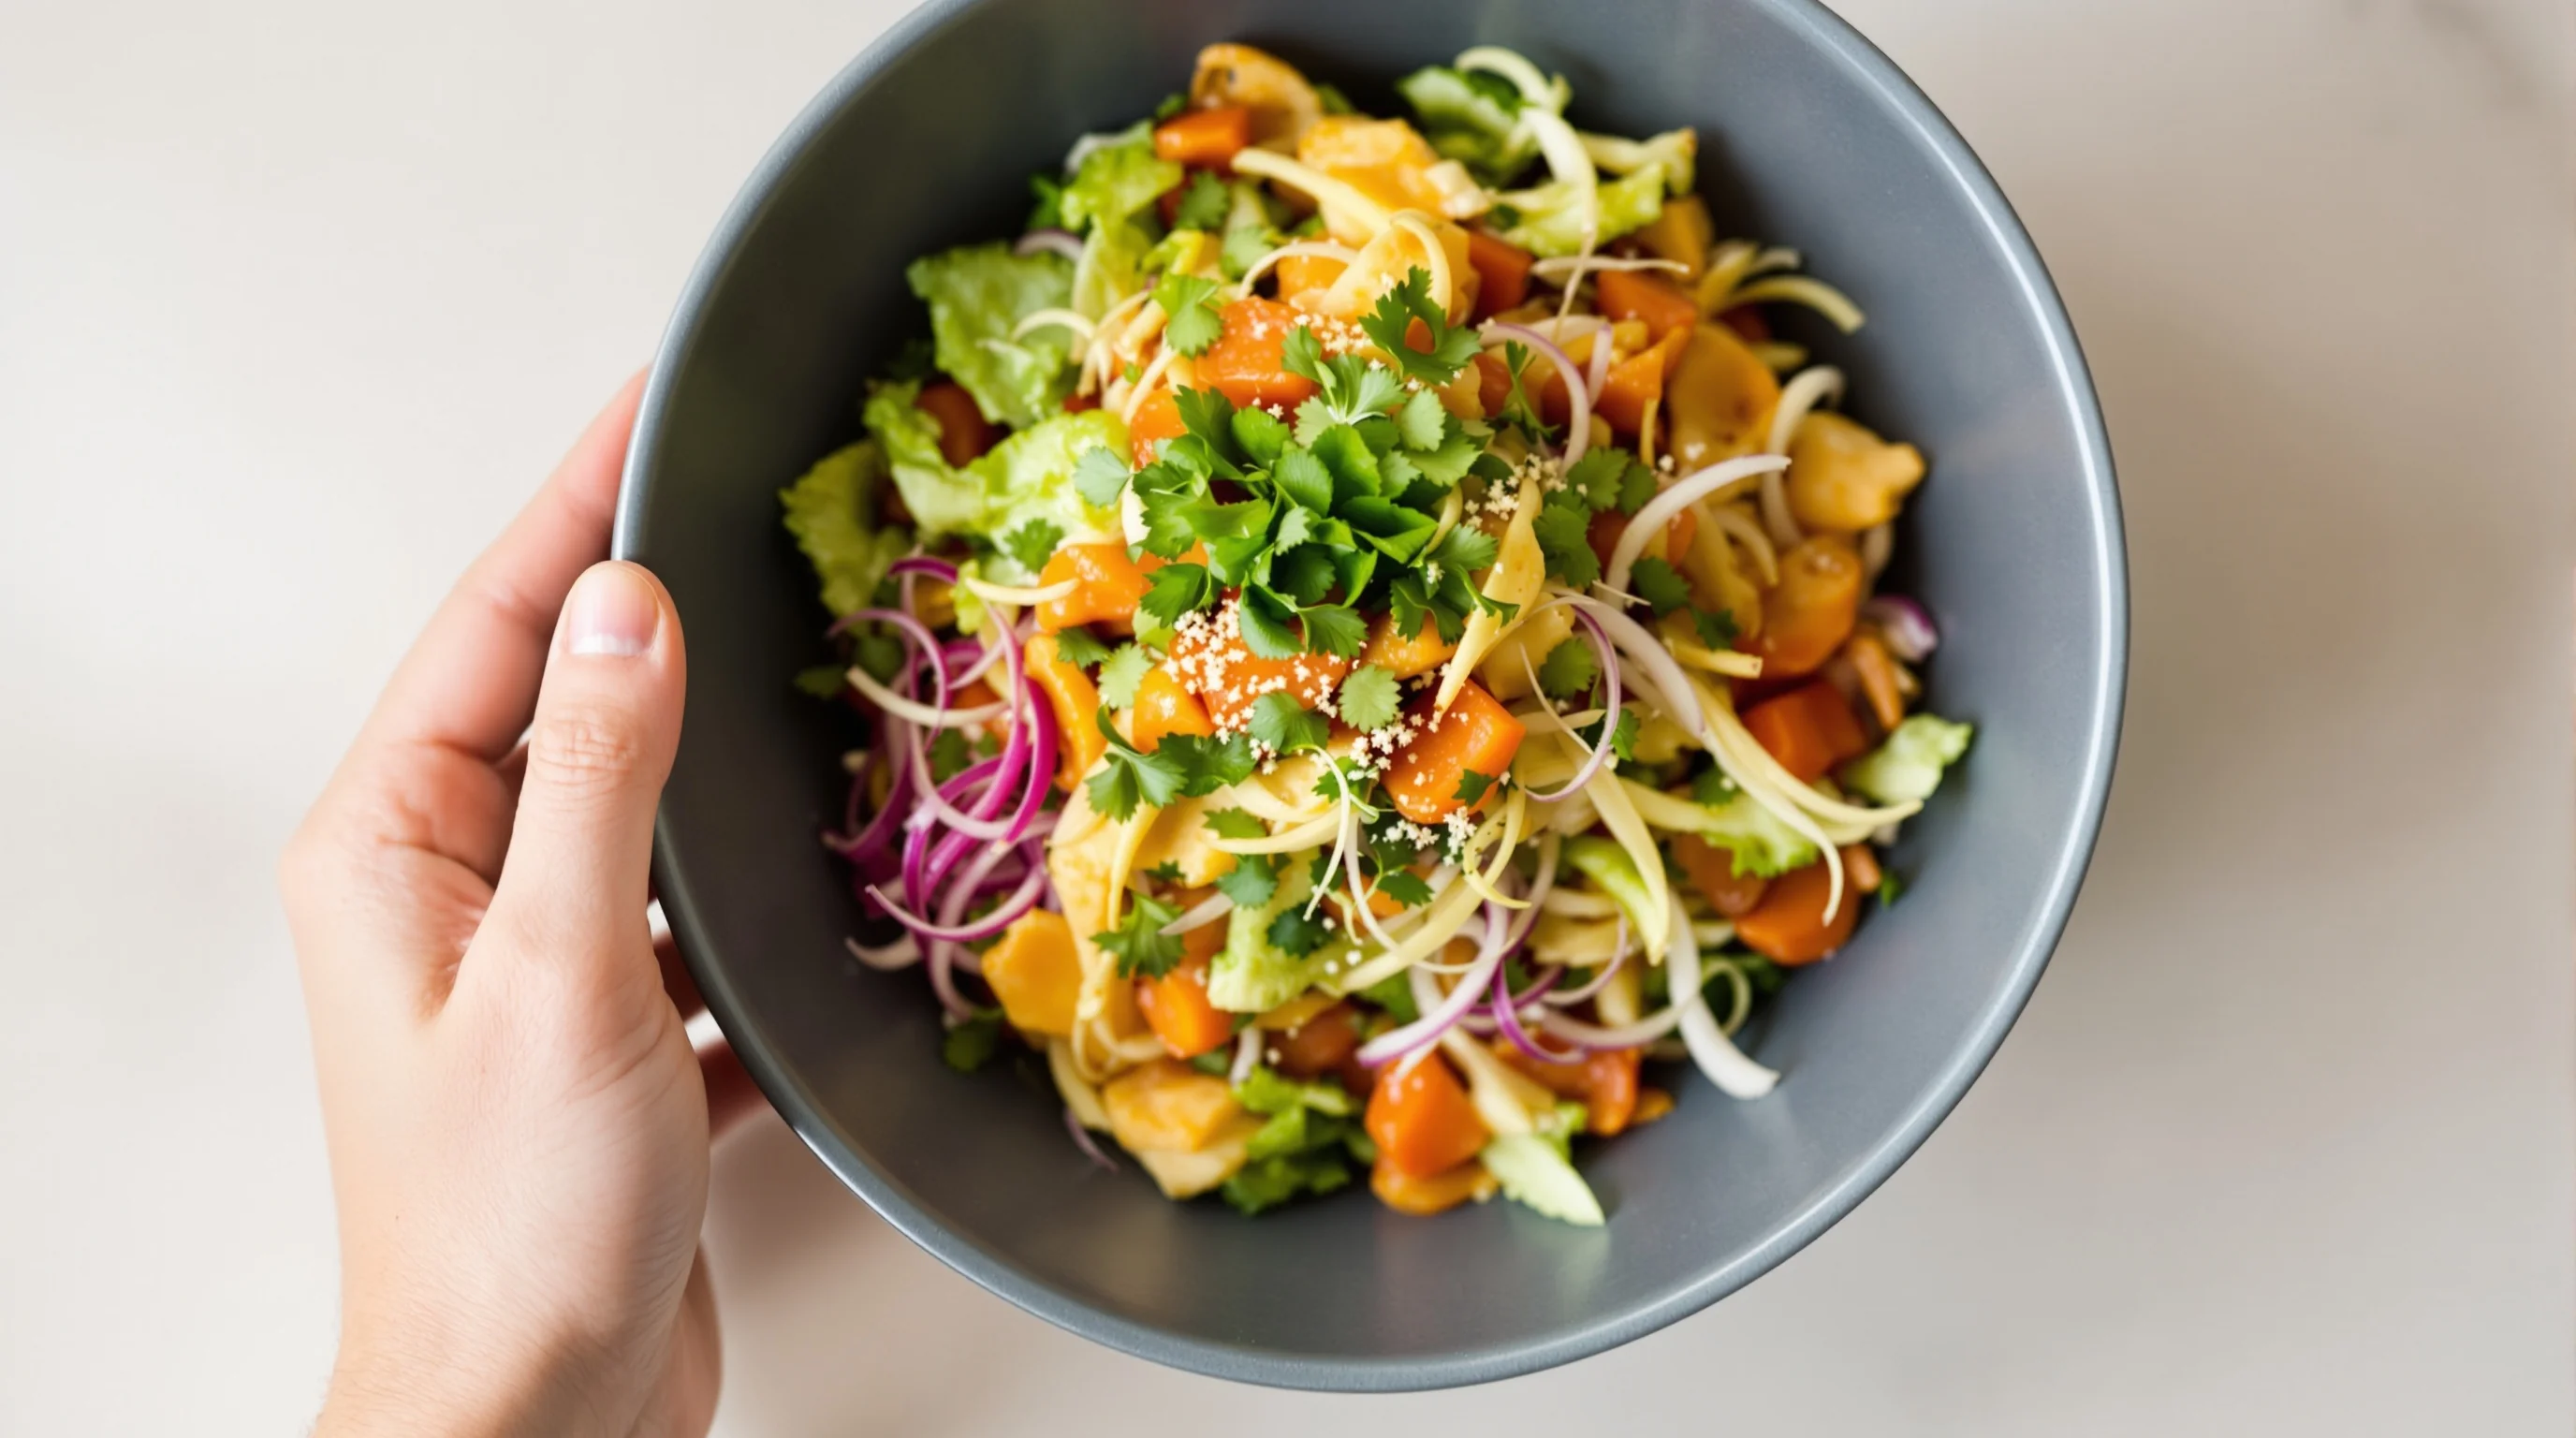
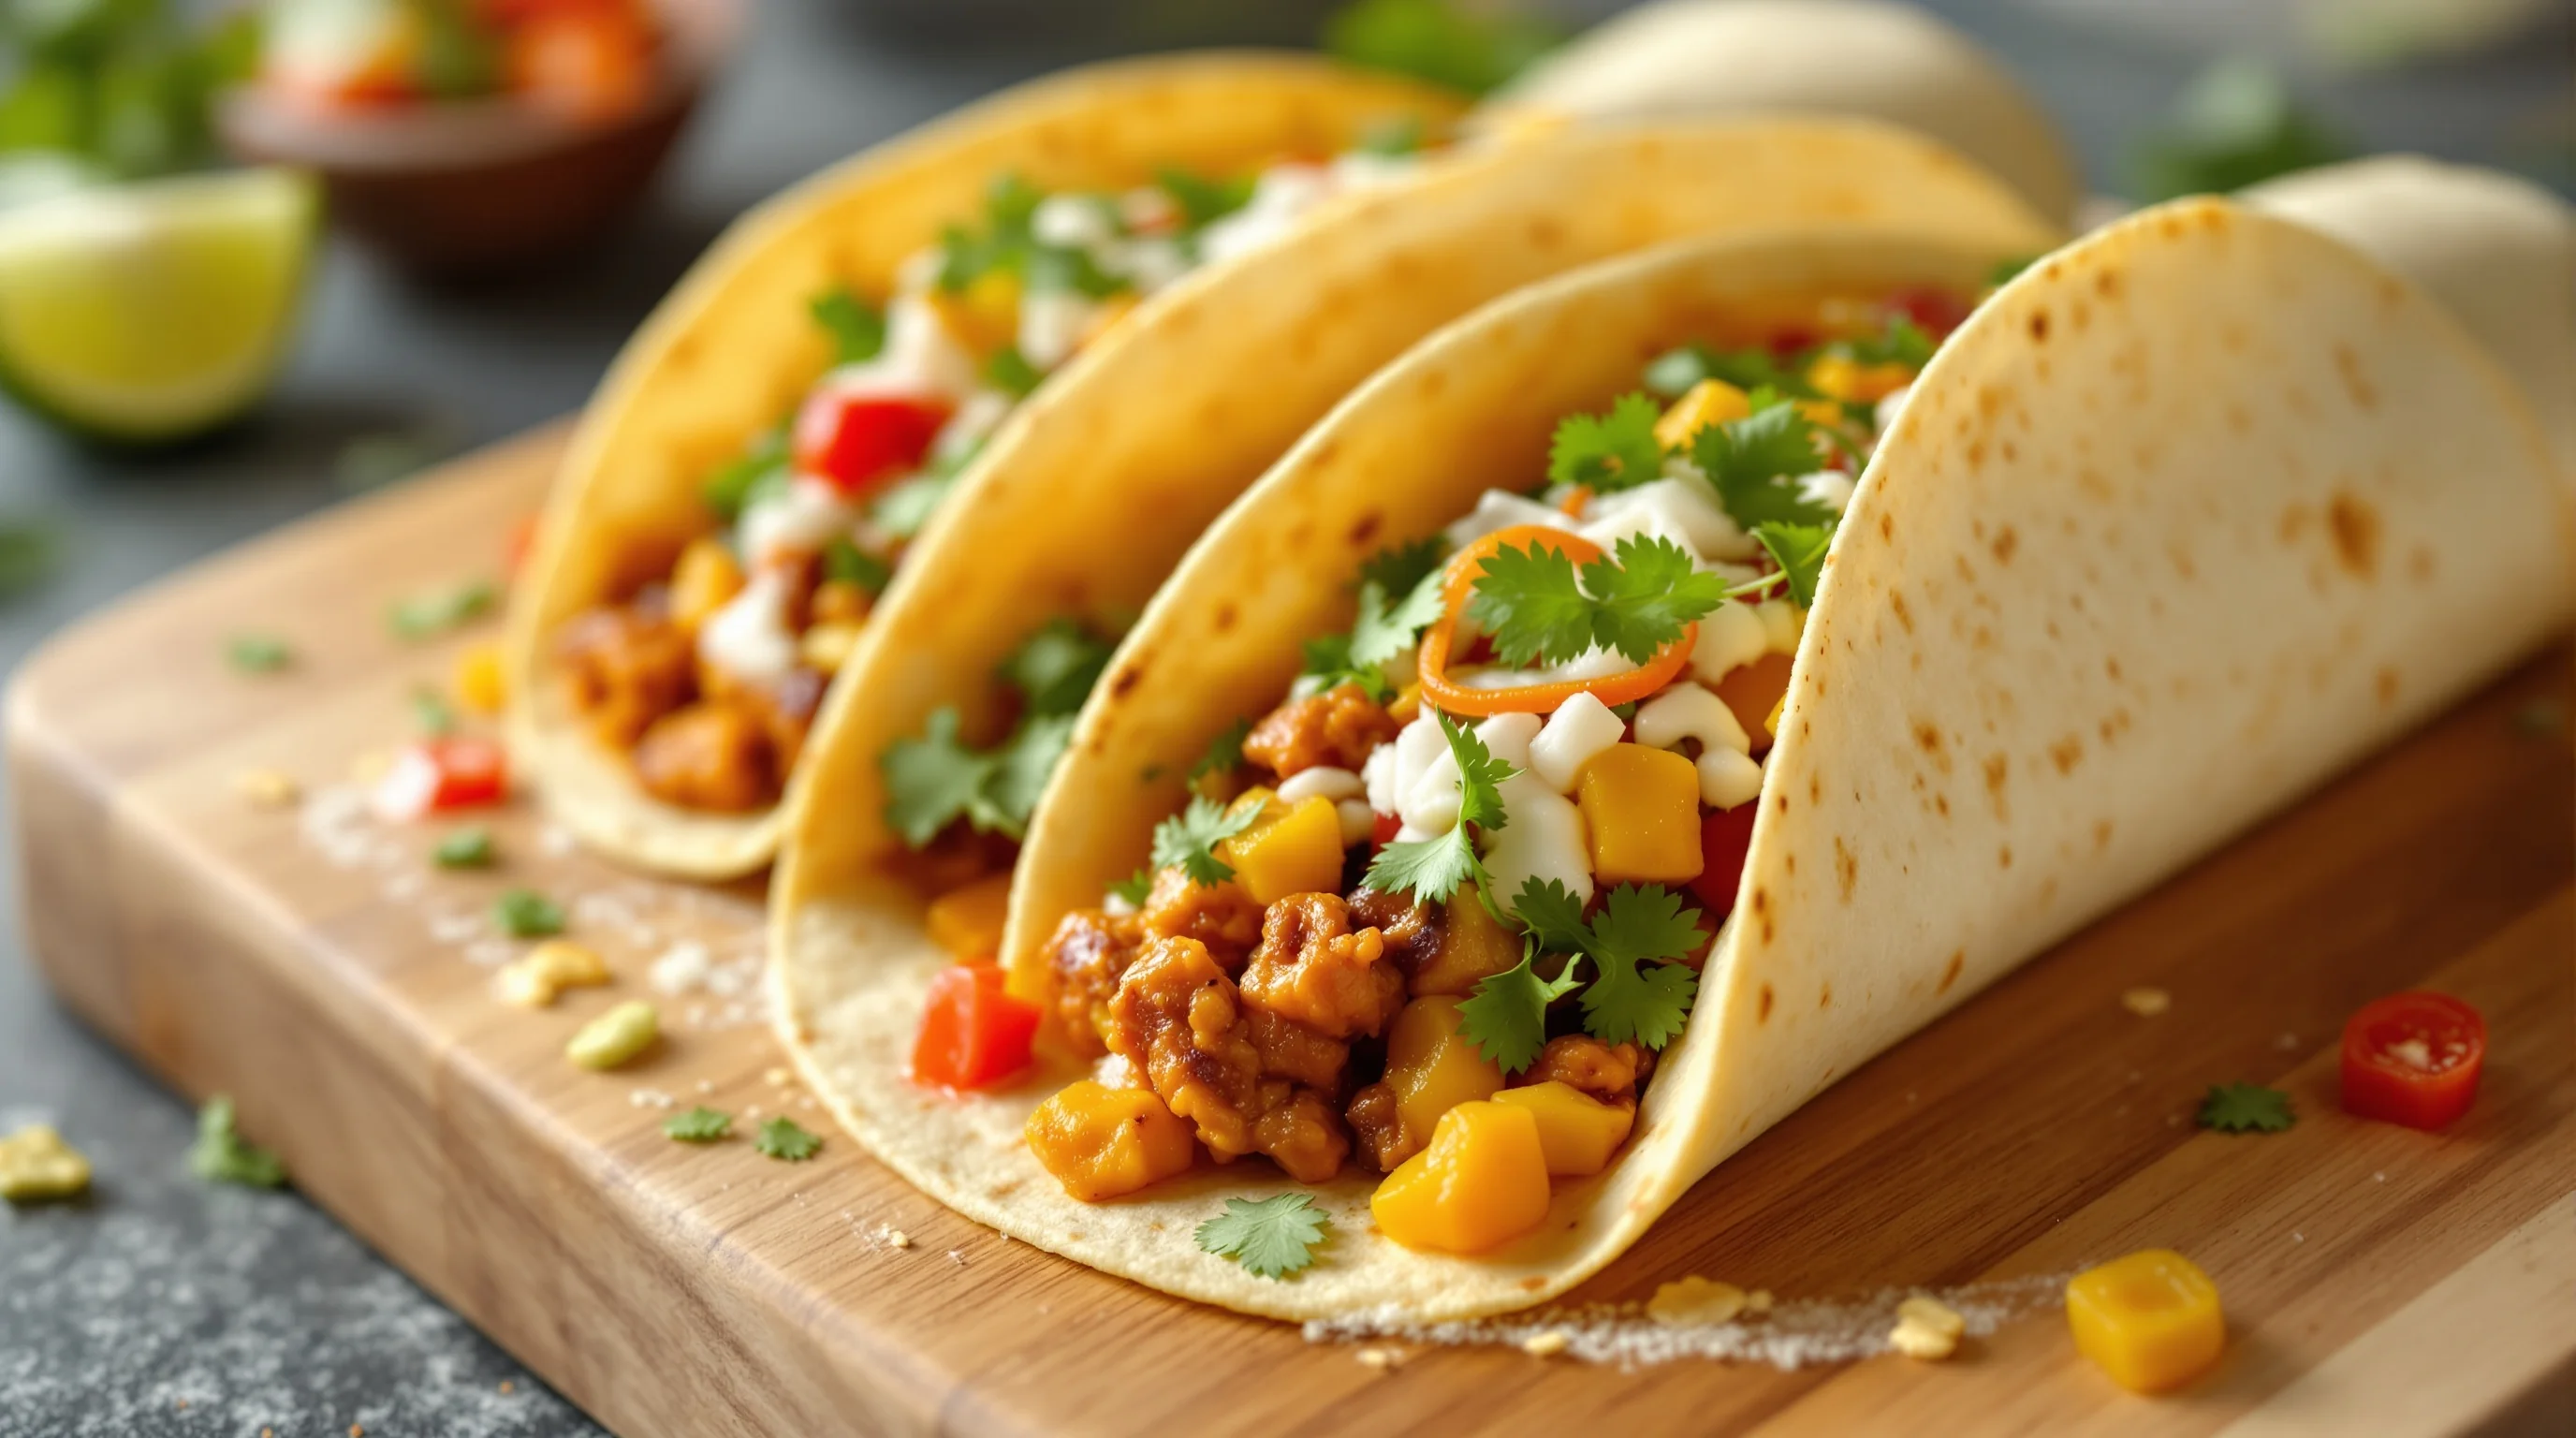
Mexican cuisine is naturally bold and colorful, offering a vibrant tapestry of colors, textures and aromas that translate well to the camera. As noted by Giro Toronto, the colors and contrasts in Mexican dishes are both beautiful and mouthwatering; this means the raw materials for strong images are already on the plate. Using fresh, well-arranged ingredients — bright cilantro, limes and salsas — significantly boosts visual appeal, a point reinforced by Furoore and Giro Toronto. Start by celebrating those colors: bright garnishes and crisp leaves will draw the eye and increase perceived freshness.
When approaching Mexican Food Photography: Make Tacos and Burritos Pop, think of color contrast and texture first. Crisp tortilla edges, glossy salsa, creamy avocado and char marks provide visual cues of taste and temperature. Properly exposing those highlights and preserving color saturation in-camera makes post-processing simpler and more natural. If you struggle with dull plates, refresh ingredients and re-arrange elements until the composition feels lively.
How can I photograph tacos and burritos to make them stand out?
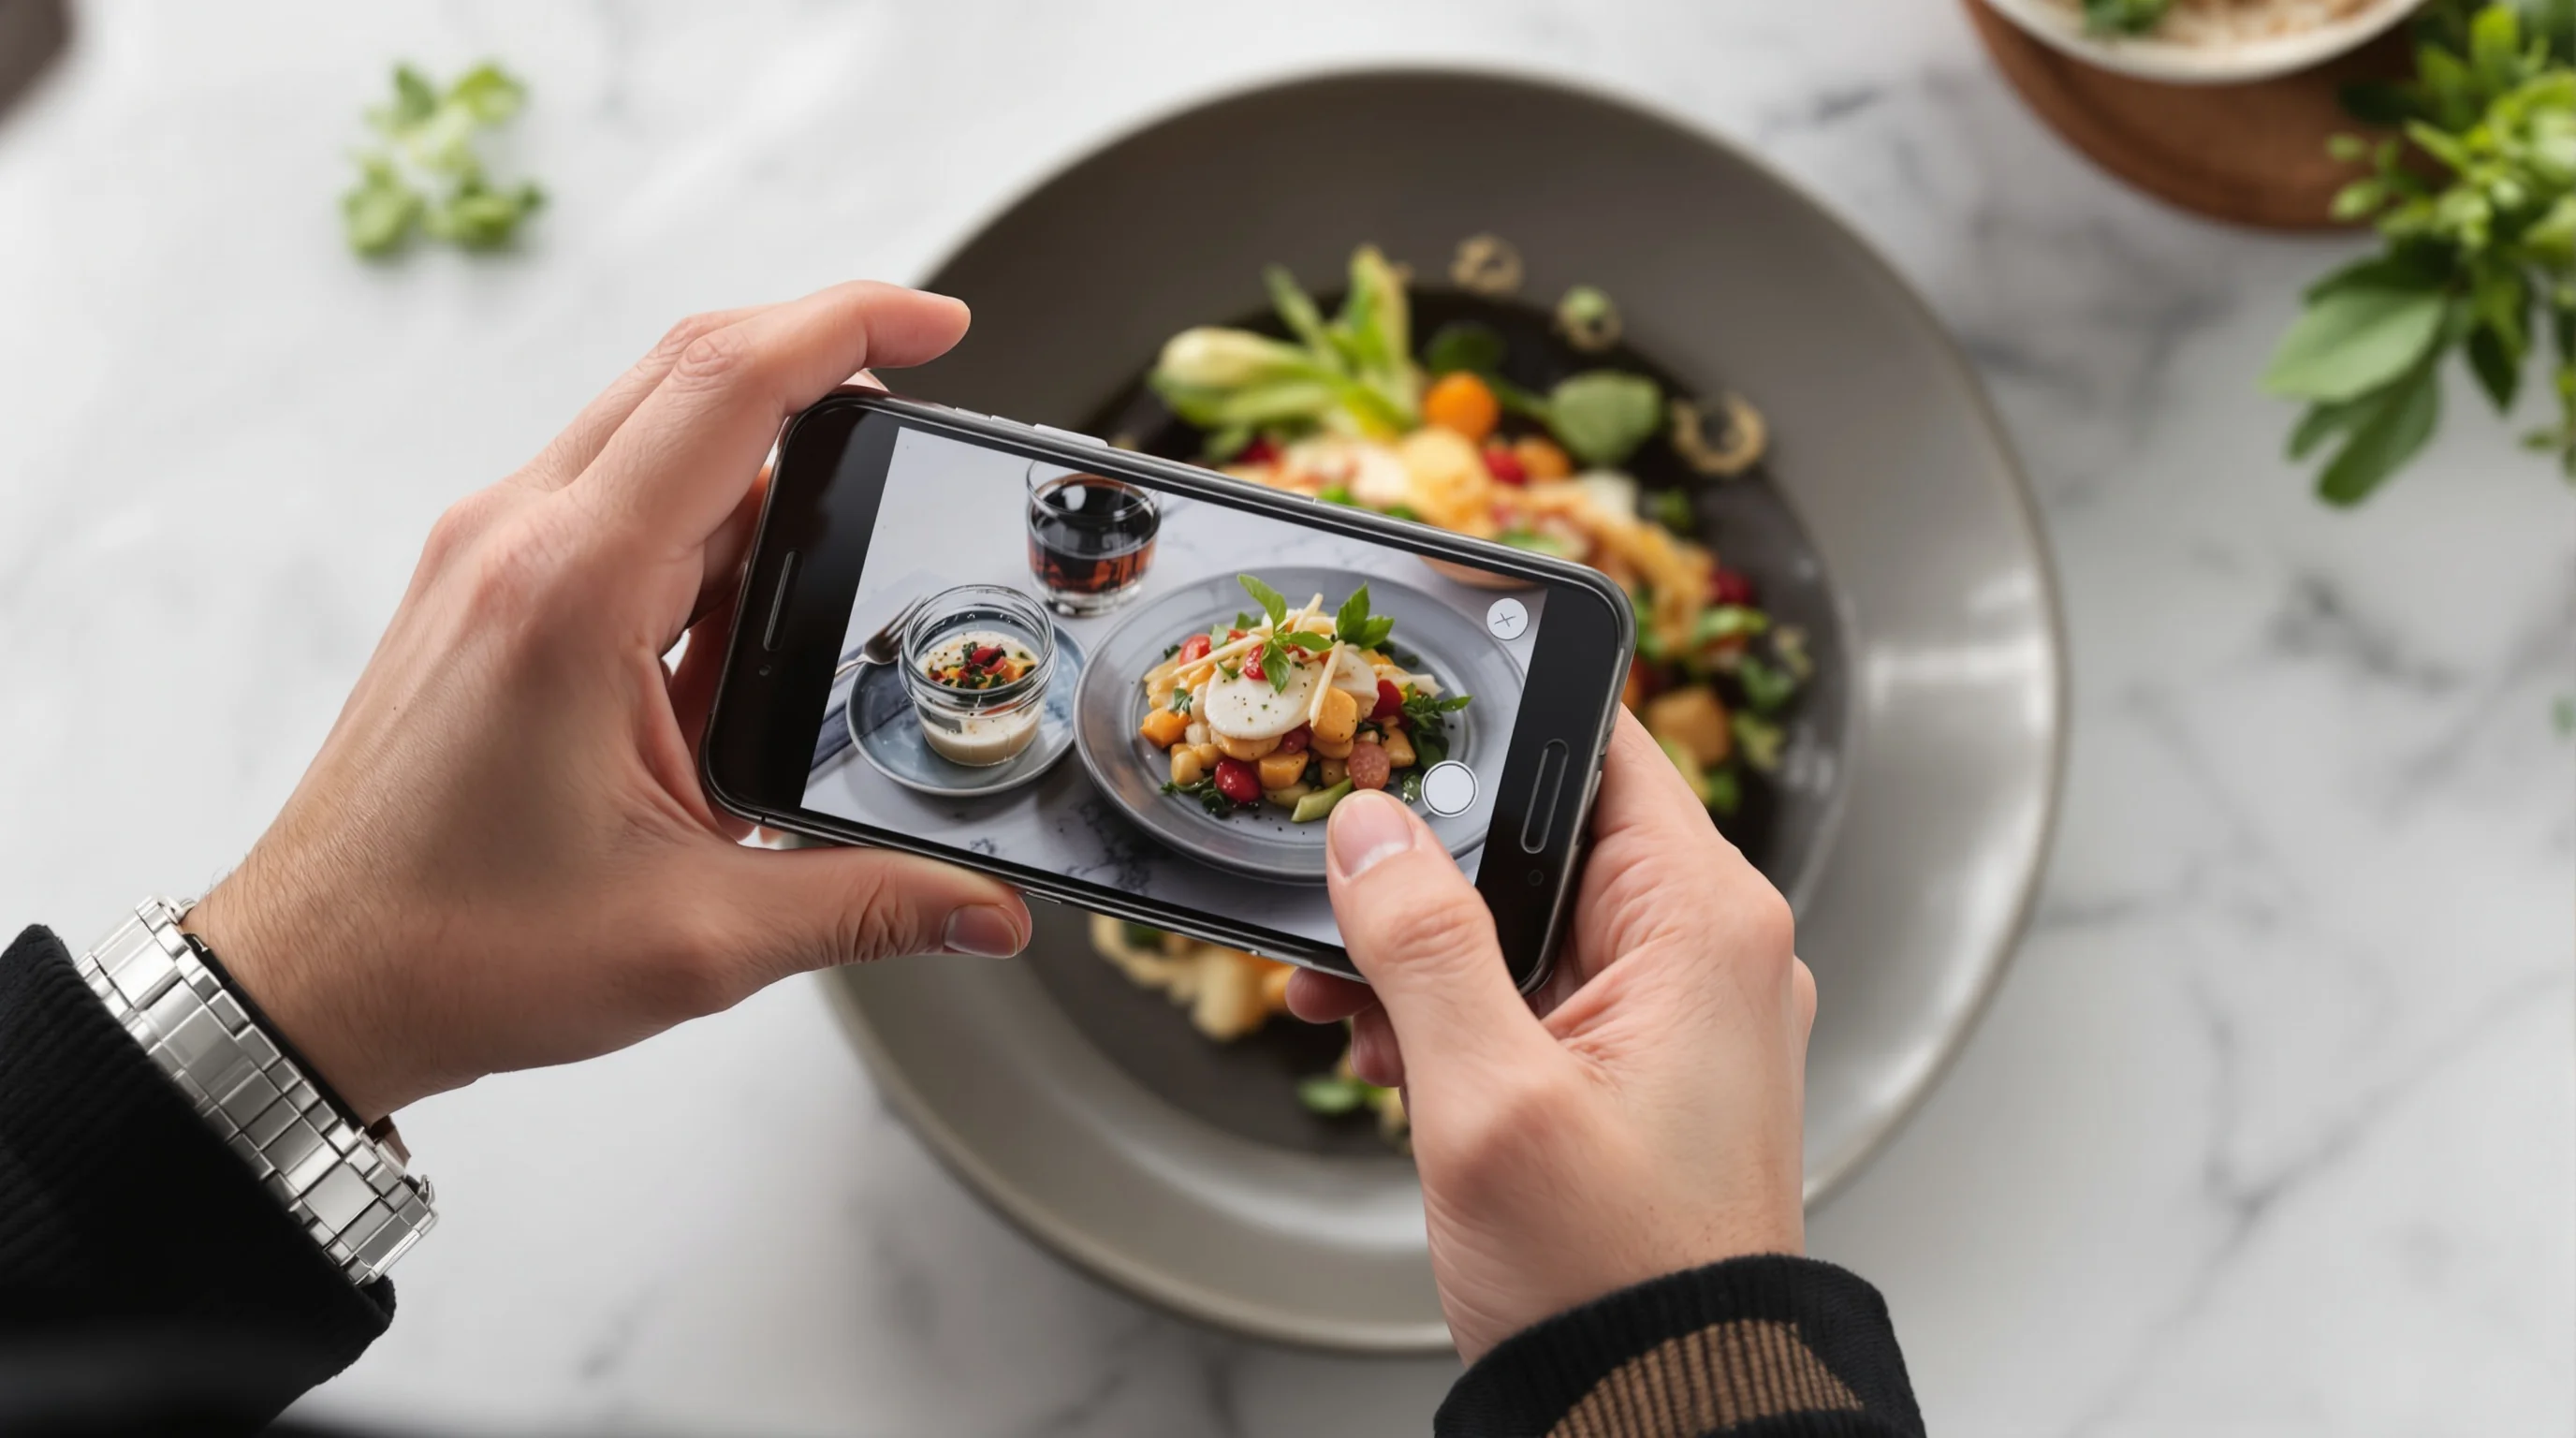
Answering the core question—How can I photograph tacos and burritos to make them stand out?—requires thinking about three pillars: light, angle and storytelling. Natural light works wonders for capturing the vibrant colors and textures; shooting near a large window or outdoors during golden hour yields warm tones and gentle shadows. Expert photographers often emphasize that simple side or 45° light will reveal texture without flattening shapes.
"Natural light works wonders for capturing the vibrant colors and textures"
SoHo Taco
For tacos, a low 45° angle often shows filling layers and shell texture; for burritos, halve the wrap and shoot the cut face head-on to display fillings—Suggestion of Motion argues that framing elements like halving a burrito makes the composition much nicer. Prop tacos in a shell or use a simple stand to keep shape tidy while showing depth. Those small staging choices are what elevate images from casual to menu-ready.
Lighting: natural, controlled and quick fixes
Light is the single most important variable in Mexican Food Photography: Make Tacos and Burritos Pop. Natural window light is usually best—soft, directional and flattering for saturated ingredients. If natural light is limited, use a single continuous light with a softbox to replicate window light. Avoid harsh overhead flash which can wash out color and flatten texture.
When natural light is too contrasty, diffuse it with a white sheet or a translucent reflector. Use a black card opposite the light to deepen shadows and increase perceived contrast; this trick makes taco shells and char marks more dimensional. For plate highlights, a small reflector placed just outside frame lifts shadows and preserves detail in salsas and creamy sauces.
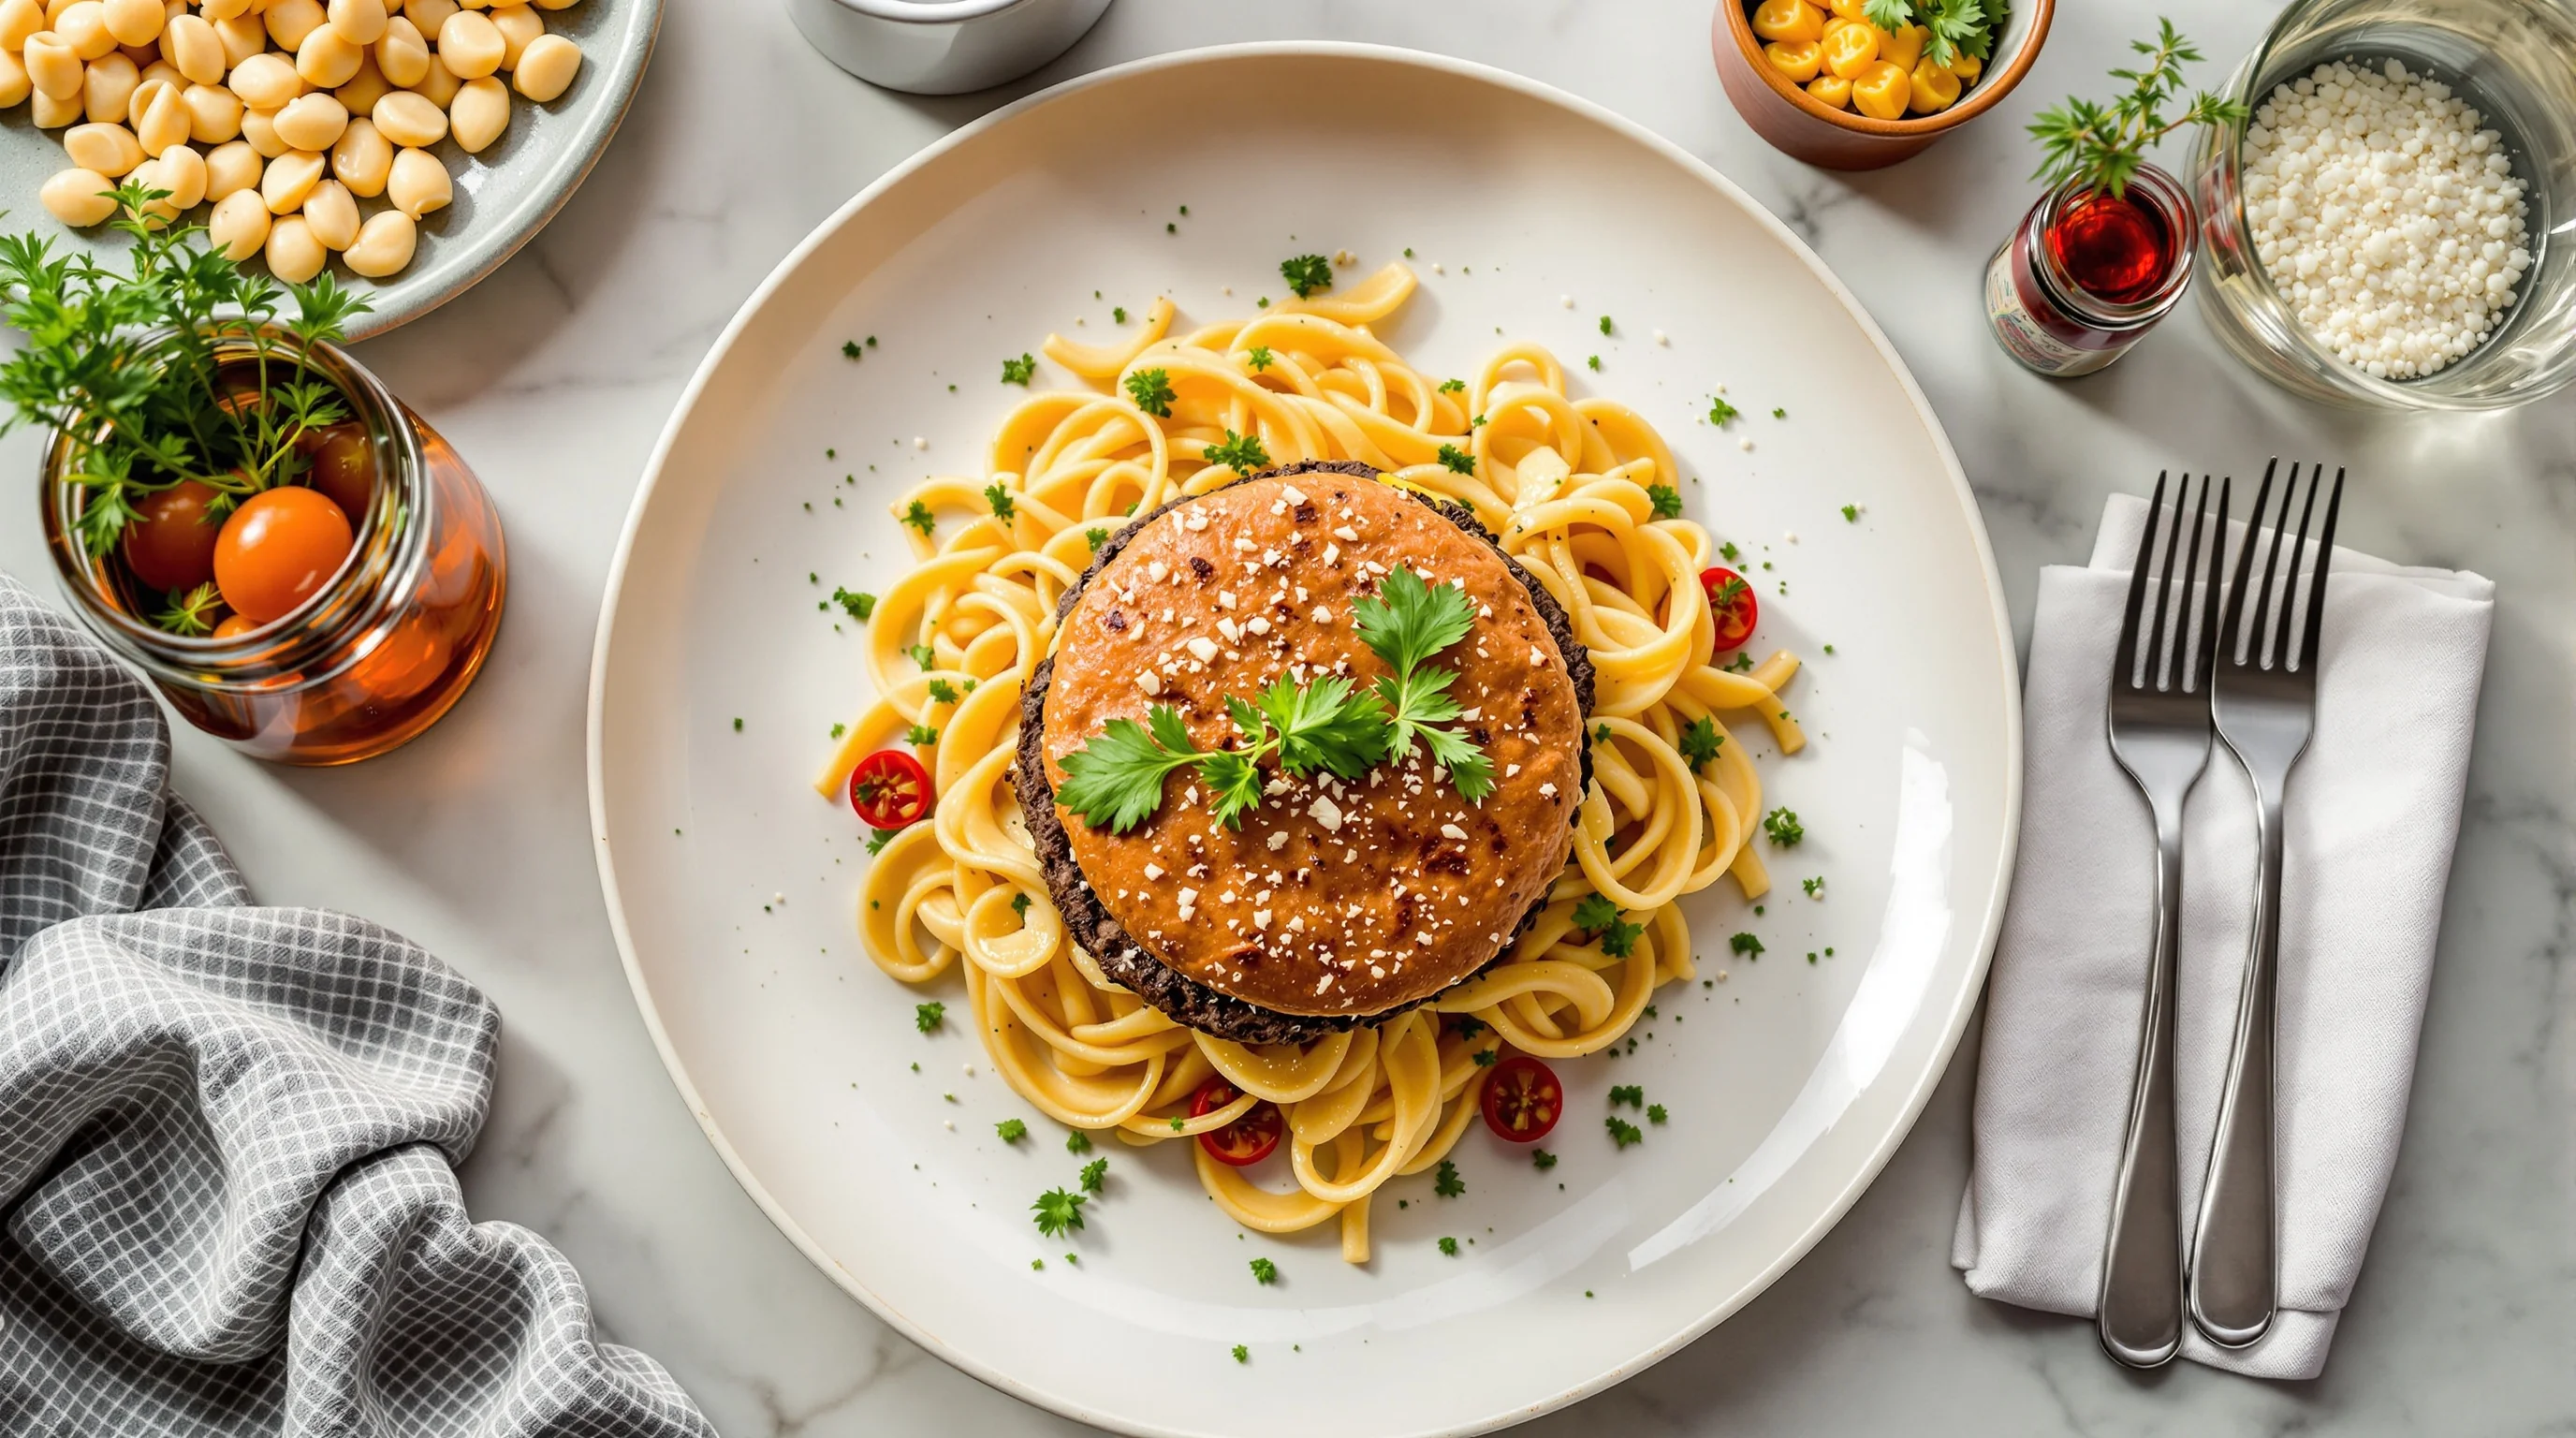
Composition and angles that make fillings sing
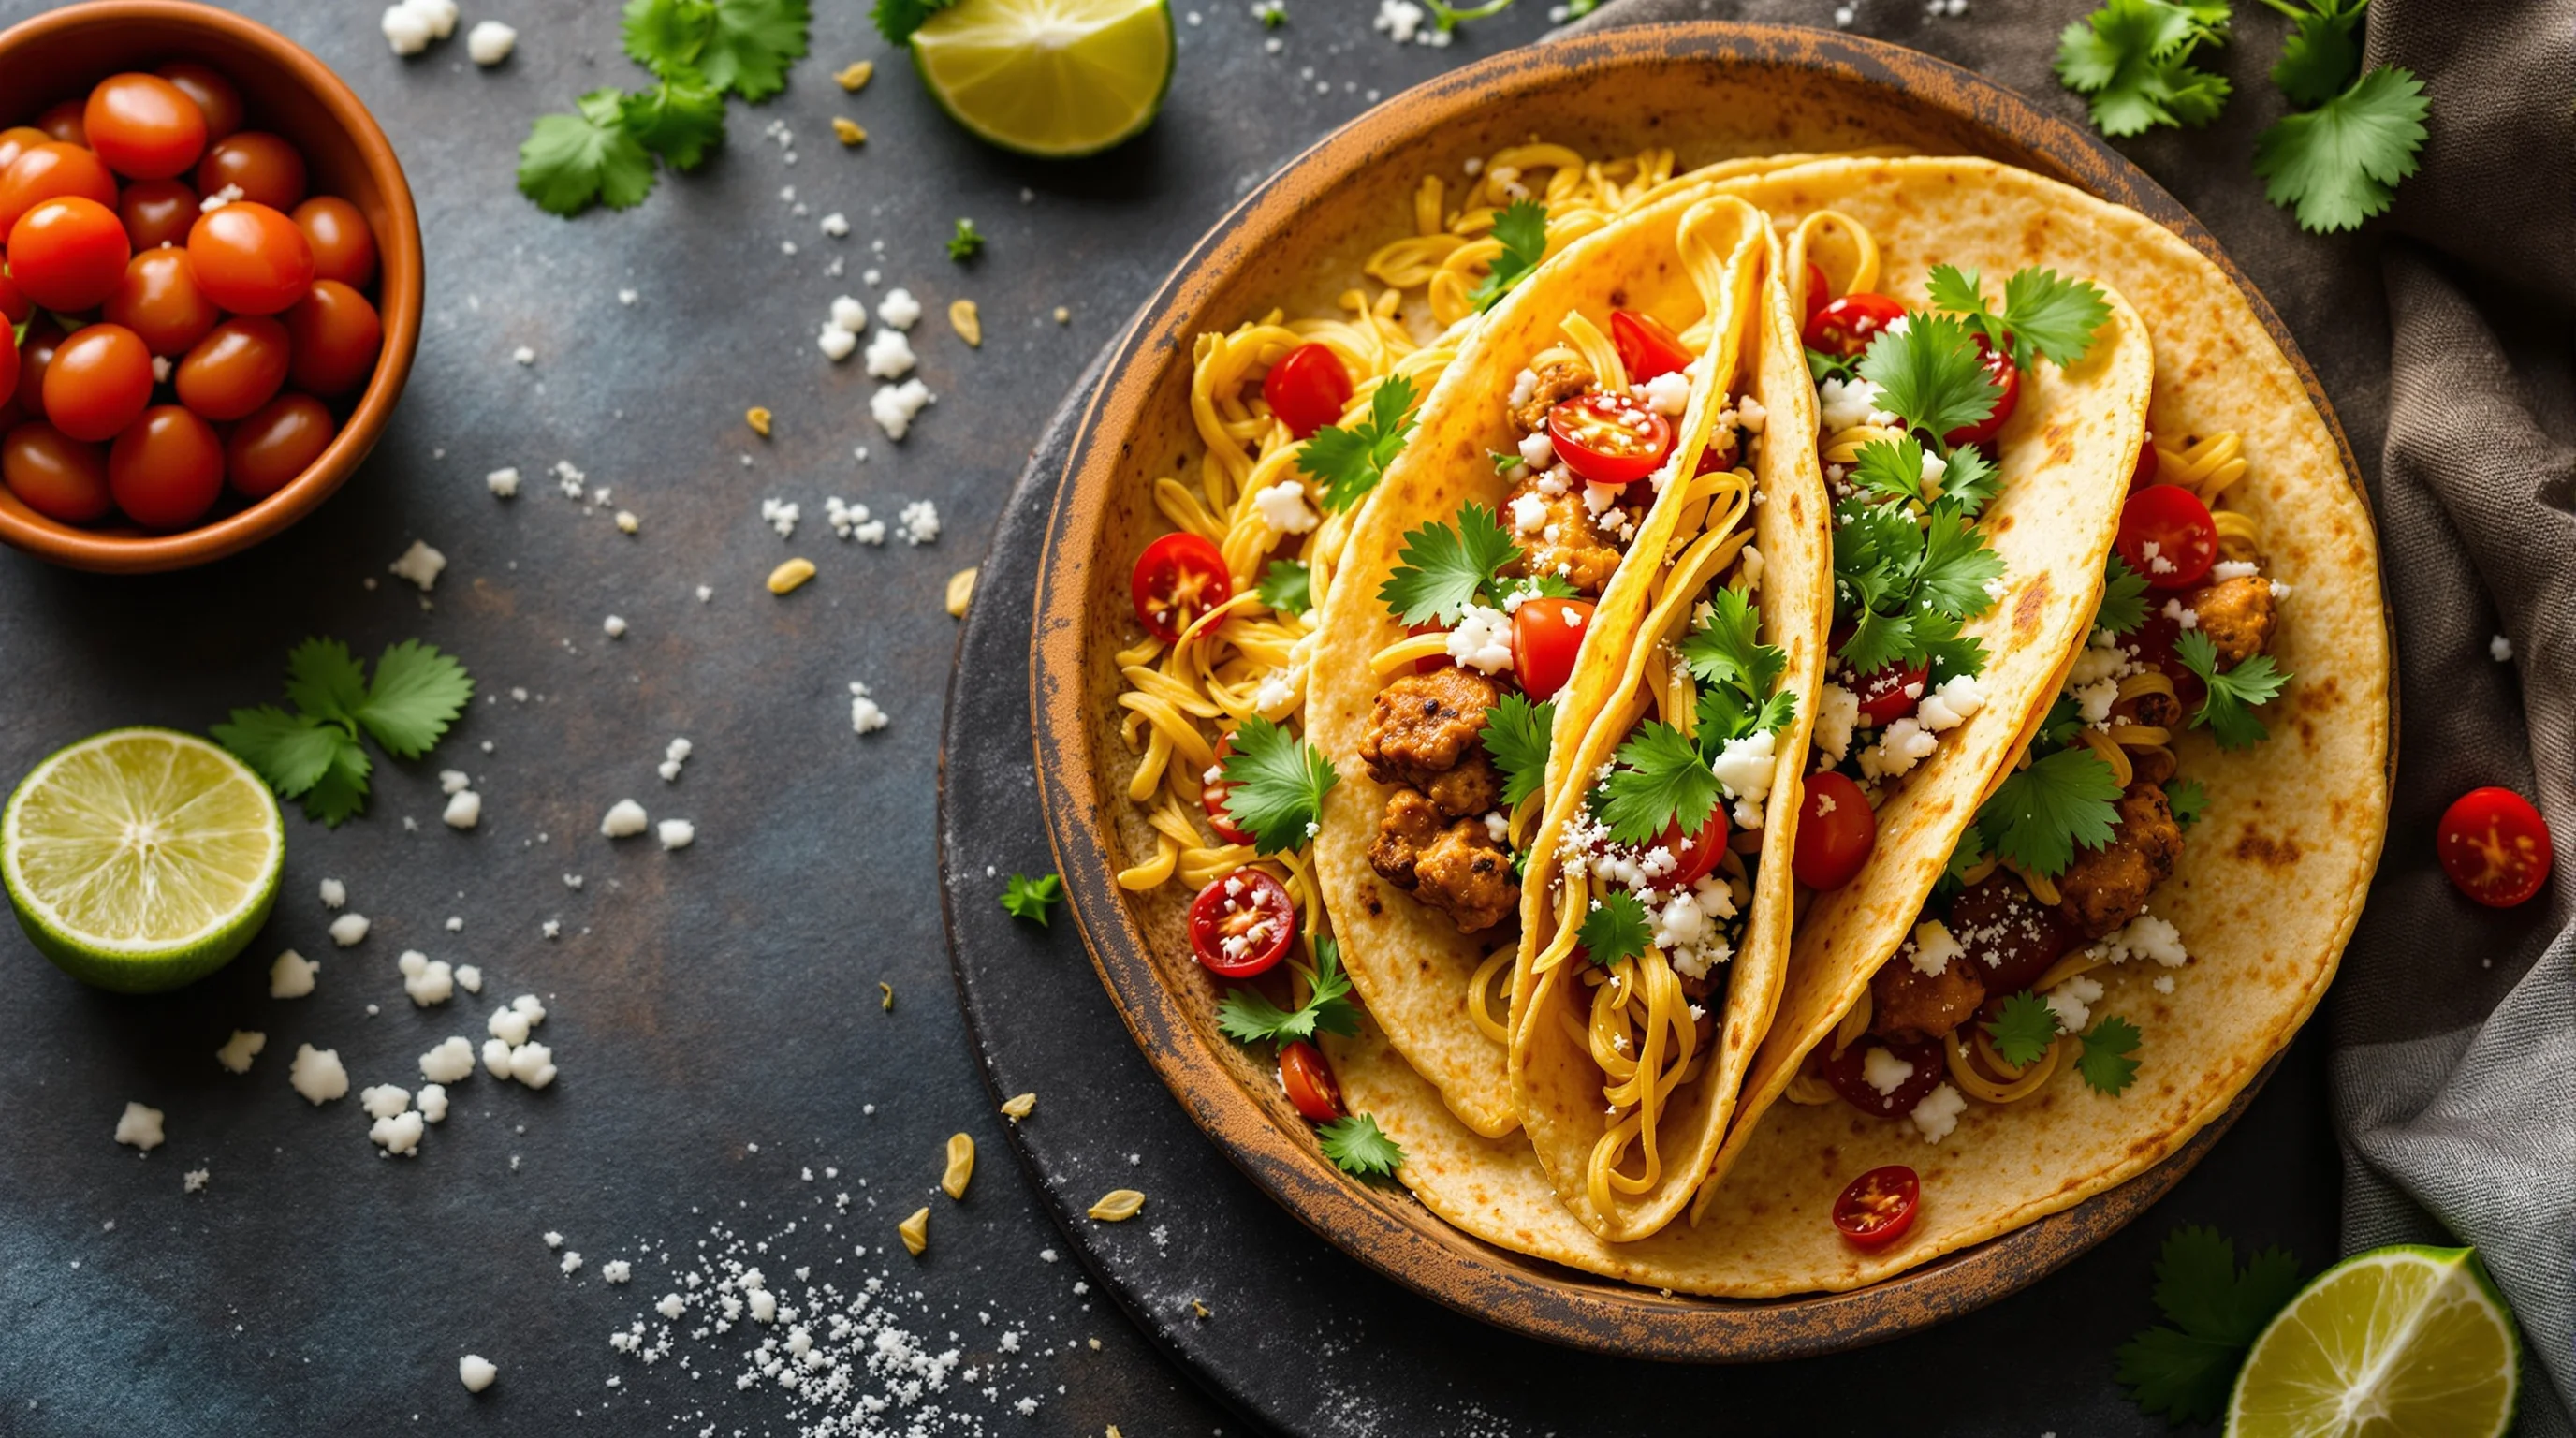
Composition choices determine whether fillings read clearly. For tacos choose either a slight overhead (flat-lay) to show multiple tacos in a row or a 45°/low angle to emphasize the stack and fillings. For burritos, cut cleanly and capture the cross-section at eye level or slightly above so the layers—rice, beans, meat, pico—are visible. Framing tightly around the cut edge reduces distracting negative space and tells a clearer story.
Use the rule of thirds to position focal points—lime wedges, a cilantro sprig or a burst of salsa—so the eye has a place to land. For more on composition basics, see our piece on food photography composition rule of thirds — Practical Guide.
Practical camera settings and smartphone tips
One of the content gaps in many guides is step-by-step camera settings. For DSLR or mirrorless cameras: start at ISO 100–400, aperture f/2.8–f/5.6 to balance background blur and depth-of-field, and shutter speed at 1/125s or faster if handheld. For texture-rich close-ups, use f/4–f/5.6 and focus carefully on the most appetizing layer—usually the filling’s glossy or charred surface.
- DSLR/Mirrorless: ISO 100–400, f/2.8–f/5.6, 1/125s+; use a 50–100mm equivalent for compression.
- Smartphone: enable grid, tap to set exposure on the filling, use portrait mode sparingly; try the phone’s 1x or 2x lens for better compression.
- Tripod: use for overheads and low-light; our guide to The Best Tripods for Food Photography helps pick the right support.
Smartphone cameras are capable, especially when combined with mindful lighting and composition. If you shoot with a phone, stabilize with a mini tripod, use HDR sparingly and edit raw or high-quality jpegs in an app that preserves saturation and sharpness. For more on camera choices, check Best Camera for Food Photography.

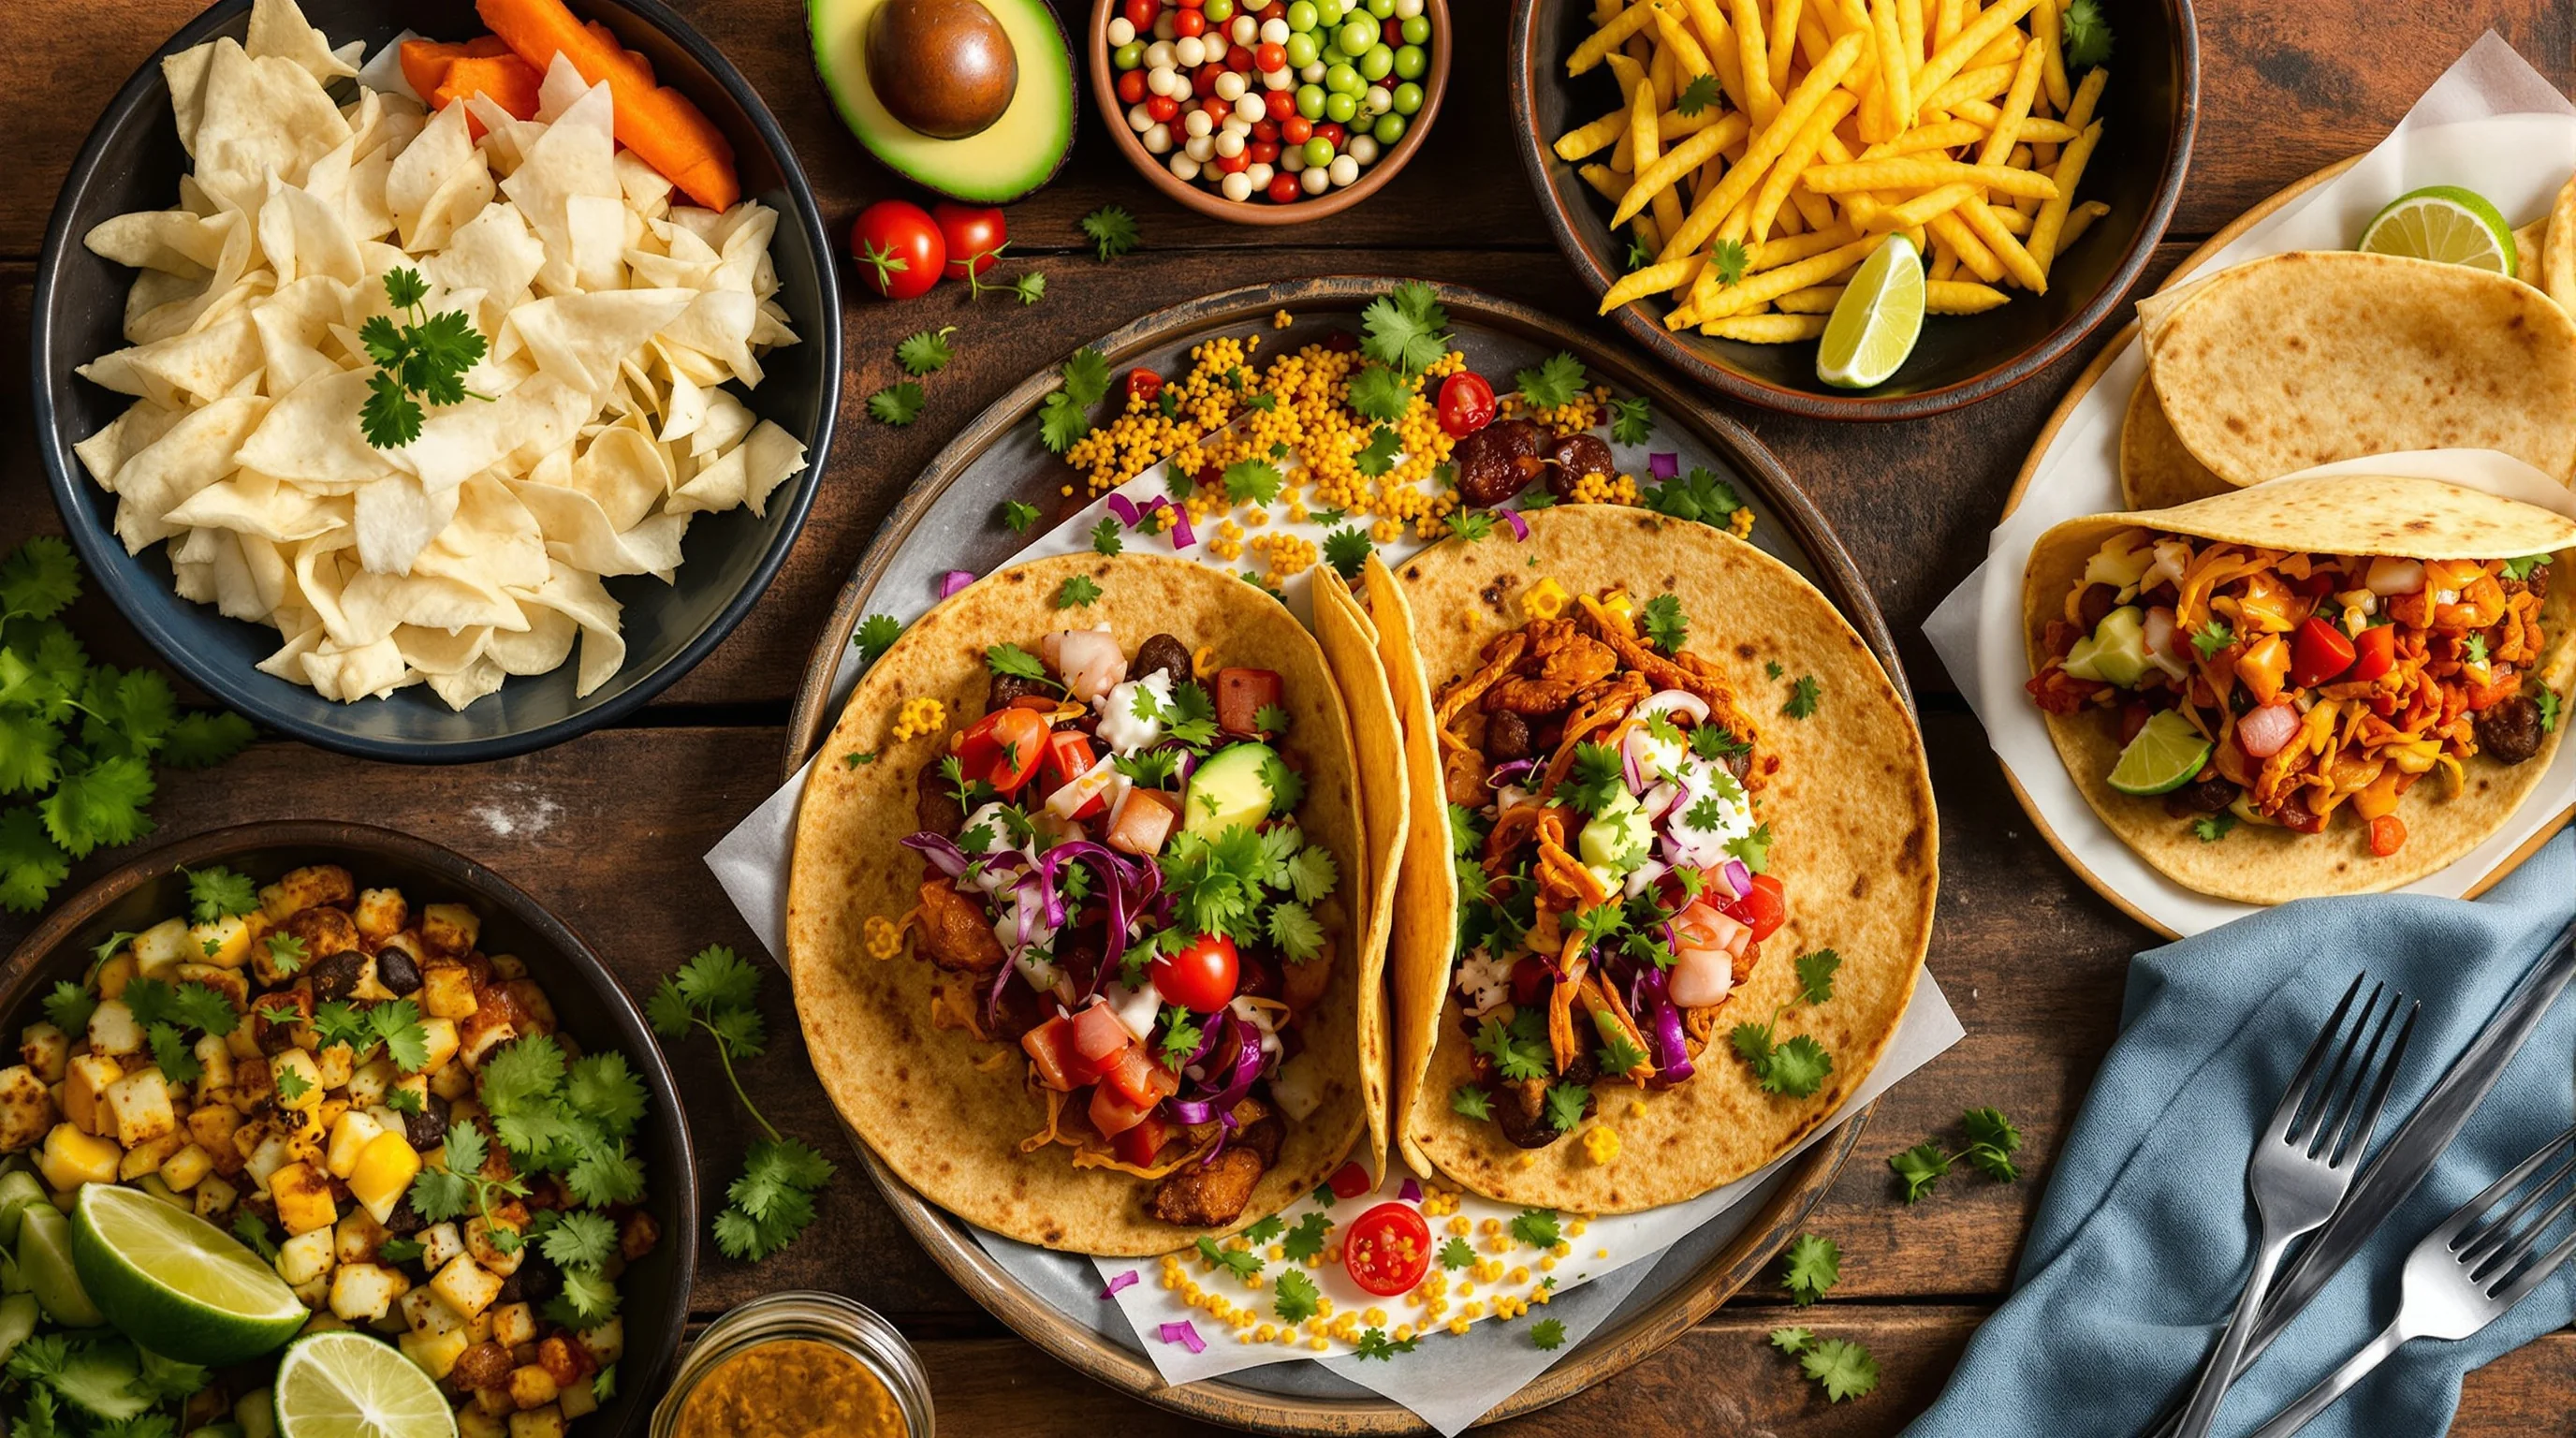
Styling tacos and taming messy burritos
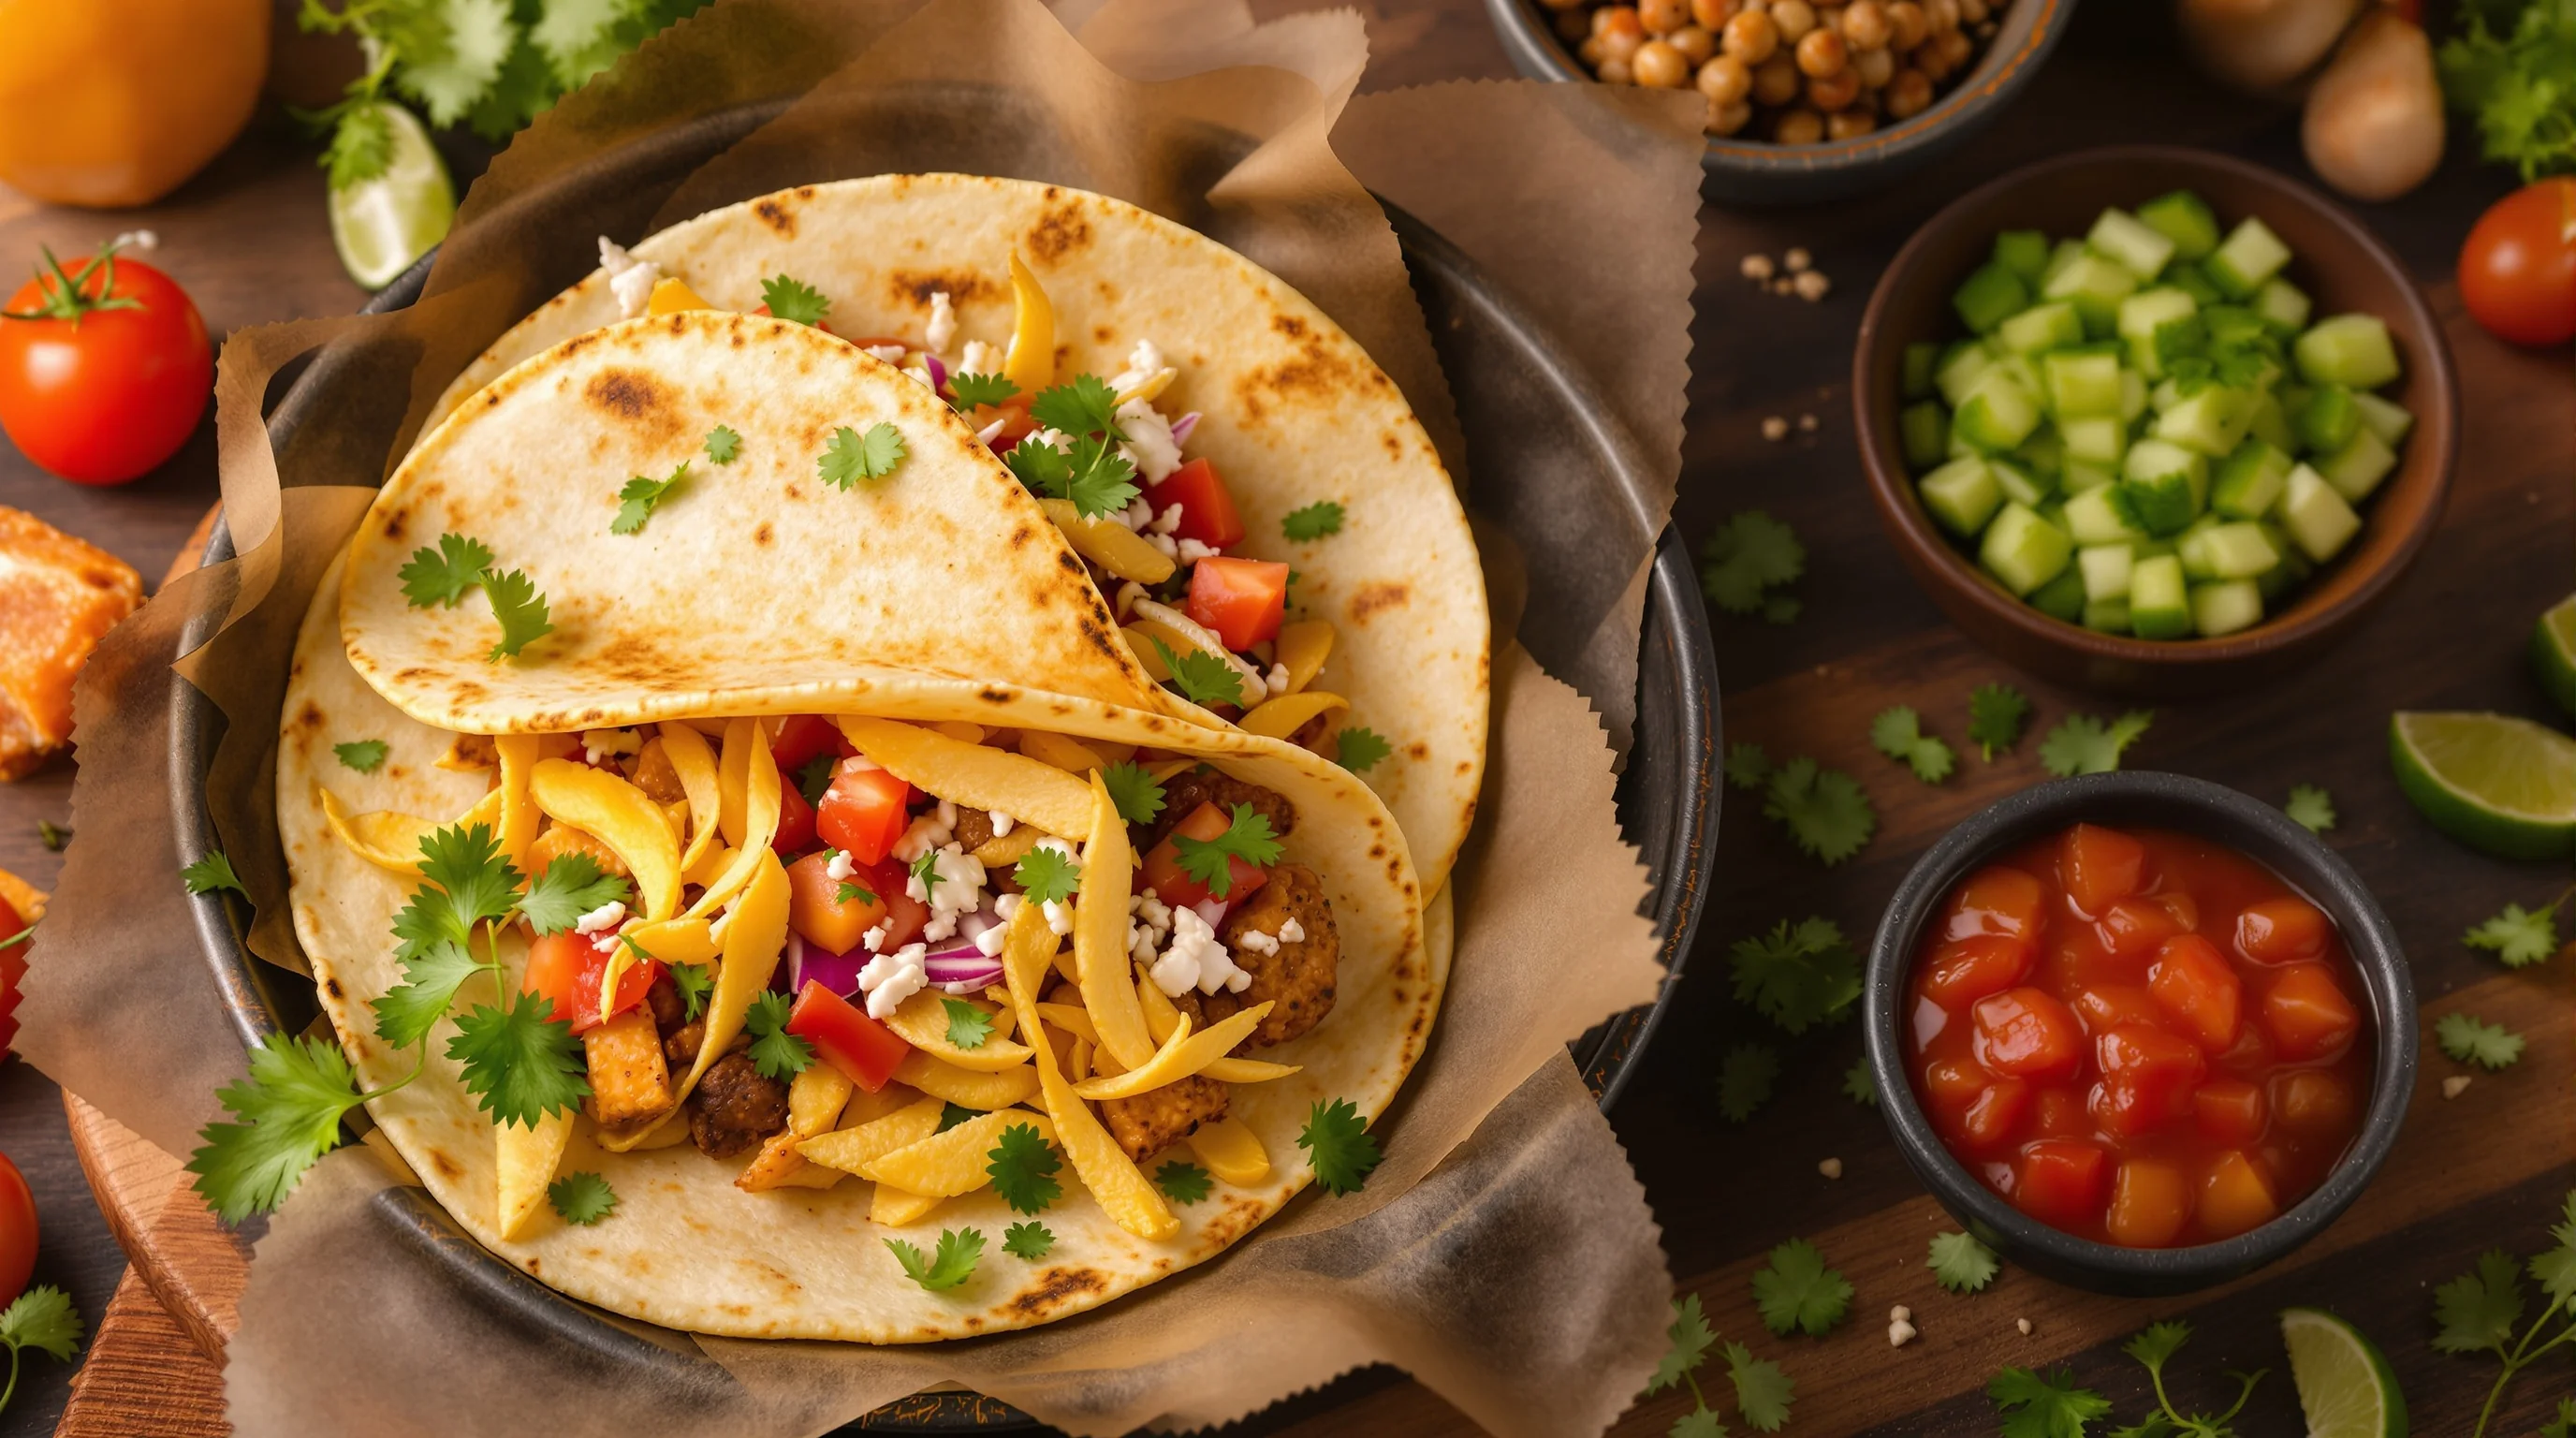
Styling is where many images fail—tacos and burritos can look messy or flat. Use fresh garnishes (cilantro, lime, radish slices) and place them intentionally. According to Furoore and Giro Toronto, fresh, well-arranged ingredients significantly boost visual appeal. For burritos, halving and propping the two halves against each other or laying one half on a gentle tilt makes the filling readable without appearing sloppy. Small details—clean plate rims, toasted tortilla edges, and a light spray of water or oil for sheen—transform the shot.
💡 Pro Tip
Frame tacos in tortilla shells or stands to reduce collapse; garnish with a vivid salsa spooned at the edge to lead the eye.
"Mexican cuisine... is naturally bold, colorful, and full of personality" — that natural personality means small styling moves pay big dividends, as AlicePhotoCo emphasizes. Leverage color pops like chili flakes or pickled onions to create focal contrast against neutral tortilla tones.
Editing and post-processing to make images appetizing
Good editing preserves authenticity: increase clarity and contrast slightly, boost vibrance (not saturation), and sharpen the filling edges. For burritos, enhancing local contrast on the cut face can make ingredients 'pop' and look freshly prepared. Avoid oversaturating greens and reds; natural textures and realistic tones sell better on menus and delivery platforms.
If you need faster results or multiple style variants for DoorDash, Grubhub and Instagram, AI solutions can speed the process. YummyPic transforms simple photos into professional, restaurant-quality images in seconds—allowing quick variations from bright & airy to dark & moody without a studio setup. This is useful when you need many platform-optimized images fast.
Smartphone vs professional camera — which to use?
Both cameras and smartphones can produce excellent Mexican Food Photography: Make Tacos and Burritos Pop results. Cameras offer better control over depth of field and dynamic range, but smartphones excel in speed and convenience. If you frequently update menus or delivery photos, smartphone + good light + careful composition is often the efficient choice. For hero menu shots, use a dedicated camera and tripod for the highest quality.
Pair smartphone shoots with editing tools or AI to deliver consistent, high-resolution images that are suitable for delivery platforms. For platform-specific guidance see our DoorDash Photography, Grubhub Photography, and Uber Eats Photography pages.
How can I photograph tacos and burritos to make them stand out on menus and social?
To stand out on menus and social, connect the photo to ordering behavior: show portion size, highlight key ingredients and keep styling honest. Research from Soocial shows that food photos get roughly 30% higher engagement than non-food images, and professional images can increase orders by about 30%. Use that advantage by showing a clear focal point—often the filling face or a perfectly plated taco trio—and crop for platform ratios (1:1 or 4:5 for Instagram, rectangular for menu banners).
Consider multiple crops and styles for different channels: a bright flat-lay for Instagram, a close-up cross-section for the menu, and a wider environmental shot for your website. YummyPic can generate multiple styles from one image so you can instantly produce variants optimized for each platform.
YummyPic: speed, cost and consistent quality
Brand integration — YummyPic is an AI-powered food photography platform built for restaurants who need professional-looking images with minimal effort. When you want to scale photos across DoorDash, Grubhub and Instagram, YummyPic offers speed and consistency: professional photos in seconds at a fraction of the cost of a studio shoot. The platform removes the need for complex lighting setups and props, letting you transform the same dish into multiple styles for different channels.
- Speed: Professional photos in seconds (no extended shoot time).
- Cost-effective: Cheaper than hiring a pro photographer for every menu change.
- Variety: Multiple styles—from bright & airy to dark & moody—ready for each platform.
Use YummyPic to test multiple looks and measure which style drives more engagement or orders. The platform is especially useful for food trucks and small restaurants that must update delivery photos frequently without a large marketing budget.
Conclusion
Mexican Food Photography: Make Tacos and Burritos Pop by mastering light, angle and styling. Leverage the natural vibrancy of Mexican ingredients as Giro Toronto notes, arrange fresh garnishes per Furoore’s advice, and frame burritos and tacos to show fillings as Suggestion of Motion recommends. Use steady camera settings and a considered editing workflow to keep images authentic. When speed and scale matter, tools like YummyPic help restaurants produce platform-ready images that increase engagement and orders. With the right approach, your tacos and burritos will look as delicious in photos as they taste in real life.