Introduction: Choosing the right tripod transforms the way you shoot menus, delivery photos and social posts. The Best Tripods for Food Photography reduce blur, enable precise composition and give you stable overhead and macro shots—critical for appetizing, conversion-driving food imagery. This guide walks Sie through core features to prioritize, recommended models across budgets and use-cases, plus practical setup tips for restaurant, cafe and food-truck photography. We also cover smartphone and video workflows, how to pair a tripod with lighting and brackets, and how services like YummyPic can speed production when a full shoot isn’t possible.
Why a tripod matters for consistent food photos
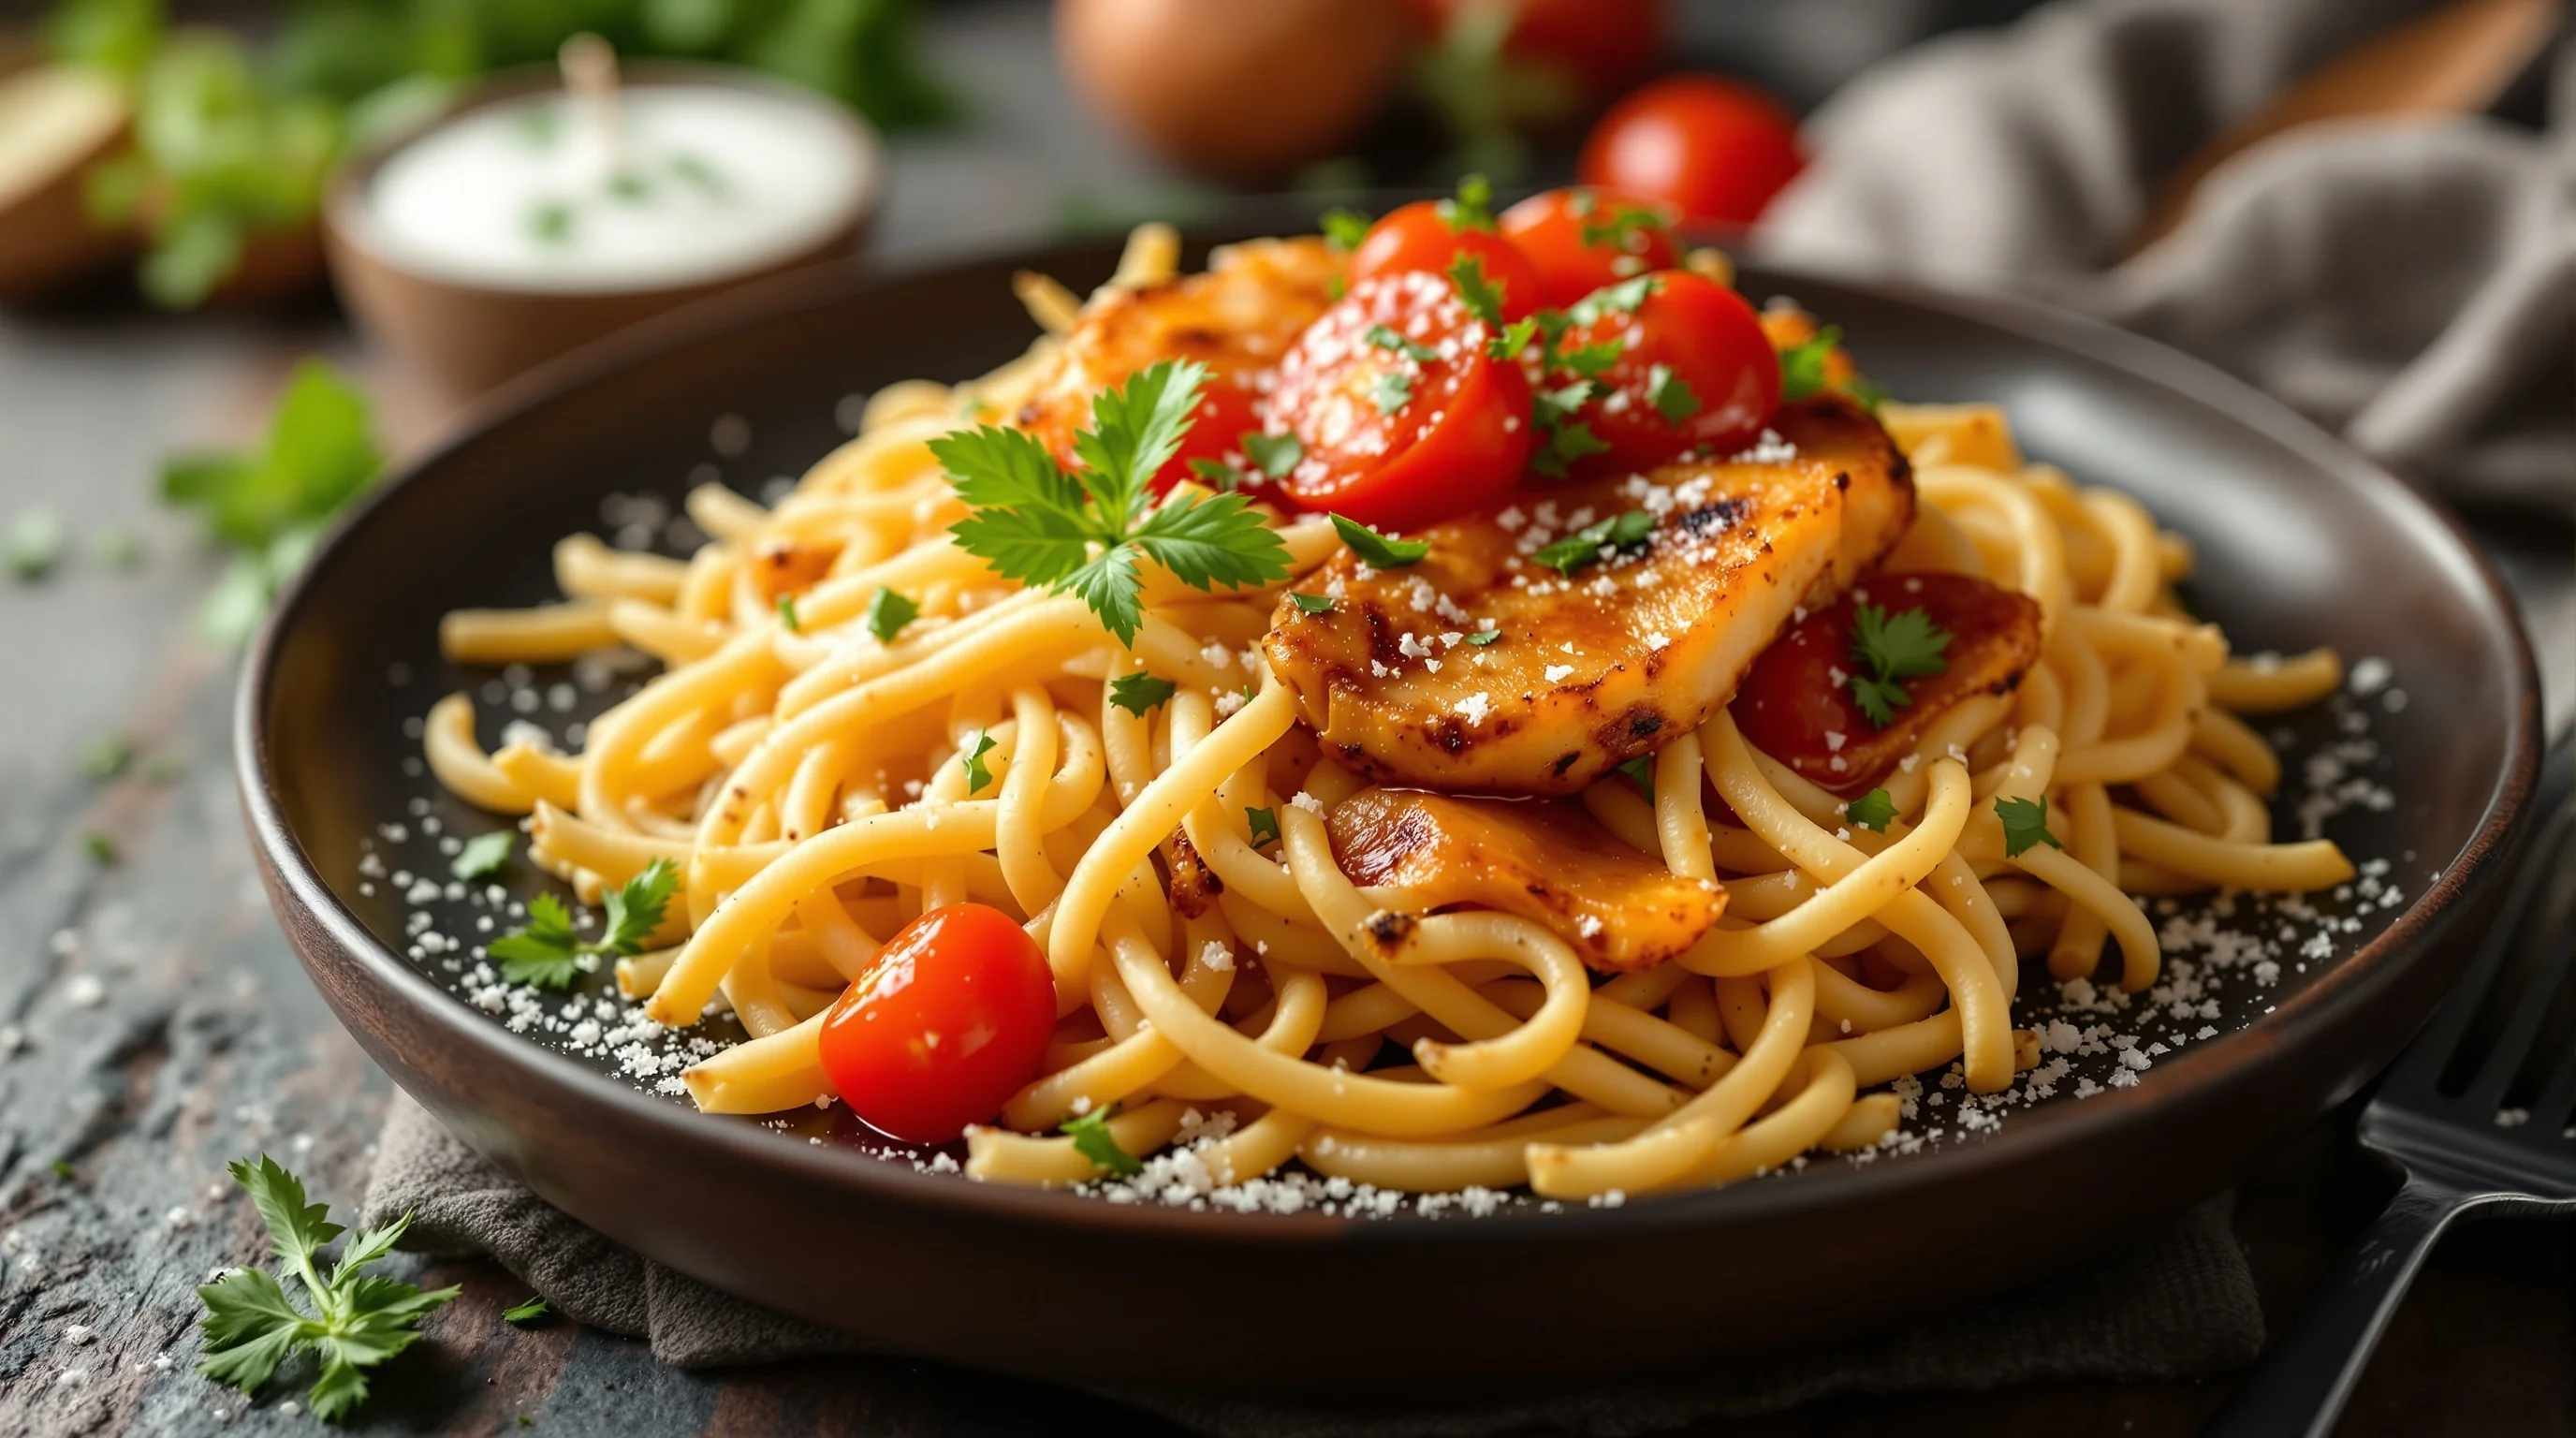
Stability equals sharper images—and sharper images sell food. A sturdy support can reduce camera shake by up to 90%, producing consistently crisp shots even with slow shutter speeds, according to QuickTechTools. That matters when Sie shoot close-ups or in low light. Tripods also let Sie lock composition, test lighting, and repeat a look across menu items so your brand remains cohesive across DoorDash, Grubhub and Uber Eats.
Experts stress overhead capability as a must-have for menu and flat-lay work. As Fstoppers notes, "one of the most important considerations... is giving yourself the option of shooting from overhead" — having that option removes creative limits and saves time on staging. Studio Efef adds that because food photography often uses slow shutter speeds and close-up shots, "a solid tripod that doesn’t wobble easily is key." These two points frame the selection criteria in the sections below.
What should I look for in a tripod for food photography?
Start with load capacity, stability, and an ability to reach overhead positions without sag. Look for a tripod rated above the weight of your camera plus the heaviest lens; a margin of 2–3 kg is wise. Materials matter—aluminum offers value, carbon fiber trades cost for lighter weight. Leg locks (flip vs twist), center column design and foot type (rubber vs spiked) affect setup speed and grip on studio floors.
Other practical features include a removable or reversible center column for overhead shots, a ball head or modular head system for small adjustments, and a quick-release plate compatible with your camera or smartphone bracket. If Sie shoot macro food shots, a low-profile center column and fine pan/tilt controls help keep the camera close to the table.
- Stability & load capacity (choose higher than your gear weight)
- Overhead/Boom or reversible center column
- Leg lock type and rubber feet for grip
- Head type with smooth micro-adjustments
- Portability and folded length for travel needs
Do I really need a tripod to shoot food photos?
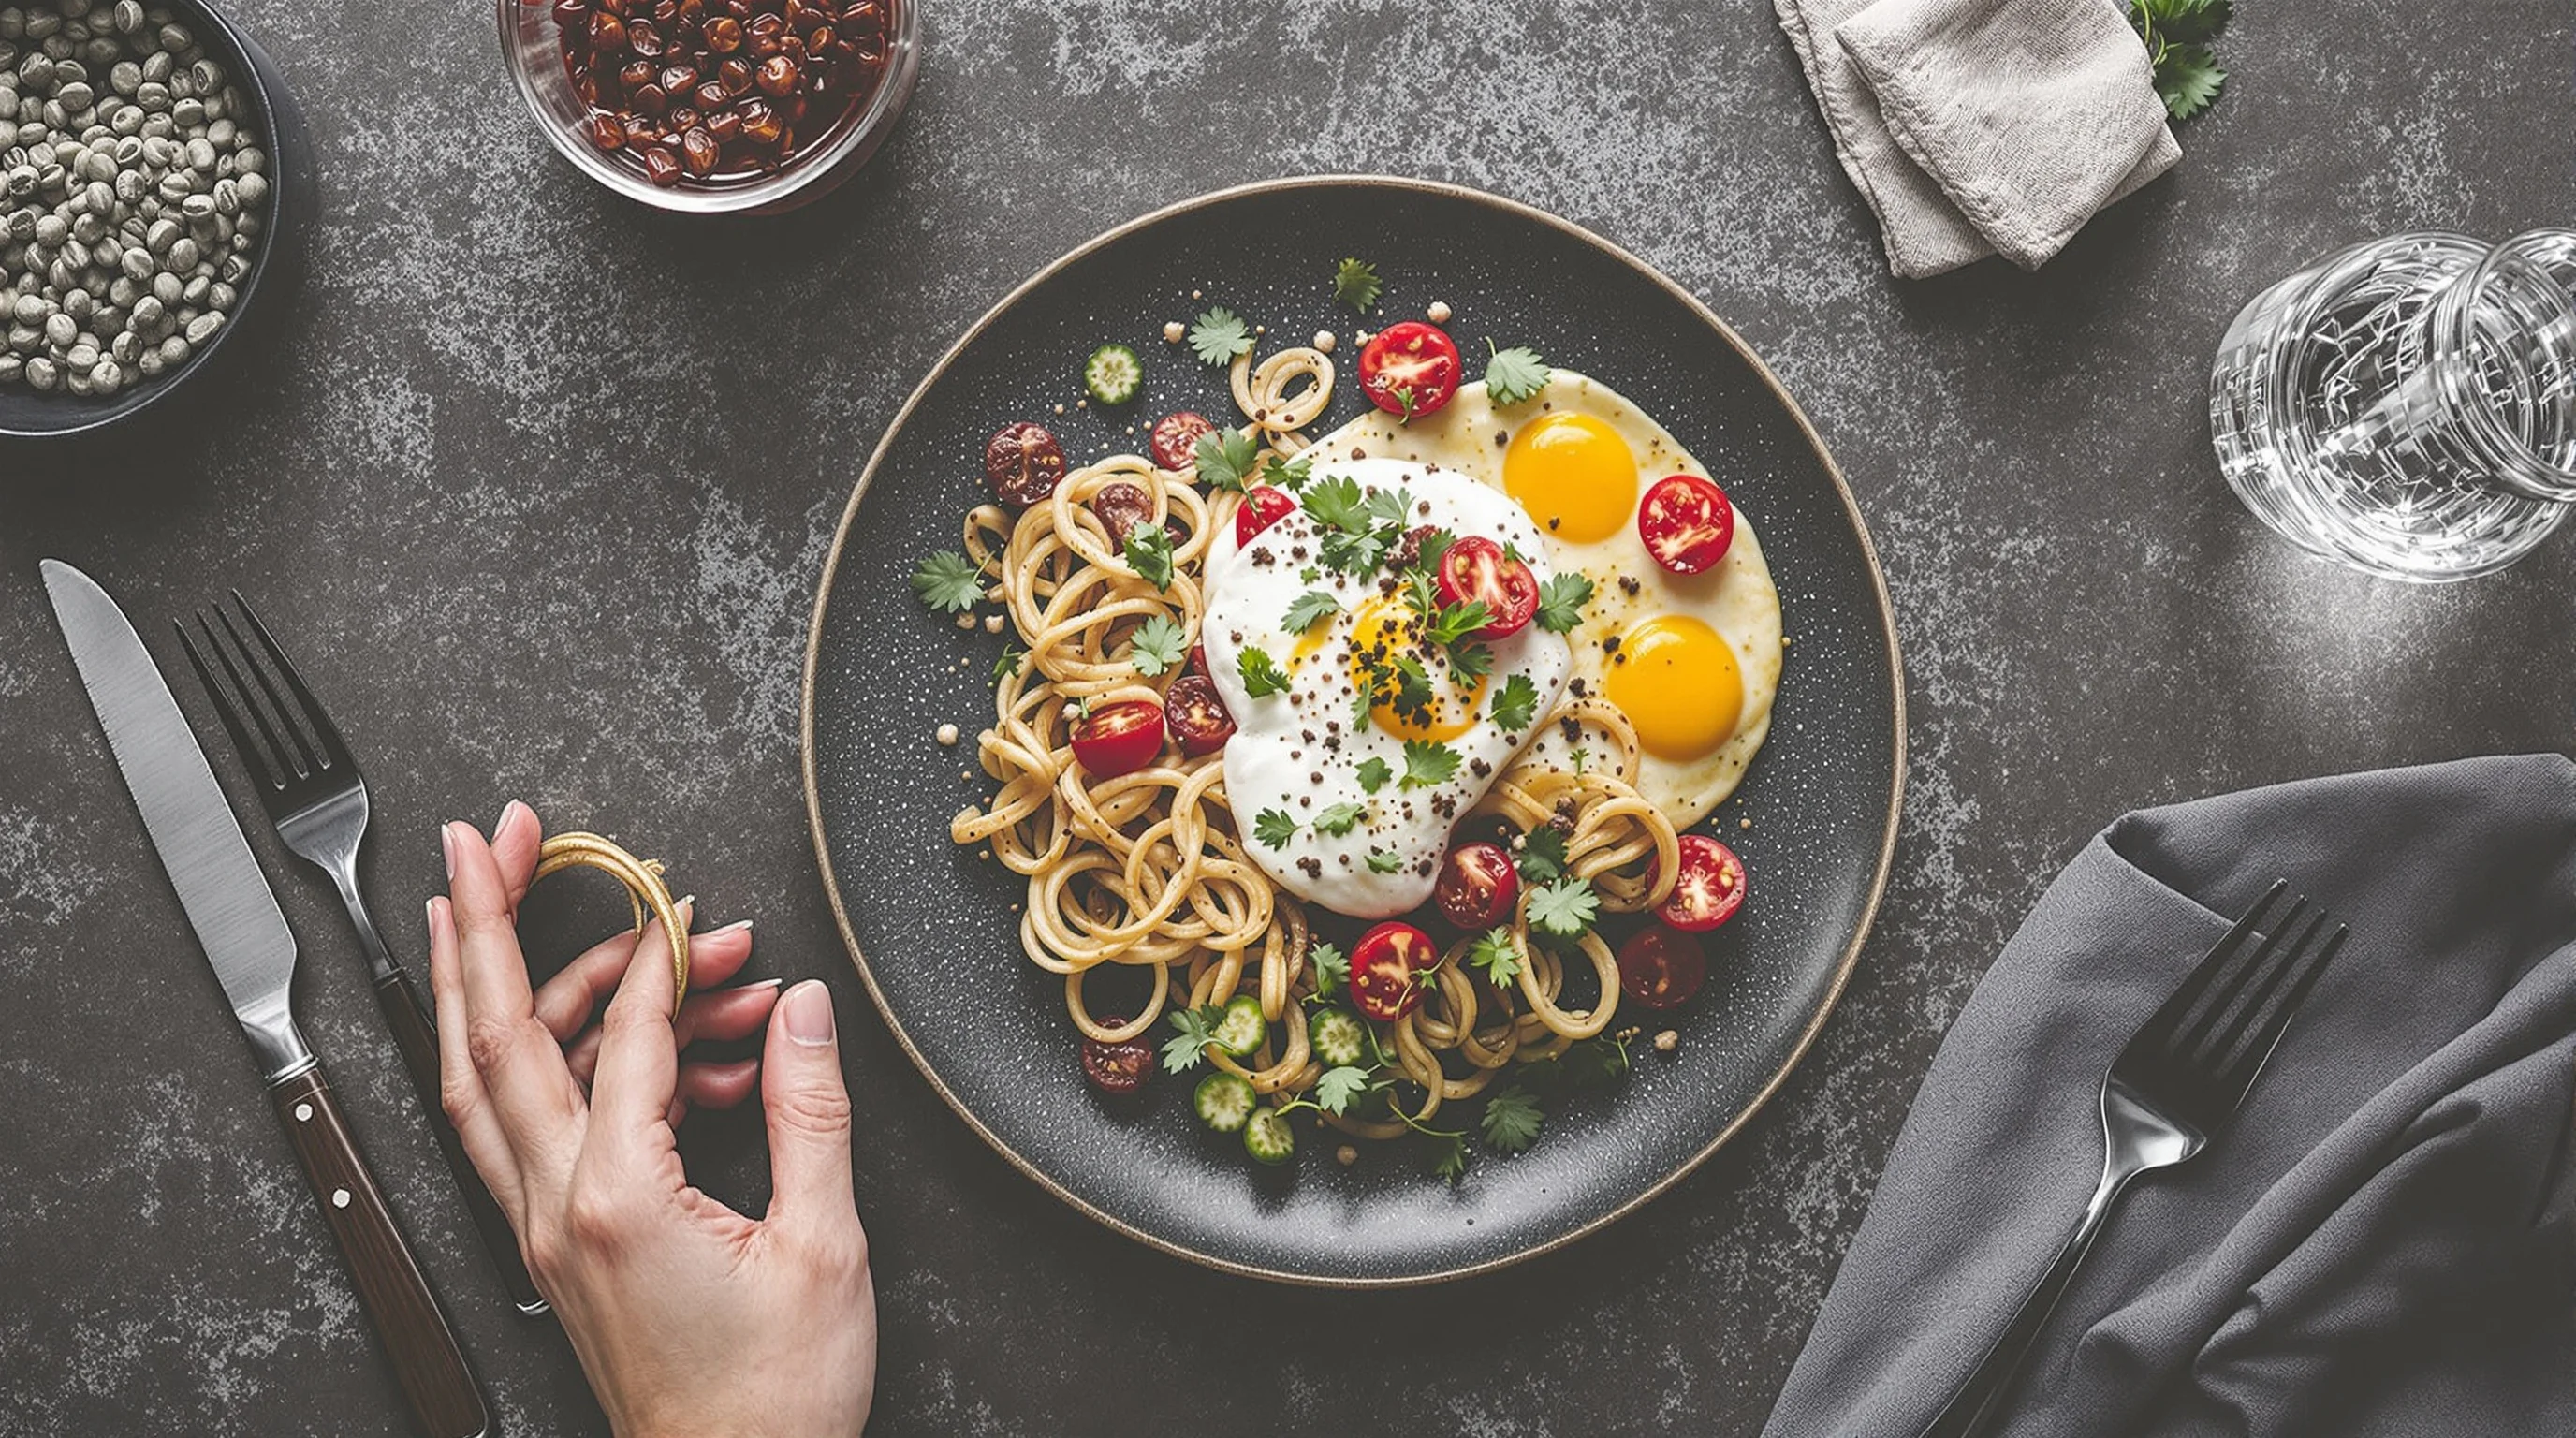
Short answer: usually yes. Tripods provide consistency and let Sie use slower shutter speeds for beautiful ambient-light moods without ISO grain. For social posts, handheld phone shots can work, but for menus, delivery platforms and professional marketing—where high resolution and repeatability matter—a tripod is essential. Statistics show food photography is common and influential: roughly 50% of Americans regularly photograph meals, and 43% of Instagram users list food and drink as a top interest, according to Soocial. Investing in a tripod raises the baseline quality of every image Sie publish.
Can travel tripods handle overhead food shots?
Many modern travel tripods are surprisingly capable, but there are trade-offs. Lightweight travel tripods (often carbon fiber) can handle overhead work if they have a robust center column or a compatible horizontal arm. However, the lighter the tripod, the more susceptible it is to wobble when the camera is extended far from the legs. If Sie plan frequent overhead or macro studio work, a heavier studio tripod or adding a boom arm will provide better stability.
If portability is critical—food truck or location shoots—choose a travel tripod with high load capacity and consider using sandbagged leg weights or a counterweight on a boom to reduce flex. For smartphone creators, a compact tripod with a sturdy phone clamp and optional tabletop boom can be a versatile, low-cost solution.
How tall should my tripod be for shooting food from above?
Tripod height depends on your table height and the focal length you plan to use. For overhead flat-lays Sie typically need the camera directly above the plate, so a tripod that extends 100–150 cm (39–59 in) works for most kitchen or cafe tables when combined with a boom or reversible center column. Taller tripods are useful for high-angle restaurant shots; shorter, sturdy tripods excel at low-angle side shots or macros.
Another approach is modularity: use a mid-height tripod and add a horizontal arm or boom when needed. This keeps your kit lighter for travel while still giving overhead capability in the studio or at pop-ups.
Is a ball head or pan-tilt head better for food photography?
Ball heads are fast and compact—ideal for quick micro-adjustments when Sie are composing a food shot. Pan-tilt heads offer more controlled movements on separate axes and can be more precise for repeated compositions. Many food photographers prefer a quality ball head with a smooth drag control for speed and convenience, but a geared head or fluid pan-tilt can be invaluable when Sie need exact framing for menus or repeated product shots.
Consider a quick-release system so Sie can swap between camera and smartphone mounts without losing your composition. If video is part of your workflow, a fluid head or a lightweight video head offers smoother motion.
Recommended tripods by use-case and budget
Below are practical recommendations organized by the typical needs of restaurants and creators: studio stability, portable travel, smartphone content, and budget-friendly starters. Each pick emphasizes stability and overhead potential—key features for food photography.
- Studio (high stability): Full-size aluminum or carbon tripod with removable center column and a sturdy ball or geared head. Ideal for menu shoots and repeated setups.
- Travel (lightweight): Carbon-fiber travel tripod with high load rating and optional horizontal arm. Great for pop-up events and food truck content.
- Smartphone: Mini tripod with secure clamp and tabletop boom for overhead flat-lays. Best for social media and quick menu updates.
- Budget: Entry-level aluminum tripod with strong leg locks and a reversible center column. Add a sandbag to improve stability for studio work.
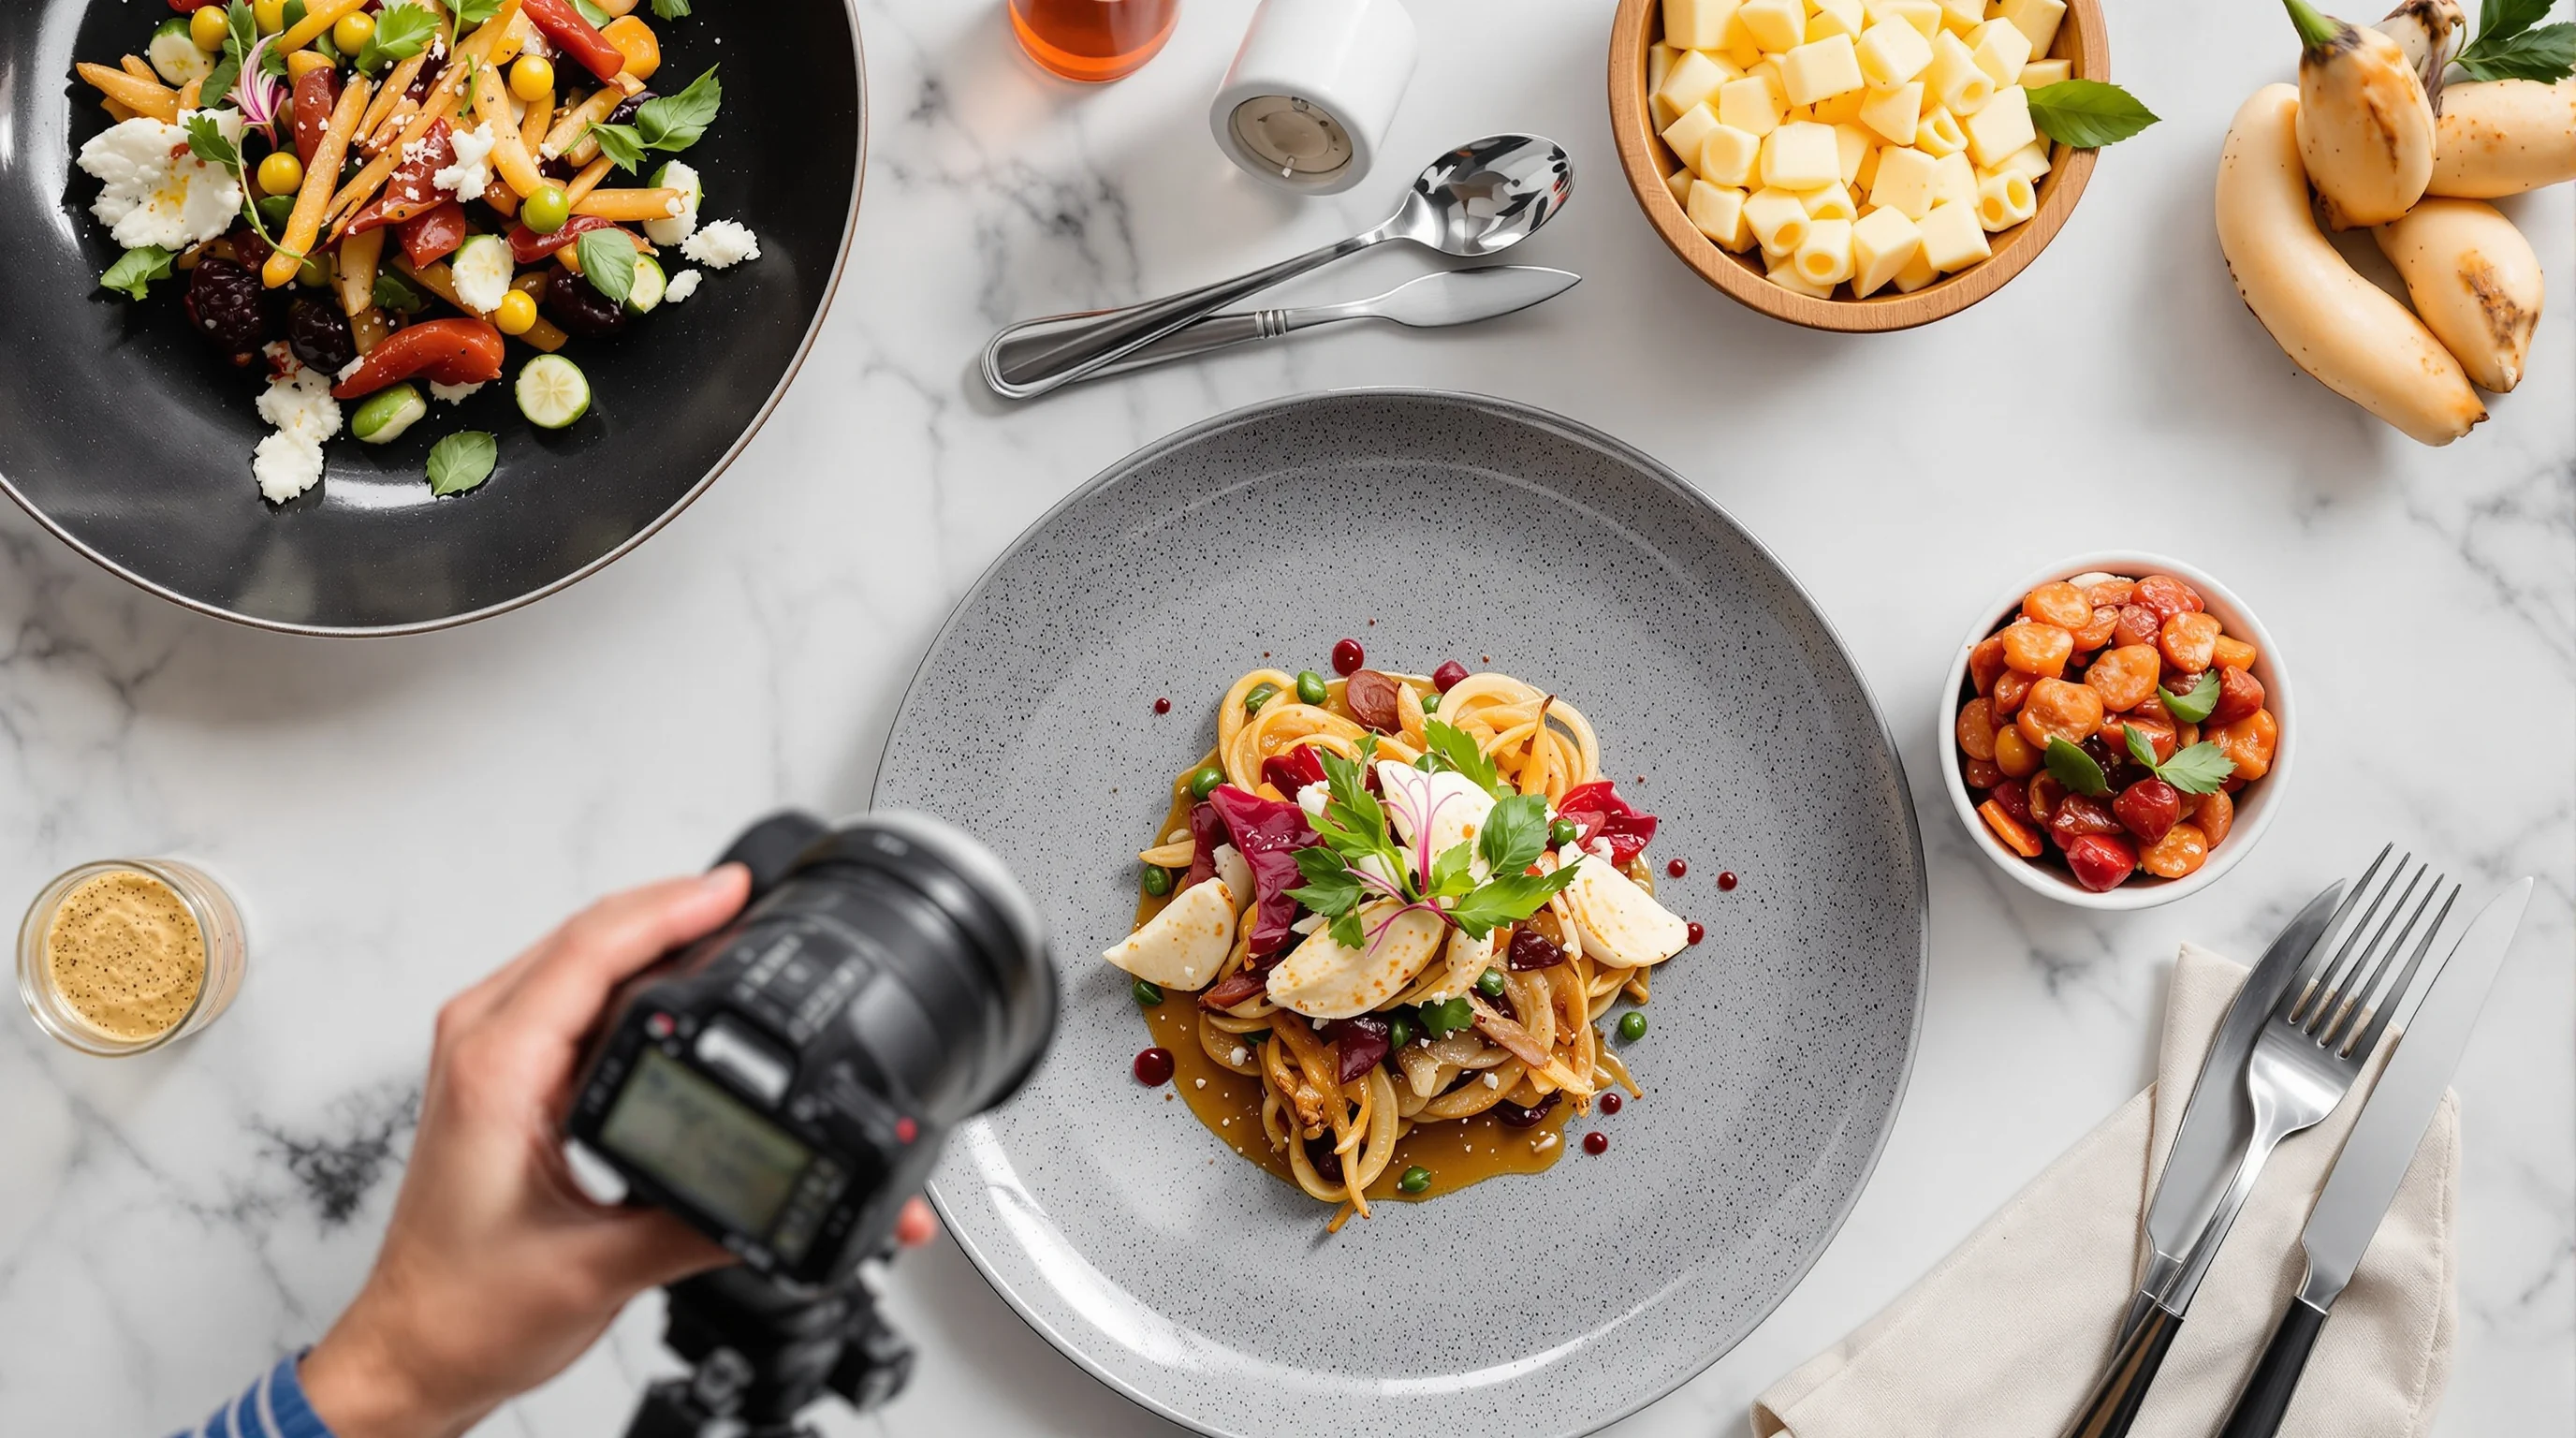
When comparing models, test for center column flex under load and how the tripod handles with your heaviest lens mounted. If possible, use a quick on-site test: mount your camera, extend to intended height and tap the table—if the camera moves, choose a stiffer setup.
Practical setup tips and common mistakes to avoid
Even the best tripod fails if set up poorly. Start by leveling the tripod and ensuring legs are on solid footing. Avoid fully extending the thinnest leg sections; extend thicker sections first for greater stability. Use a remote shutter or camera timer to eliminate press-induced shake. Add a small weight or sandbag to the center column when shooting overhead to reduce micro-movement.
Common mistakes include relying on the center column for height when a higher leg extension would be more stable, and overextending thin legs for convenience. If Sie shoot video, use a dedicated fluid head or use a gimbal for smooth motion—tripods are best for static, repeatable compositions.
💡 Pro Tip
If Sie frequently switch between camera and phone, mount a small L-bracket to your camera so the quick-release plate stays attached. For consistent menu shots, note the exact head angle and leg extension in a notebook or app.
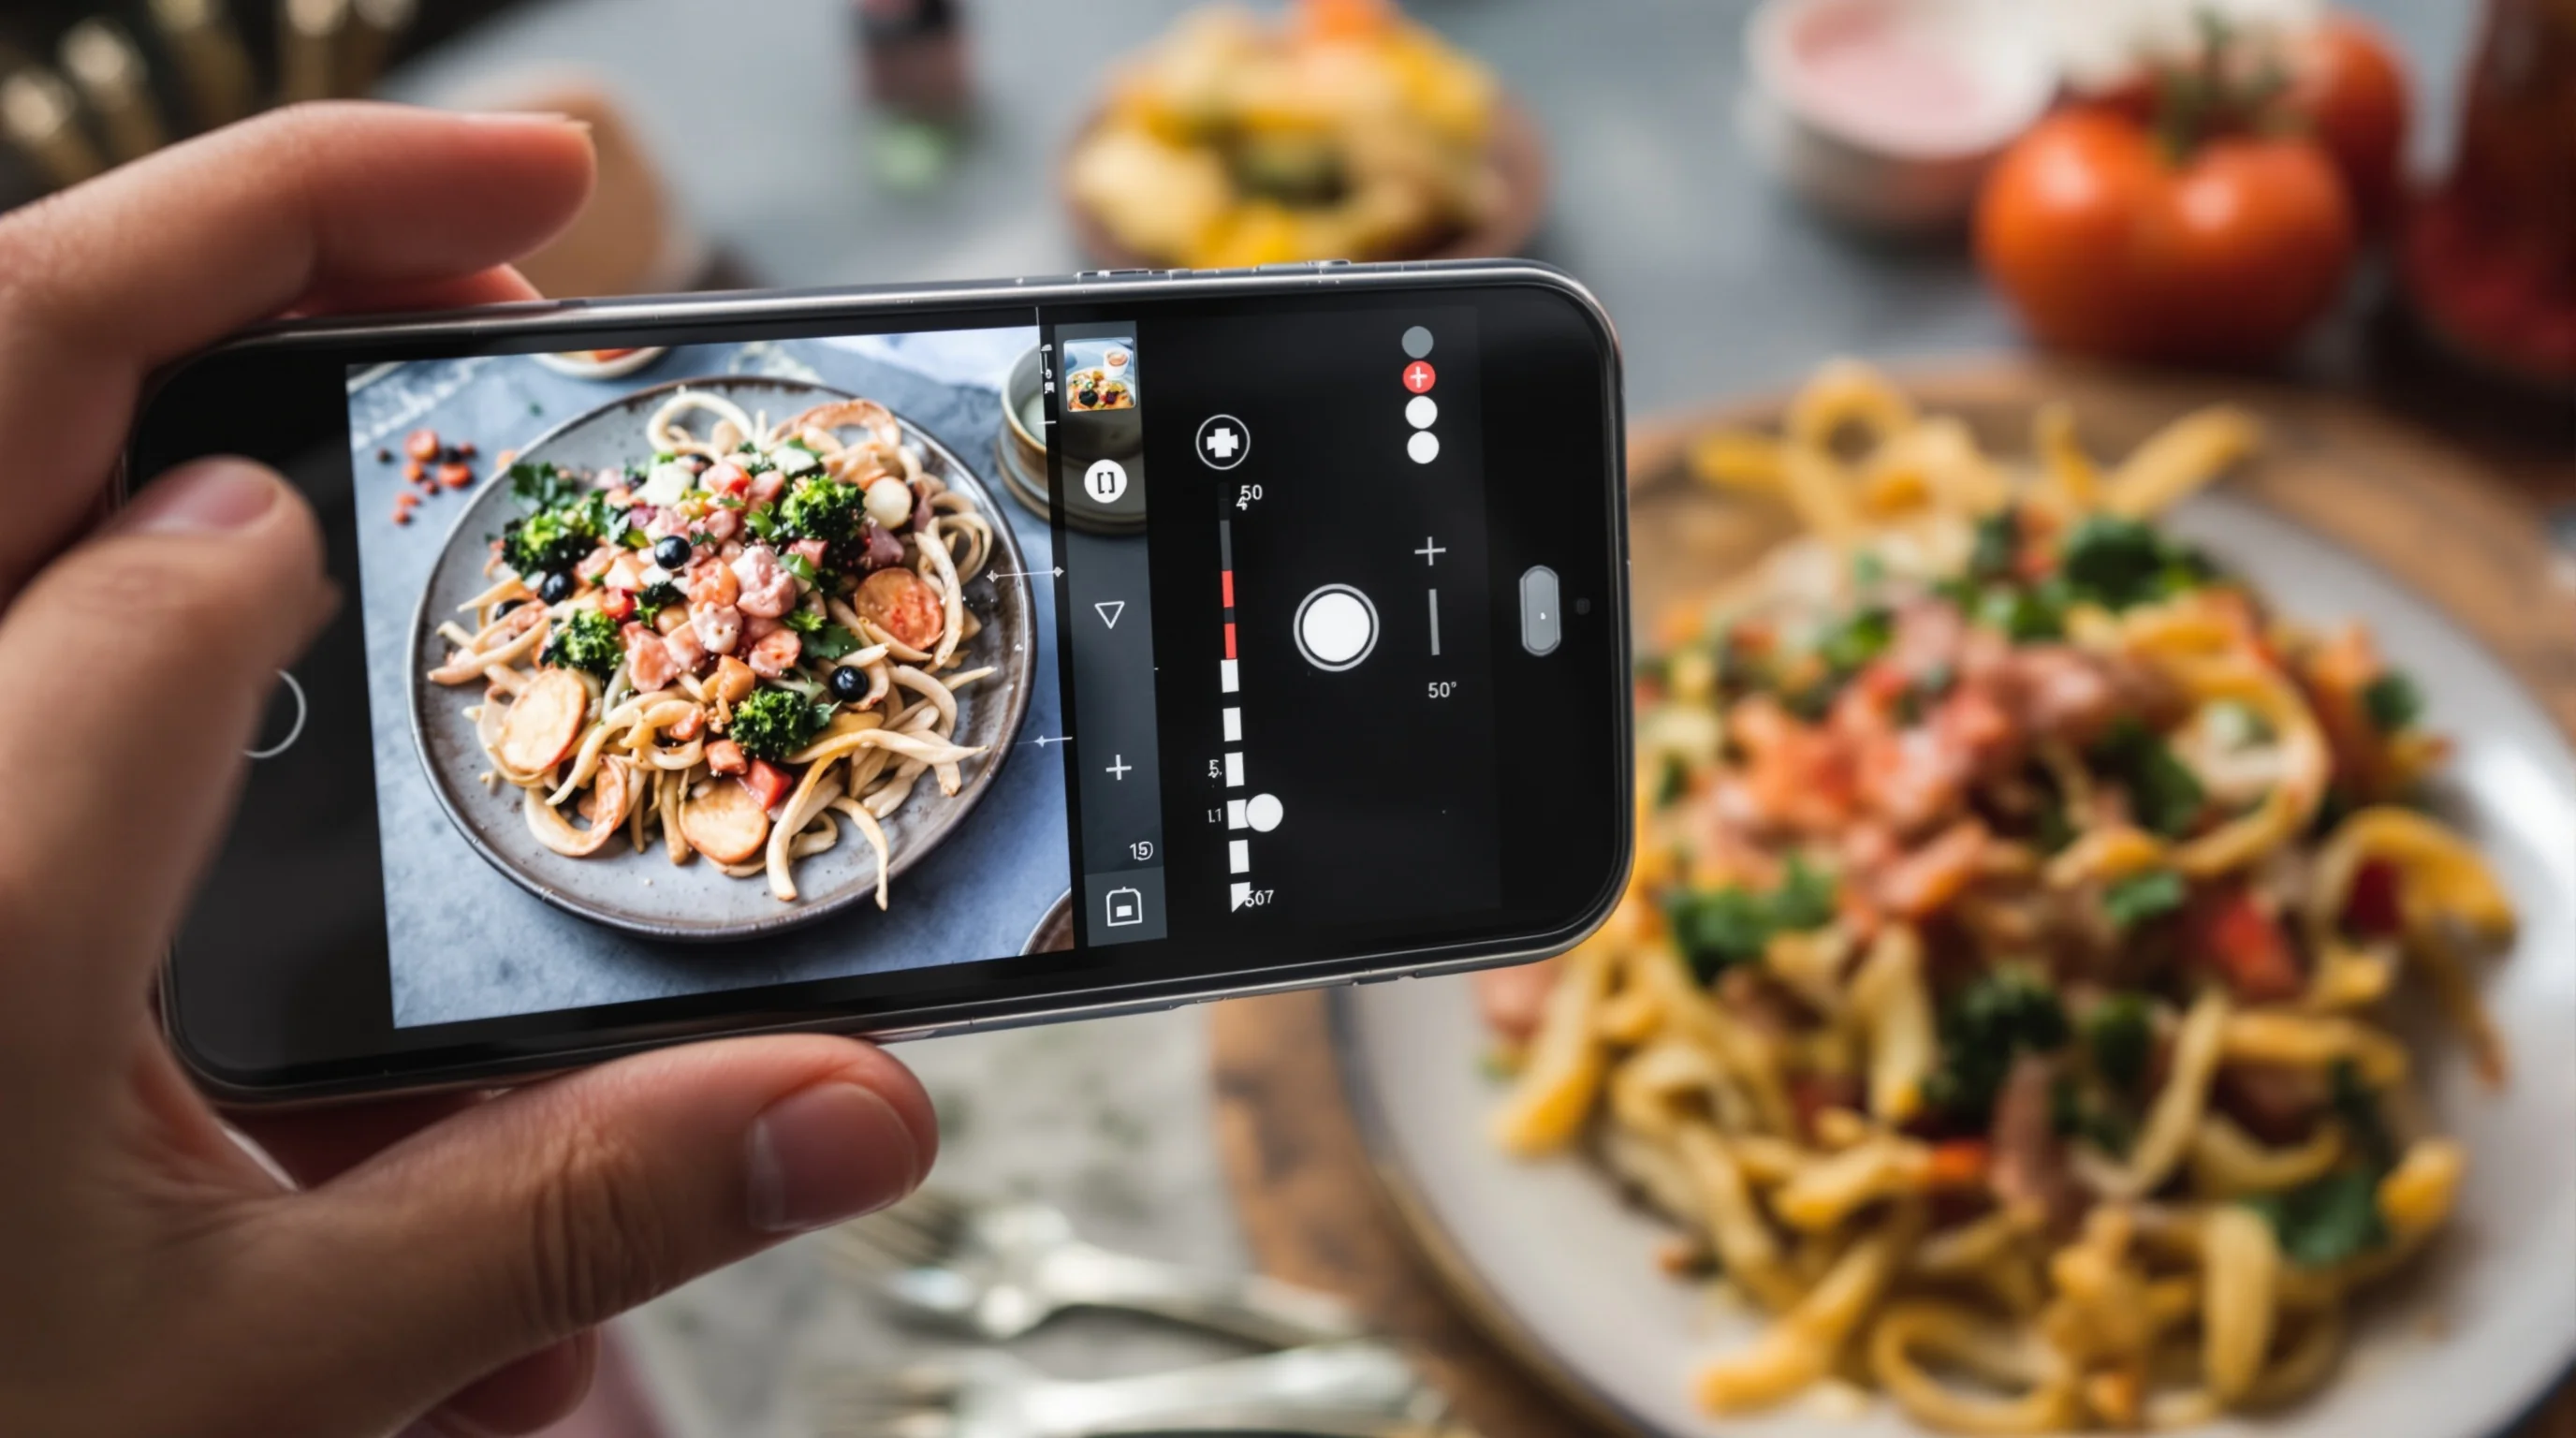
Using tripods with smartphones and video (filling a common gap)
Smartphone creators need tripods too. A dedicated phone clamp with cold-shoe mounts allows LED lights or microphones to attach. Compact tripods with a horizontal arm enable overhead flat-lays from a phone; look for clamp-to-tripod plates that accept standard 1/4" threads. For video recipes or reels, combine a mini fluid head with a stable base to avoid jittery pans.
If Sie plan to shoot both stills and video, choose a tripod system where the head is easily swapped or use a leveling base that supports both ball and fluid heads. This fills the content gap many competitors miss—practical workflows connecting phone and camera production.
Combining tripods with other gear: lighting, L-brackets and booms
Tripods rarely work alone. Use L-brackets to switch quickly between portrait and landscape without re-leveling. Boom arms and horizontal crossbars let Sie reach over tables without placing legs in the frame. When using lights, put them on separate stands; coupling lighting and the tripod can transfer vibrations. For restaurant shoots where space is tight, a compact boom or C-stand offers overhead reach while keeping the tripod legs clear of the set.
If Sie need help with lighting decisions, our guide on how to light drinks safely offers techniques that pair well with tripod setups and safe fuel use for beverage shots.
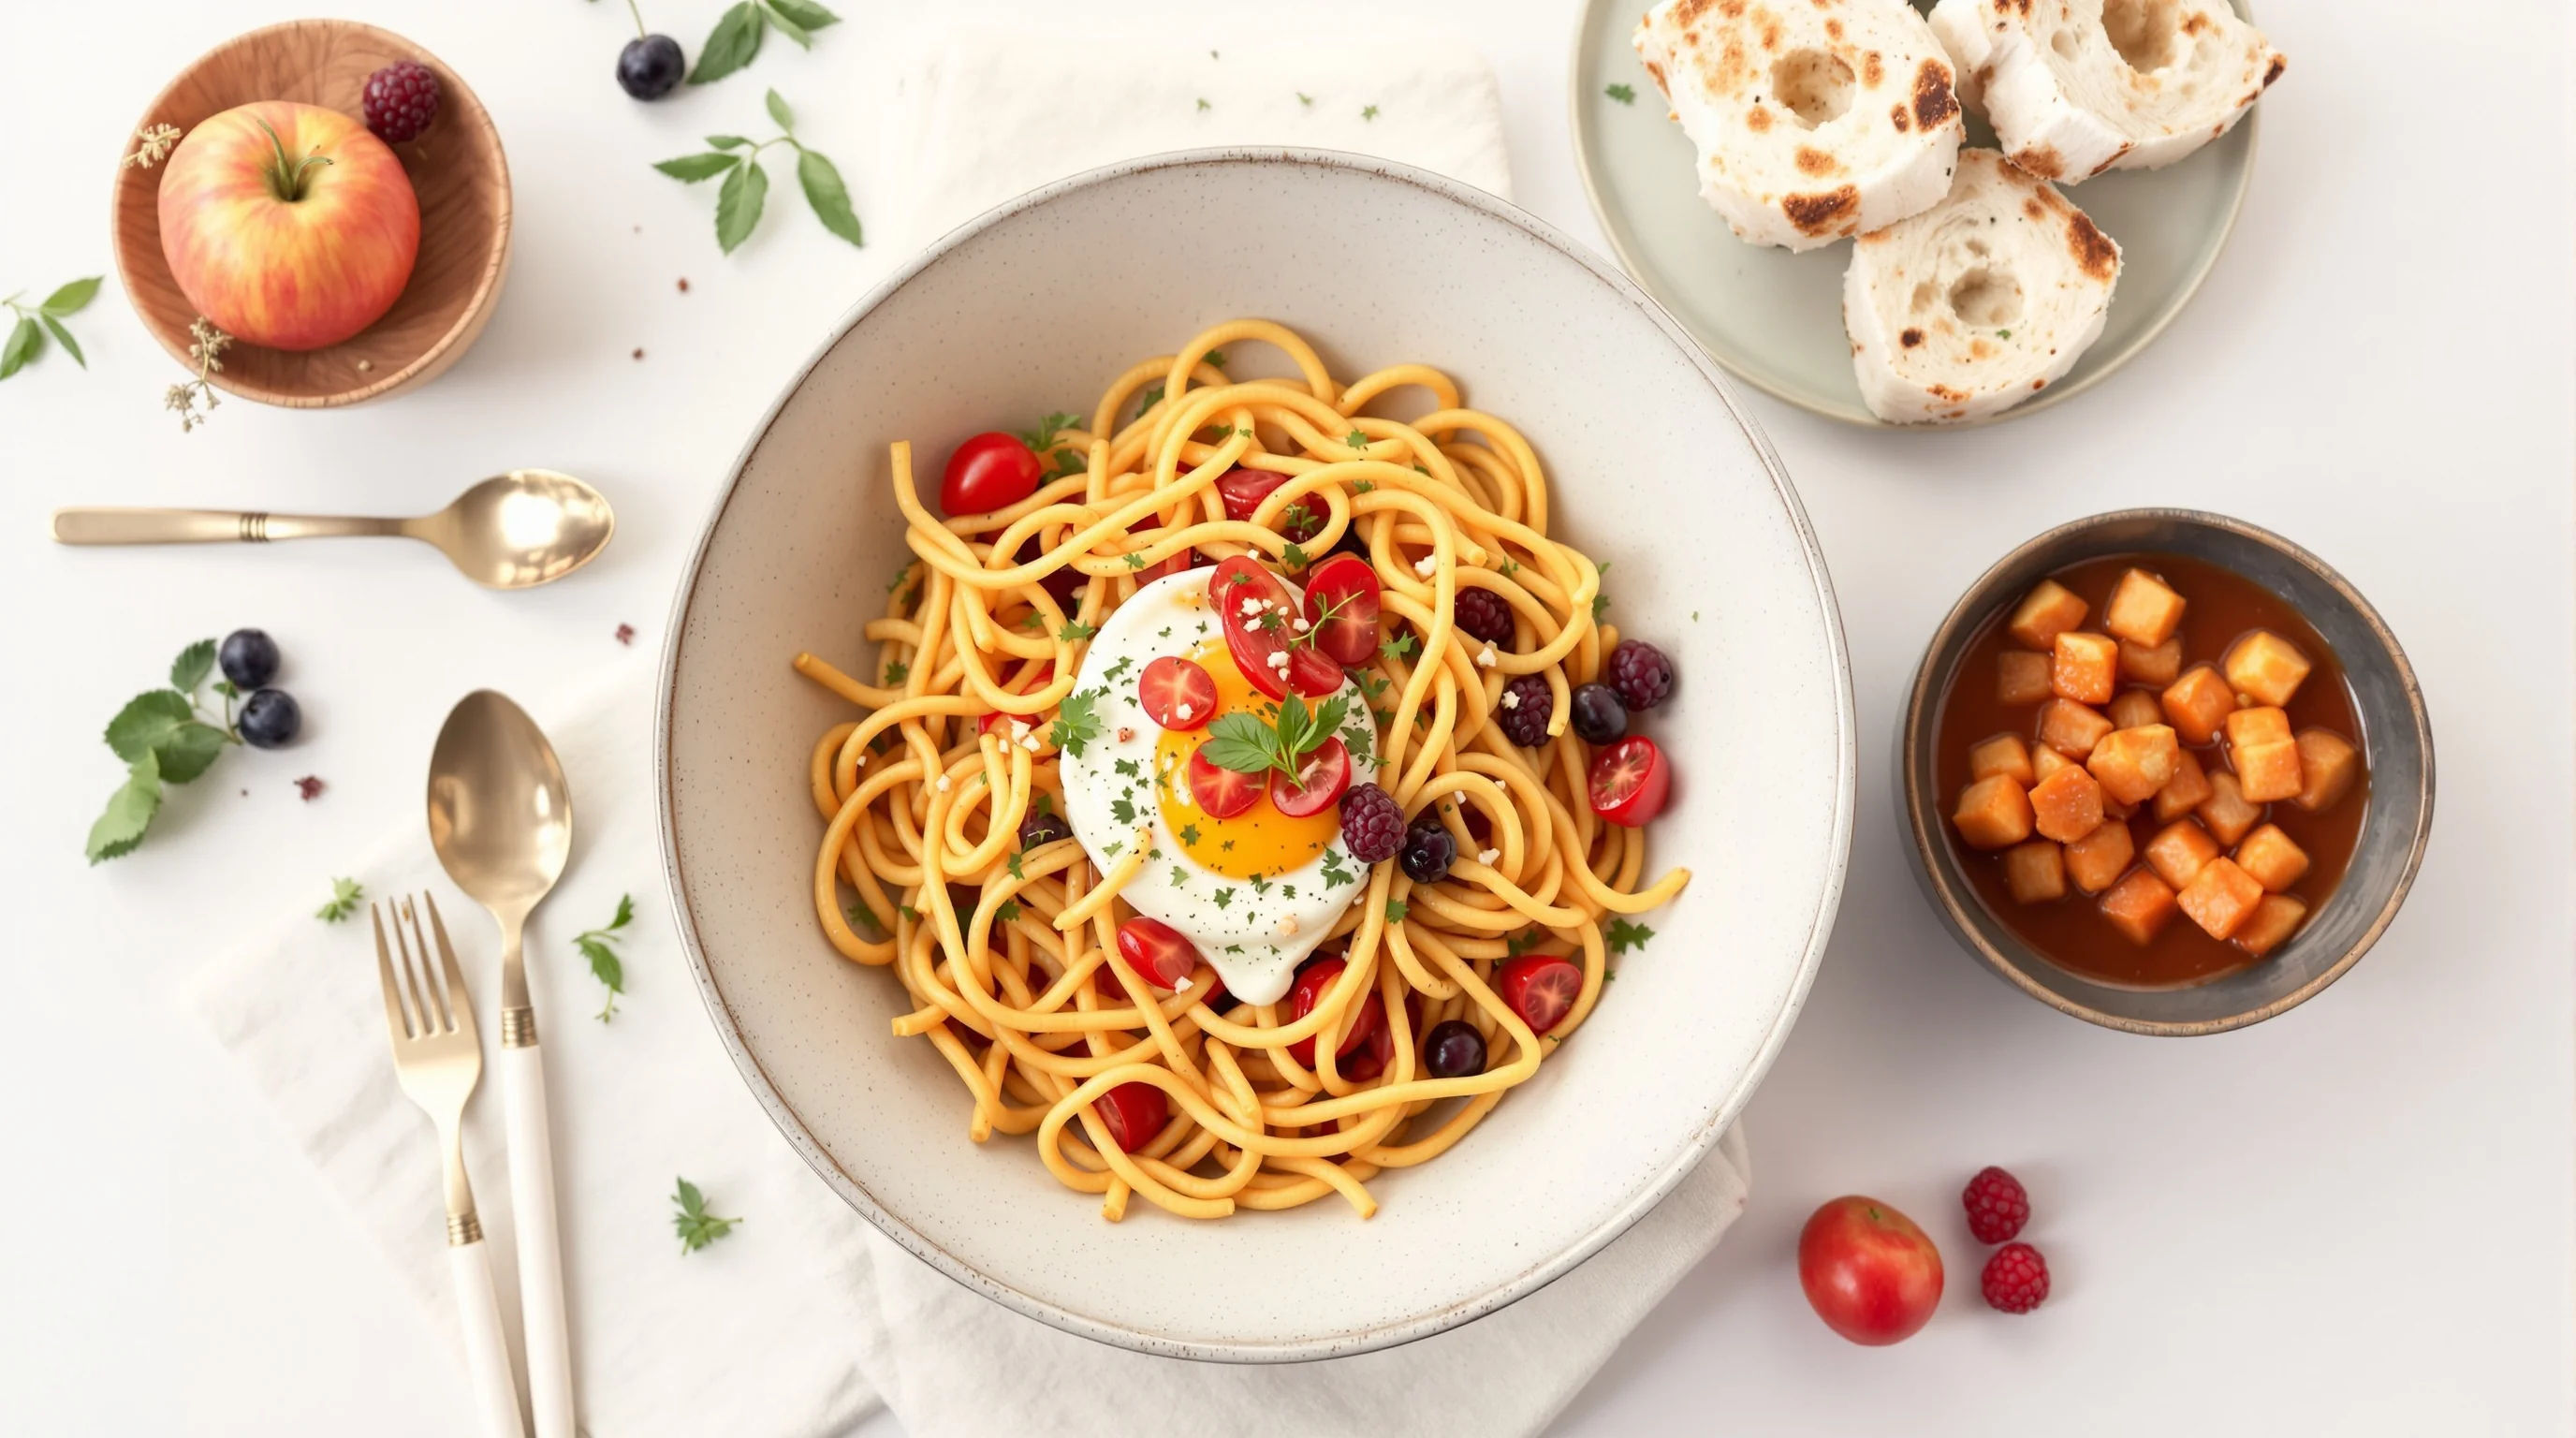
How YummyPic complements tripod-based shoots
Not every business needs a full in-house photography workflow. YummyPic transforms simple photos into professional, restaurant-quality images in seconds—an ideal complement to physical gear. After Sie capture base images with a tripod (or even a well-shot smartphone photo), YummyPic can create multiple stylistic variations tailored for DoorDash, Grubhub, Uber Eats and Instagram, saving hours of staging and editing.
- Speed: Professional photos in seconds vs hours on set
- Cost-effective: Fraction of hiring a studio photographer
- Variety: Multiple looks (bright & airy to dark & moody)
- Convenience: No complex lighting or props required
For restaurants and caterers who shoot some images in-house with a tripod, YummyPic accelerates final delivery—ideal when Sie need immediate high-res photos for menu updates or delivery platforms. Learn more about professional gear pairing in our Best Camera for Food Photography guide.
Quick decision checklist: choose the right tripod now
Use this short checklist to decide quickly which tripod fits your restaurant or food brand needs. It addresses budget levels, portability, stability and overhead requirements so Sie can buy with confidence.
- Do Sie shoot mainly in-studio? Choose a heavier tripod with high load capacity.
- Do Sie need to travel or shoot pop-ups? Prioritize carbon-fiber travel tripods rated for your gear.
- Are overhead flat-lays frequent? Ensure a removable or reversible center column or buy a dedicated boom arm.
- Will Sie use a phone for many shots? Get a strong phone clamp and mini boom.
- Plan for video? Pick a fluid or interchangeable head compatible with video rigs.
Summary and final recommendations
The Best Tripods for Food Photography balance stability, overhead capability and practicality. Remember the research-backed facts: a solid tripod dramatically reduces shake (QuickTechTools), overhead options expand creative range (Fstoppers: "one of the most important considerations... is giving yourself the option of shooting from overhead"), and slow-shutter close-ups demand a stable support (Studio Efef: "a solid tripod that doesn’t wobble easily is key"). Choose a setup that fits your workflow—studio, travel, phone-first—and use tools like YummyPic to scale polished output quickly for delivery platforms and social.
If Sie want to refine composition and lenses for your new tripod, see our article on what lens for food photography and our composition guide on the rule of thirds to make the most of every stable frame.