Introduction: The Art of Macro Food Photography is a specialised discipline that reveals the tiny textures and droplets that make food irresistibly tactile. Whether you are a restaurant owner preparing menu imagery or a food blogger chasing detail, macro work demands precision in equipment, lighting and focus. This guide explains what macro food photography is, why true macro matters, and practical steps you can take today — from choosing a macro lens to stabilising the camera and even creating mouthwatering smartphone close-ups. Along the way we address common pain points: achieving razor-sharp detail, controlling depth of field at very close distances, and preventing blur from camera shake. We also cover advanced techniques such as focus stacking and creative storytelling so your macro images do more than document texture: they create appetite. If you want to master The Art of Macro Food Photography and transform simple ingredients into high-impact menu or social images, read on.
What is macro food photography?
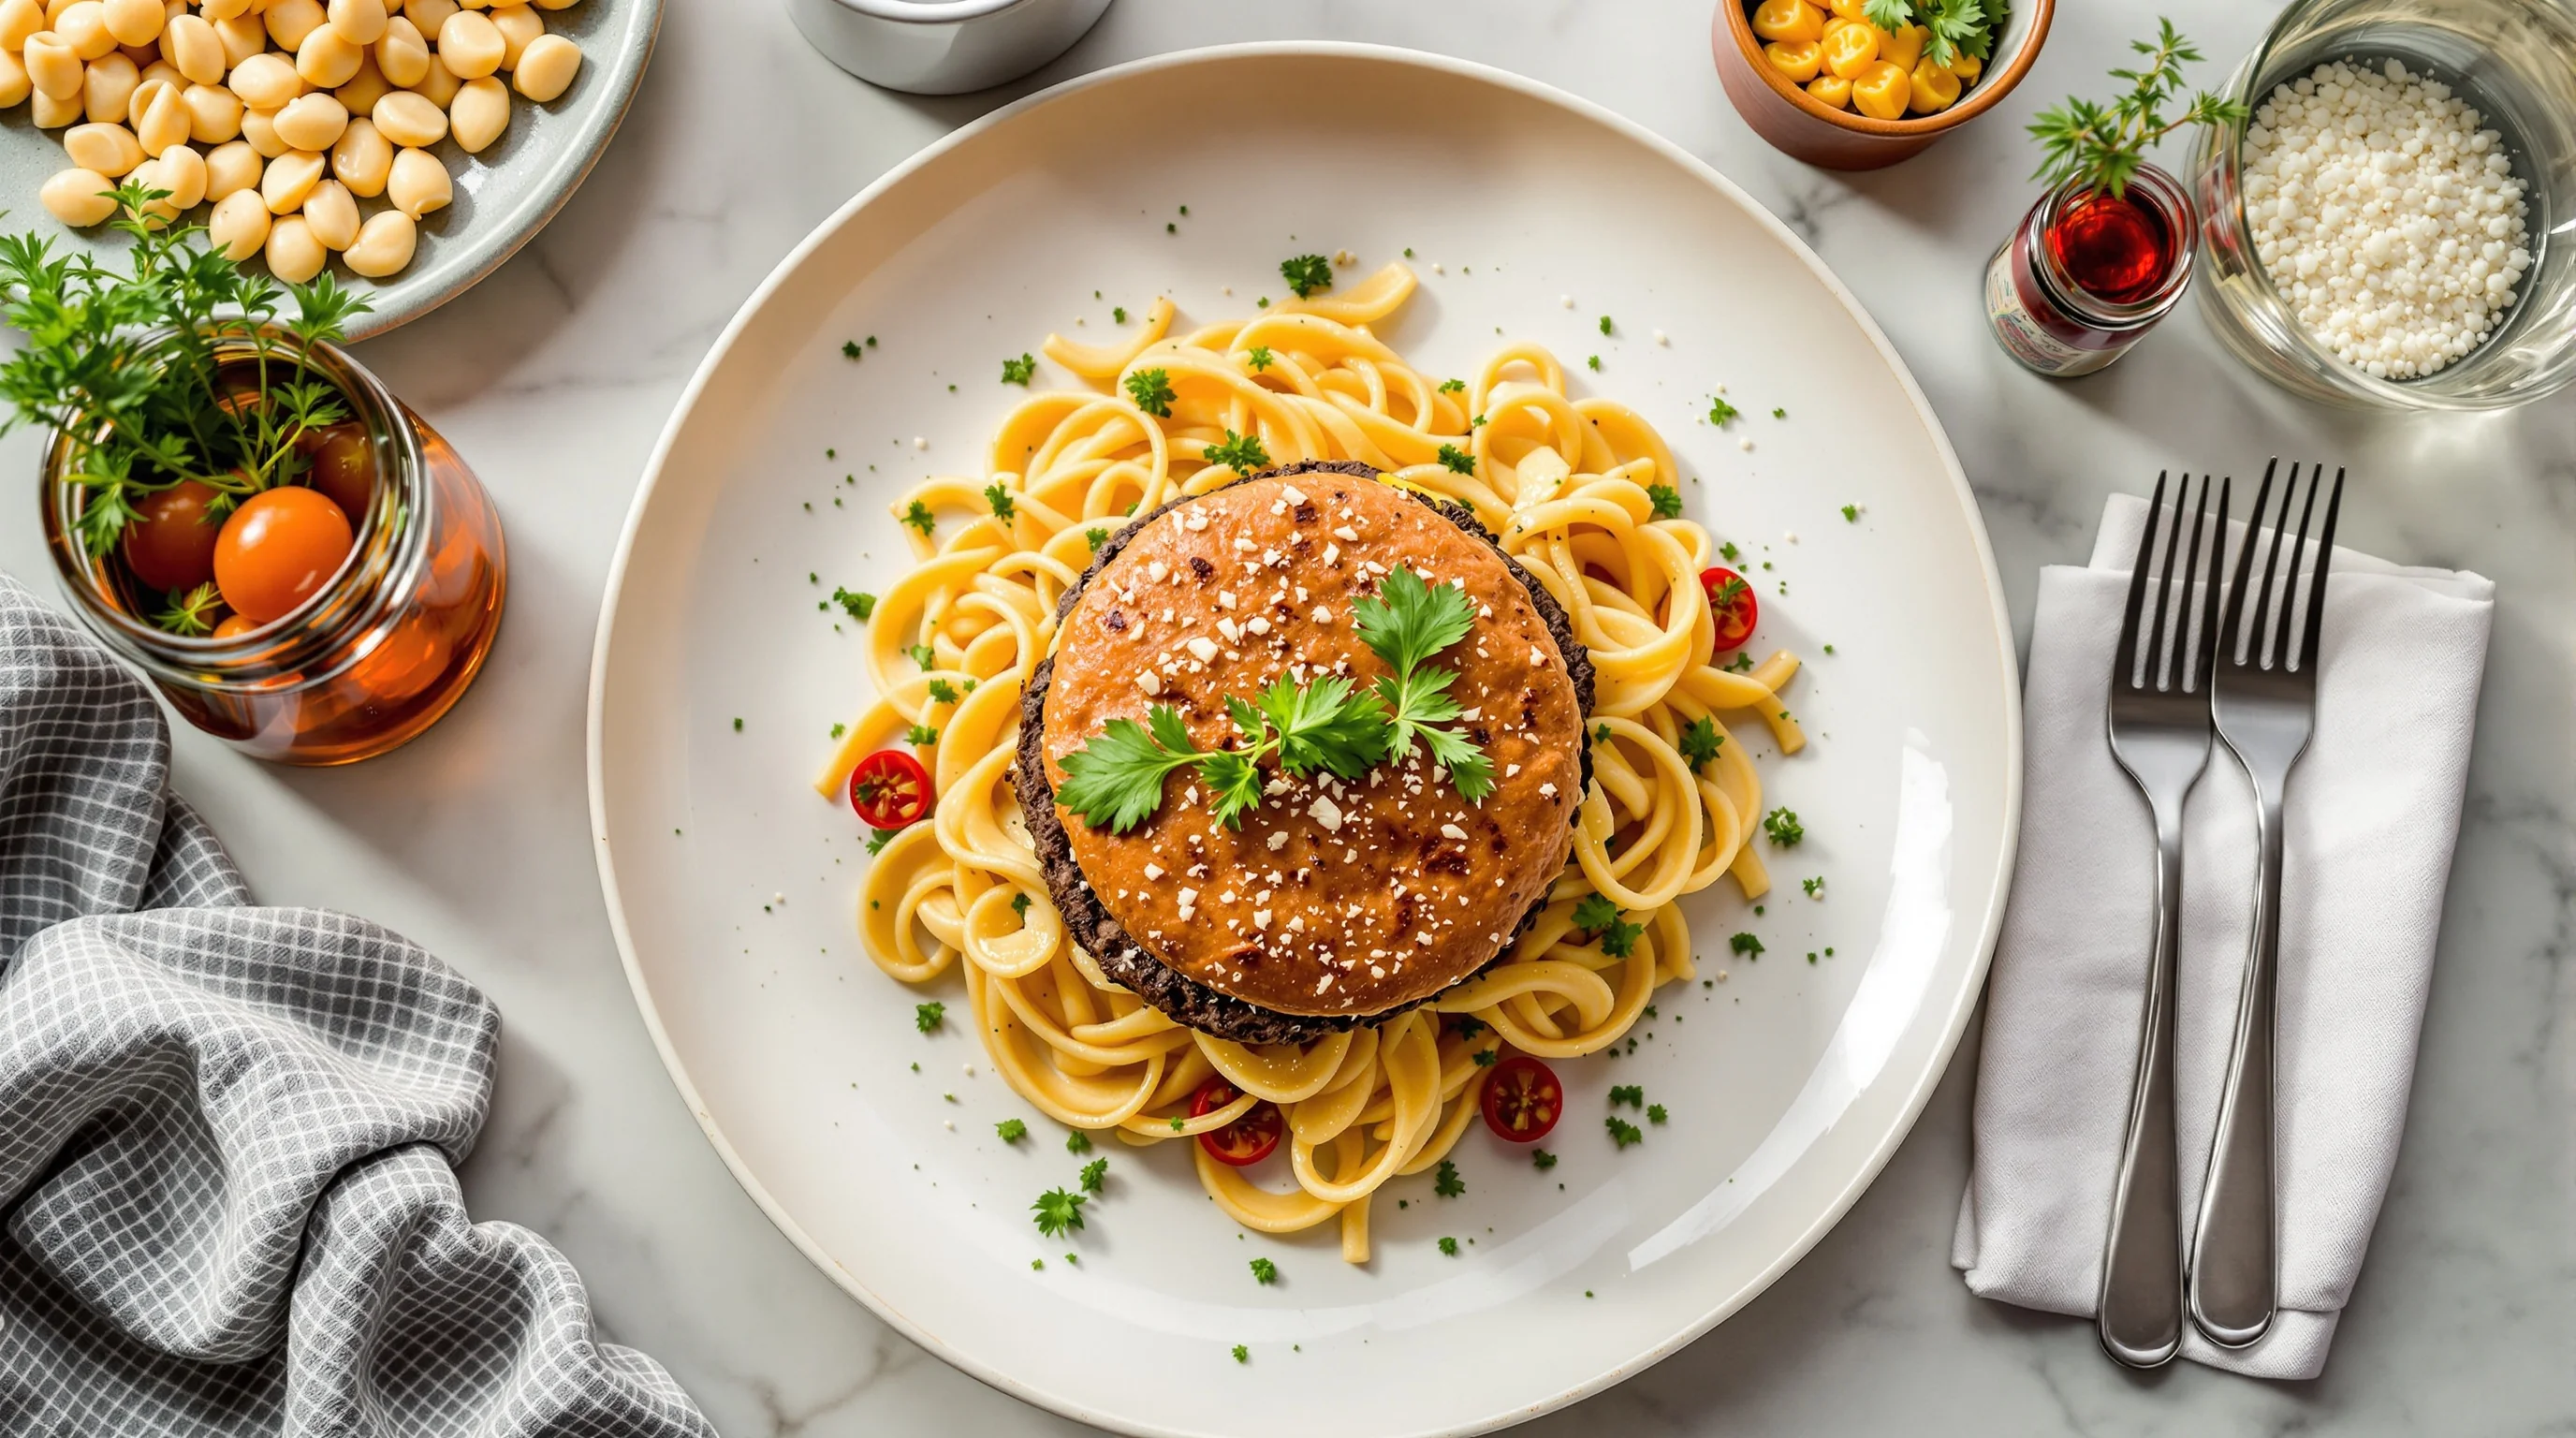
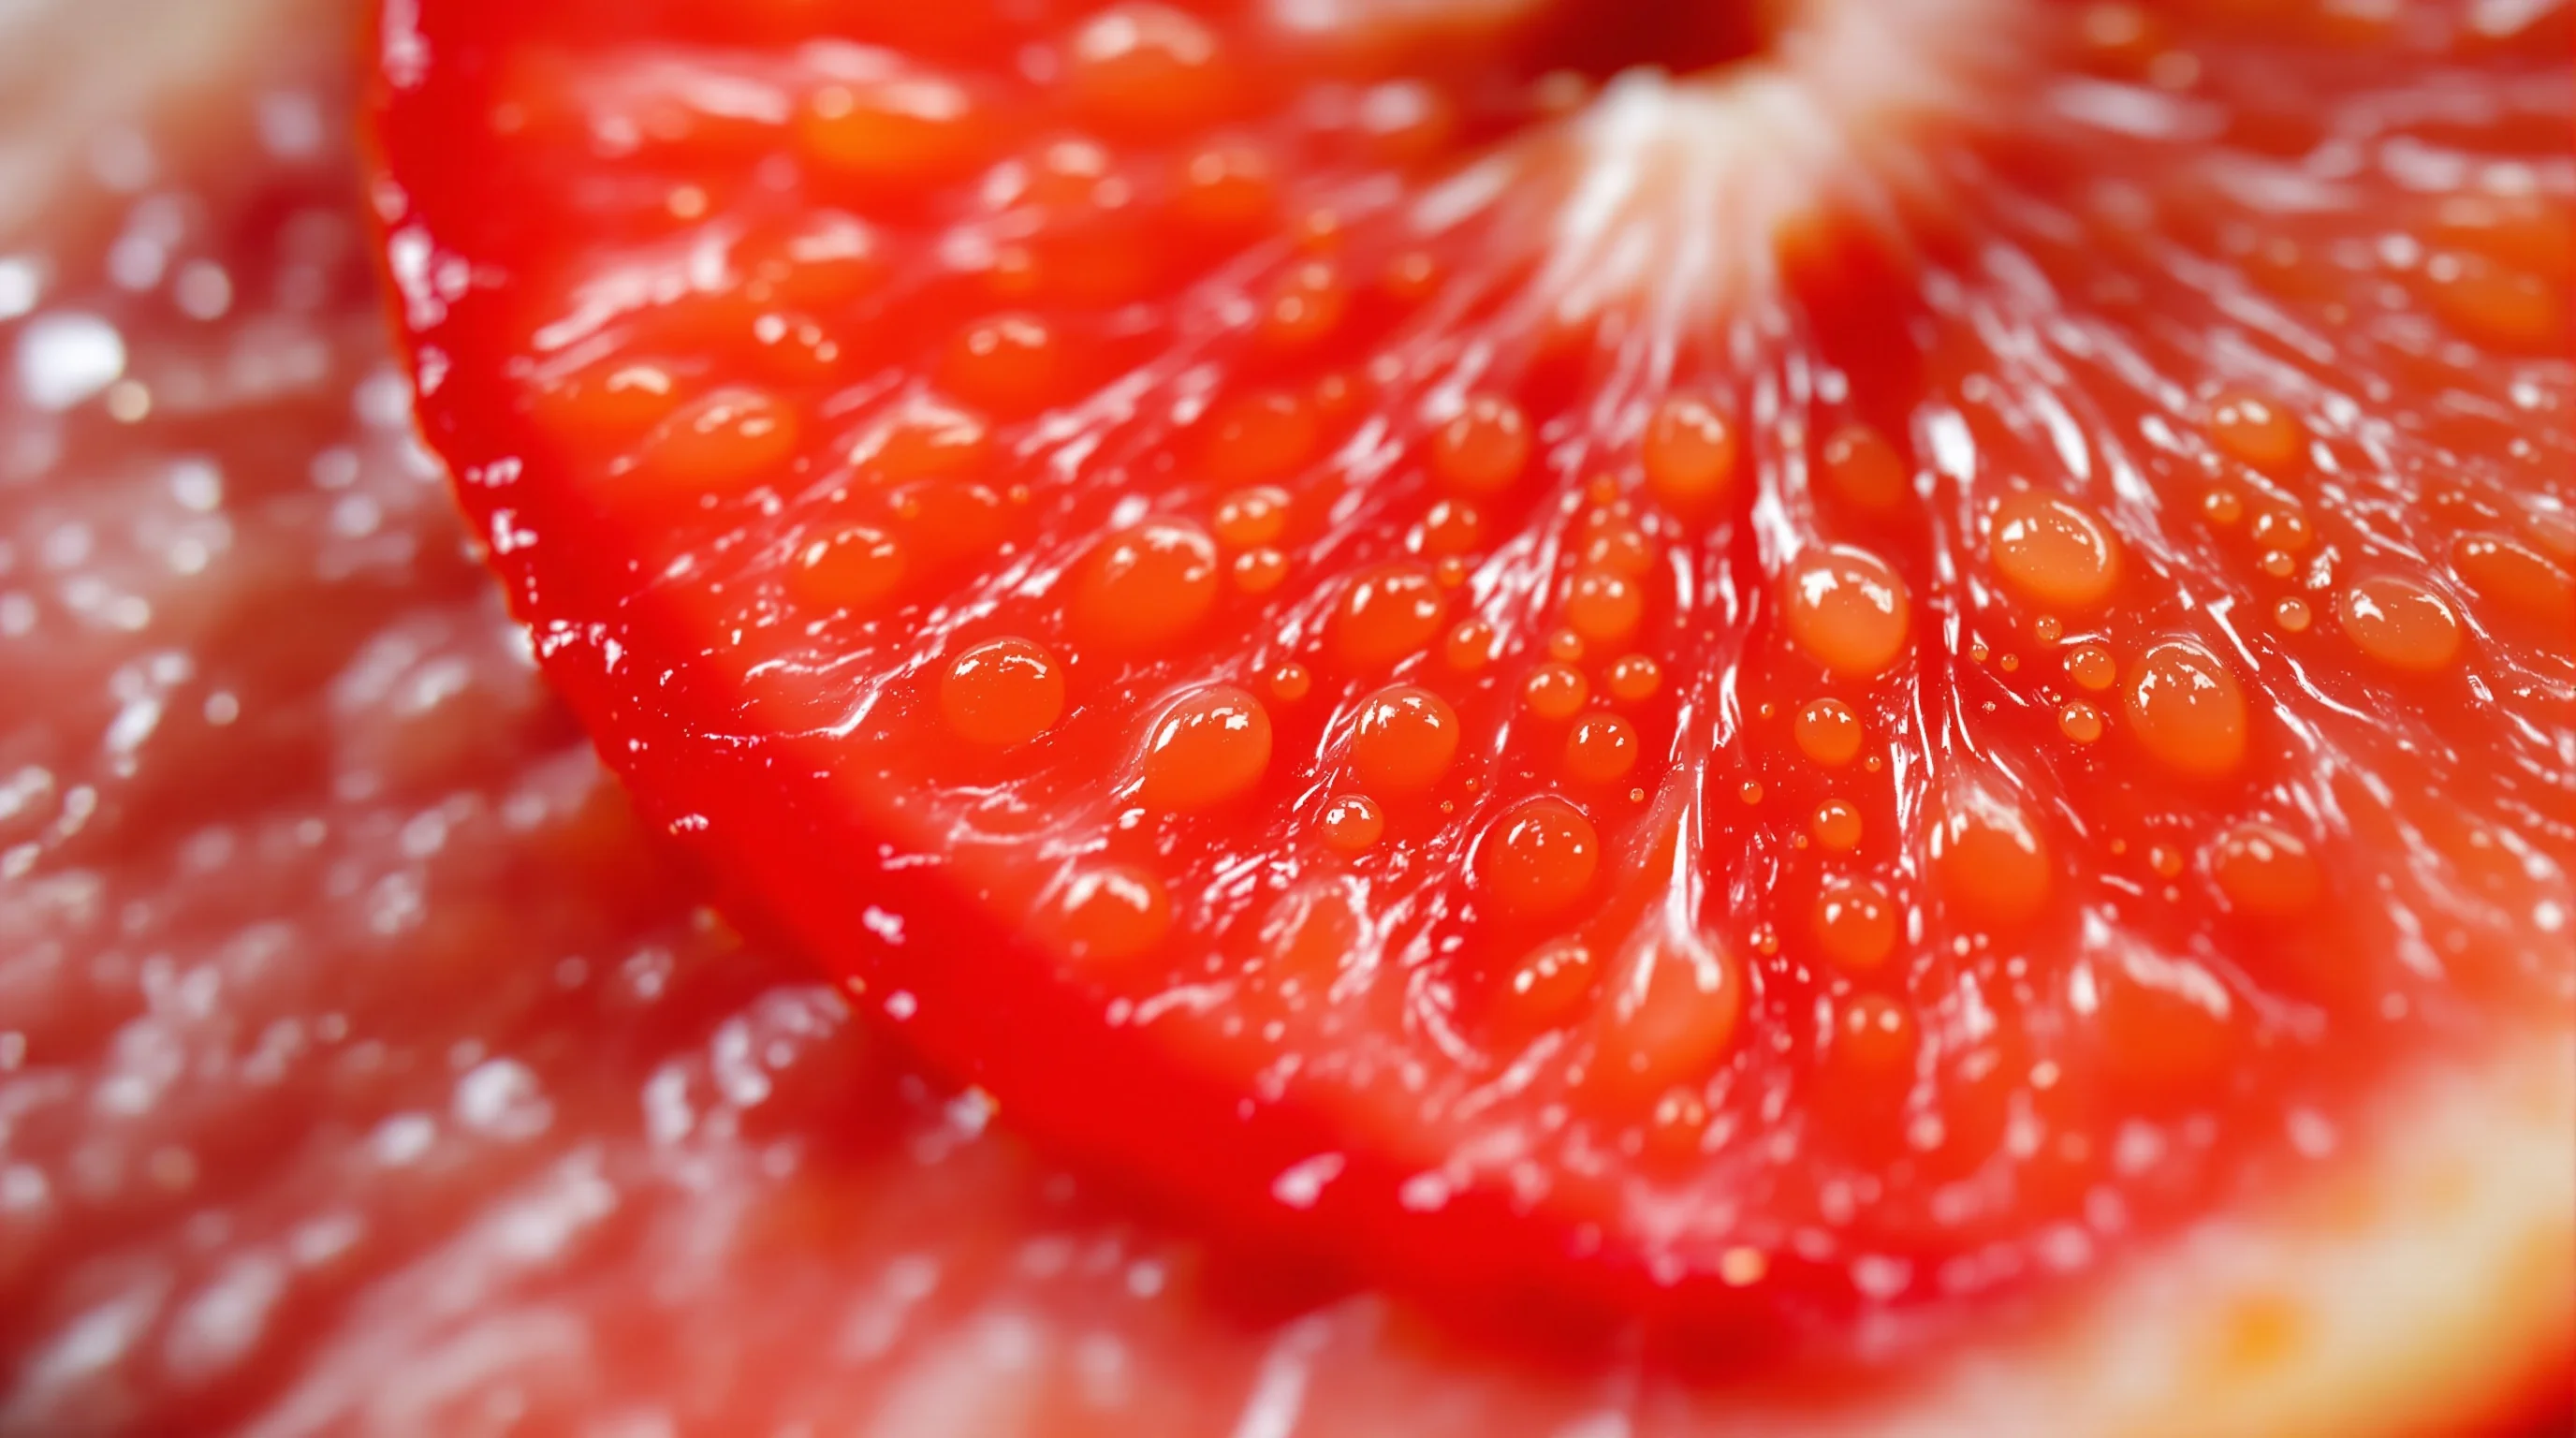
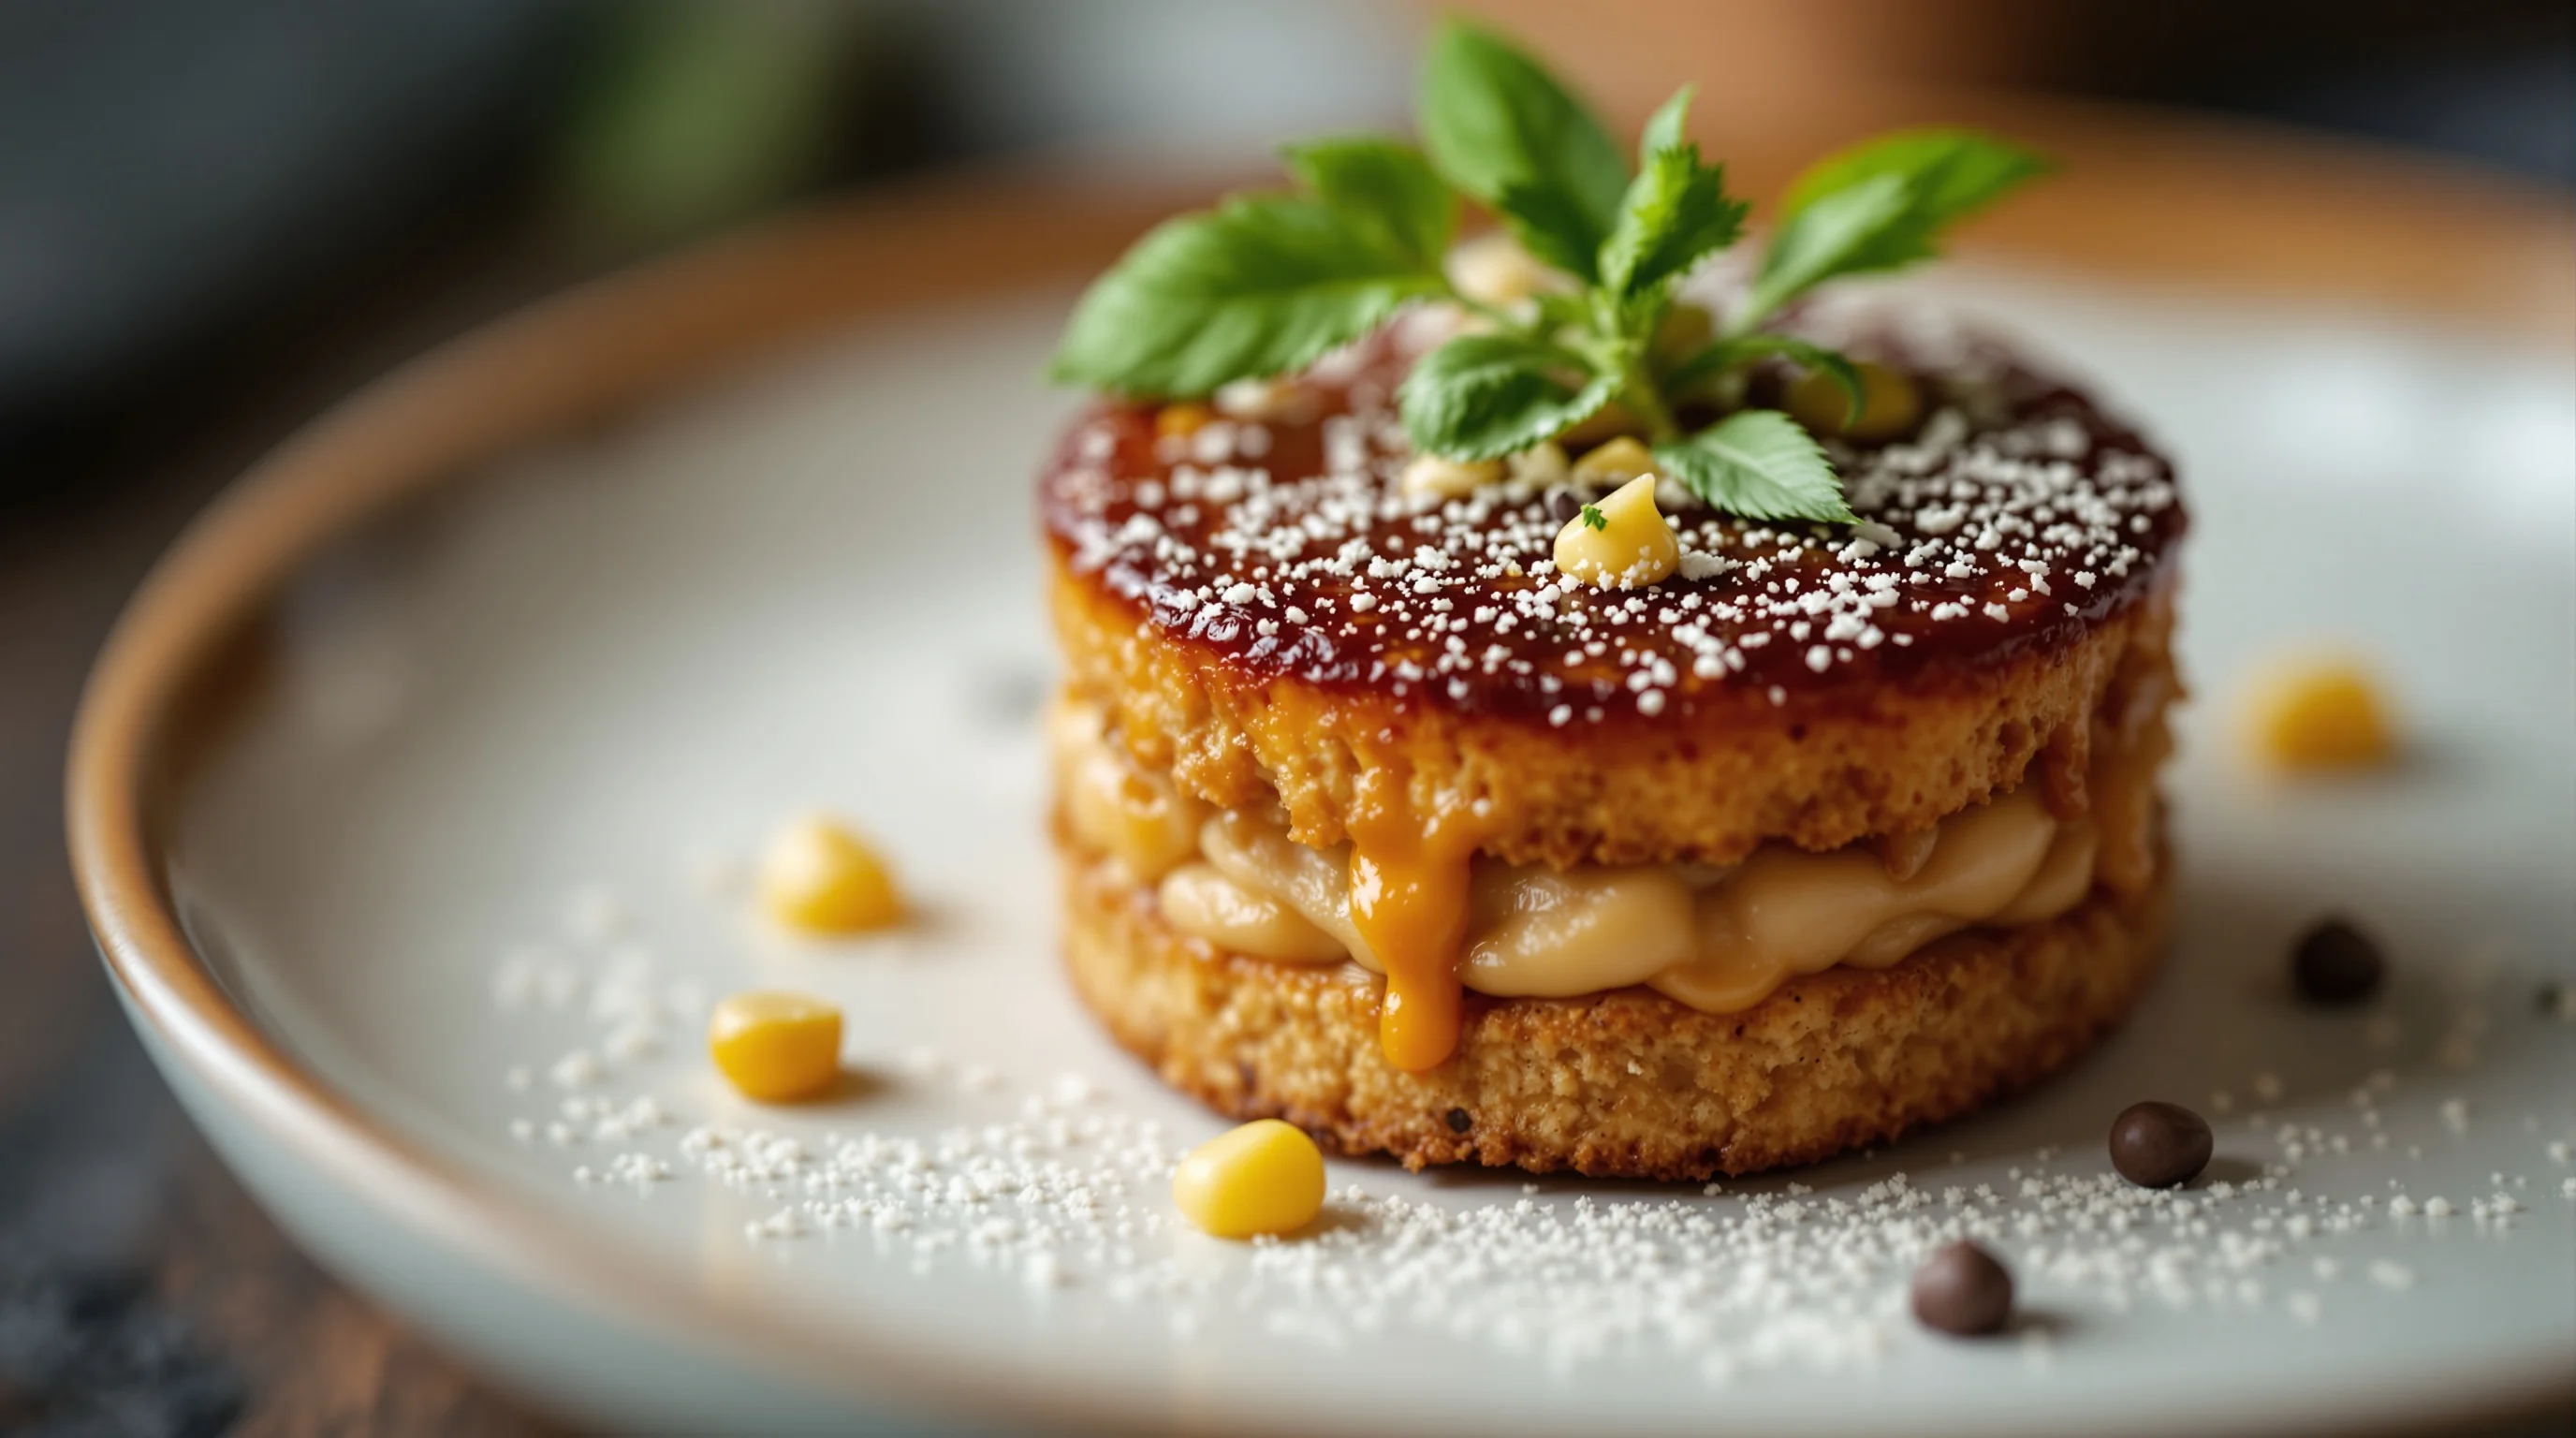
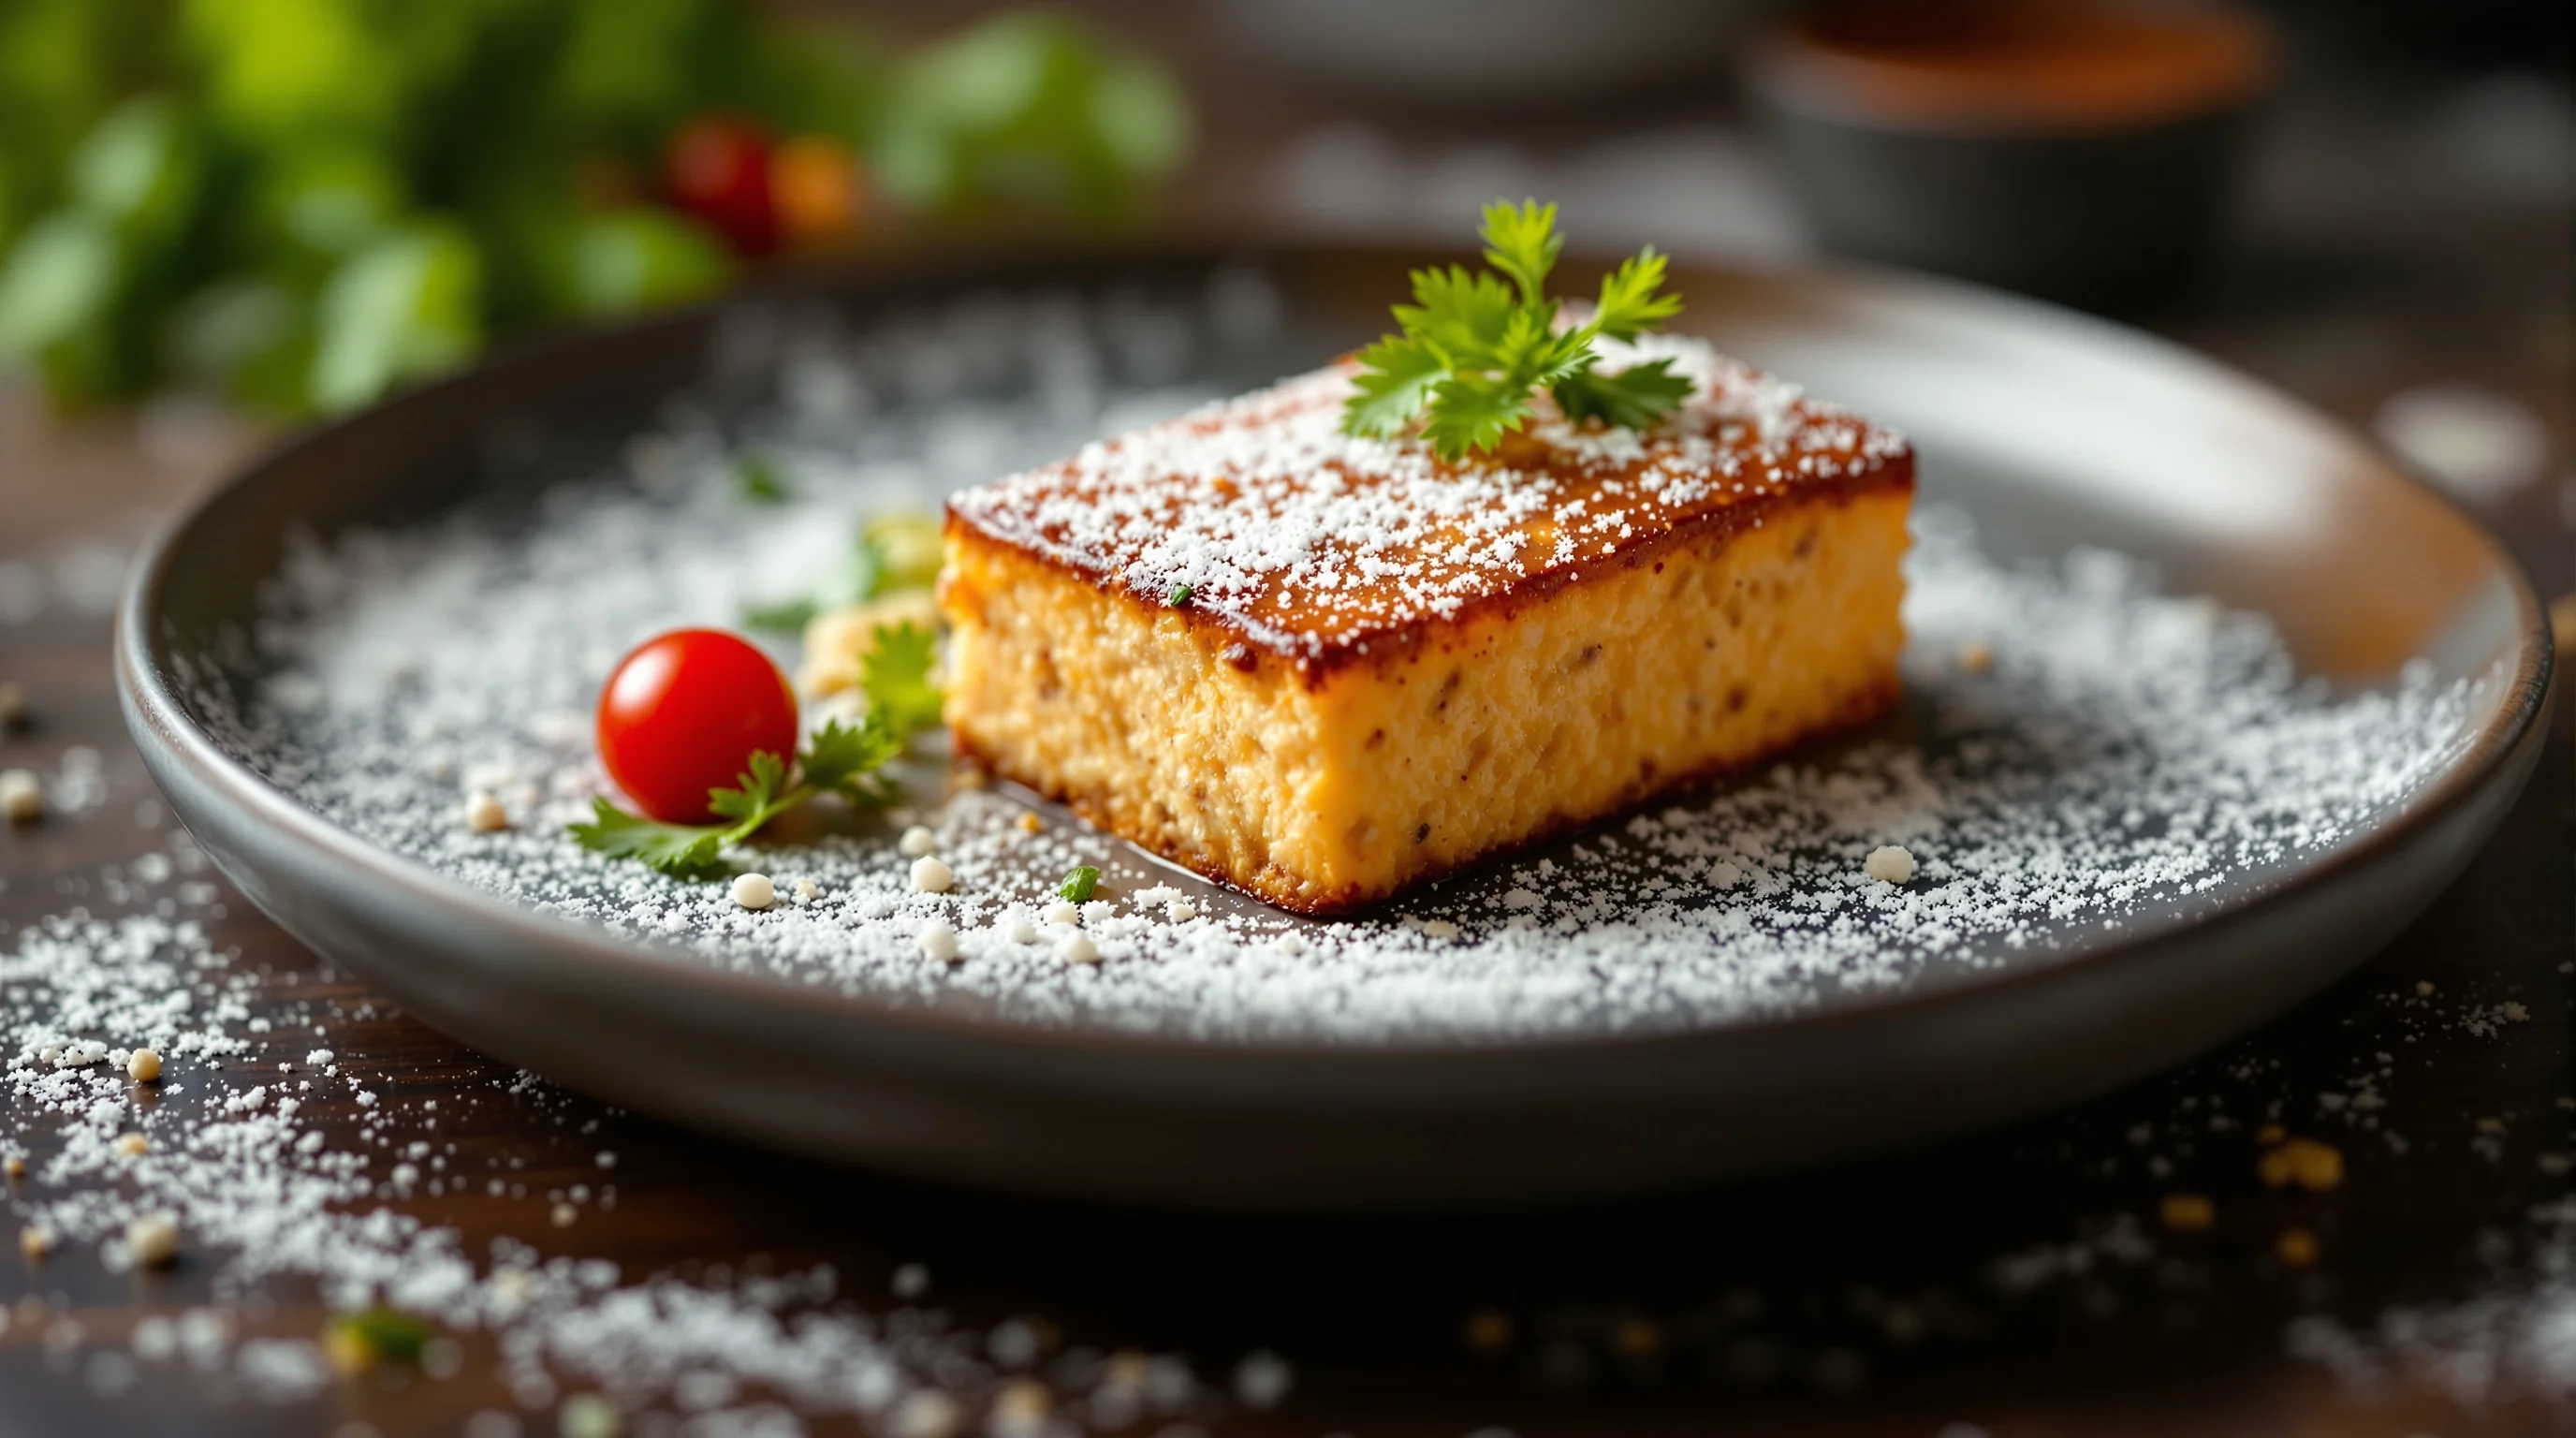
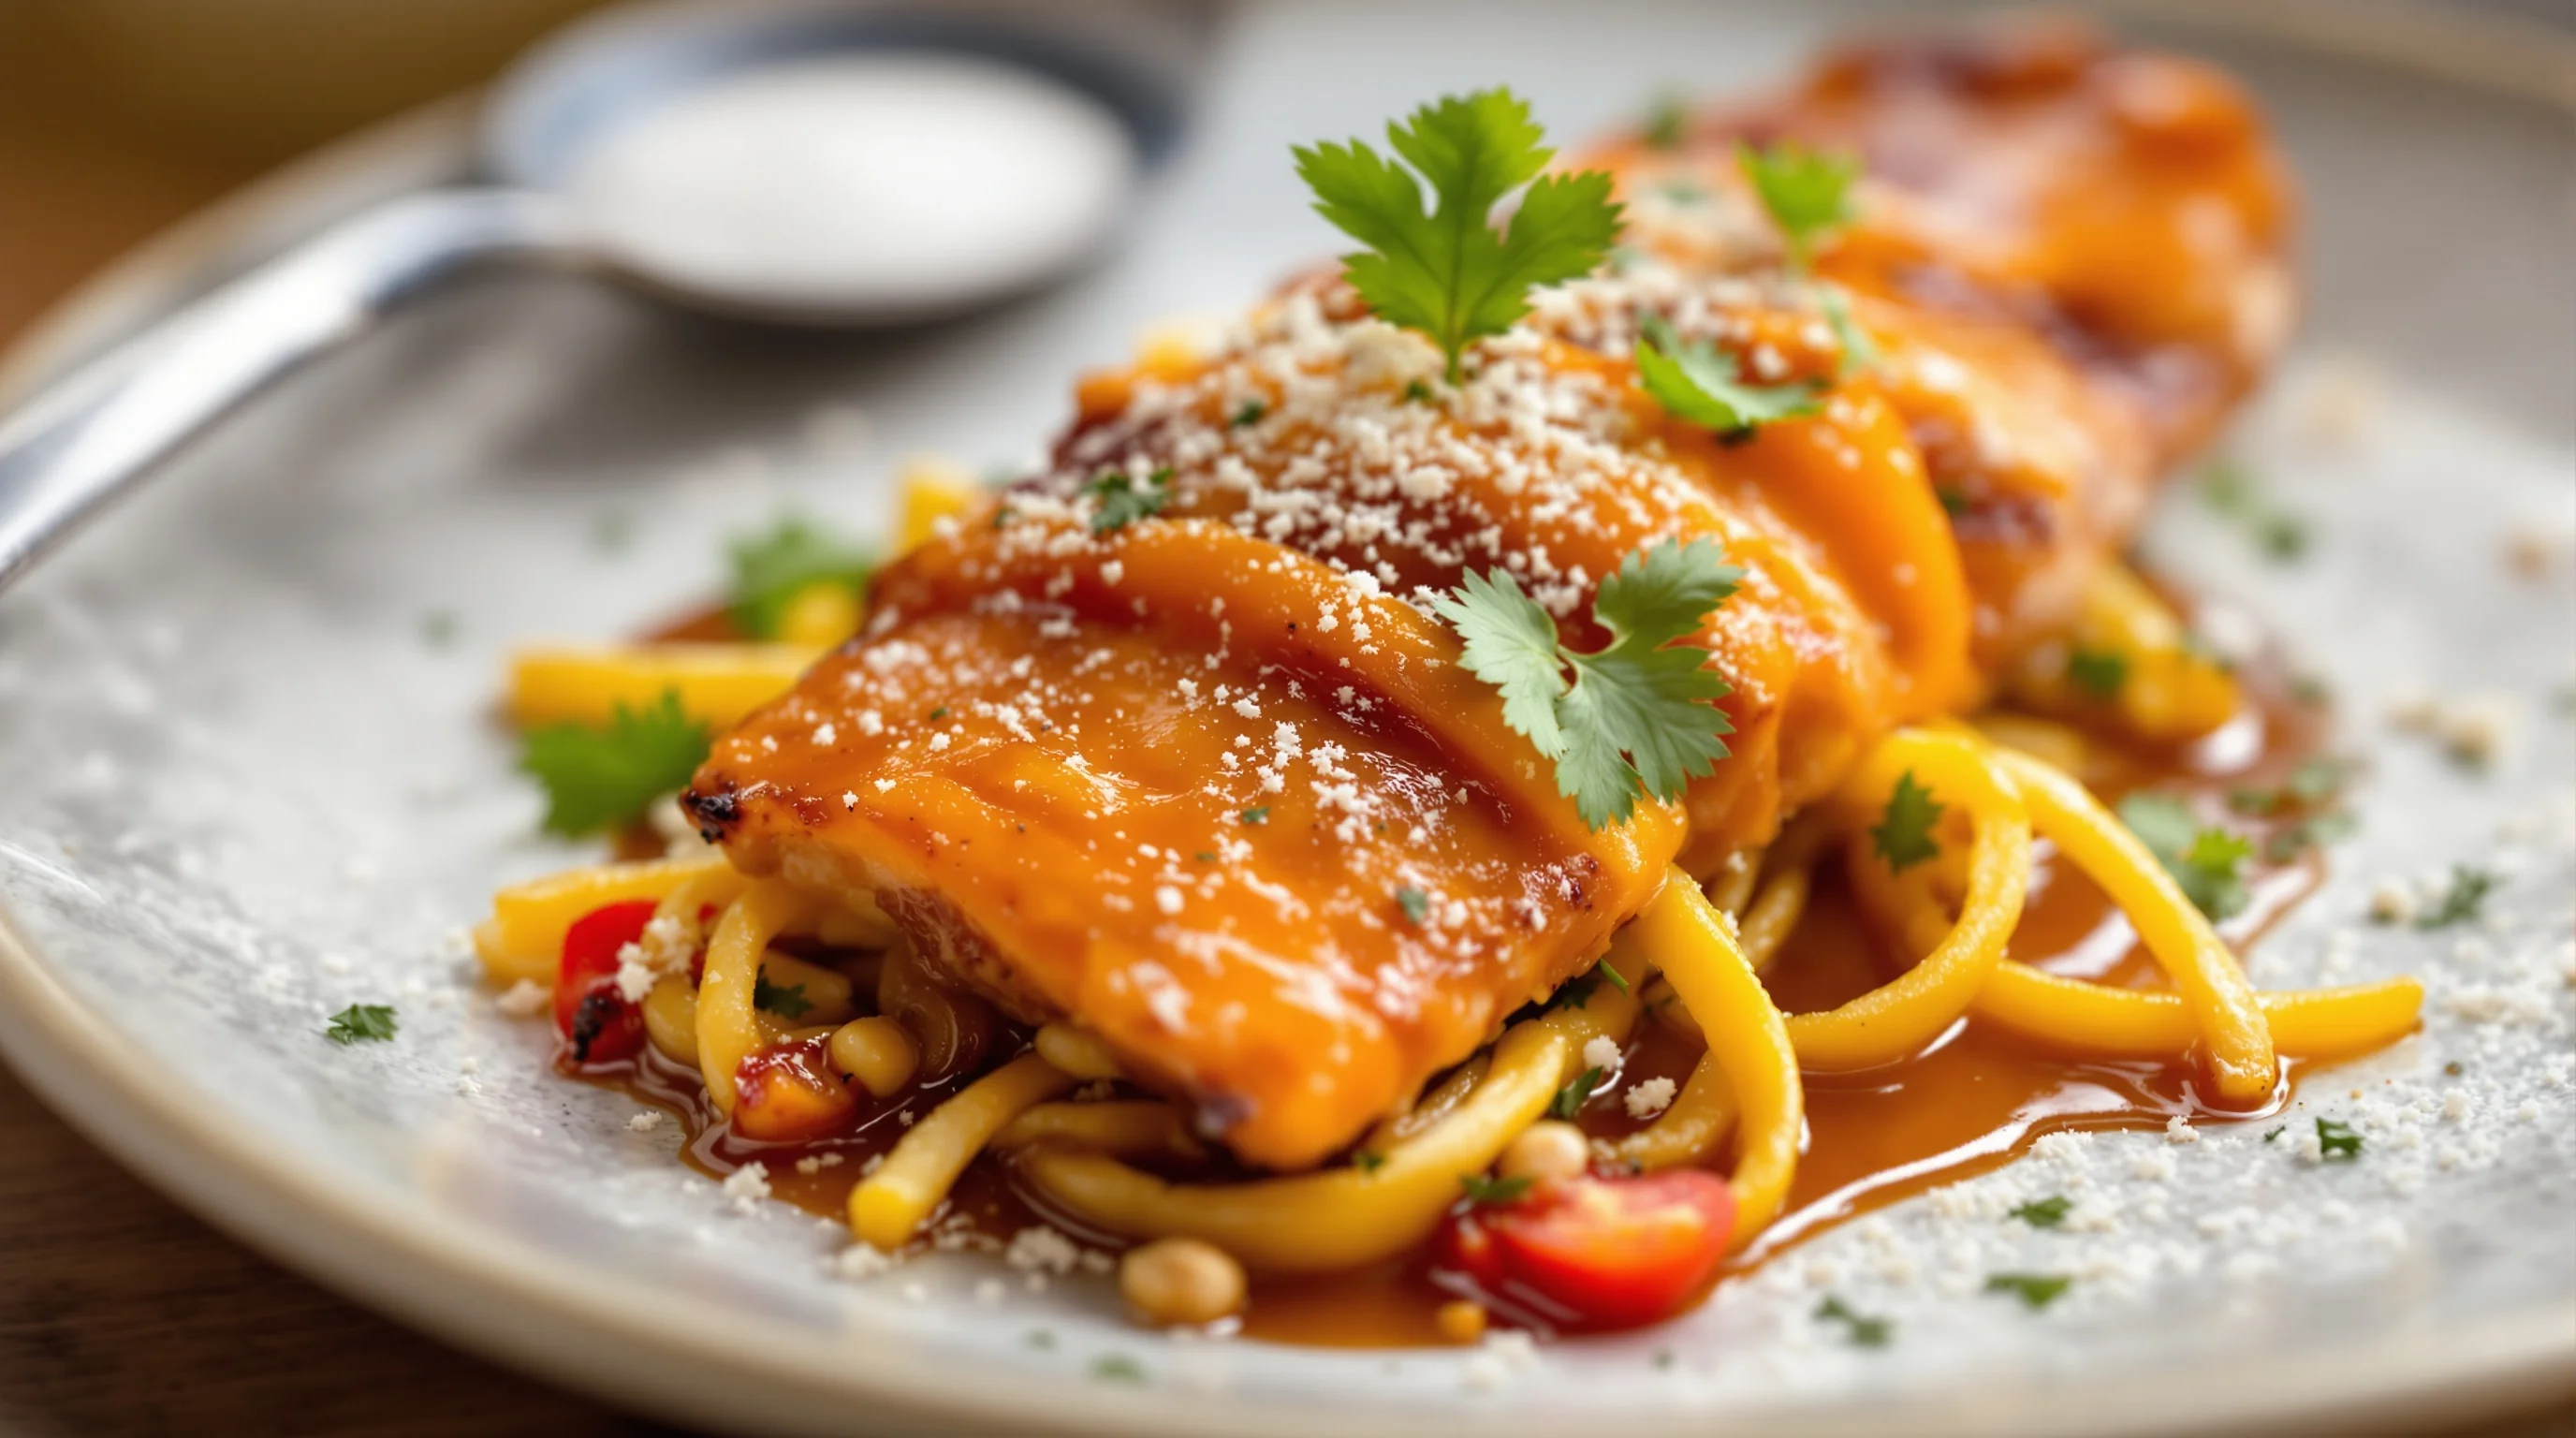
Macro food photography is about photographing small parts of a dish at magnifications that reveal details the naked eye might miss. A true macro lens delivers a 1:1 magnification ratio — meaning the subject appears life-size on the camera sensor — and this allows you to capture minute textures, crumb structure, juice beads and surface irregularities. According to Phoode, macro techniques are commonly used in advertising because close-up food images highlight textures (for example cereal flakes or droplets) and drive appetite by emphasizing detail. When you practice The Art of Macro Food Photography you prioritise scale, texture and the sensory effect of an image rather than the whole plate.
This approach is especially effective where texture sells: fresh berries, citrus segments, caramel strands or the crisp edge of a pastry. Macro shots are often shippable straight to menus or social channels when composed and lit correctly, and they pair well with wider contextual images in a restaurant’s visual story.
Essential equipment for sharp close-ups
Getting started with The Art of Macro Food Photography begins with the right gear. Core items include a true macro lens (1:1), a sturdy tripod, good continuous or diffused lighting, and a focusing rail for precision adjustments. If you want help choosing lenses, our guide What Lens for Food Photography — Choose the Right Lens for Every Shot explains focal-length trade-offs, and why macro primes shine for detail work. A tripod reduces camera shake (a frequent cause of blurry macro shots), while a good macro lens gives the magnification needed to render micro-texture.
If your budget is limited, there are affordable alternatives: extension tubes, close-up diopters and reverse-mounting adapters can produce convincing results without a dedicated macro lens. For restaurant teams wanting consistently high-quality images without a full photoshoot, YummyPic’s AI platform can transform simple food photos into professional, restaurant-ready macro-style images in seconds — a cost-effective way to supplement in-house photography. For camera selection tips, see our Best Camera for Food Photography guide.
- Macro lens (true 1:1 preferred) — life-size magnification for micro-detail
- Sturdy tripod or copy stand to eliminate camera shake
- Remote shutter release or mirror-lockup to avoid vibration
- Diffusers, reflectors and small LED panels for controlled light
- Focusing rail or manual focus tools for precise focus shifts
How can I take ultra-sharp macro food photos?
Sharpness in The Art of Macro Food Photography is a combination of technique and gear. Use apertures that balance depth-of-field with lens sharpness — many macro shooters use f/8–f/16, and in some cases, as Anna Janecka notes, f/15 or higher with a sturdy tripod to achieve optimal sharpness. "For sharp macro shots, use apertures of f/15 or higher and a sturdy tripod," advises Anna Janecka. Stability is everything: mirrorless or DSLR sensors amplify movement when magnification is high, so a solid tripod, remote release and even weighted support for the subject can remove micro-motion that ruins detail.
"Macro food photography captures details that make food look irresistible,"
Caspa.ai
Use manual focus and focus peaking where available; make tiny focus adjustments and test-shoot at 100% on your camera’s LCD. If depth-of-field is too shallow for the subject, shoot a stack of images focused at incremental distances and combine them in post (focus stacking) to get edge-to-edge detail. We’ll cover focus stacking later in the guide. Finally, always check for vibration sources — ventilation systems, passing traffic or an unstable table can produce blur at high magnifications.
Do I need a special macro lens for food photography?
A dedicated macro lens is the gold standard when practising The Art of Macro Food Photography because it provides a 1:1 magnification ratio and optical corrections for edge-to-edge clarity. That said, you can still achieve impressive close-ups with alternatives such as extension tubes or close-up filters when budget is a constraint. If you do opt for a macro lens, consider models with built-in stabilization — YummyPic recommends macro lenses that offer life-size magnification and exceptional clarity for food detail. Built-in stabilization helps reduce blur from tiny camera movements and makes handheld macro shooting more feasible.
If you want a deeper dive into lens choices and focal lengths for food, see our comprehensive piece on what lens for food photography, which covers primes, zooms and macro-specific options. For many restaurants, pairing a good macro lens with controlled lighting and a tripod delivers the best return for menu and delivery imagery.
Lighting strategies for close-up food shots
Lighting is arguably the most creative and technical factor in The Art of Macro Food Photography. Soft, directional light that emphasizes texture works best: place a diffused light source at a low angle to scrape across surfaces and reveal micro-contrast. Small LED panels, speedlights with diffusers, or continuous strip lights can be positioned to create dramatic texture without overwhelming highlights. Use reflectors to fill shadows sparingly; in macro work, even small tone changes alter perceived texture.
Avoid placing light too close without diffusion — hot spots and specular blowouts can destroy detail. When shooting liquids or glossy surfaces, consider polarising filters to control reflections. For more drink-specific lighting techniques check our guide How to Light Drinks Safely, which explains safe, controlled approaches that translate to macro reflections and flame effects.
Composition, styling and storytelling in macro shots
The Art of Macro Food Photography isn’t just technical — composition and styling decide whether a close-up communicates appetite or confusion. Choose a clear focal point (a sugar crystal, a salt grain, a bead of sauce) and simplify the frame. Use negative space and leading lines to guide the eye: a pastry crumb trail or a drizzle can act as a visual path. Colour contrast helps: a bright citrus segment against a dark background pops and reads quickly on delivery platforms and Instagram.
Macro storytelling is powerful. Instead of photographing a finished plate alone, capture process details — a scattering of spices, steam on a hot dumpling or a droplet mid-fall — to hint at flavor and craft. These close narratives can raise engagement: food and drink content is a top interest for 43% of Instagram users, with over 488 million posts tagged #food, according to Soocial. Good macro images perform well on platform thumbnails because they read clearly even when small.
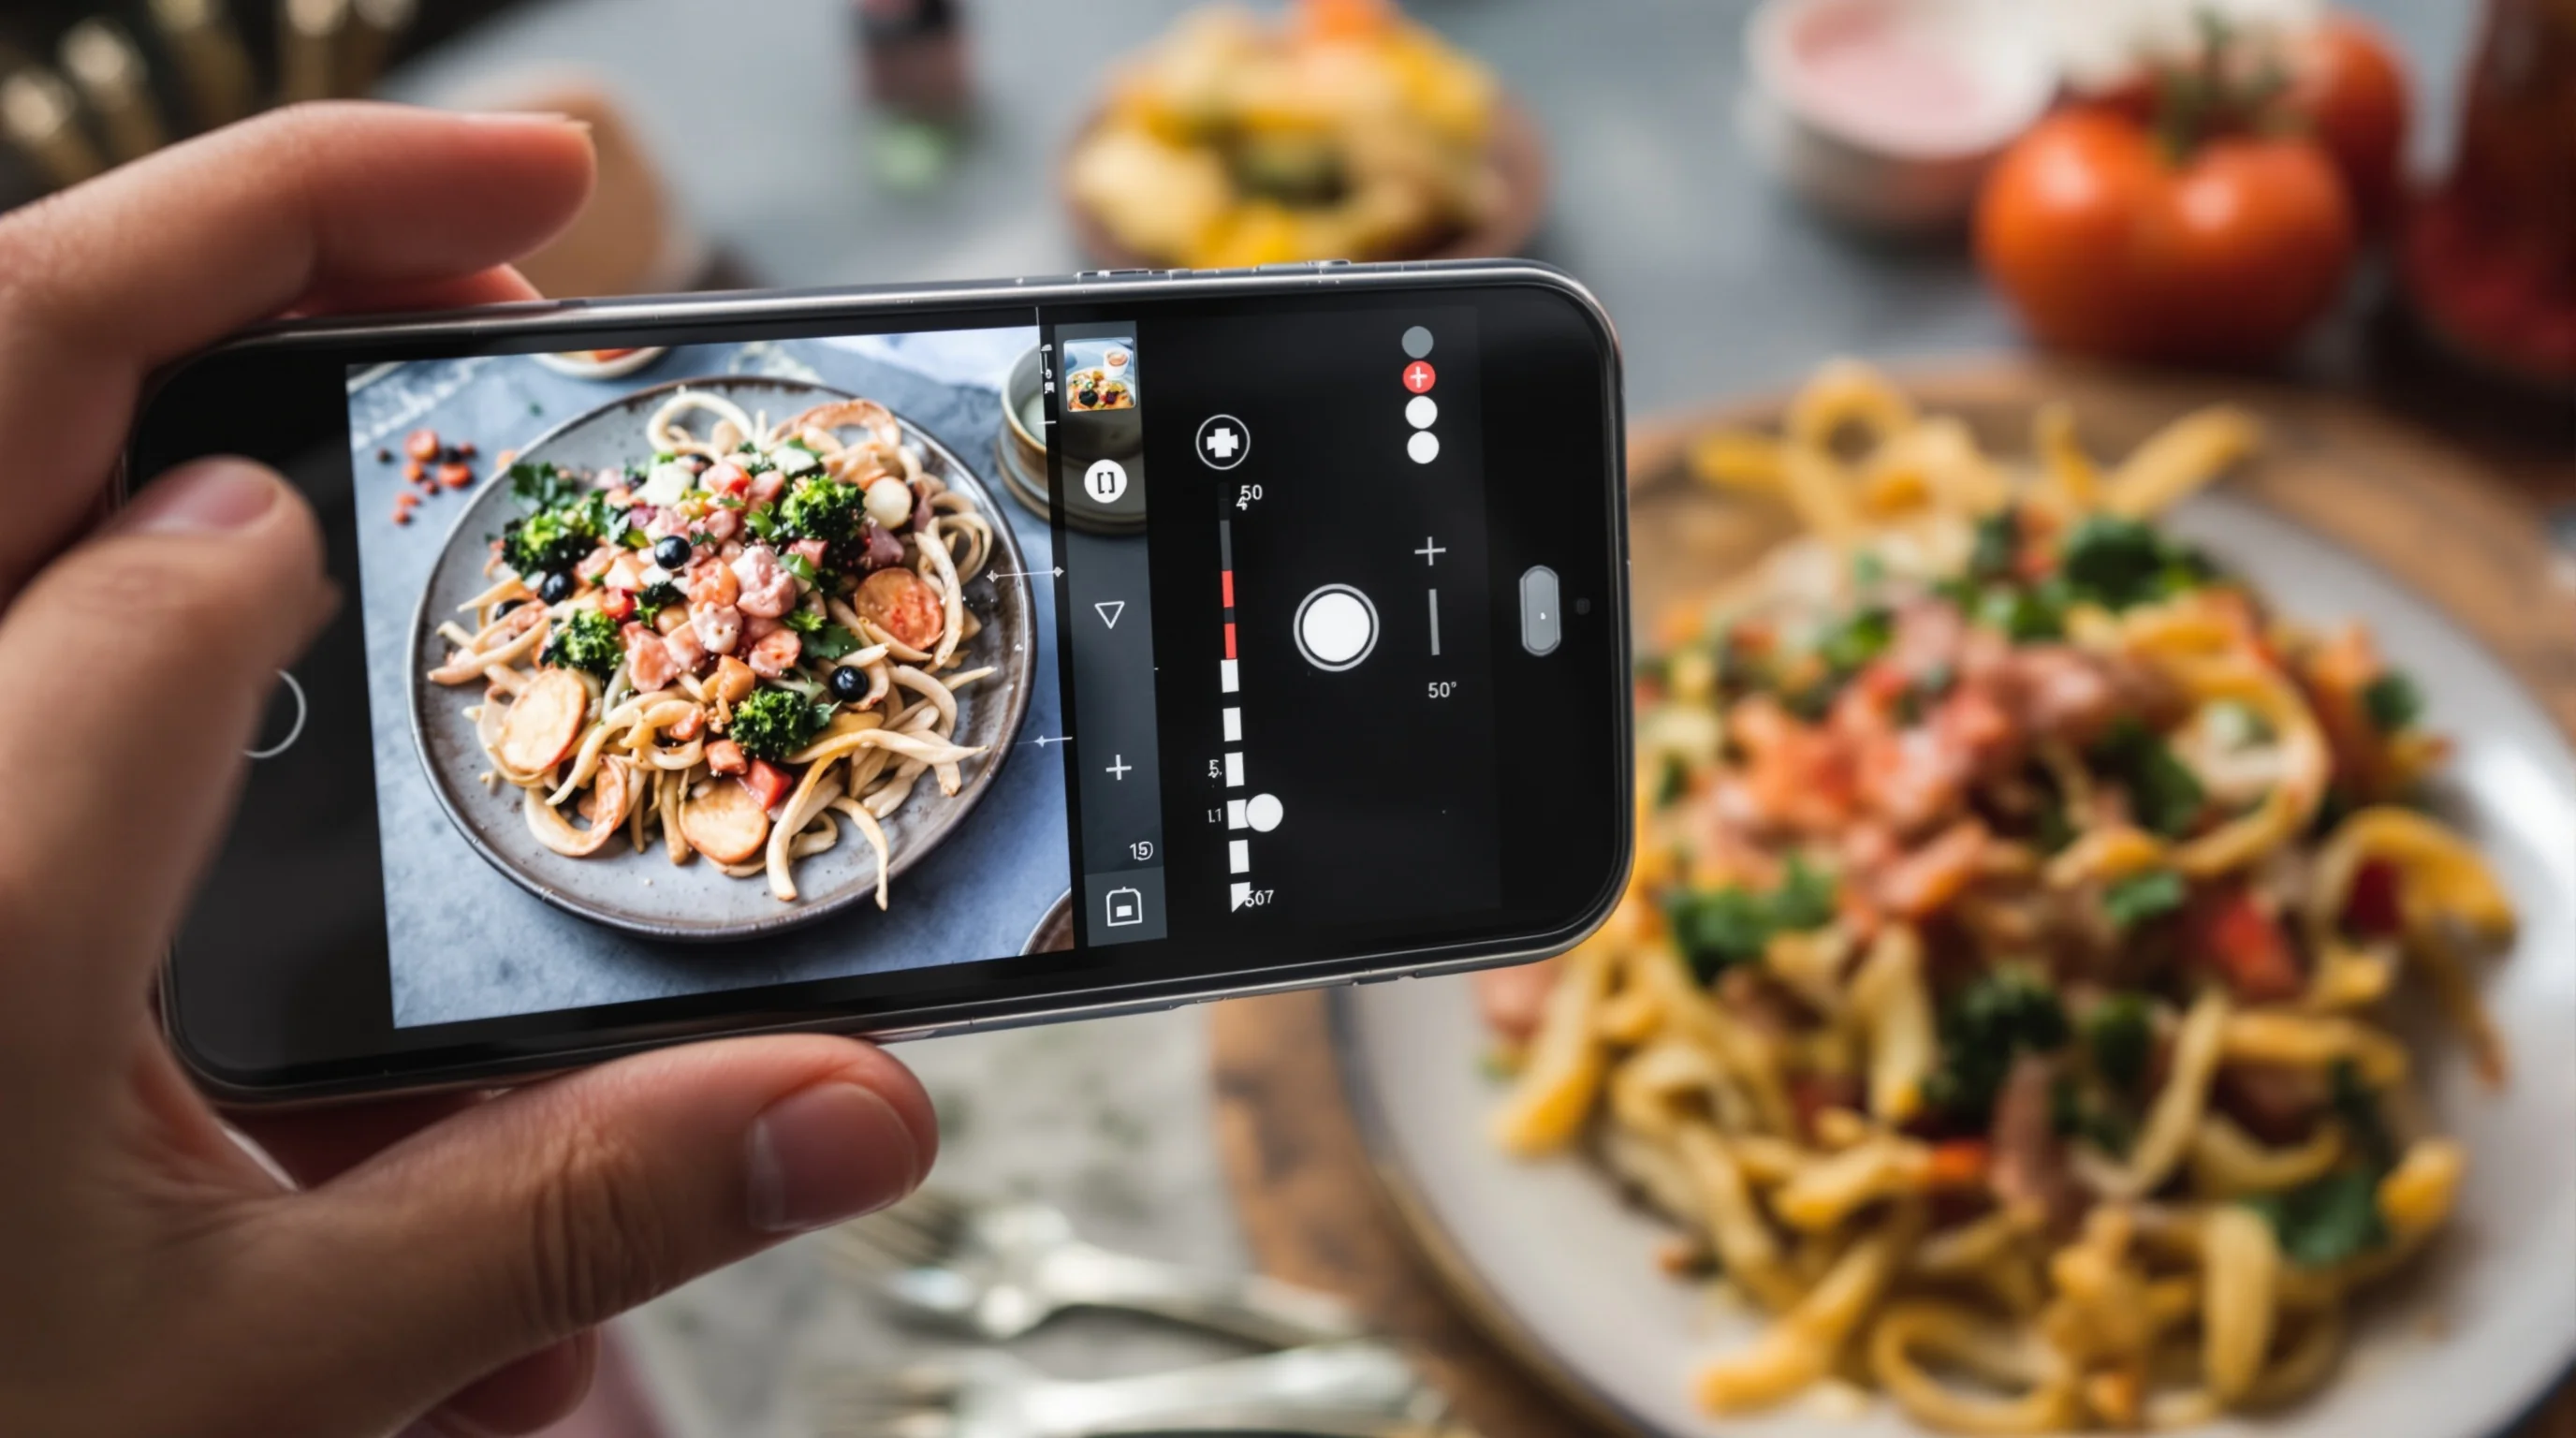
Smartphone and budget setups for macro food photography
Filling a common content gap, The Art of Macro Food Photography can be practised on smartphones. Modern phone cameras include macro or ultra-wide sensors and clever software that help capture close detail. Use a small tripod or phone clamp, add inexpensive clip-on macro lenses, and stabilise both phone and subject. Control lighting with a small LED panel or window diffusion and use manual exposure controls via an app where available.
If shooting for delivery platforms or social with limited budget, take multiple variations — different angles, tighter crops and both lit and moody styles — then use tools like YummyPic to transform the best captures into multiple high-quality variants suited for DoorDash, Grubhub or Instagram. Around half of Americans regularly photograph their food, Soocial reports, so compelling smartphone macro content is a practical route for restaurants to increase engagement.
Advanced techniques: focus stacking and creative themes
Two advanced ways to elevate The Art of Macro Food Photography are focus stacking and theme-based shoots. Focus stacking involves shooting several frames at different focus distances and merging them to obtain greater depth-of-field than a single exposure allows. This resolves one of the main macro pain points: extremely shallow DOF that prevents full-subject sharpness. Many photographers use focus stacking to achieve entirely sharp slices of citrus or layered pastries while preserving a pleasing background blur.
- Set camera on a tripod and compose.
- Switch to manual focus and choose the nearest focus point.
- Take sequential shots, moving focus slightly deeper with each frame.
- Merge frames in stacking software and retouch transitions.
Theme-based macro shoots — for example, 'seasonal citrus' or 'smoke & steam' — create a cohesive set of images for menus and social campaigns. These shoots help you tell a stronger brand story through texture and detail rather than relying only on full-plate imagery.
Workflow and scaling with YummyPic
For restaurants needing scale, The Art of Macro Food Photography can be integrated into a fast workflow with AI. YummyPic is an AI-powered platform that transforms simple photos into professional menu-ready images in seconds. When you capture a basic close-up or smartphone macro shot, YummyPic can generate multiple styles — bright & airy, dark & moody, or high-contrast texture-focused variants — without a full studio setup. This approach solves common pain points: it reduces dependency on expensive macro gear, removes the need for long post-production, and delivers instant high-resolution images for DoorDash, Grubhub and Uber Eats.
- Speed: professional photos in seconds from a single upload
- Cost-effective: lower cost than full photoshoots
- Variety: multiple styles for menu, delivery and social
- Convenience: no props, no lighting rig, immediate downloads
If you already shoot macro in-house, use YummyPic to produce alternate looks for A/B testing on delivery platforms. For example, one variant can be optimised for DoorDash while another suits Instagram stories — all derived from the same close-up source image. YummyPic complements technical macro work and offers a practical option for restaurants that need consistent, high-quality imagery at scale.
Conclusion
The Art of Macro Food Photography is a powerful way to communicate texture, freshness and craft. With the right lens or a smart smartphone setup, careful lighting, and techniques such as focus stacking, you can produce mouthwatering close-ups that perform on menus, delivery platforms and socials. Remember the fundamentals — stabilization, controlled light, and precise focus — and supplement in-house work with tools like YummyPic to scale production and create multiple stylistic variants quickly. Macro photography is technical but highly rewarding: it turns small details into big visual appetite drivers.