Introduction — Asian cuisine invites the camera: glossy curries, crispy samosas, and steaming bowls of ramen demand a photographic approach that honors texture, ephemeral steam and vibrant color. In this guide you will learn practical, restaurant-ready techniques for Asian food photography: how to create and capture steam, which camera settings reveal fine textures, and how to keep colors true under mixed light. We will cover smartphone and DSLR workflows, step-by-step steam methods, post-processing tips and cultural-styling advice so your images look authentic and mouthwatering on DoorDash, Grubhub, Uber Eats and Instagram.
Why texture, steam and color matter in Asian food photography
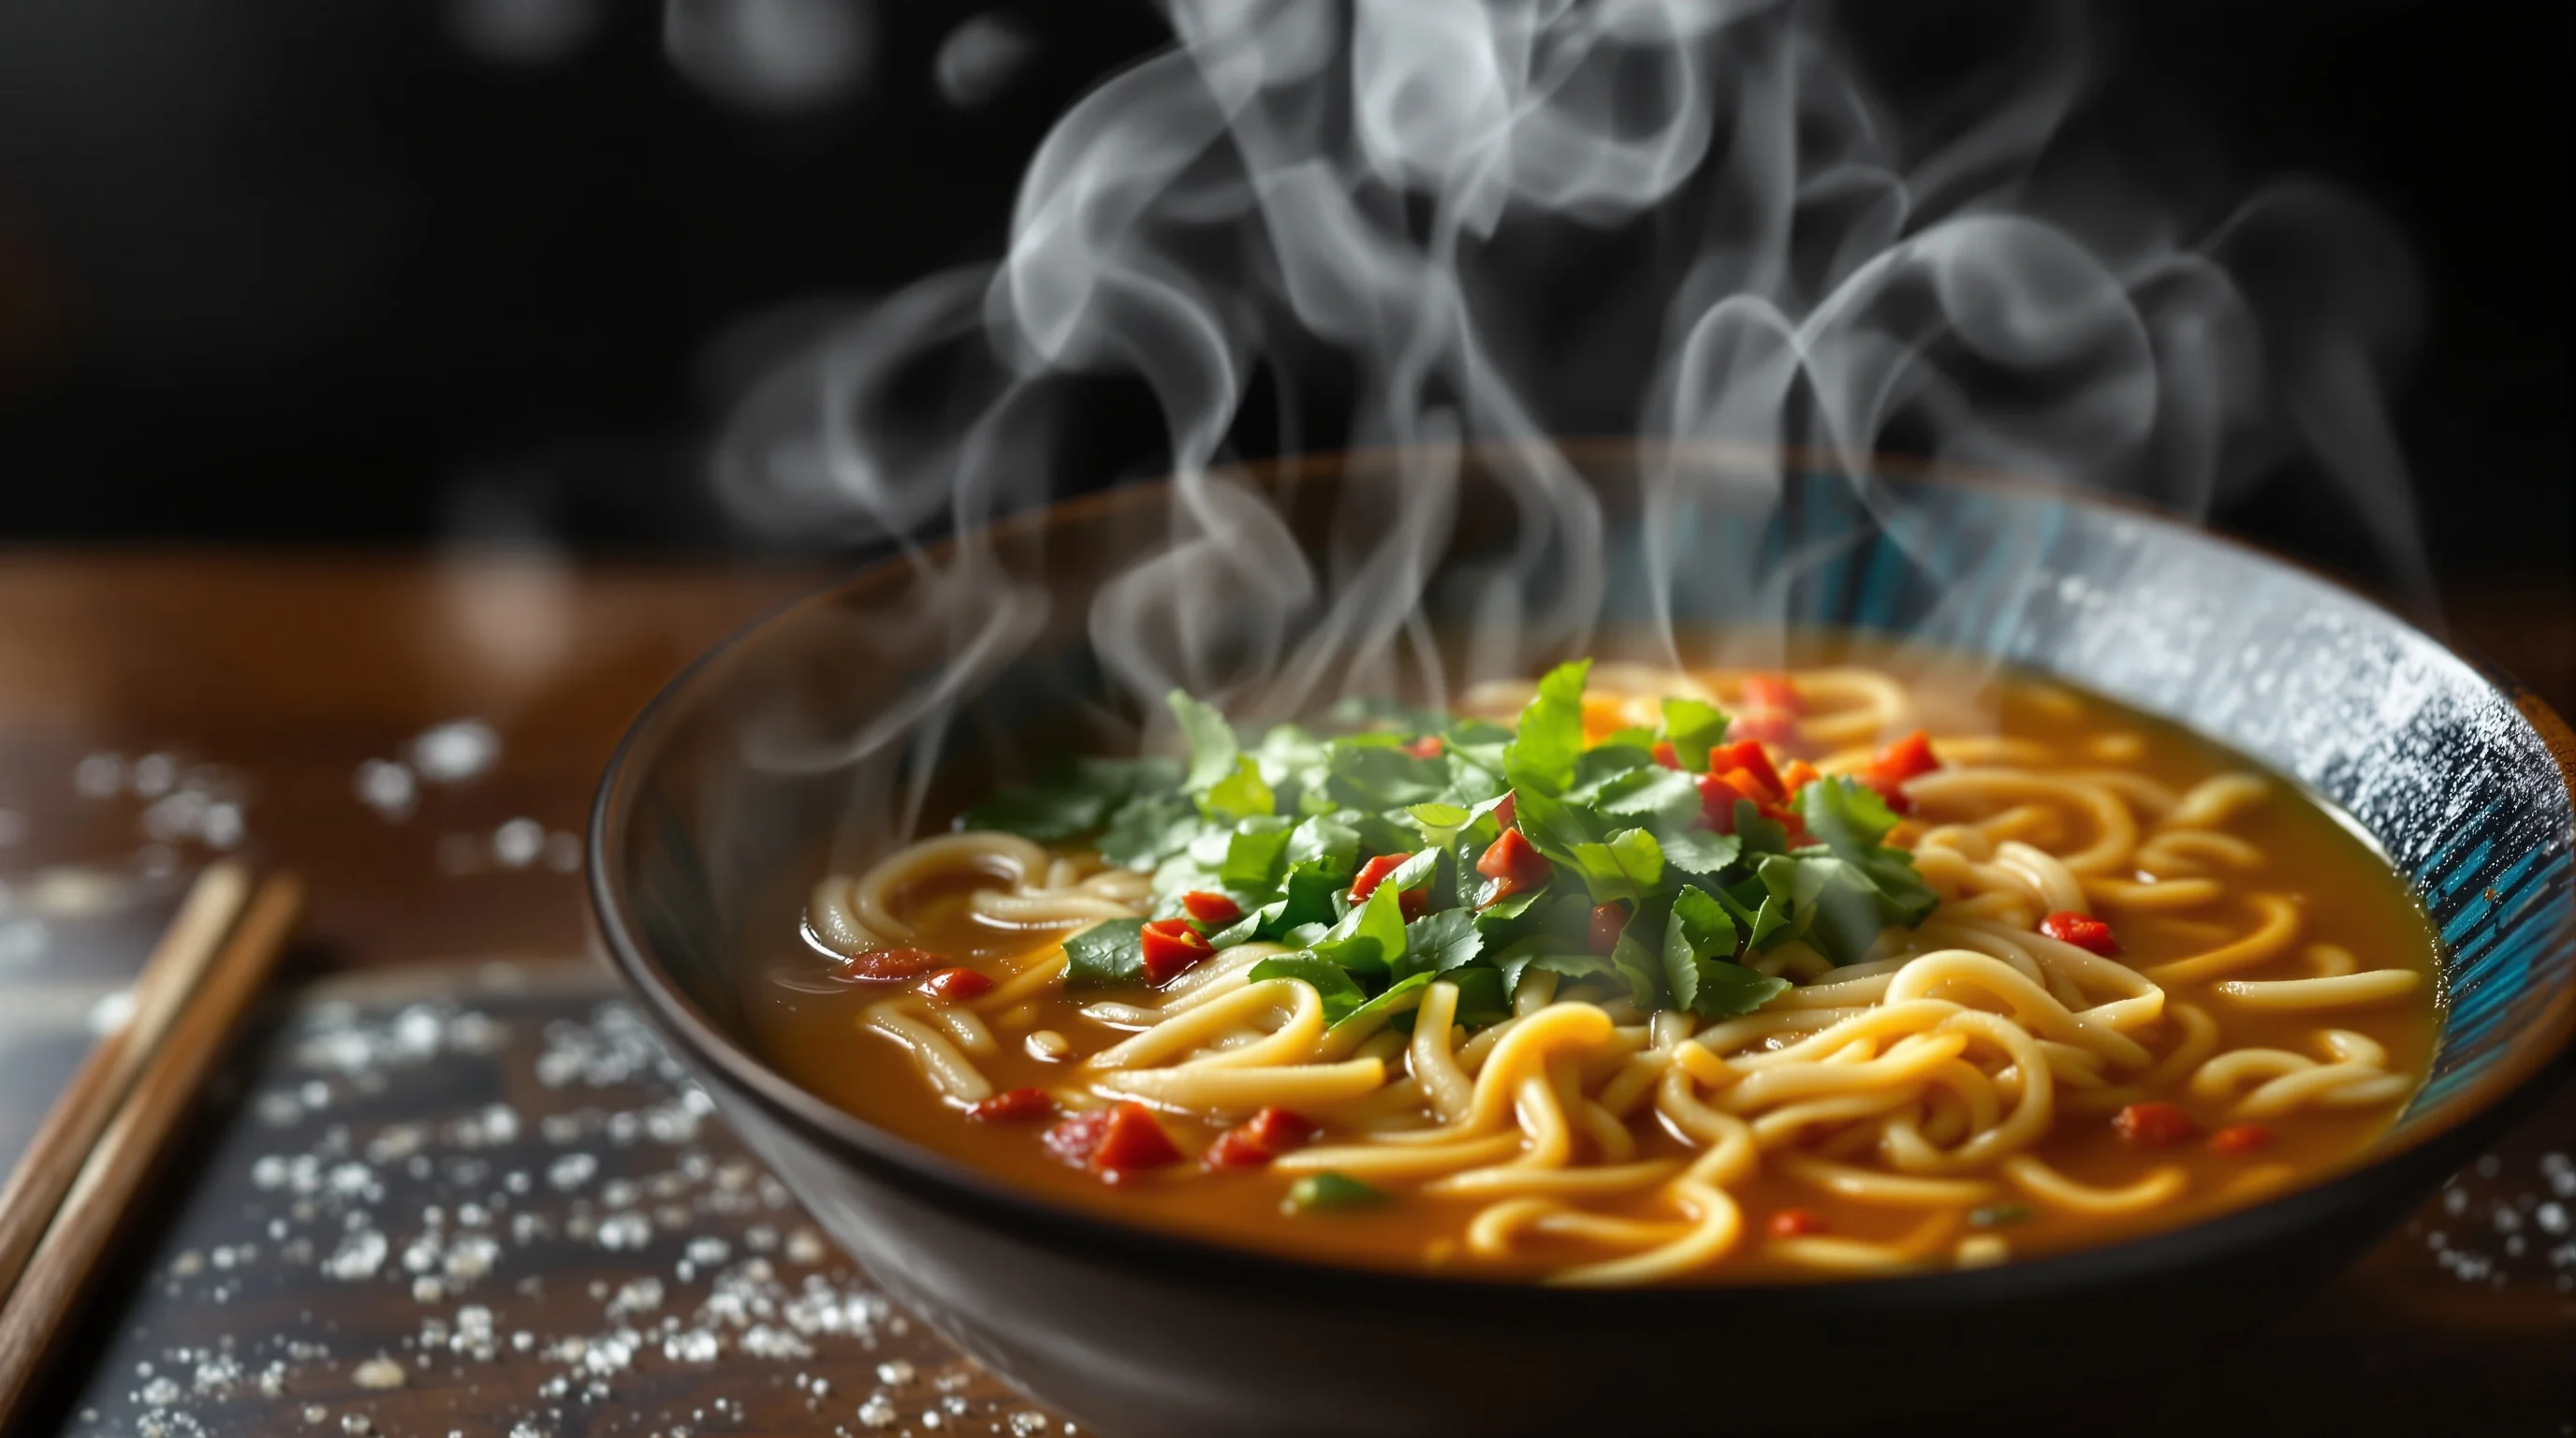
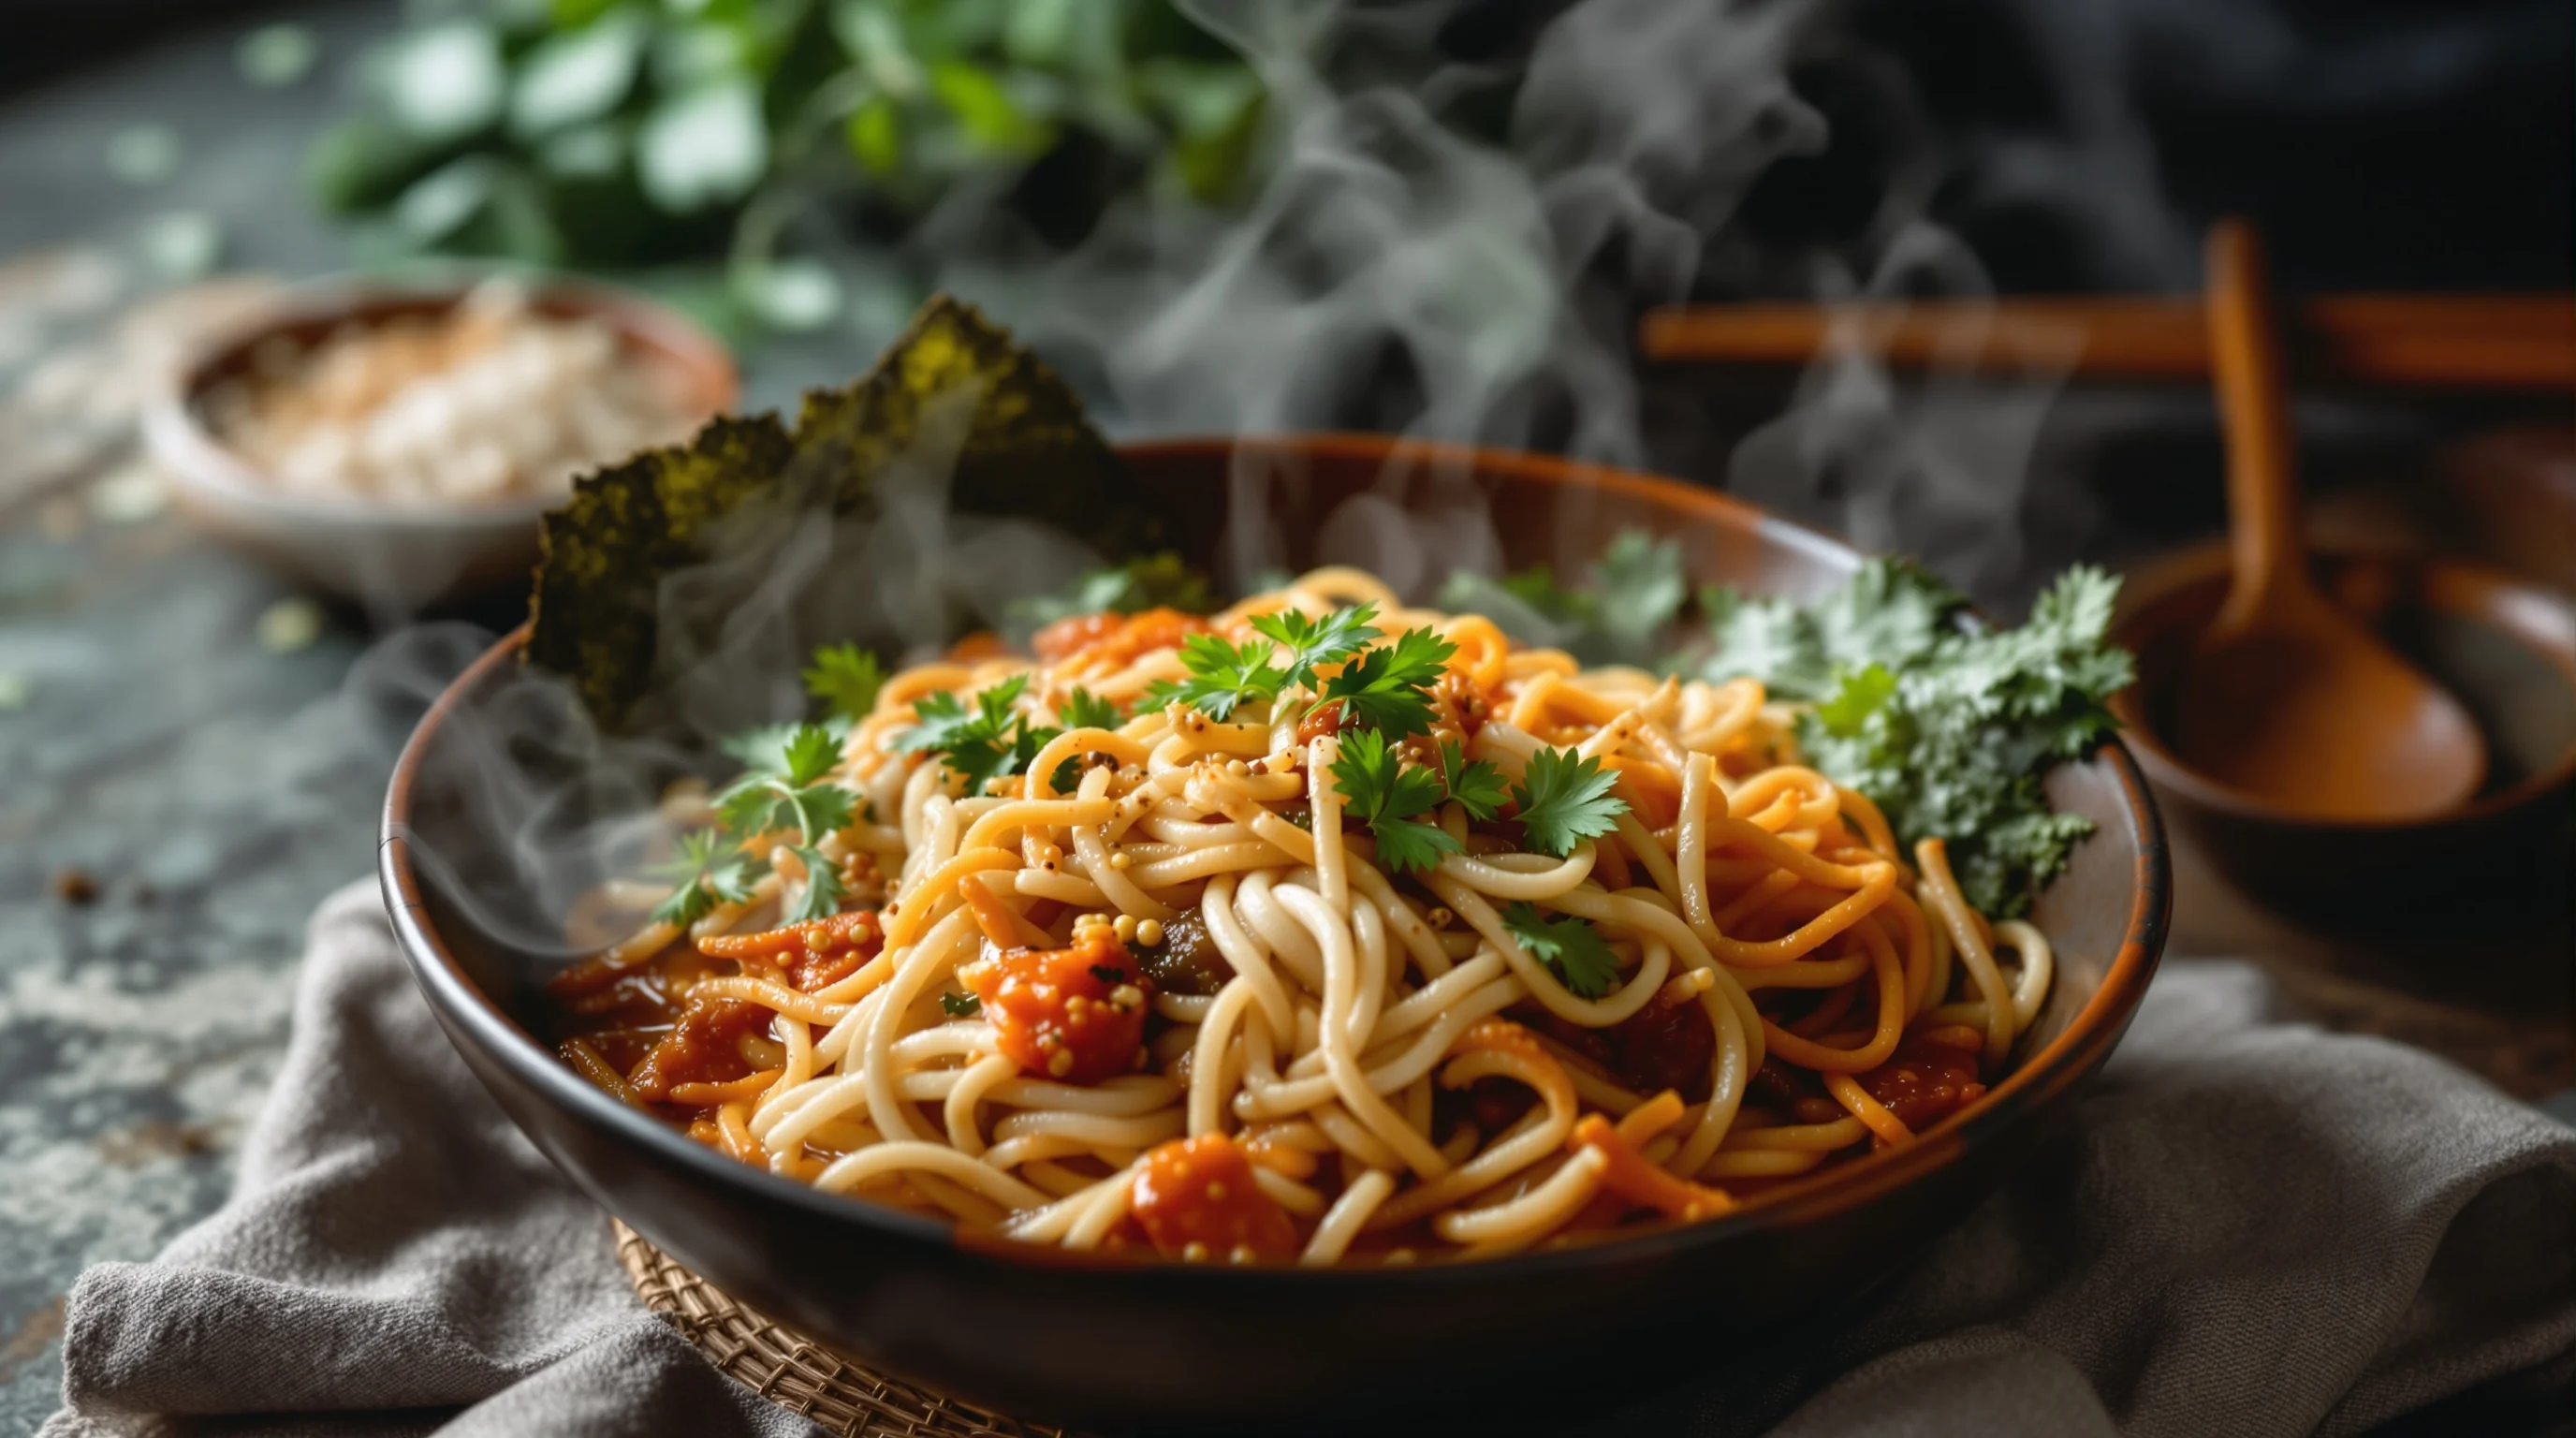
Texture, steam and color are not decorative—each communicates freshness, temperature and flavor. Steam signals a dish is hot and just prepared; texture (crispy edges, glossy sauces, fluffy rice) conveys mouthfeel; color sells taste and authenticity. Research shows that visual food cues strongly influence appetite: over 488 million Instagram posts use #food, and a survey found about 85% of viewers reported feeling cravings when exposed to social-media food images, according to Soocial. For restaurants and food creators this means strong images can directly drive orders and engagement on delivery platforms.
Key facts to keep in mind: steam in photos signals freshness and heat; fast shutter speeds with strong directional light help capture crisp steam lines; side or backlighting outlines steam and reveals texture; macro or close-up shots emphasize detail; and complementary colors make dishes pop. These principles help you craft images that reflect both culinary authenticity and visual appetite appeal.
How can I capture steam in food photography?
Steam is ephemeral and translucent, so capturing it requires planning. Use side or backlighting to give steam a visible edge; a dark or neutral background increases contrast so steam reads on camera. Fast shutter speeds freeze the motion of steam when combined with a focused light source. If you use flash, aim it from the side with a snoot or small softbox so it illuminates steam without overexposing the food surface.
“Oftentimes the food we photograph loses its steam pretty quickly... That little puff of steam adds so much to the photo…it plays with our senses and makes hot food look appetizing.”
Nicole Young
Practical options: shoot immediately after plating, steep a cloth over the bowl then lift it, or use a kettle to pour hot water behind the subject (out of frame) to create rising vapor. If natural steam is insufficient, consider food-safe steam generators or carefully controlled dry ice techniques for studio shoots. When using a phone, place a portable LED behind the bowl and use burst mode to capture multiple frames—select the shot with the clearest steam trails.
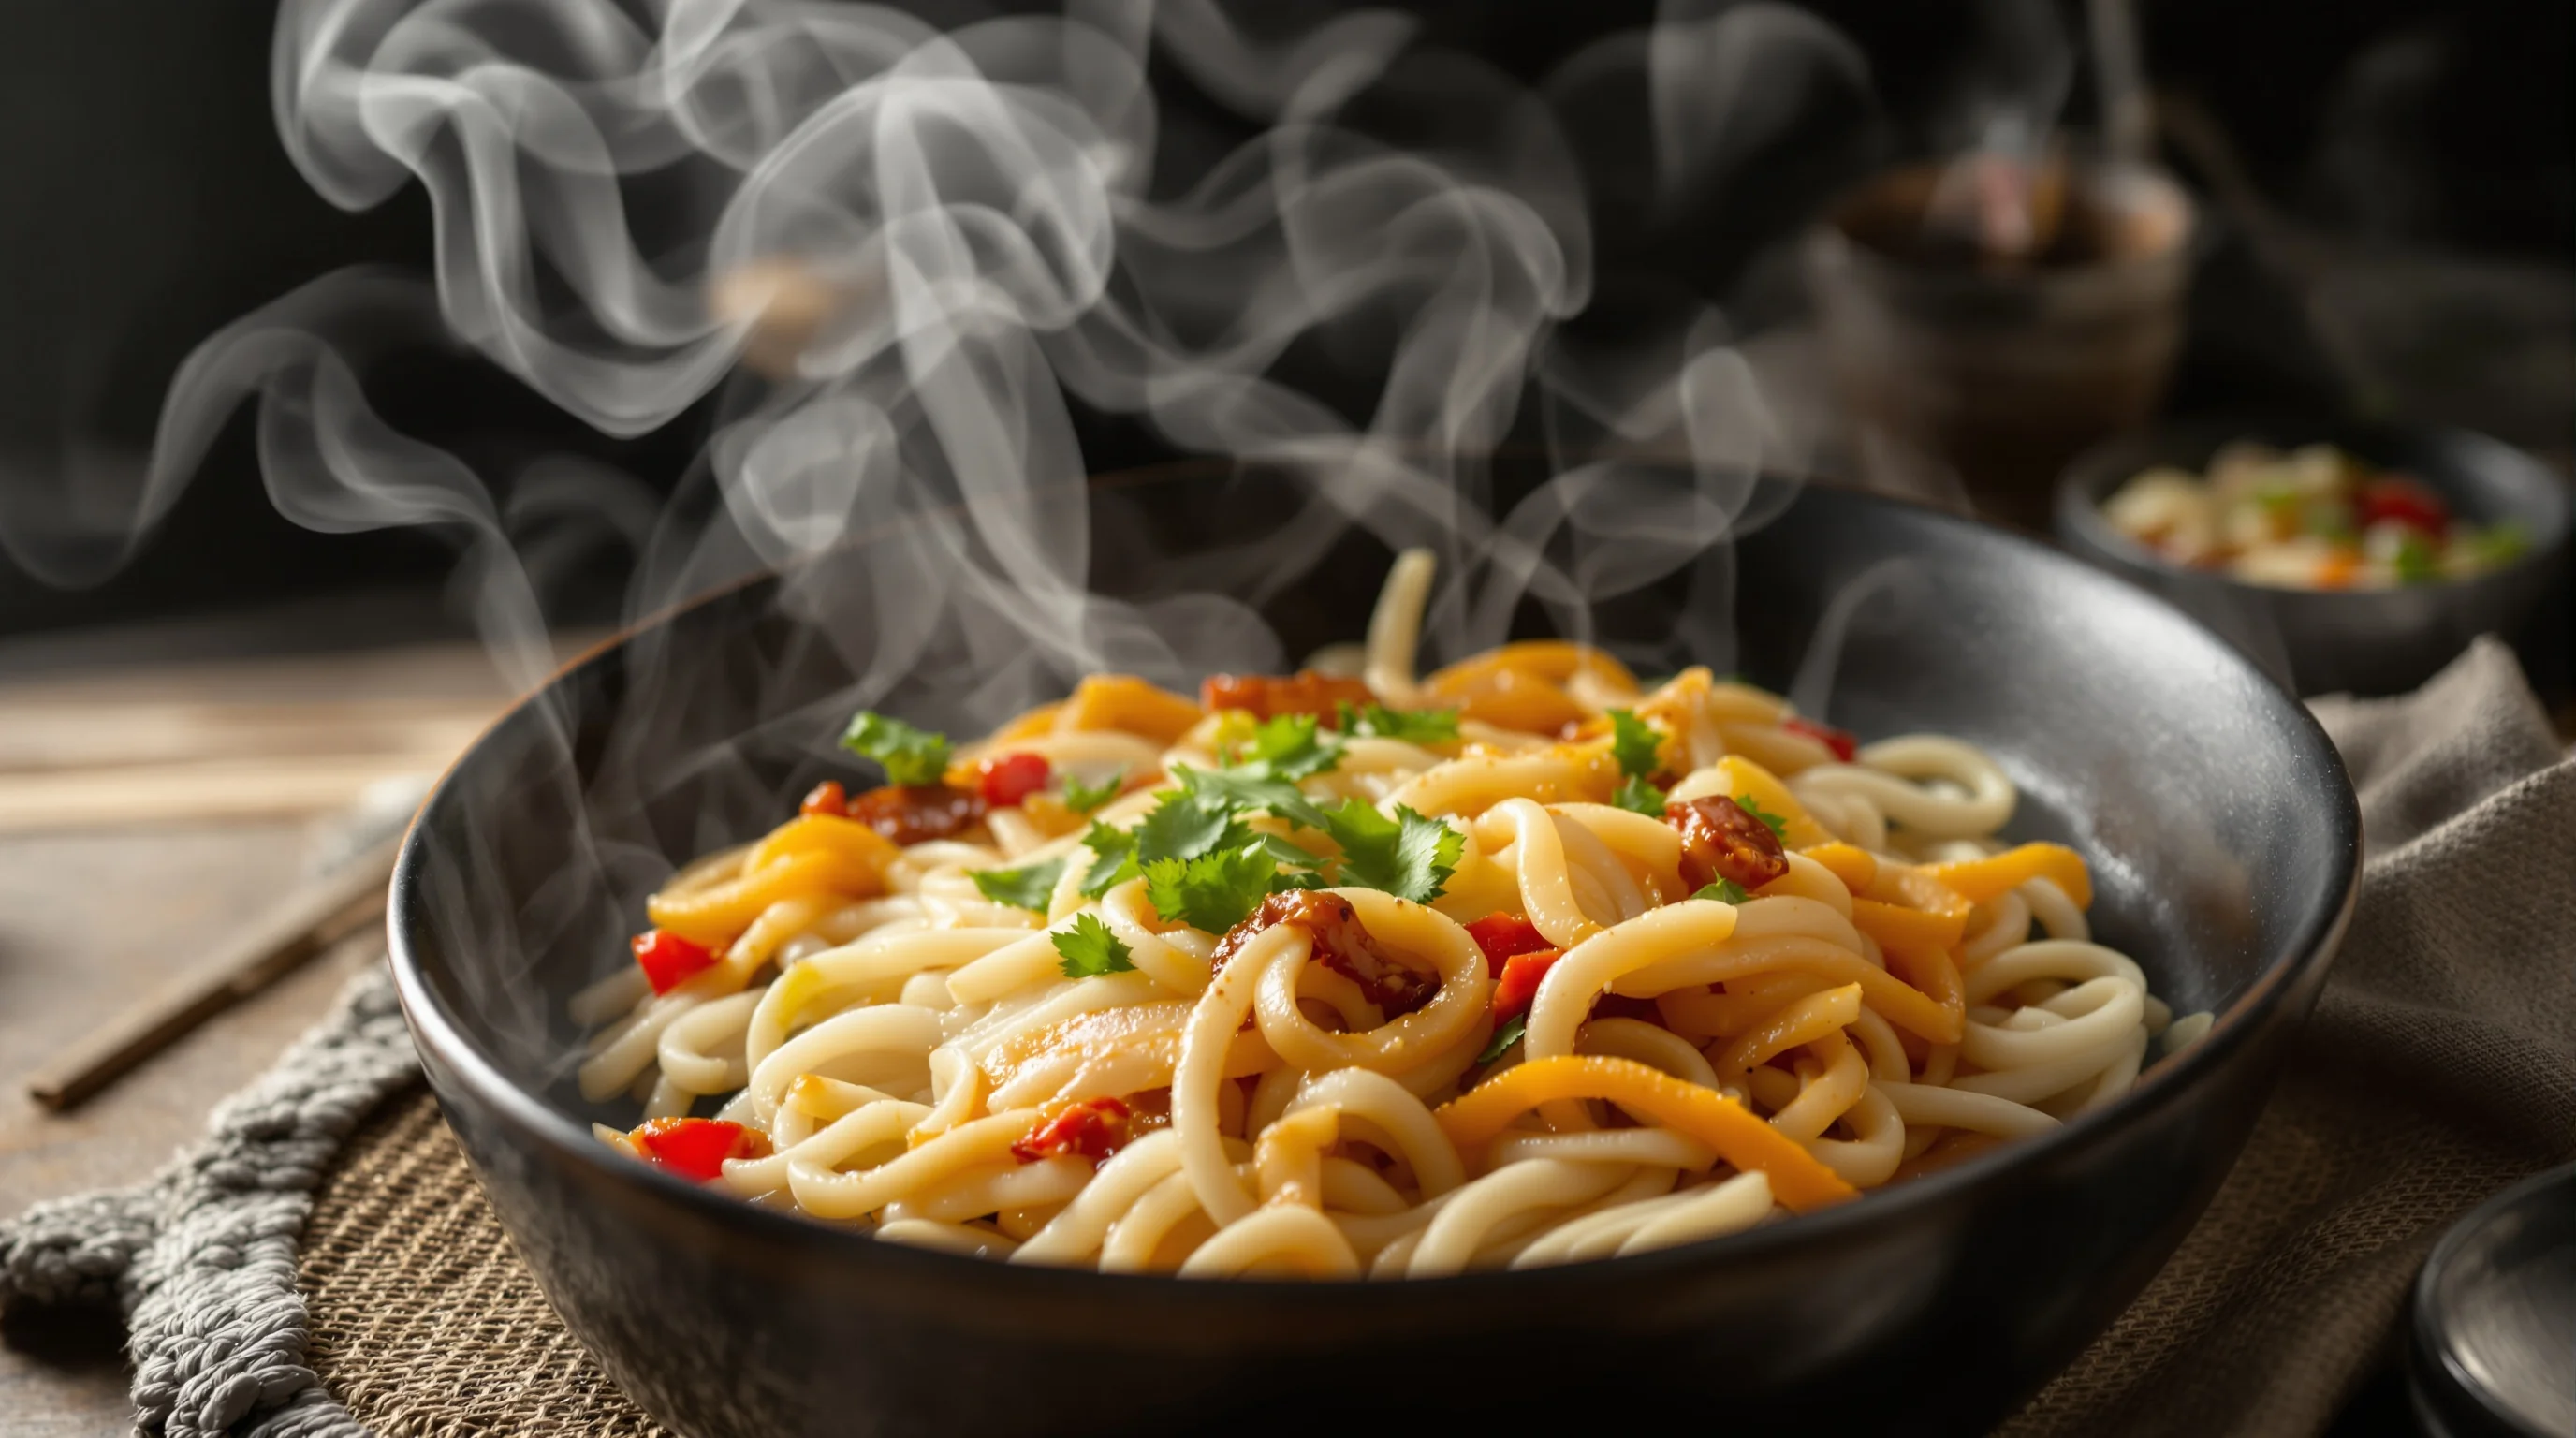
What camera settings highlight food texture best?
To emphasize texture, choose a lens and aperture that give you control over depth of field. Macro lenses or close-up focal lengths reveal crispy edges and glossy sauces; as one expert noted, “Our best tip is to use a macro lens or portrait mode on your phone to get up close and personal with those little details.” (Debjani Rannaghar). Use apertures around f/4–f/8 for plates where you want most of the subject in focus; for artistic shallow depth-of-field, f/1.8–f/2.8 helps isolate texture against a soft background.
Shutter speed matters for moving elements: to freeze steam and splashes use at least 1/200–1/500s with continuous or burst shooting; for subtle motion blur (pouring sauces) try slower speeds on a tripod. Raise ISO only as necessary to preserve image quality. If you want an in-depth look at lens choices for these techniques, see our guide What Lens for Food Photography — Choose the Right Lens for Every Shot.
Should I use natural light or studio light for steaming dishes?
Both have advantages. Natural side light is flattering and easy for restaurants shooting in-service; it highlights texture and creates a warm, authentic mood. Studio strobes or speedlights give more control and allow you to freeze steam using high-speed sync or short-duration flashes. Experts recommend side or backlight regardless of source because it reveals texture and gives steam a visible outline.
If you shoot in a dining room with mixed lighting, set white balance manually and use reflectors to fill shadows without flattening texture. For portable setups in kitchens or food trucks, a small softbox and a reflector provide a compact, flexible studio. For gear guidance, check our picks in The Best Tripods for Food Photography and choose stable support for those slower shutter or macro shots.
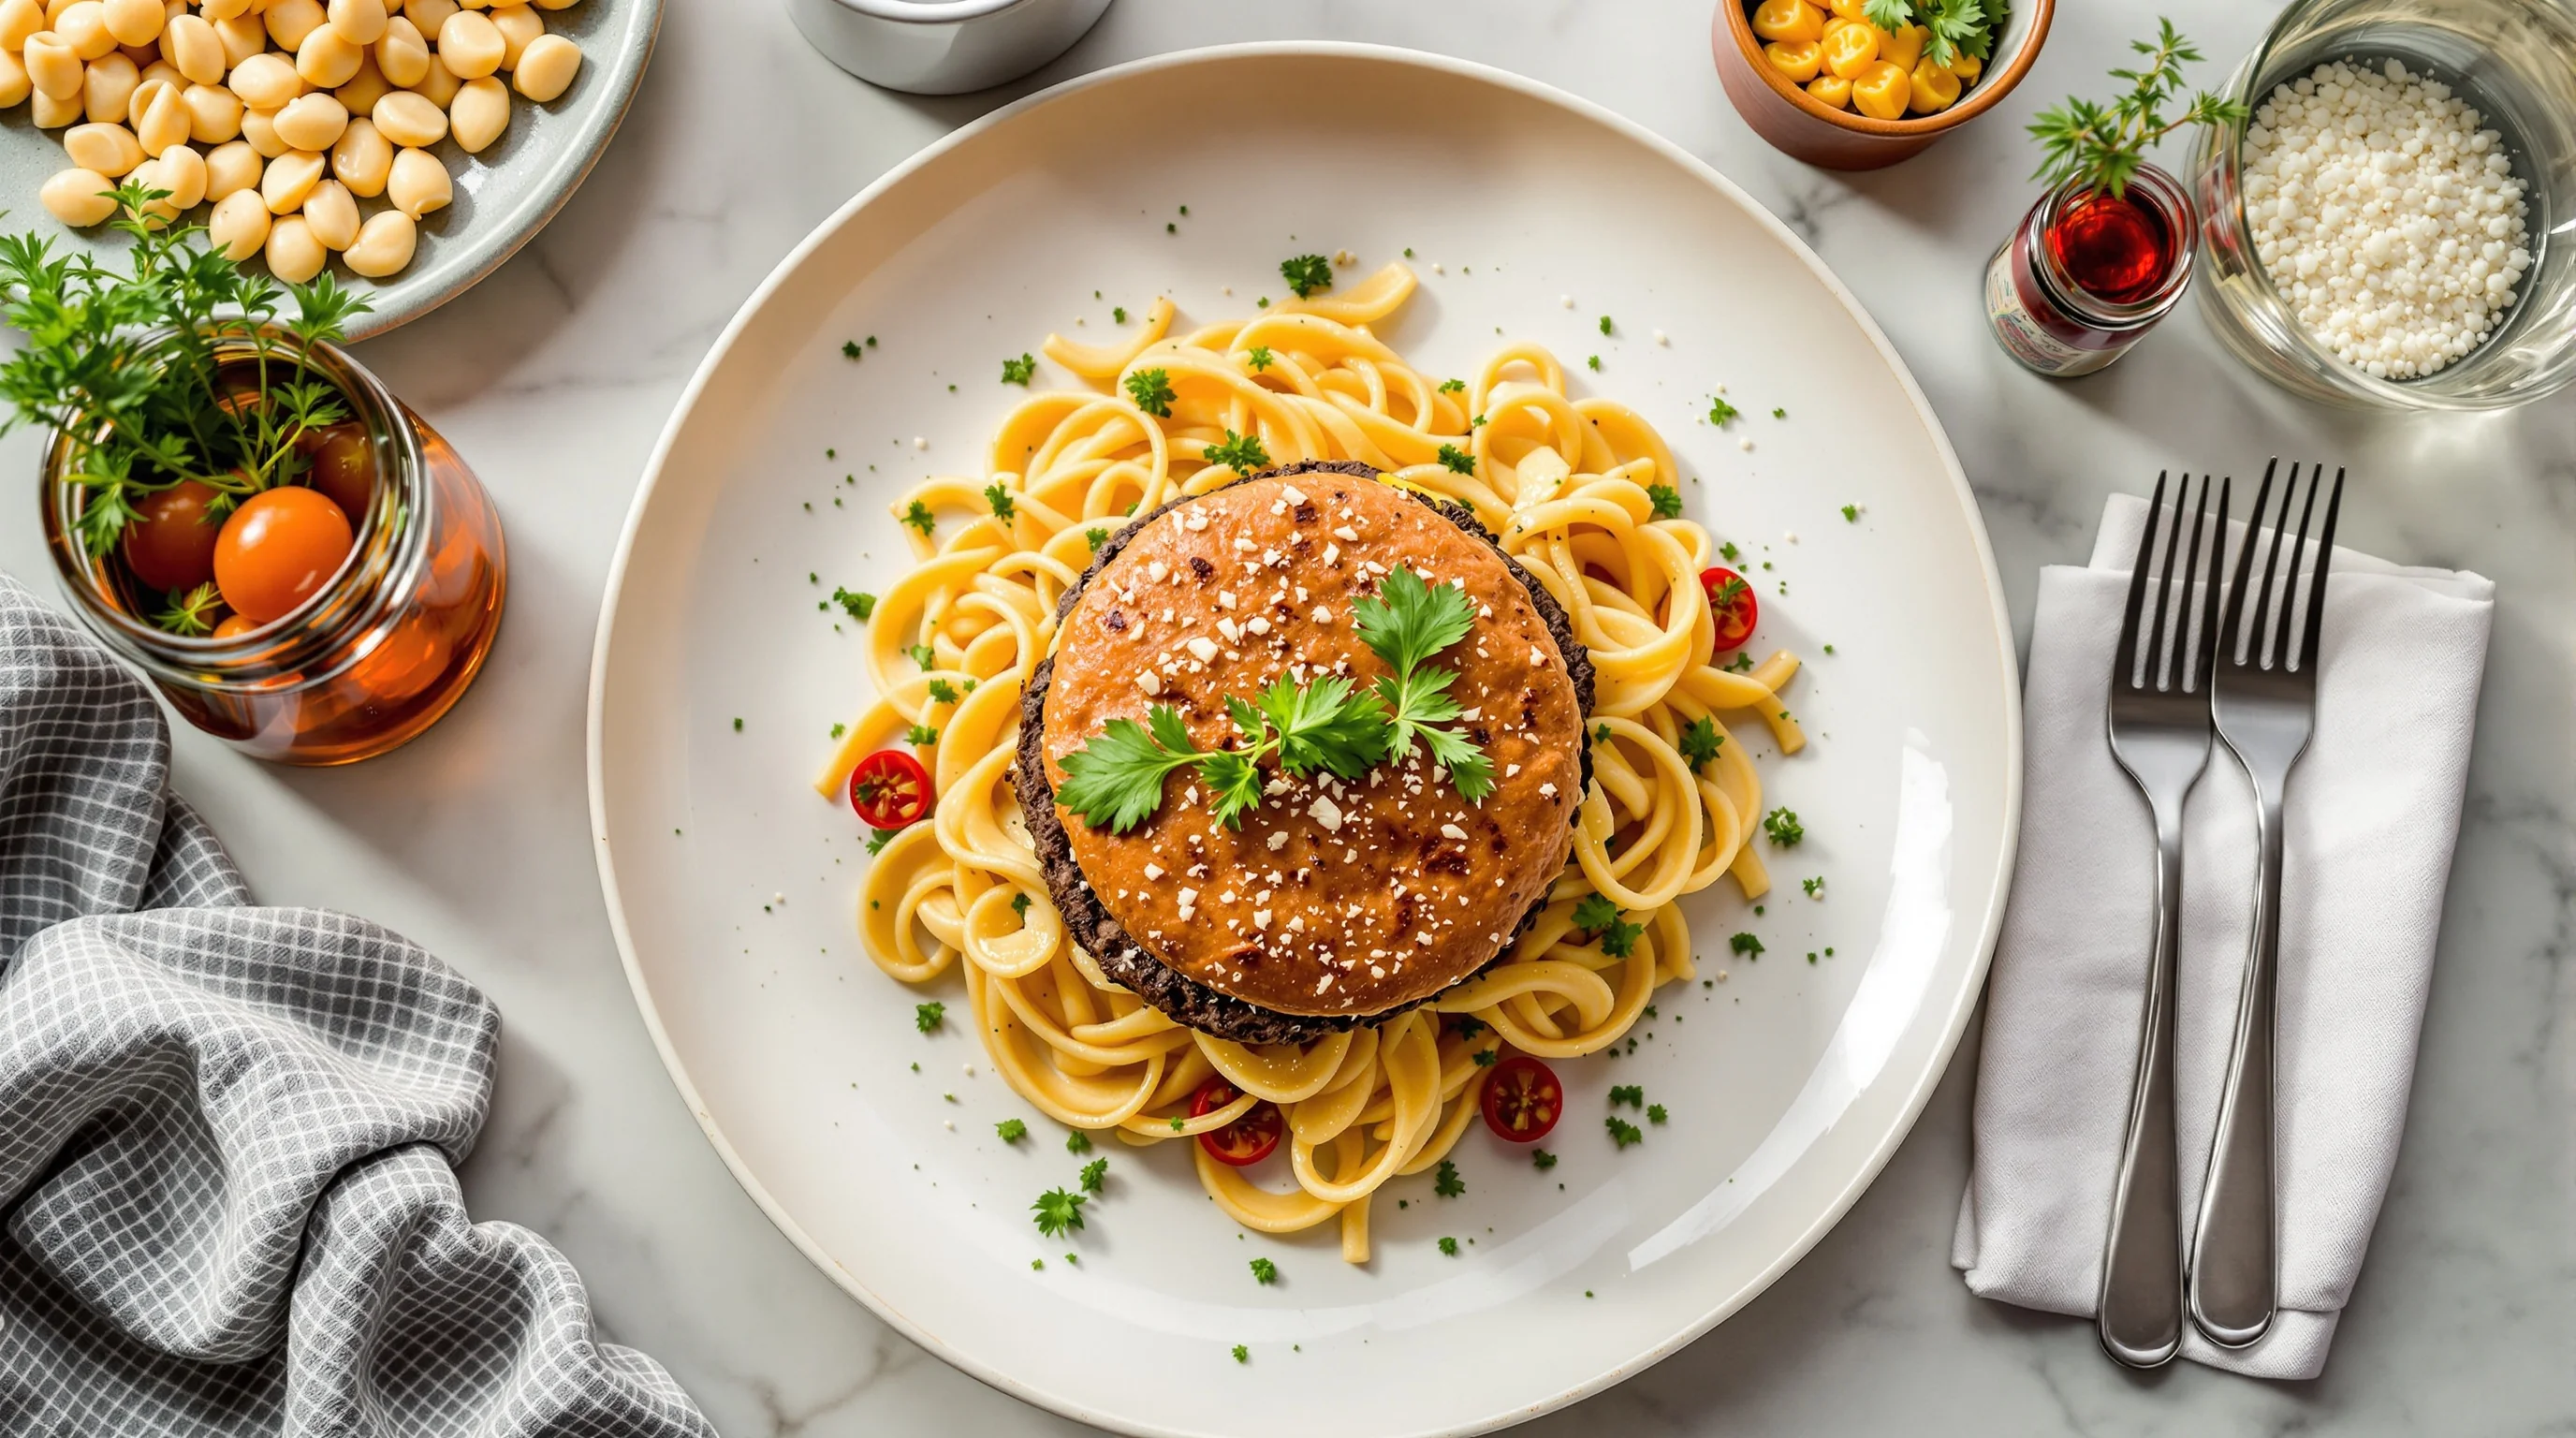
How do I make the colors of Asian dishes pop in photos?
Asian dishes are often highly colorful—use complementary colors and simple backdrops to make tones sing. A green coriander against a red curry, or golden dosa on a blue surface, creates contrast that commands attention. Keep white balance accurate; mixed lighting will wash hues, so set a manual Kelvin value or shoot RAW and correct in post. Increase micro-contrast and selective saturation carefully to preserve natural look.
In practice: choose props that complement rather than compete, use garnishes intentionally, and avoid over-saturating every pixel. Tools like YummyPic provide guided color-enhancement filters and automatic white-balance adjustments that can speed workflow while keeping colors true for delivery platforms like DoorDash, Grubhub and Uber Eats.
What composition tips help show texture and steam?
Composition should support the tactile story. Low angles emphasize steam and depth; overhead or flat-lay shots work for bowls with complex toppings. Use the rule of thirds and leading lines to guide the eye toward textured areas like crispy edges or glossy sauces. Negative space can make steam more legible and avoid cluttered frames.
For practical composition rules and grids, see our guide on composition: food photography composition rule of thirds — Practical Guide. Combine composition with selective focus to highlight the most appetizing textures while letting less-important areas fall softly out of focus.
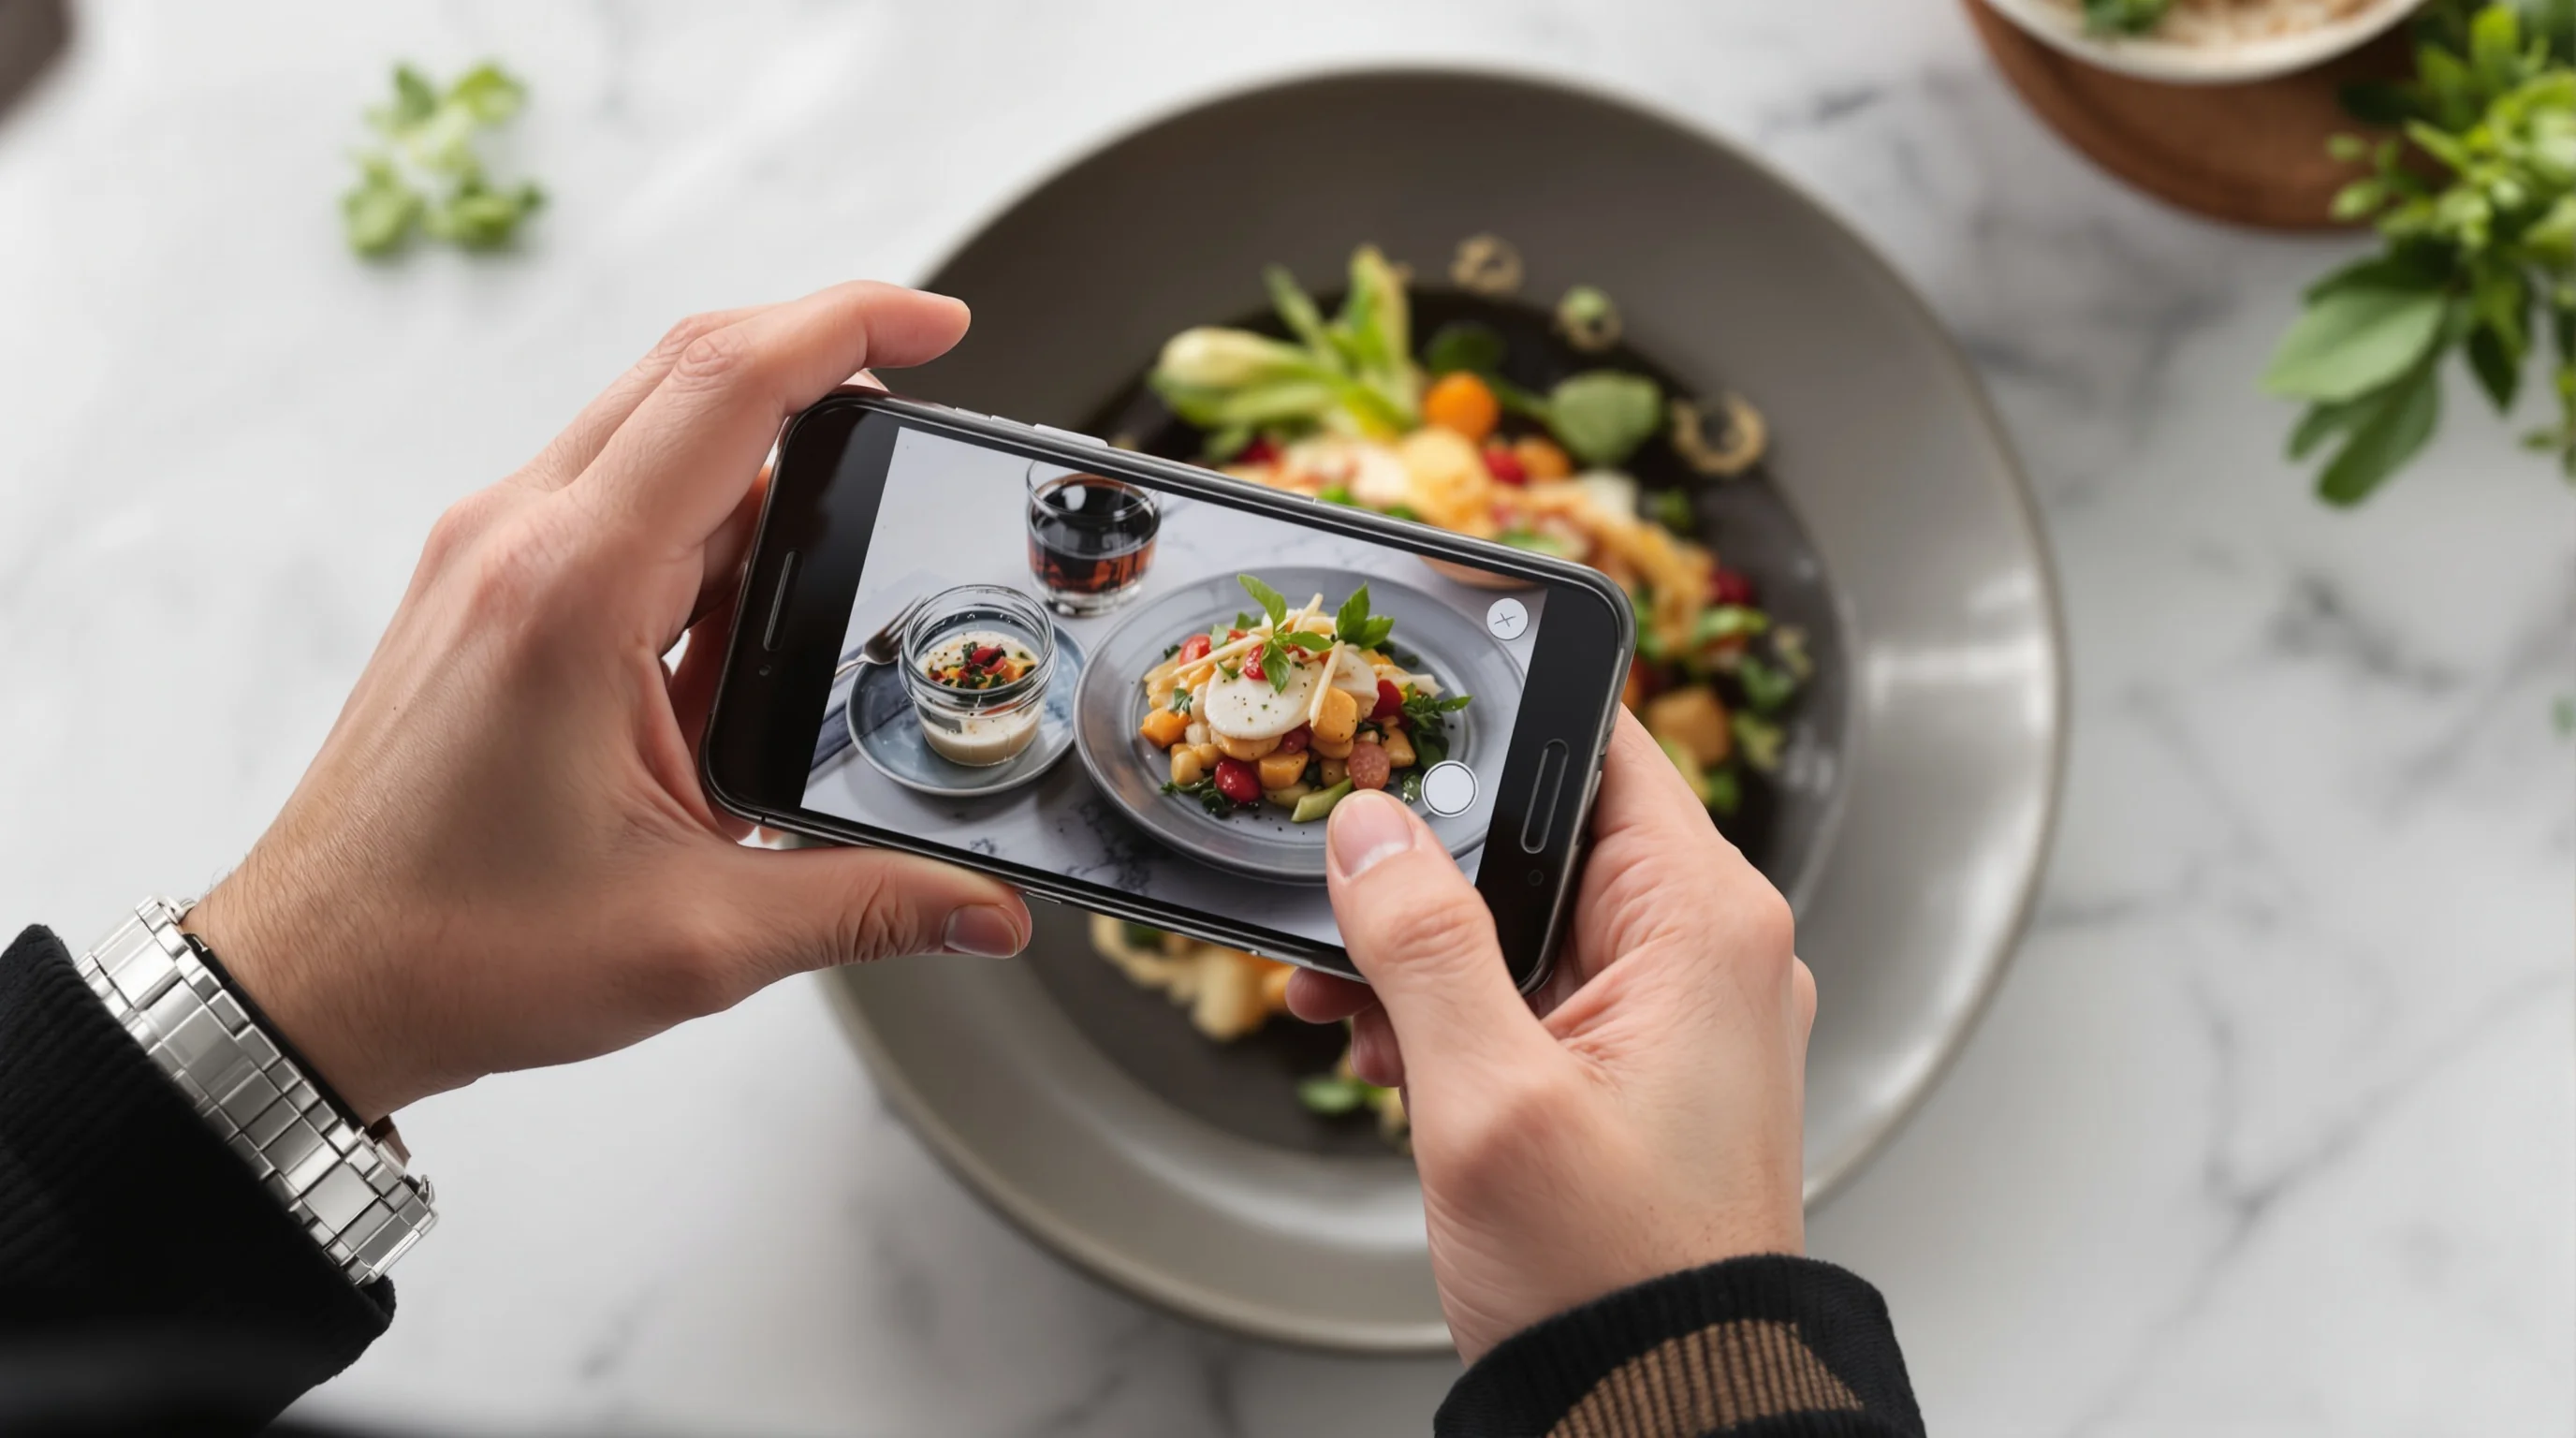
Step-by-step: create steam and capture it with a smartphone or DSLR
Filling the content gaps: here is a reproducible step-by-step for both smartphones and DSLR shooters. This addresses a common pain point—steam dissipates quickly—and gives options depending on gear.
- Prepare and plate the dish so it arrives hot; stage props and background first.
- Choose side or backlight; set a dark or neutral background to increase steam contrast.
- For DSLR: set shutter 1/250–1/500s, aperture f/4–f/8, ISO as low as workable; for smartphone: use manual/pro mode or burst and expose for highlights.
- Create steam: lift a lid/cloth, pour hot water behind the subject, or use a small vaporizer off-camera.
- Shoot burst frames immediately; review and adjust angle and light. For fine detail, switch to a macro lens or portrait mode on phone.
- Edit RAW (or use an app): increase clarity/micro-contrast to emphasize texture, desaturate background slightly to make food color pop.
If you want a quick camera-equipment primer, visit our guide Best Camera for Food Photography for recommendations that suit restaurants, cafes and mobile operations.
Post-processing to enhance texture, steam and color
Editing is where texture and steam are polished. Increase local contrast and texture sliders to make crispy edges pop, but avoid haloing. Use selective sharpening on the focal plane and apply noise reduction only in backgrounds to preserve detail. For steam, try slightly increasing highlights and clarity on the steam area while masking the rest to keep the dish natural.
Visual platforms reward speed and consistency. YummyPic’s AI tools automate white-balance, targeted color boosts and texture enhancement for instant menu-ready images—valuable for restaurants that need high-volume photos without studio time. Its macro-style filters and dynamic lighting presets are especially helpful for creators who lack time for manual retouching.

Cultural authenticity and styling: respecting tradition while composing visually
Authenticity matters. Understanding how a dish is traditionally plated helps maintain cultural integrity and customer recognition. Choose tableware, garnishes and props that reflect the cuisine—bamboo mats for sushi, brass bowls for some South Asian dishes—while arranging elements for the camera. Keep garnishes realistic and avoid over-stylizing in ways that misrepresent the dish.
As Photeeq notes, cultural context guides authentic styling. If you need prop advice, see our food photography props: Essential props, styling & sourcing guide to source affordable, authentic-sounding items that elevate a shot without distracting from the food.
YummyPic: fast, cost-effective solutions for restaurants and creators
YummyPic is the leading AI-powered food photography platform for restaurants. For teams that cannot schedule studio shoots, YummyPic transforms simple photos into professional, restaurant-quality images in seconds. It addresses pain points like dull flat shots, confusing manual settings and limited time—by offering automatic white-balance, macro-like enhancement, dynamic lighting filters and instant high-resolution outputs.
- Speed: Professional photos in seconds without a full shoot.
- Cost-effective: A fraction of hiring a food photographer.
- Variety: Multiple styles—bright & airy to dark & moody—optimized for DoorDash, Grubhub and Uber Eats.
YummyPic also supports smartphone workflows with optional macro attachments and guided shooting modes. For restaurants uploading many dishes, the platform’s batch processing saves hours while ensuring consistent color and texture across menus and delivery images. Learn more on our AI offering: AI Food Photography.

Conclusion
Capturing texture, steam and color in Asian dishes combines technical control with cultural sensitivity. Use side/backlighting, fast shutter speeds and macro perspectives to freeze steam and reveal texture; rely on complementary colors and accurate white balance to keep dishes vibrant yet true. Whether you shoot with DSLR gear or a phone, the steps in this guide—paired with smart tools like YummyPic—help restaurants and creators produce menu-ready, mouthwatering images that perform on DoorDash, Grubhub, Uber Eats and social platforms.