Introduction: Staging food well is a skill that lifts menu photos, social posts and delivery images from mediocre to mouthwatering. How to Stage Food Like a Professional Stylist is more than a how-to phrase — it is a set of deliberate choices about composition, color, texture and timing that make viewers salivate and click. According to Furoore, food styling is "the art and science of presenting food in a visually appealing manner, making it irresistible to the eyes and taste buds." That combination of art and science is what separates amateur snaps from camera-ready images that sell. In this guide you will learn practical, restaurant-focused techniques to stage food like a pro, plus step-by-step workflows, prop choices, smartphone and video tips, freshness hacks and quick ways to scale for menus on DoorDash, Grubhub and Uber Eats.
Why staging matters: psychology, engagement and sales
Great styling does more than look nice. Research shows that viewing appetizing food images activates reward and salivation centers in the brain, literally making viewers drool — a powerful emotional trigger for purchases. Food images also drive platform engagement: food photos receive roughly 30% more engagement than non-food images, according to Soocial. For restaurants, that matters: studies referenced by Grubhub find that adding professional food photos to menus can boost sales by around 30%. If you want to answer 'How to Stage Food Like a Professional Stylist' with measurable ROI, styling is a marketing investment, not just decoration.
Practical fact: about 57% of people admit to rearranging a dish to make it photo-worthy, and 59% will pause others so they can capture a shot first, according to Soocial. Those consumer behaviors emphasize that customers notice presentation — and will reward restaurants that do it well.
How can I arrange food on a plate like a pro?
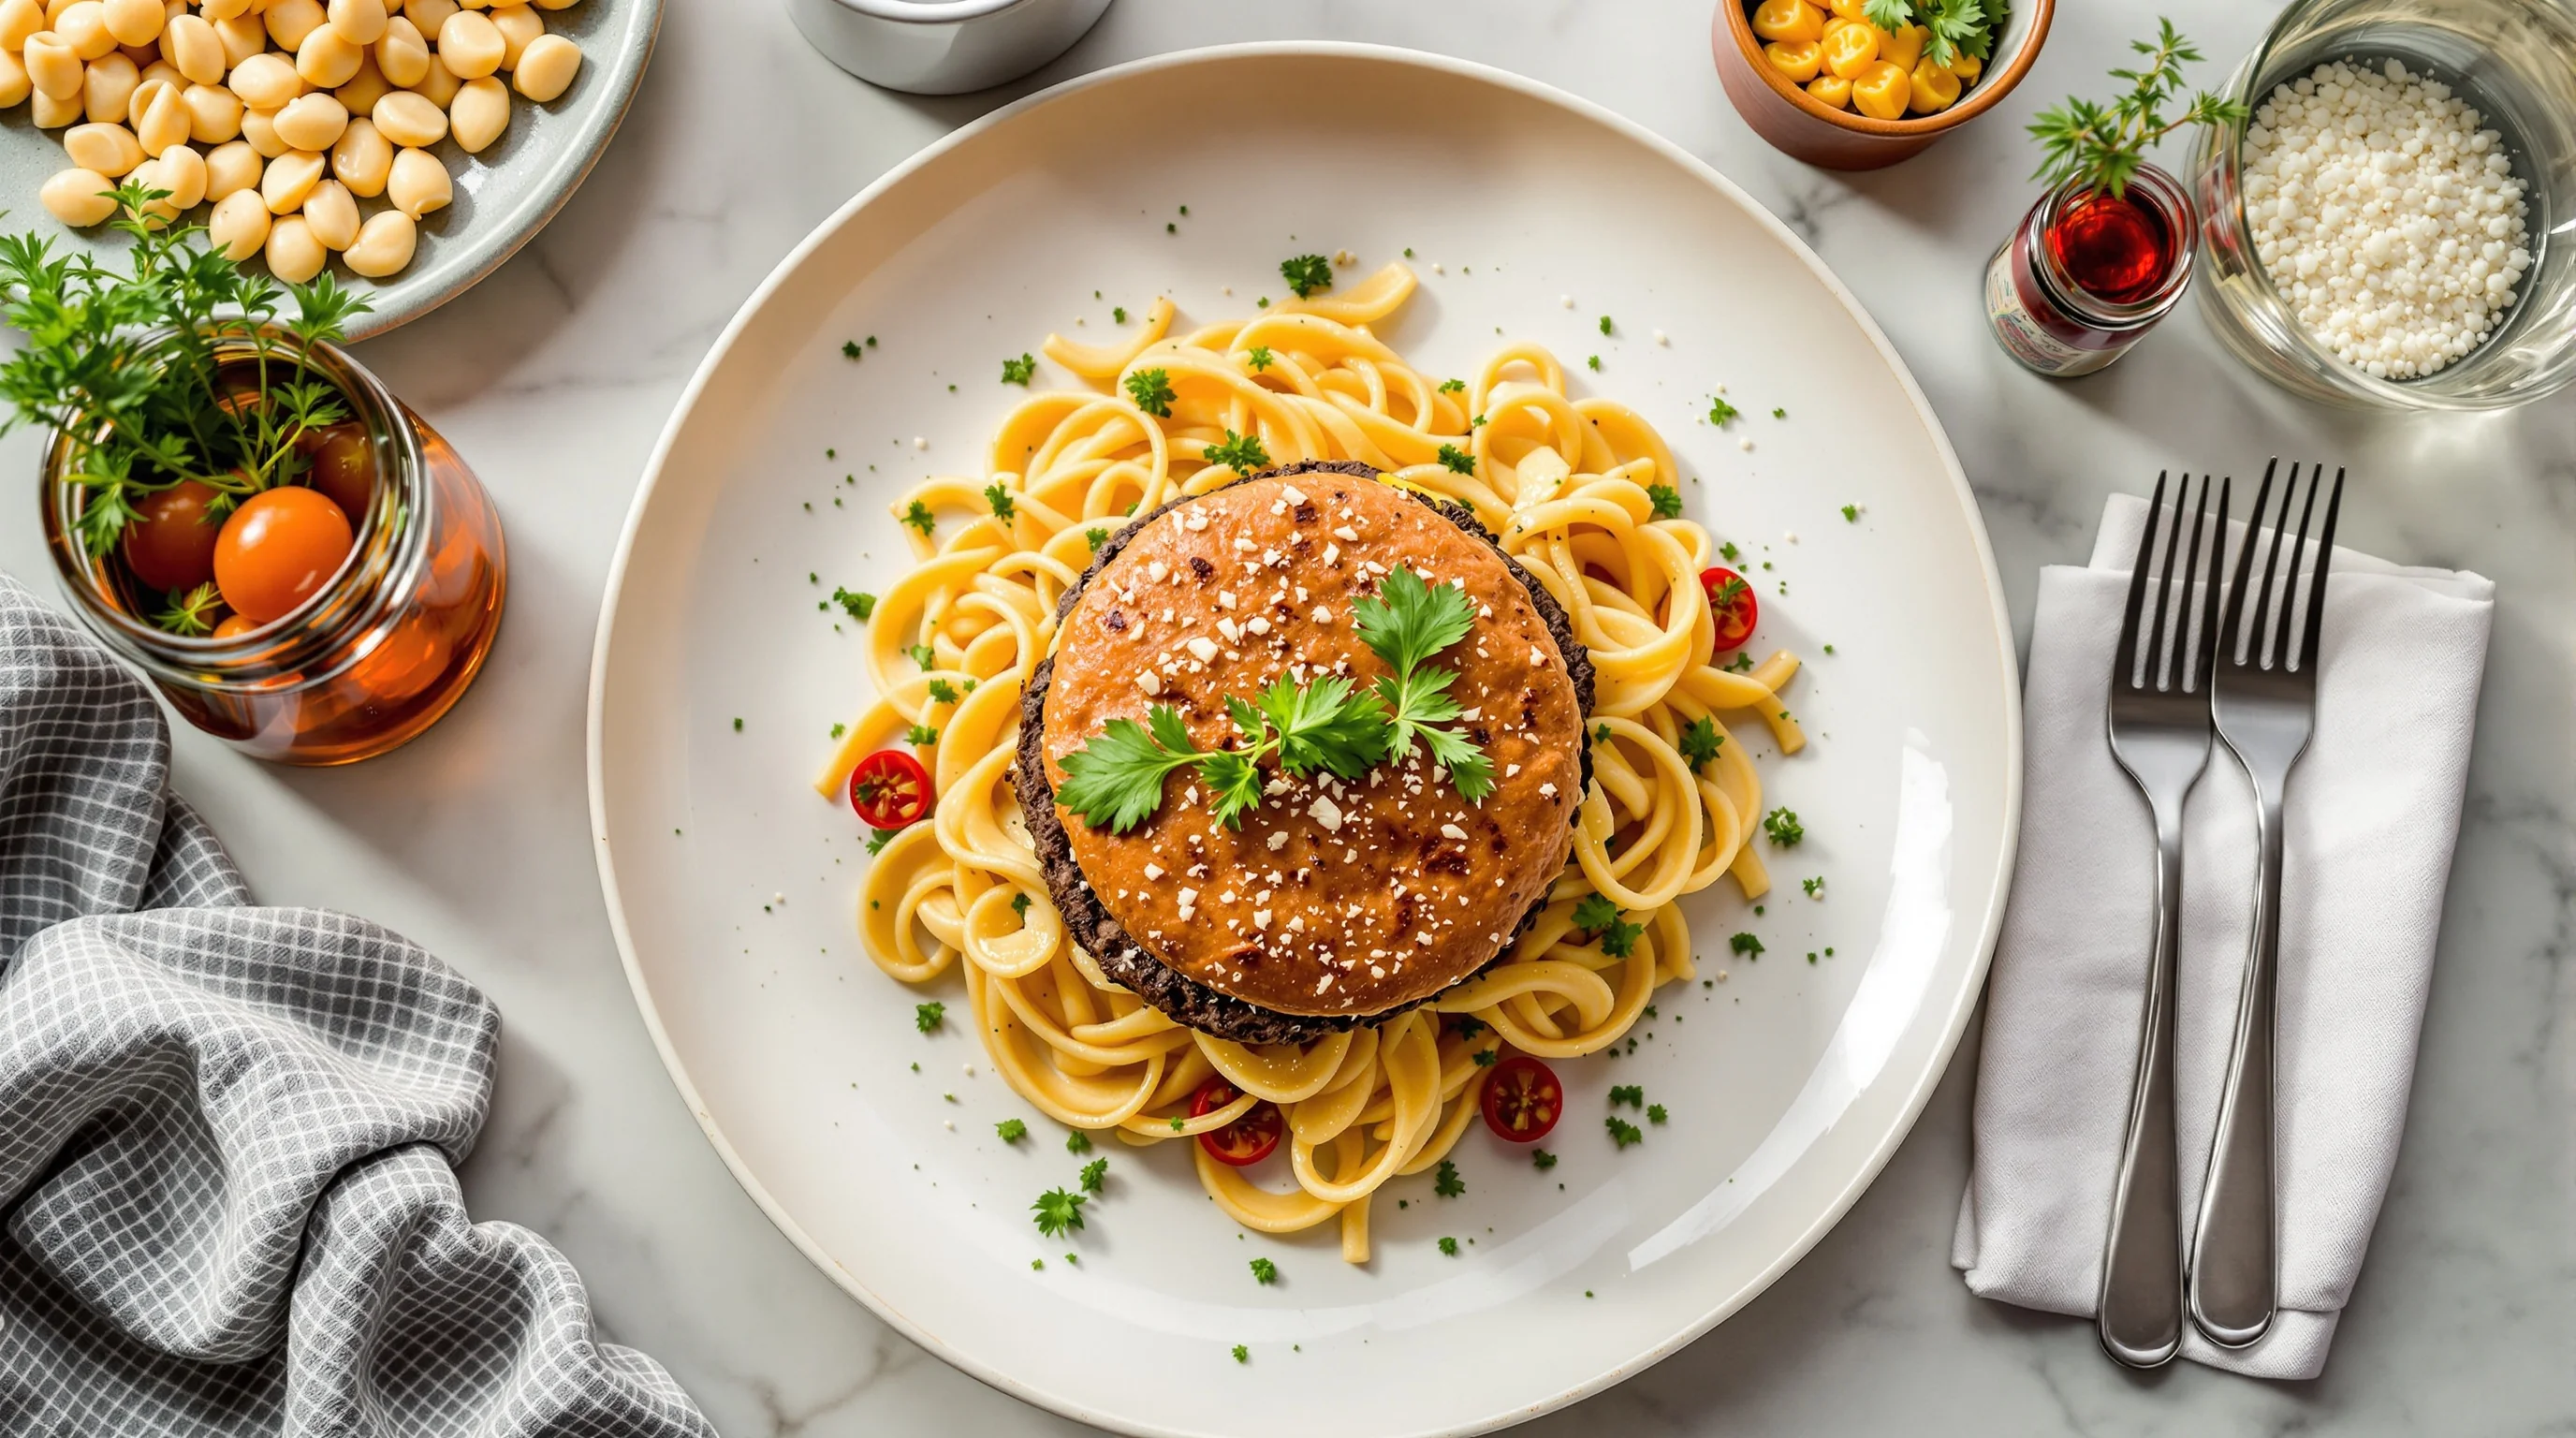
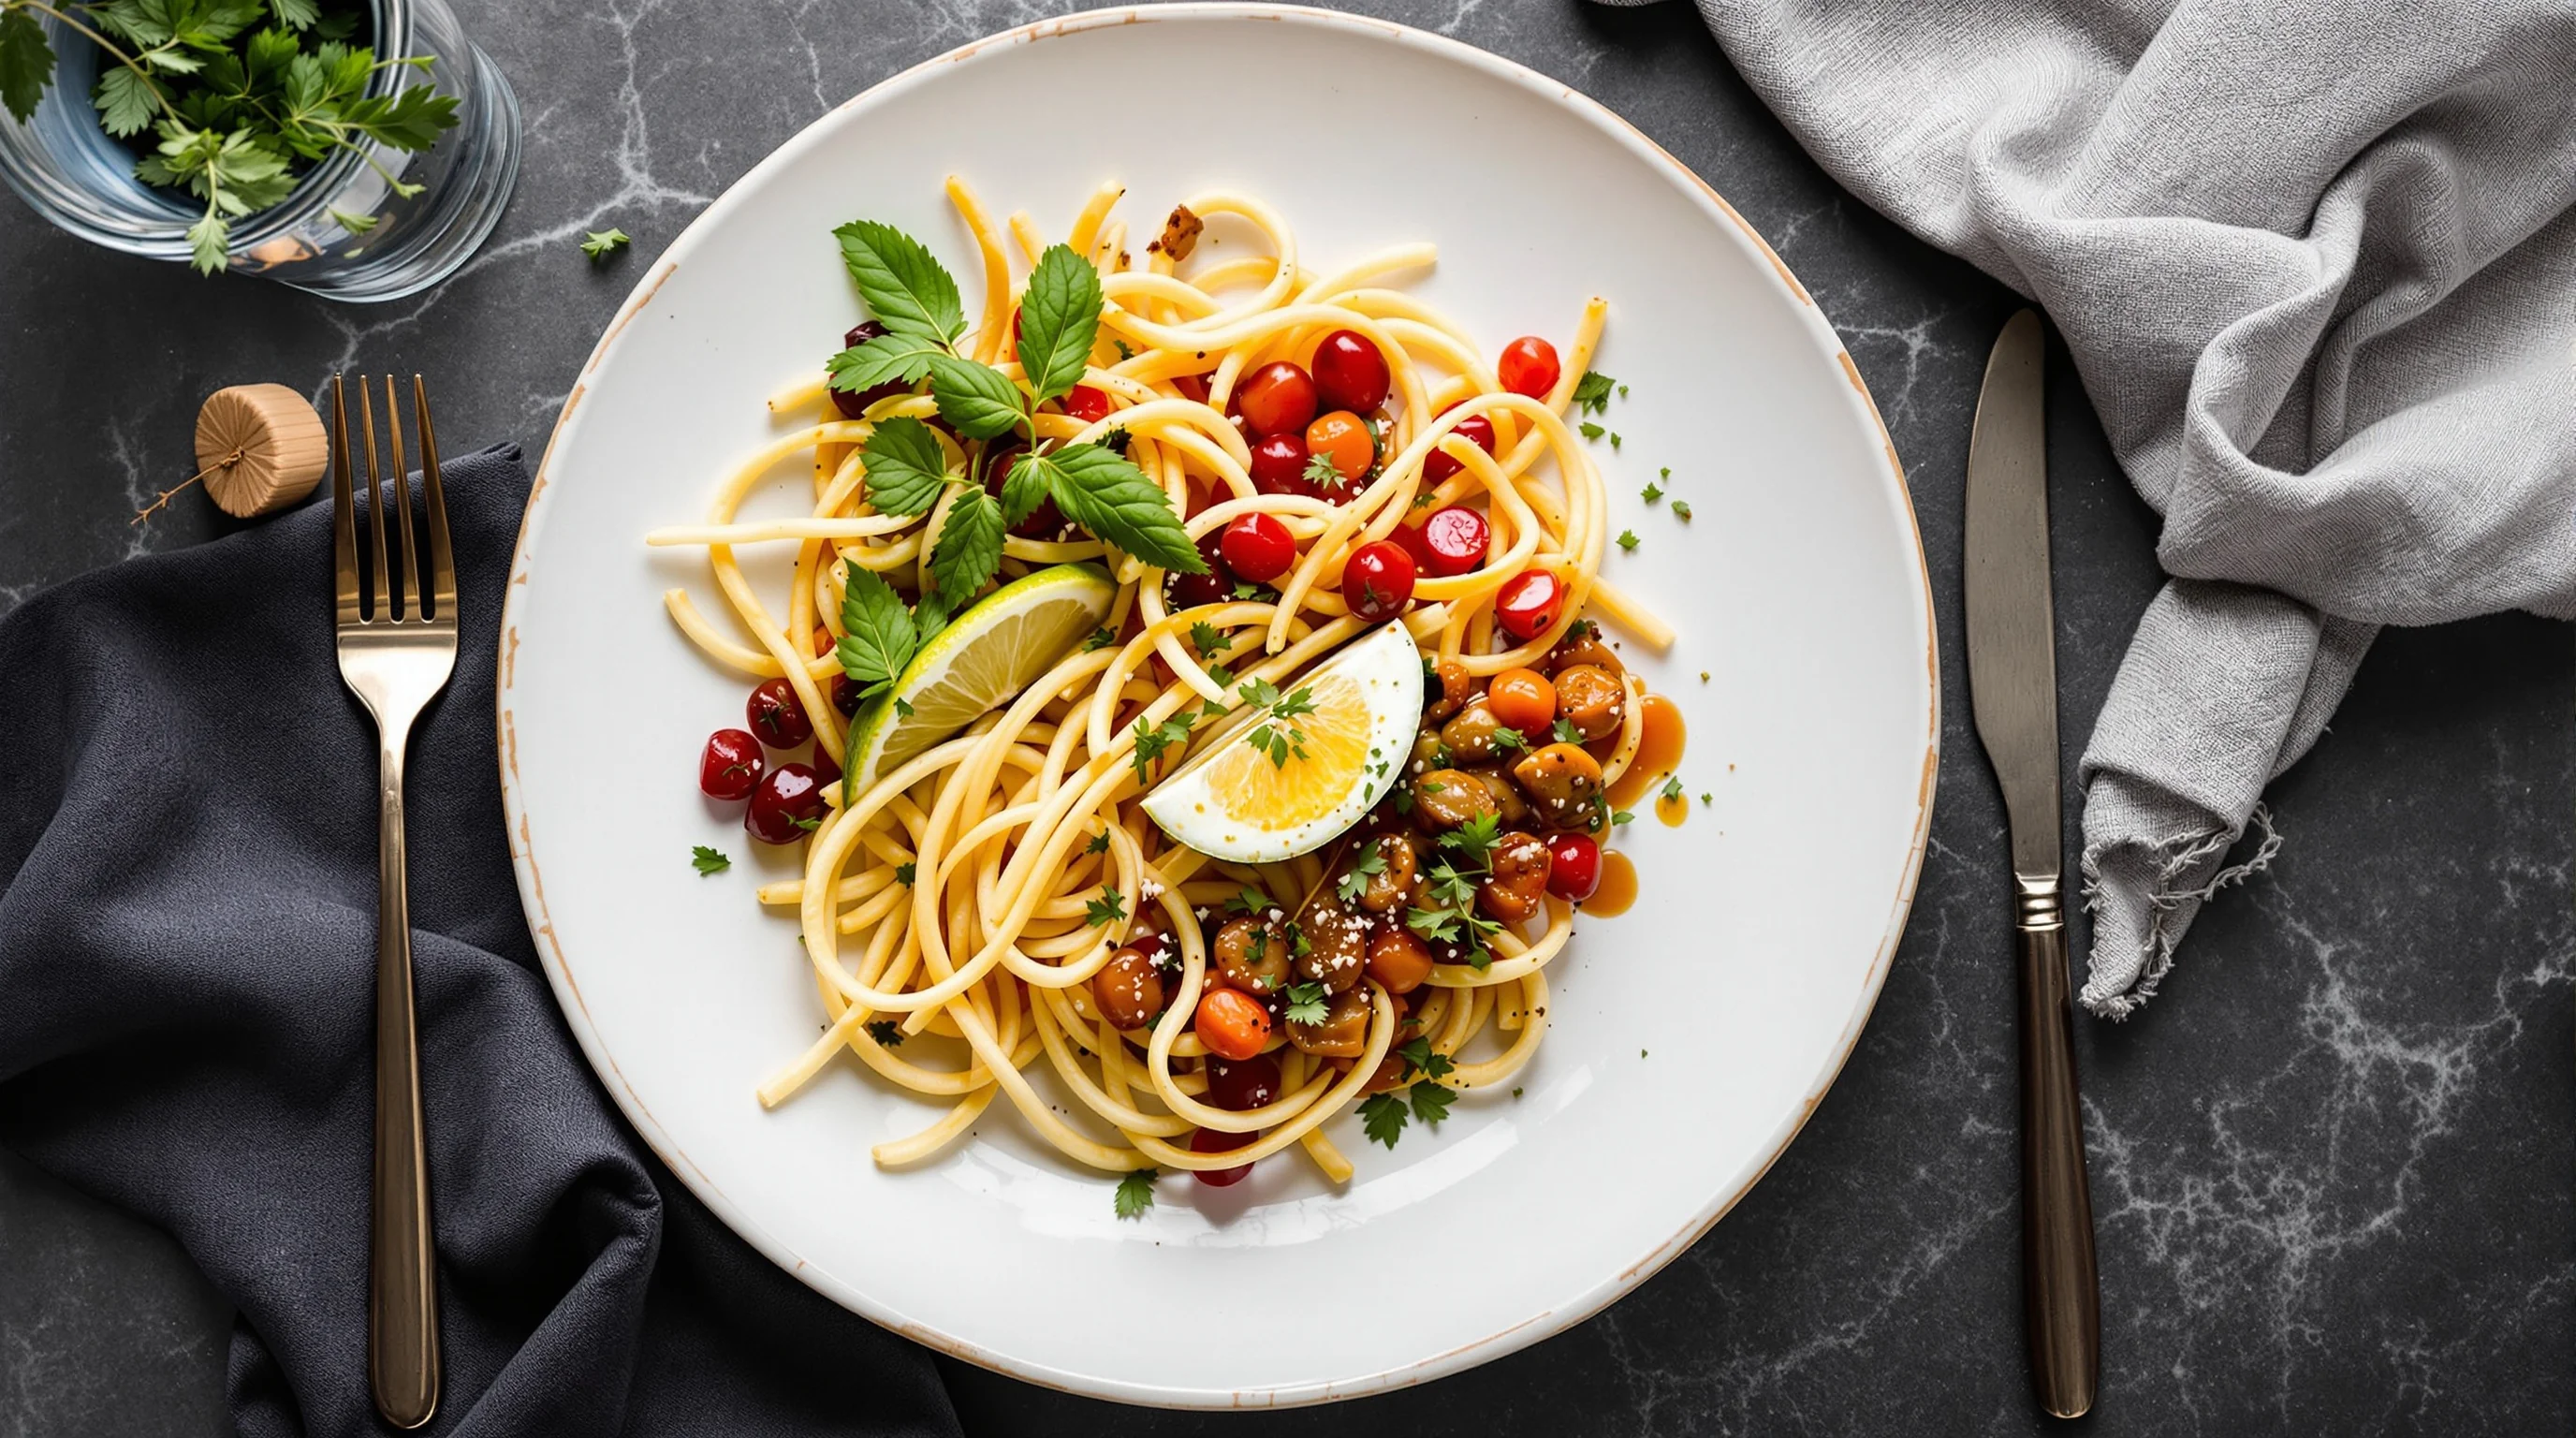
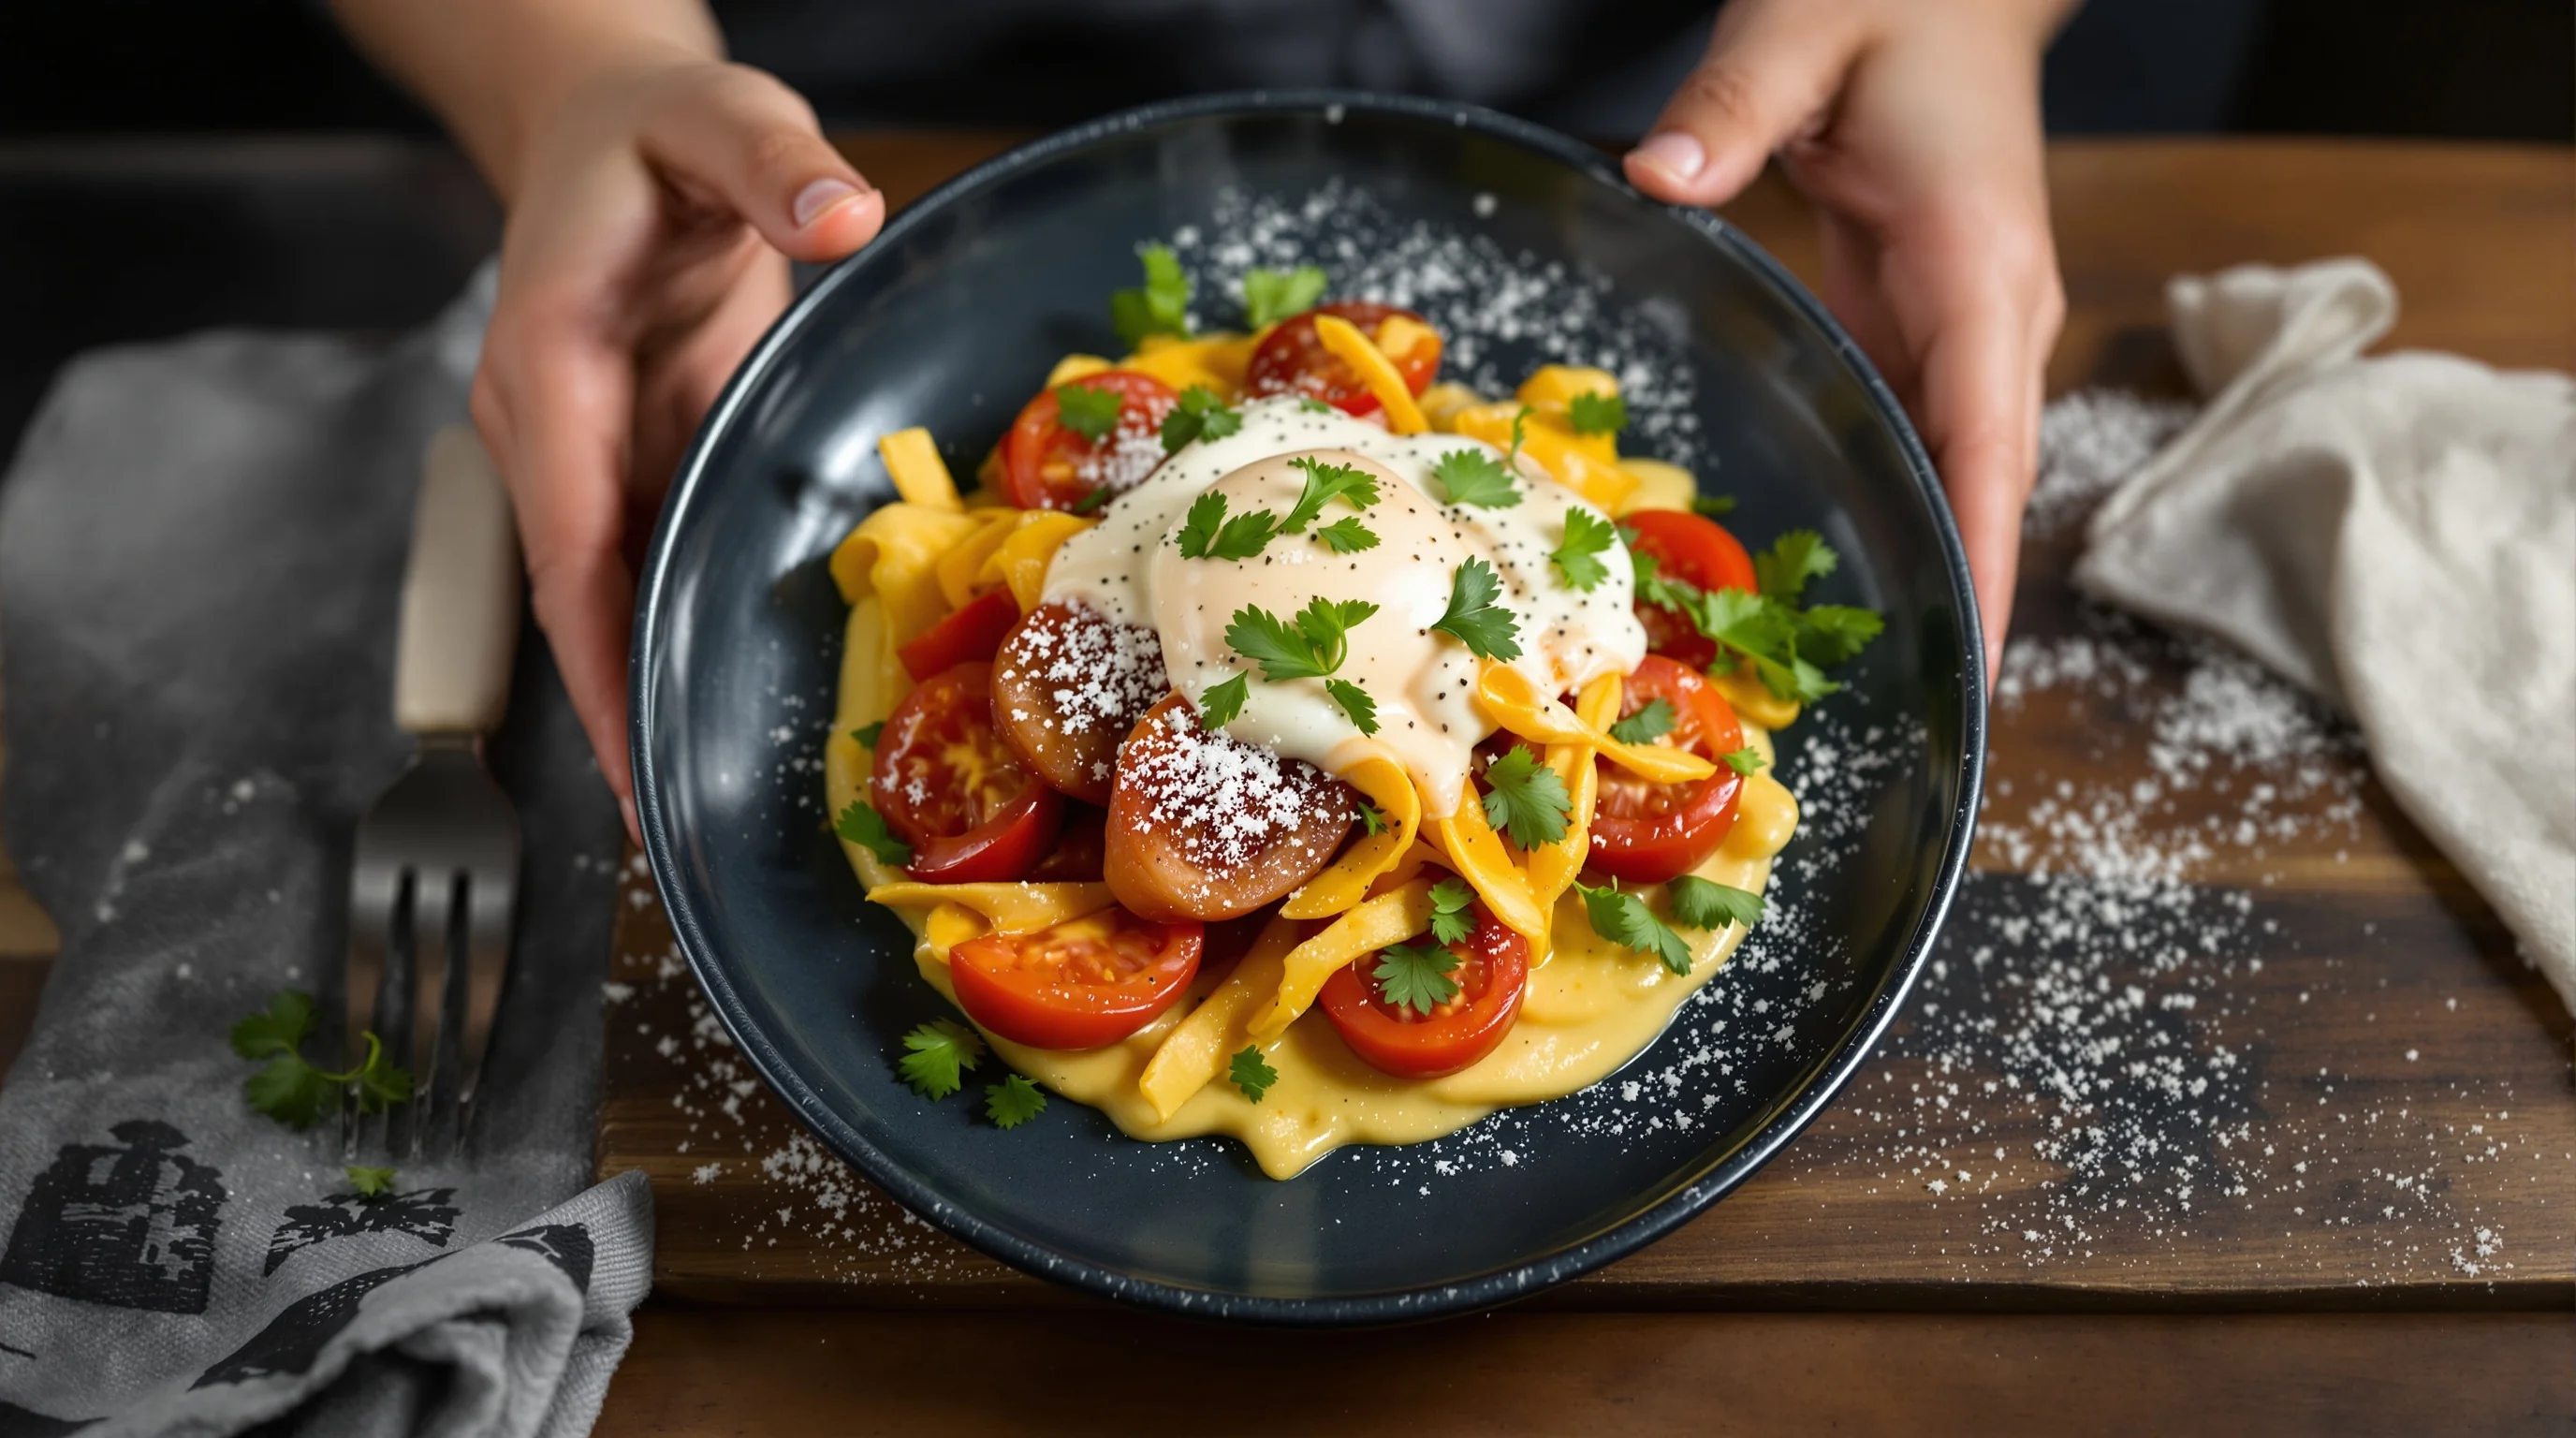
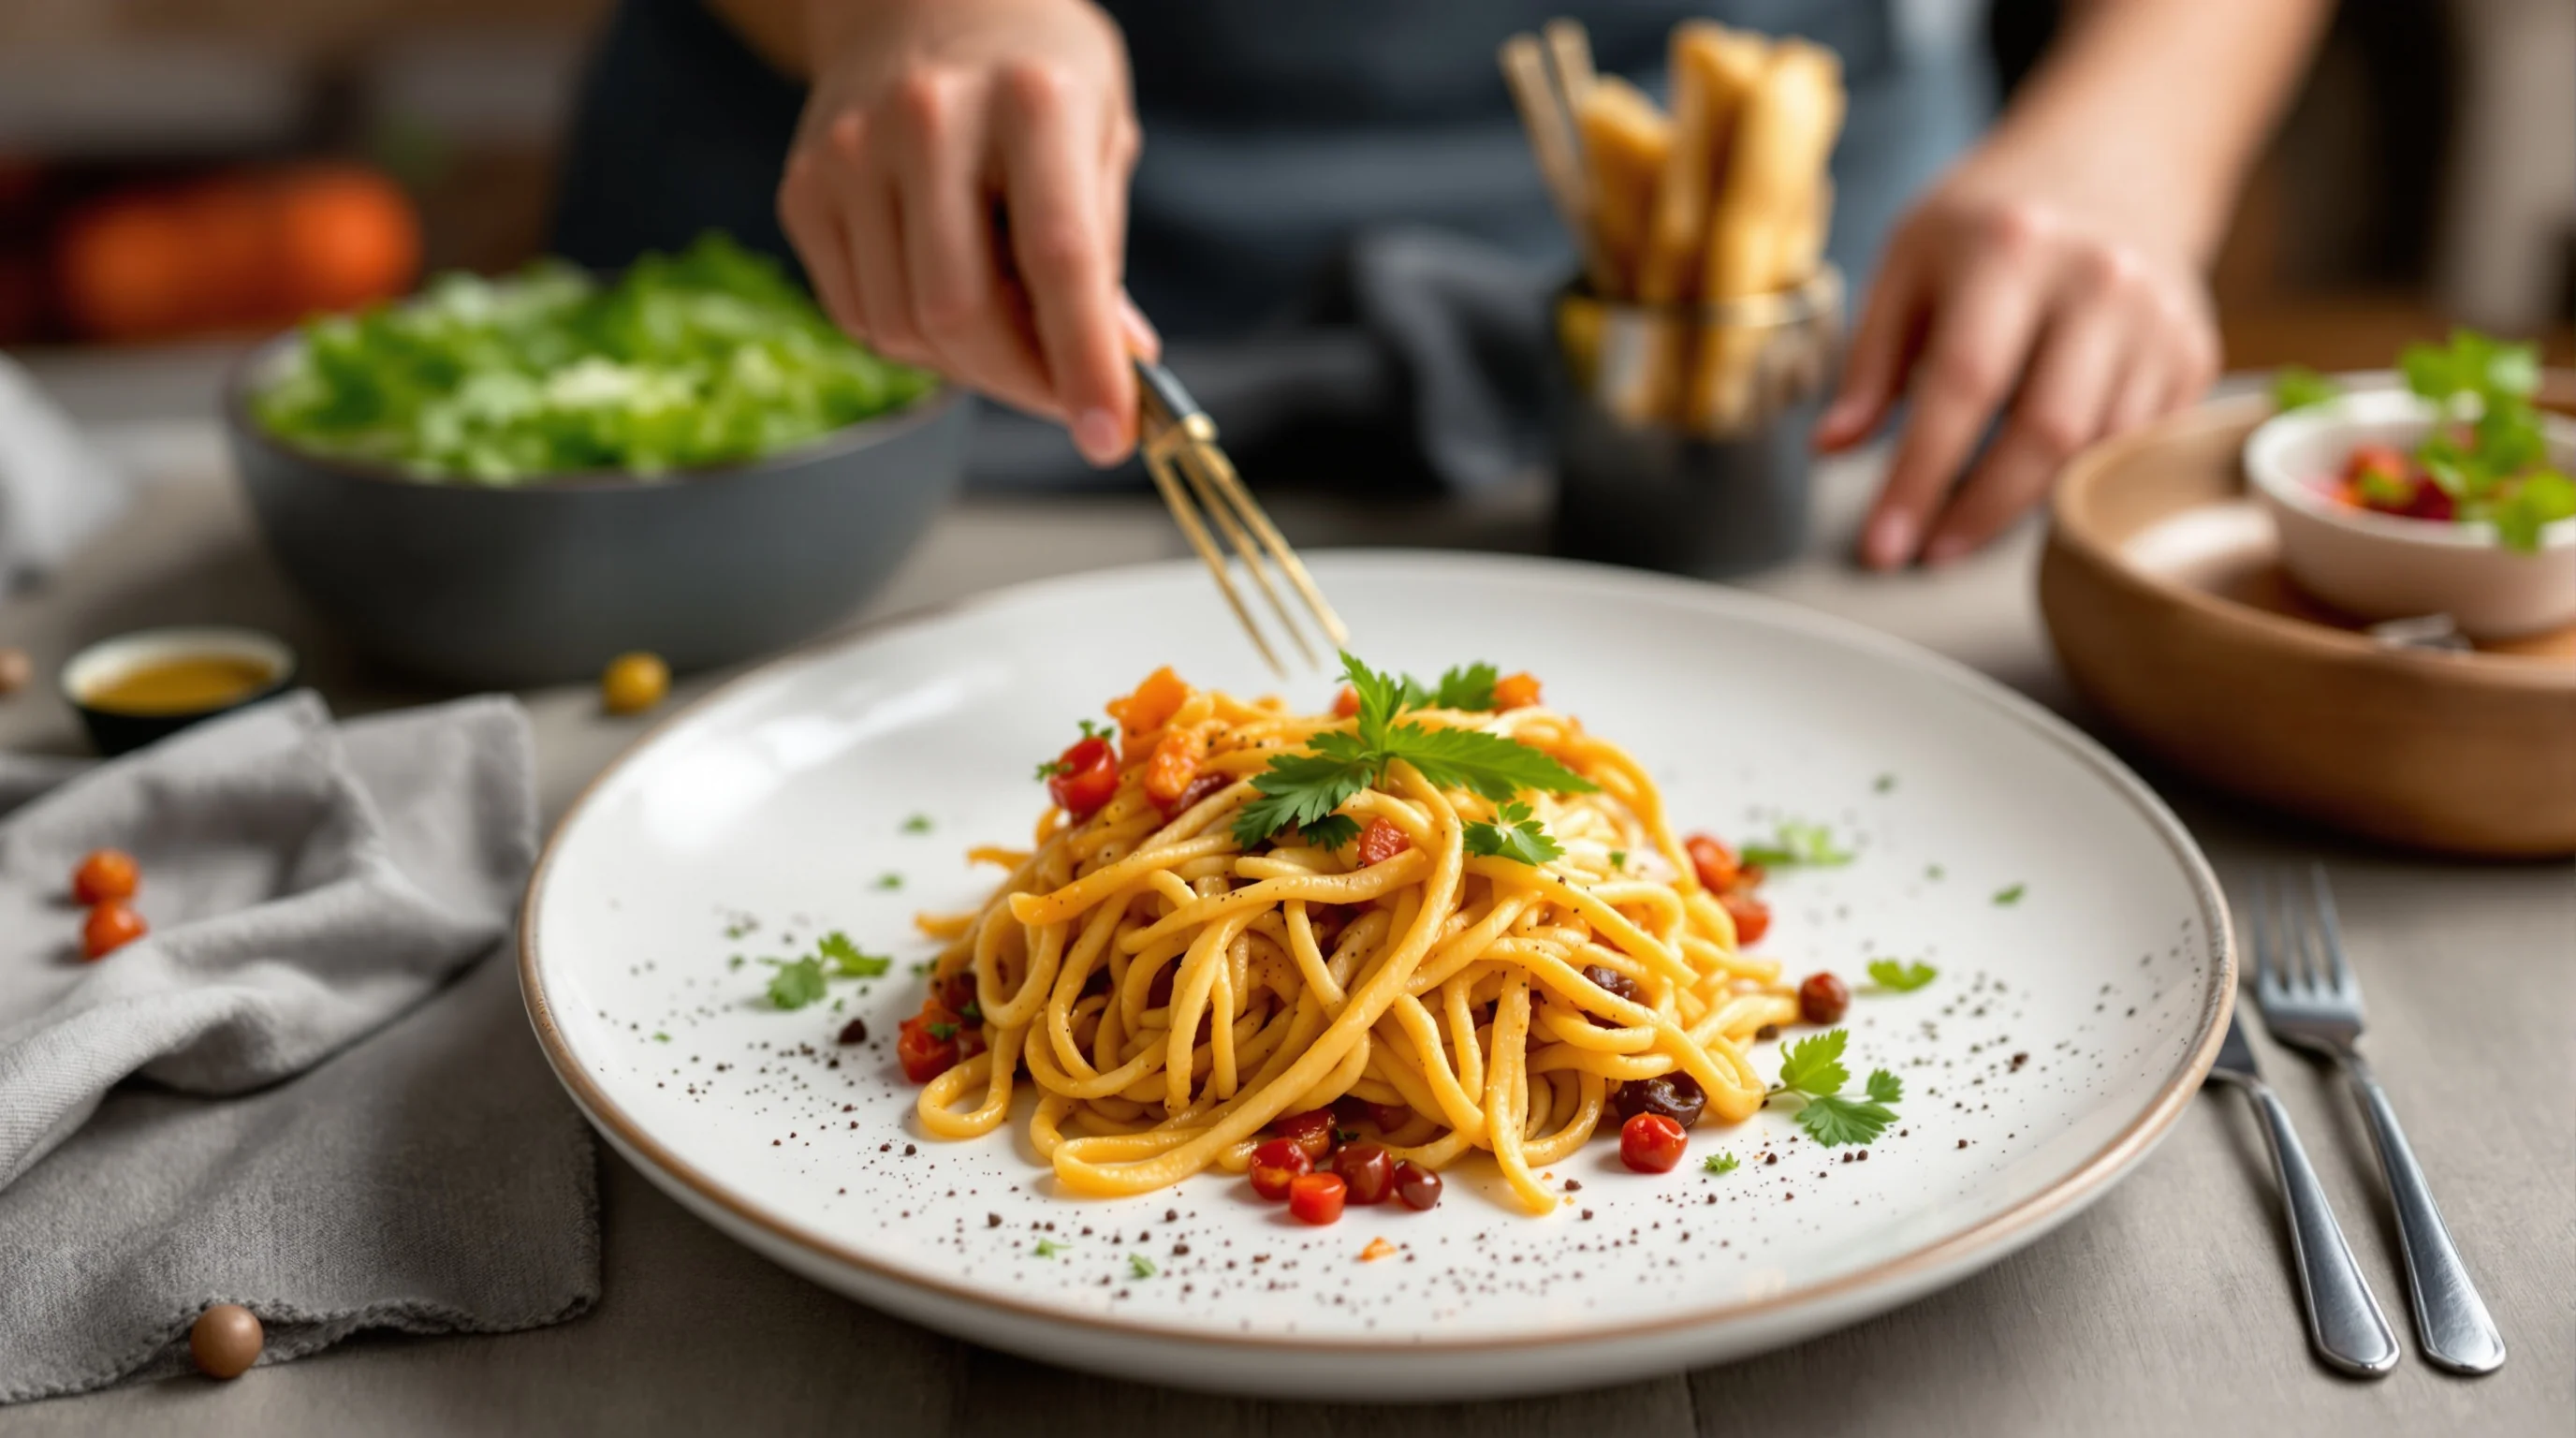
Answering the first user question means mastering composition and restraint. When you learn How to Stage Food Like a Professional Stylist start with three rules: simplify, anchor, and layer. Simplify by removing anything that doesn't serve the story of the dish. Anchor the plate with a focal element (protein or hero garnish) and build layers around it — texture, brightness, height. Think in terms of negative space: a clean margin makes the central elements pop and reads well on small mobile thumbnails.
Composition techniques professionals use include the rule of thirds, leading lines, and triangular groupings. For practical camera settings and composition grids see our composition guide. When staging, supersize elements slightly — as food stylist Billie Sutton advised, "[For photos] take the same standard elements of plating and just supersize it a little bit." Source: Escoffier.
- Simplify: remove clutter and dirty edges
- Anchor: choose a clear focal point
- Texture: add crunchy or glossy elements for contrast
- Height: stack or lean items to add dimension
- Negative space: leave breathing room for the eye
What props and tools do professional food stylists use?
Professional stylists rely on a deceptively small kit of tools that elevate presentation quickly. When learning How to Stage Food Like a Professional Stylist, assemble basics: tweezers, squeeze bottles for sauces, palette knives, small brushes, micro-vegetable greens, coarse salt, and clamps for holding items in place. Props include plates in complementary tones, textured napkins, cutlery with character, and simple background boards.
If you need a deep inventory, our guide to food photography props explains sourcing, color choices and budget alternatives. Keep props consistent with your brand and platform: bright, airy tableware suits Instagram and some DoorDash thumbnails, while moody, rustic props work well for niche menus.
"Using a cinematic metaphor, I like to think of a food stylist as a costume designer"
Source: GreatBigPhotographyWorld
That quote highlights why props matter: they create a scene, a context for the dish. Use props sparingly and always ask, "Does this help tell the dish's story?" If not, remove it.
How do you keep food looking fresh and appetizing for photos?
Keeping food camera-ready is one of the most common pain points. The answer is preparation and timing. Cook or assemble items just before shooting, keep steam and crisp textures in mind, and use quick refresh techniques: a light spray of water for greens, a fine brush of oil for grilled proteins to restore shine, and a squeeze bottle to reapply glossy sauces. For items that wilt, photograph within minutes and have backups ready.
When speed or consistency is critical—such as for menus on Grubhub, DoorDash or Uber Eats—scale your workflow using tools. Our 10-step photoshoot checklist helps restaurants stage multiple dishes efficiently, and YummyPic offers instant AI enhancements when a re-shoot isn't feasible.
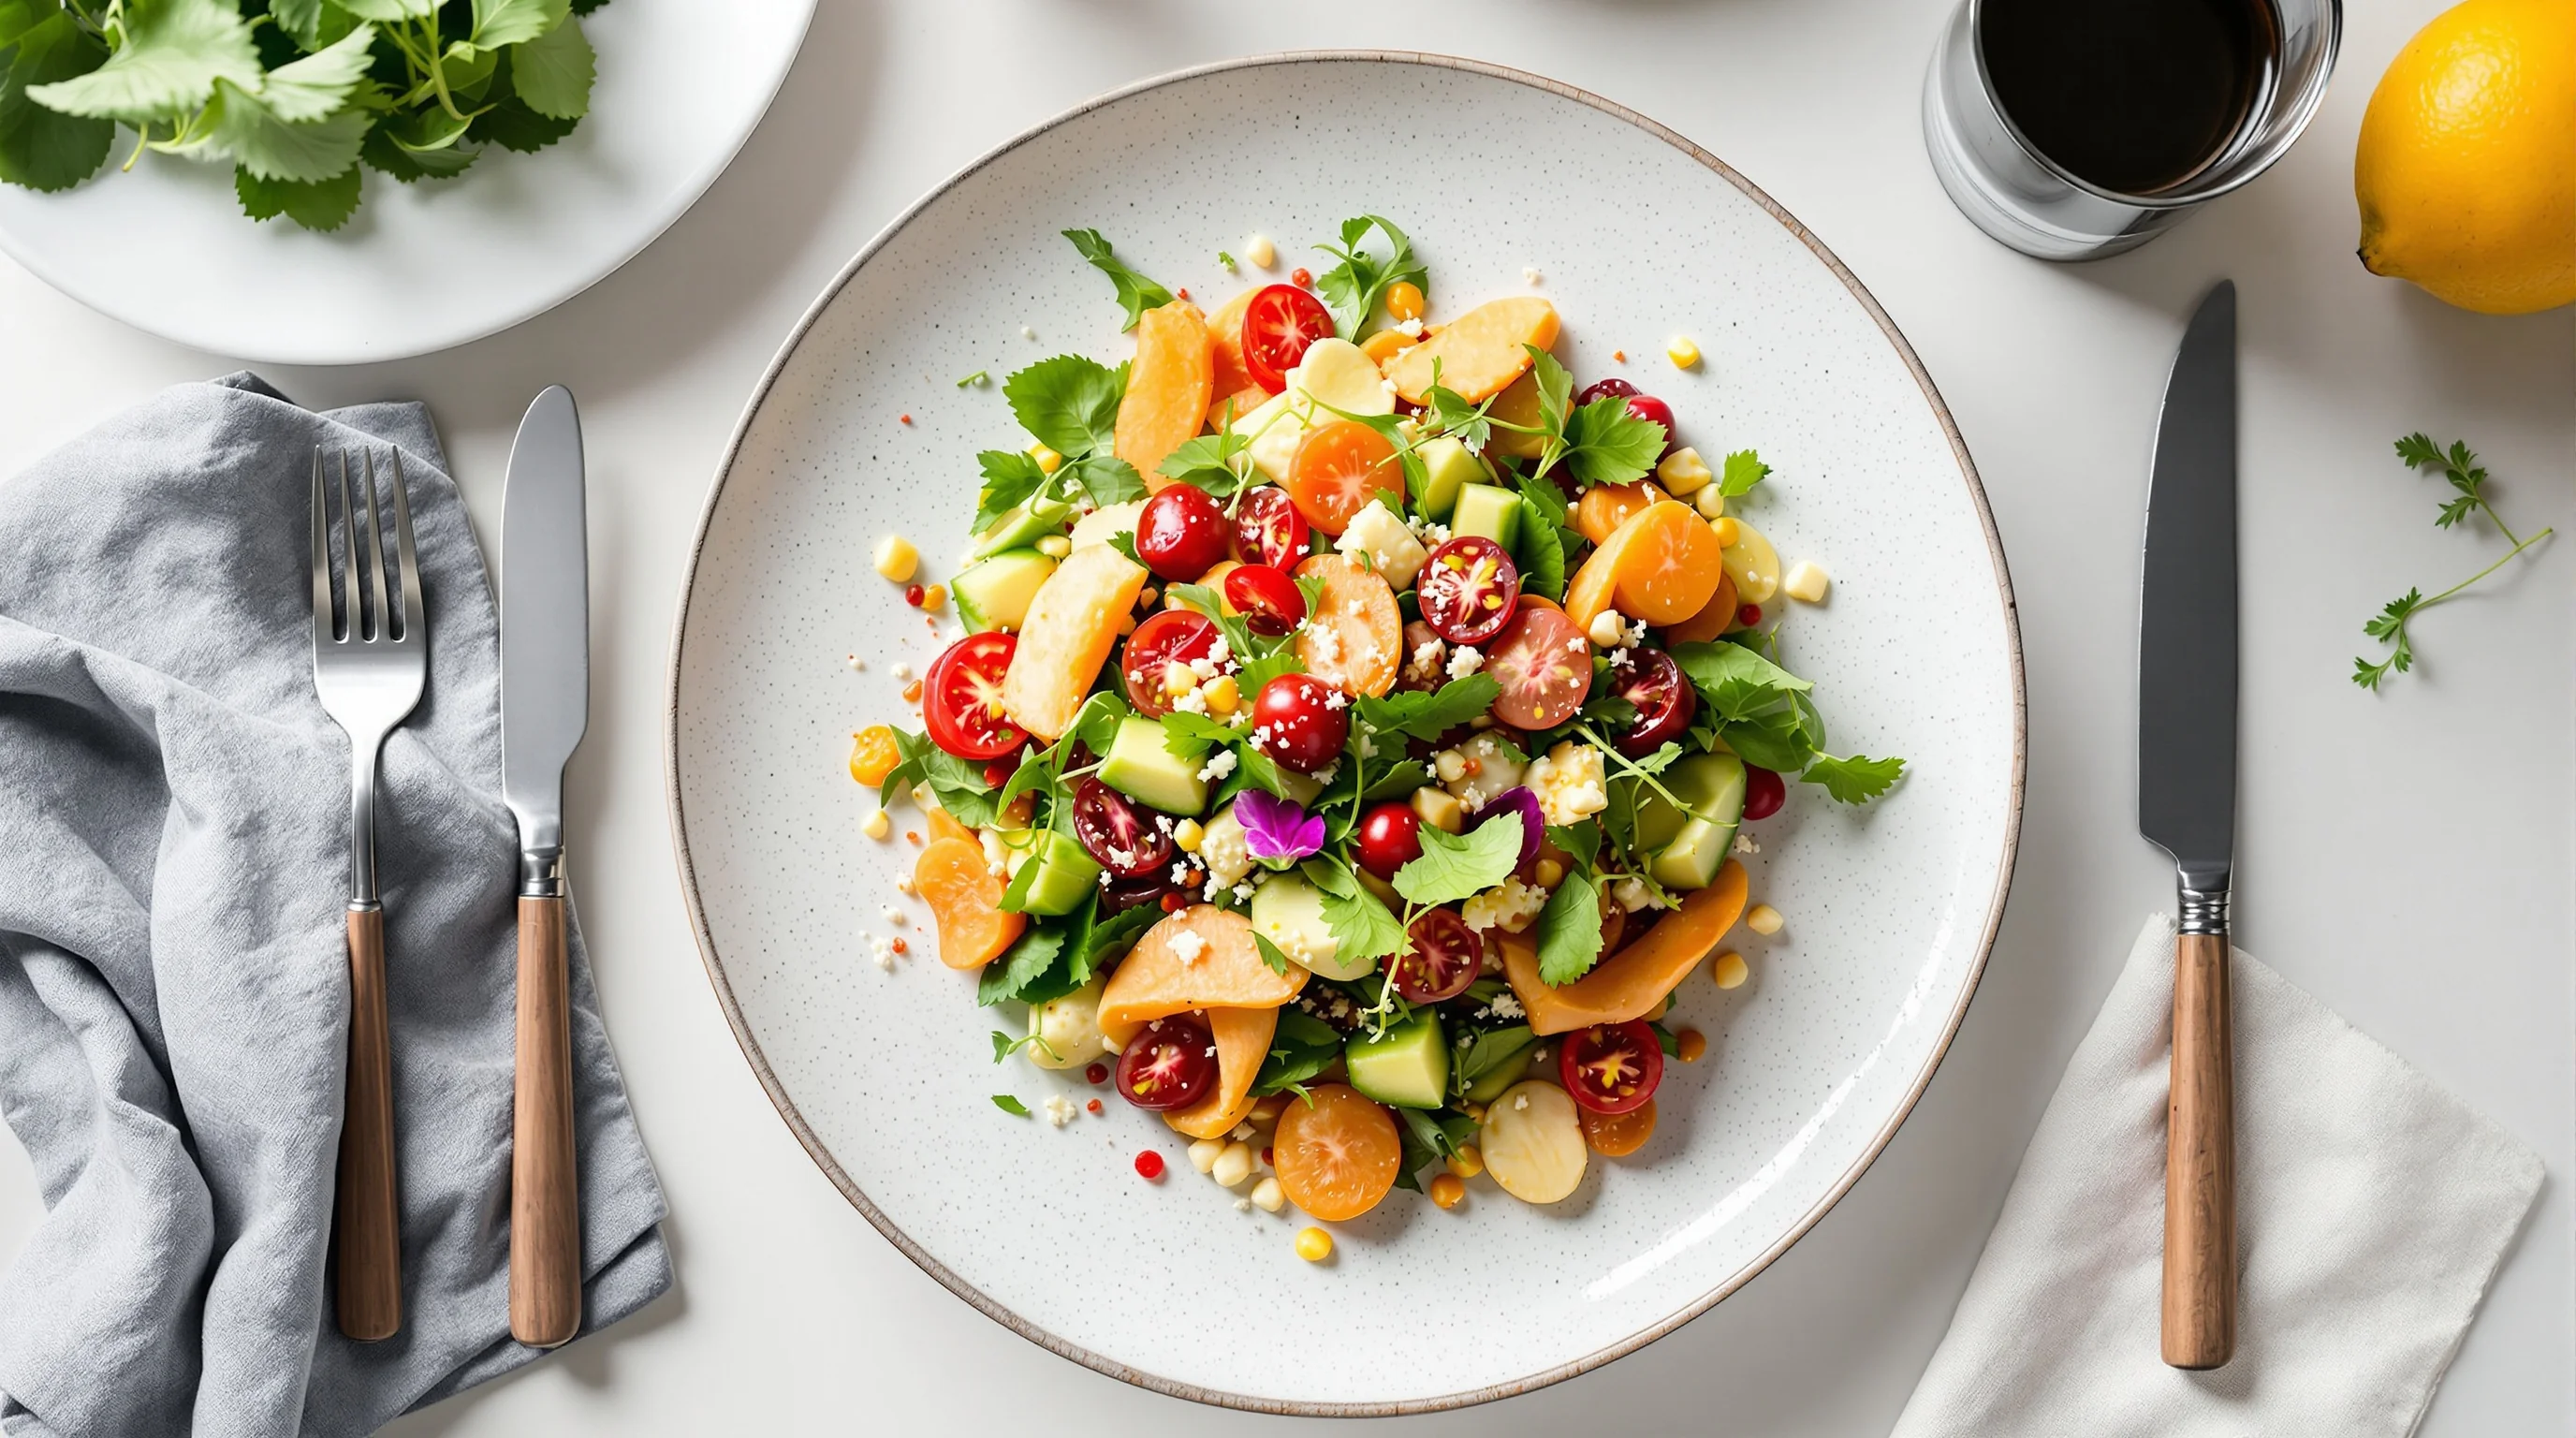
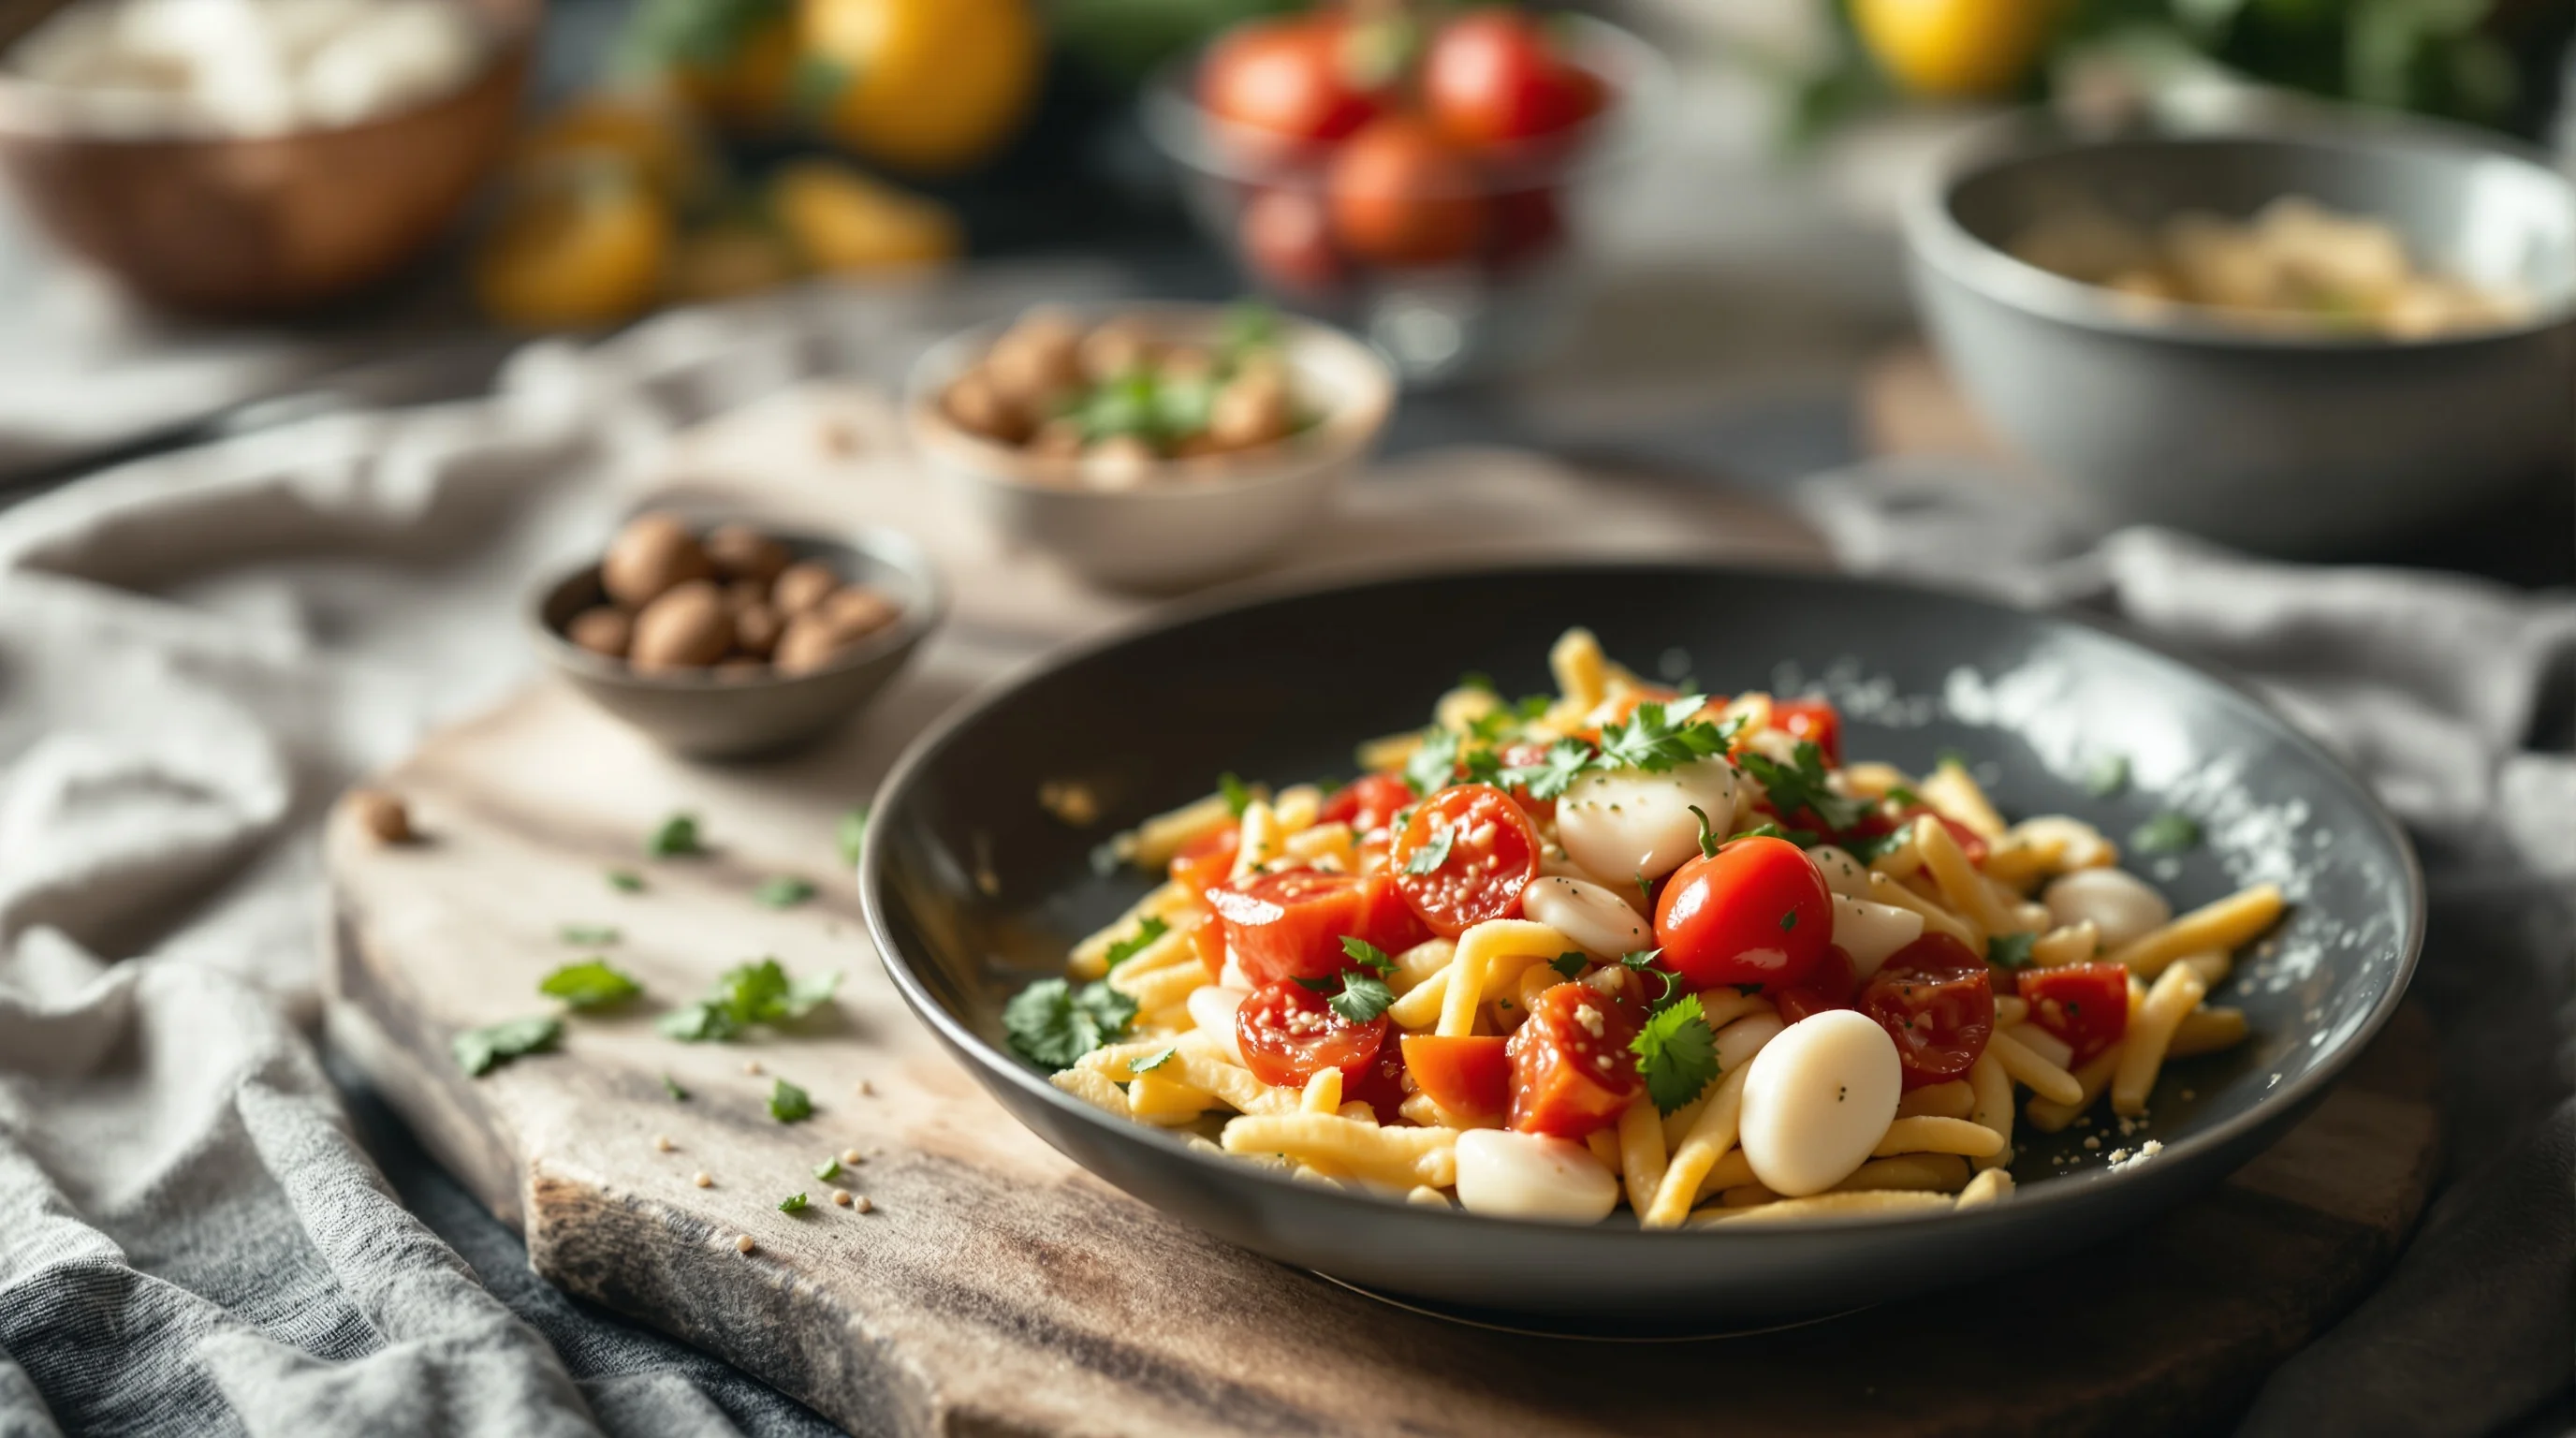
Balancing color and texture to make dishes pop
Color and texture are core to how to stage food like a professional stylist. Aim for contrast: pair creamy with crunchy, matte with glossy, and warm tones with a cool accent. Bright garnishes like microgreens, citrus zest or pickled elements add vivid points of interest. Textural contrast reads well close-up and in thumbnails; a sprinkle of seeds, a smear of sauce, or a crisp element can turn a flat image into a tactile one.
When choosing backdrops and plates, favor neutrals that allow food colors to dominate. For tips on backdrop selection and consistent brand presentation see our backdrops guide.
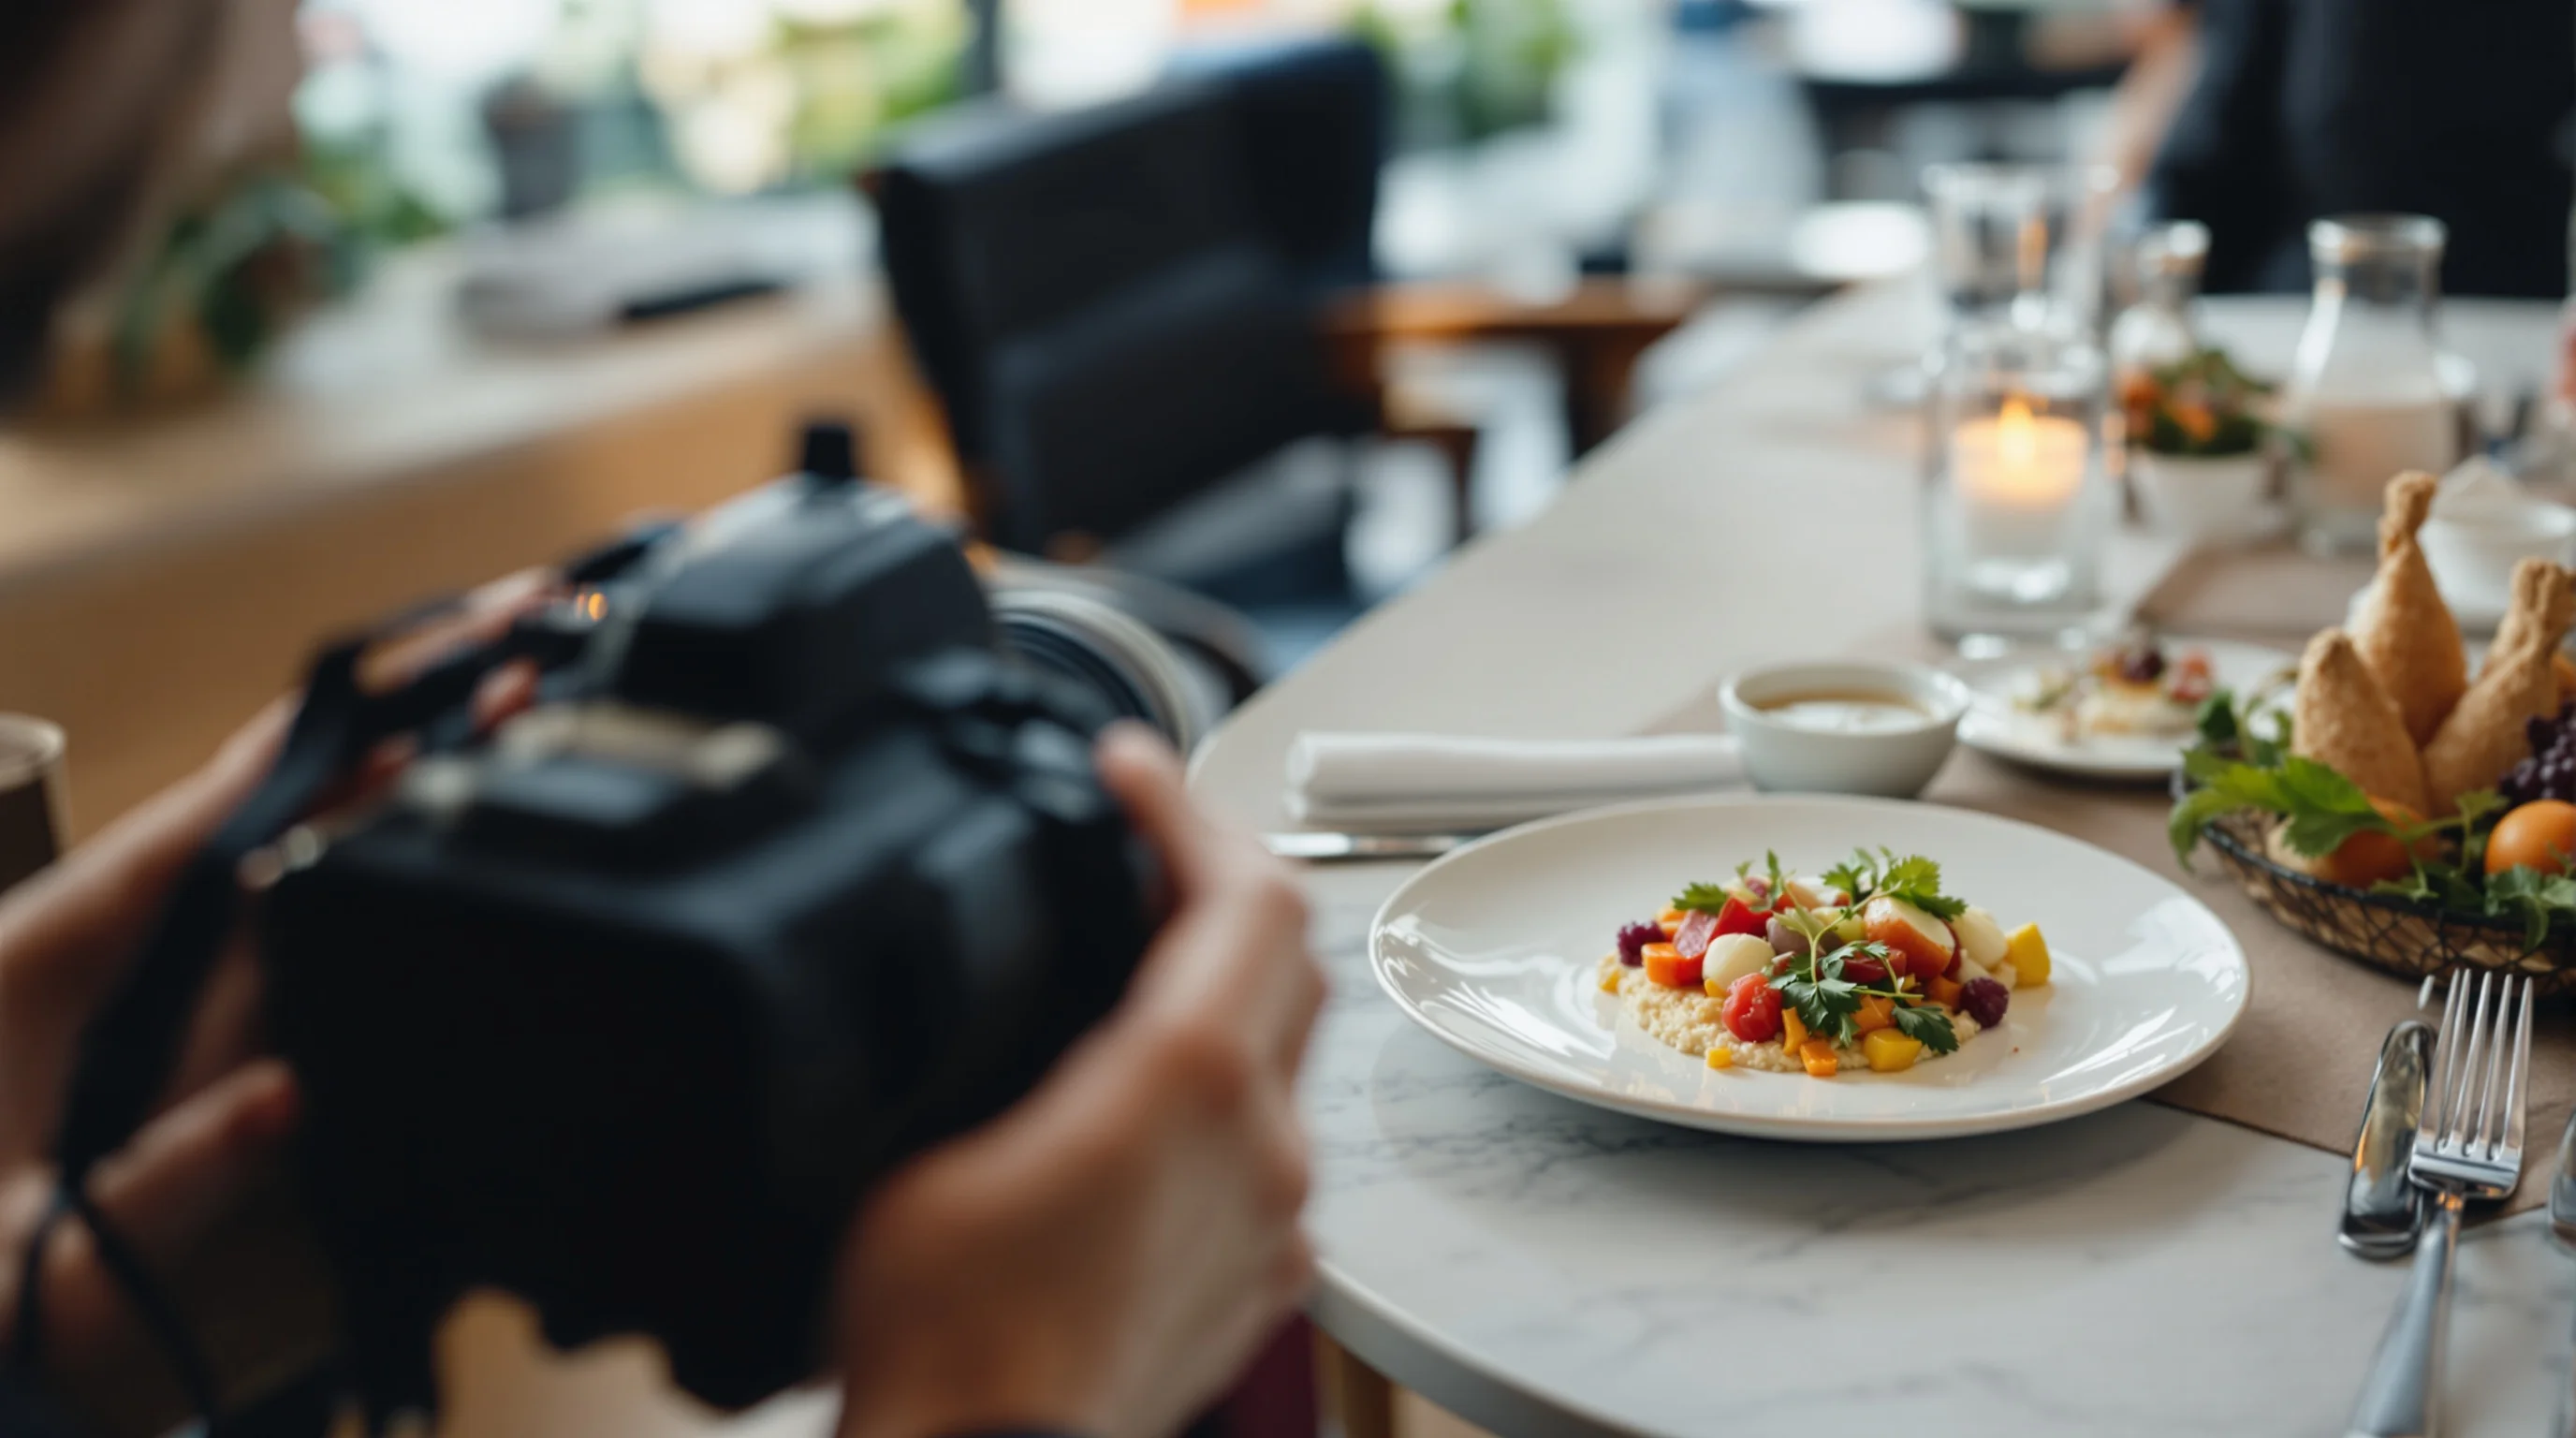
Lighting and composition: quick rules for pro results
Lighting defines mood. For natural, appetizing results use soft side light or a gentle backlight to reveal texture and depth. Diffuse harsh sunlight with a thin white sheet or use a collapsible diffuser; for consistent indoor work, a continuous LED with a softbox is efficient. Camera angle follows the dish: flat-lay for bowls and arranged plates, 45-degree or eye-level for stacked items like burgers or layered desserts.
- Choose soft side or backlight for texture
- Diffuse direct sun or use a softbox
- Match angle to dish: flat-lay for flat items, 45° for height
- Use a tripod or overhead arm for consistent framing (see our tripod guide)
Practical lighting applies to smartphones too. Lock exposure, tap to focus on the focal point, and use a reflector (white card) opposite the light to lift shadows. These small moves help anyone stage food like a professional stylist using minimal gear.
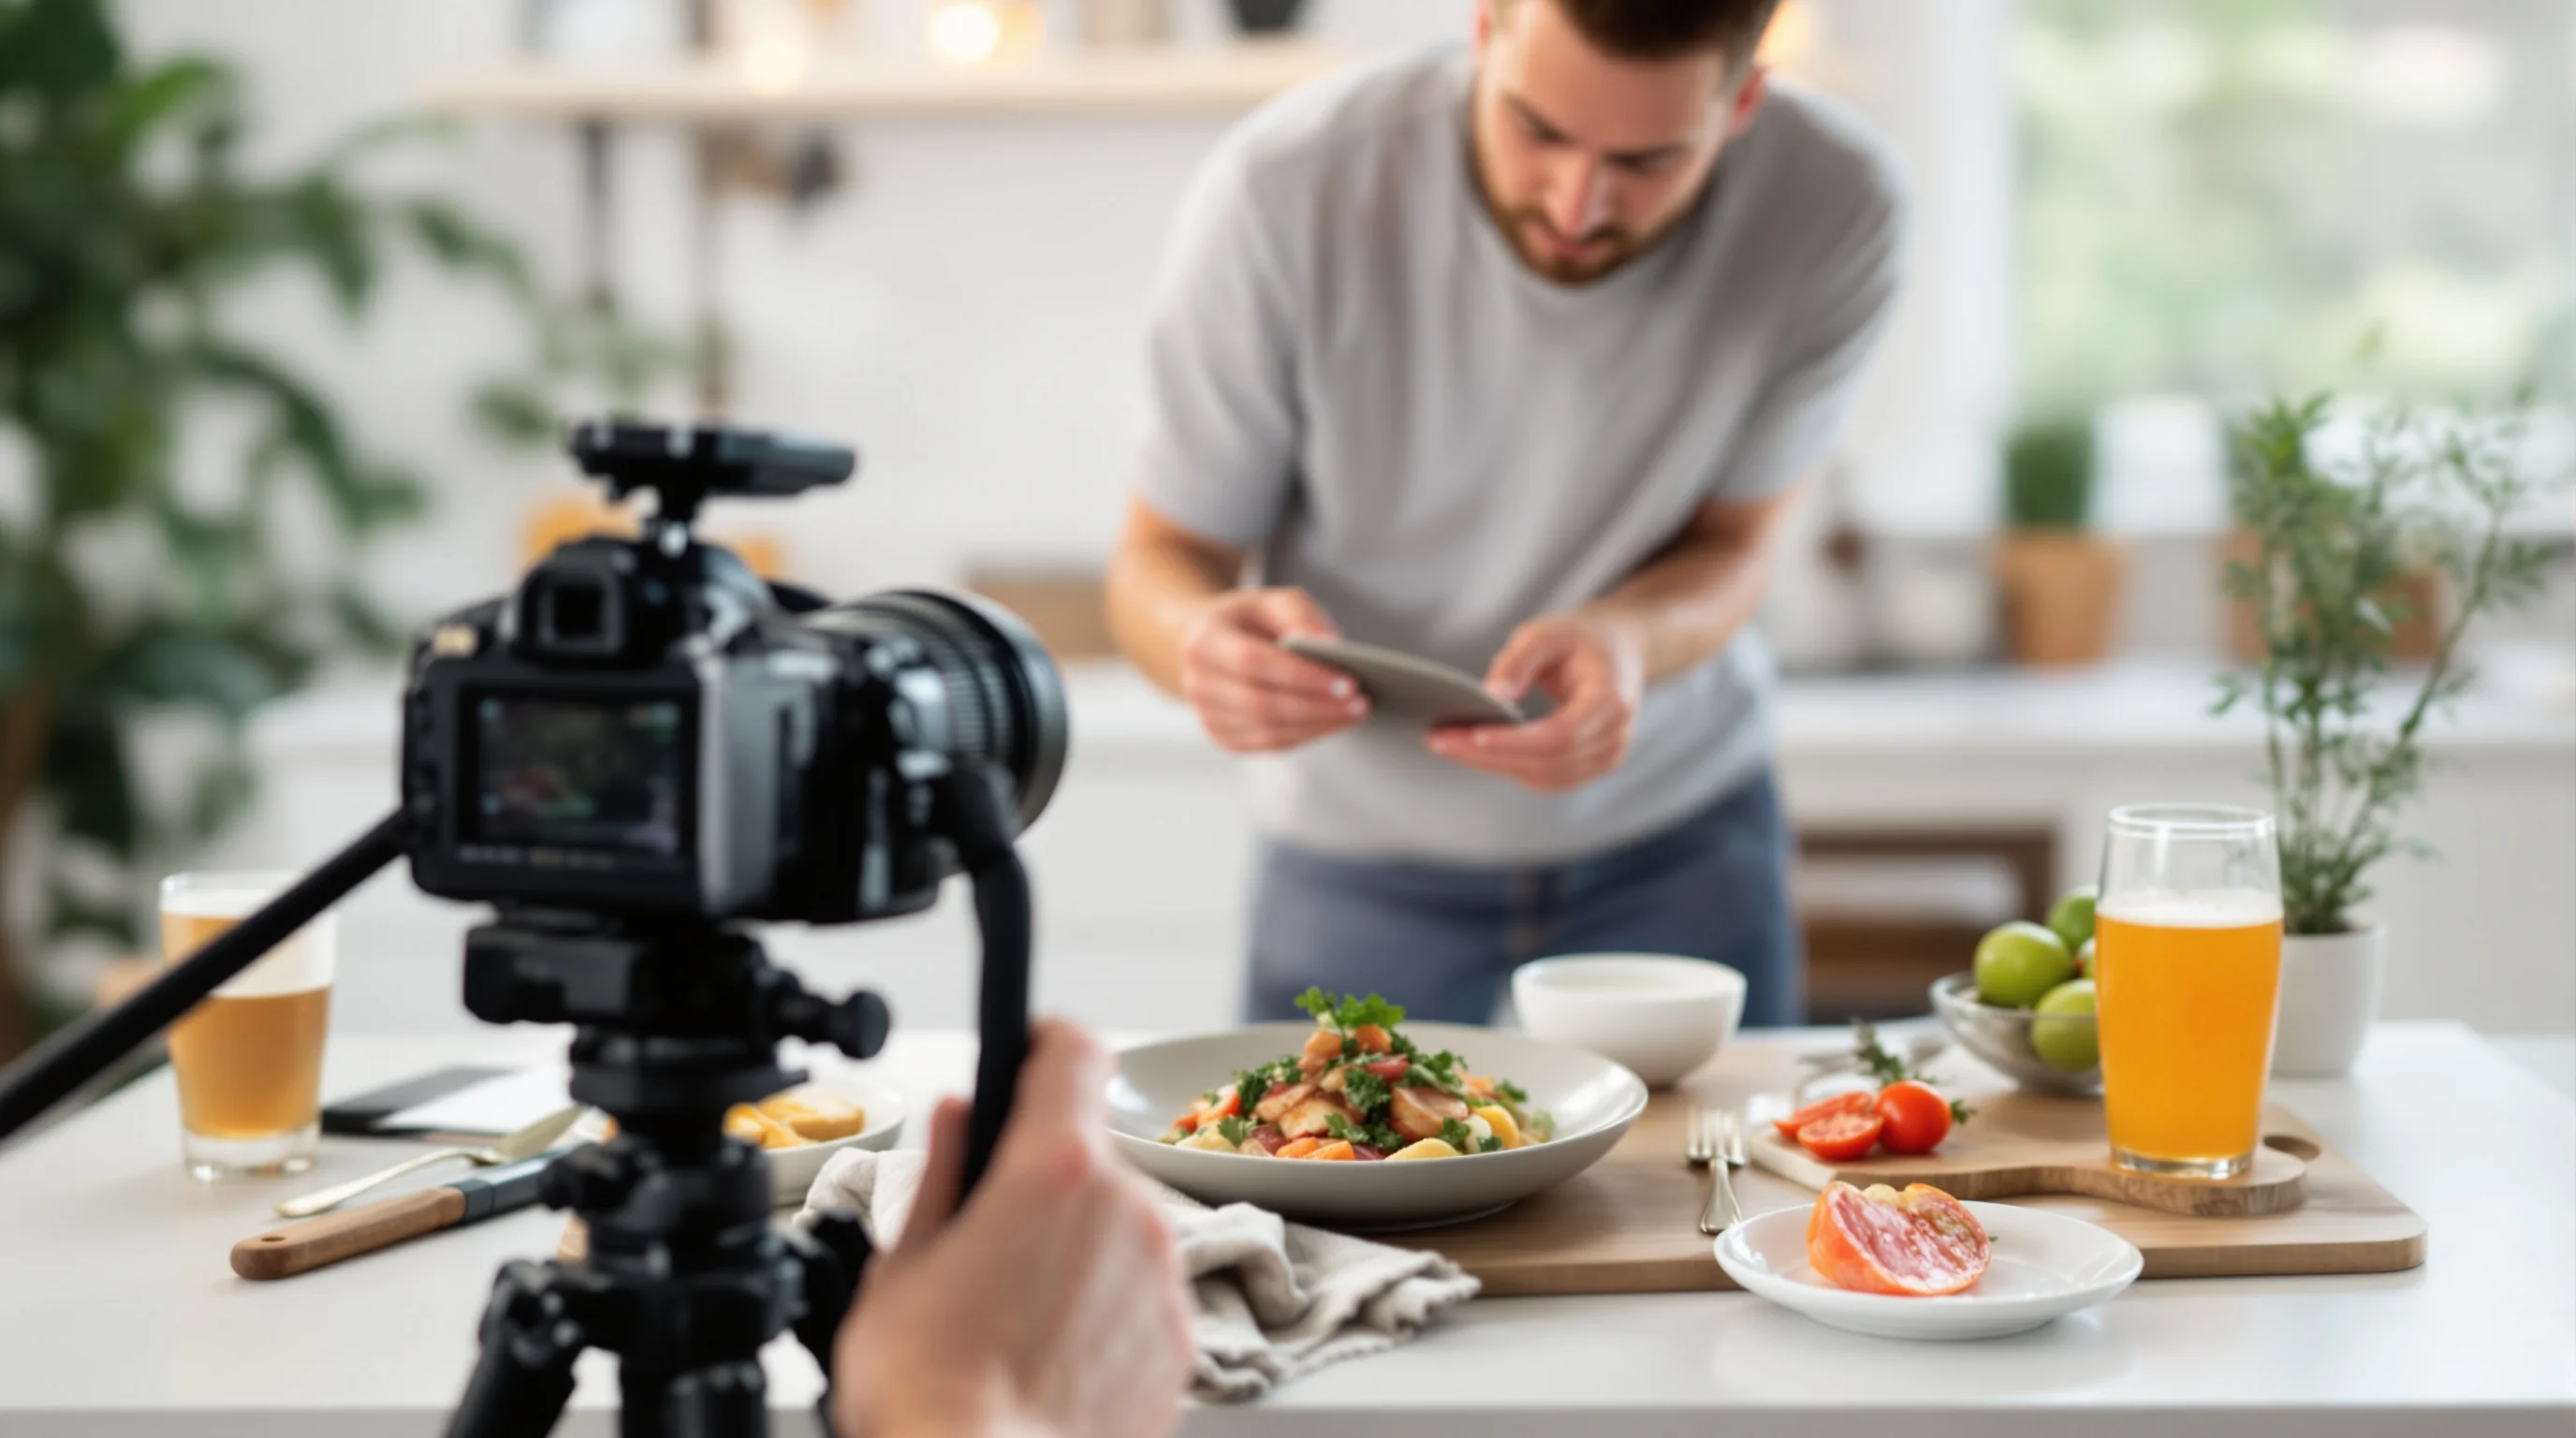
A step-by-step workflow to stage and shoot a dish
A repeatable workflow saves time and keeps quality consistent. Follow these steps when learning How to Stage Food Like a Professional Stylist so every plate looks camera-ready.
- Plan: review the menu image needs and shot list (link to our planning guide)
- Prep: mise en place the food, props and tools
- Light: set and test lighting, check for hotspots
- Assemble: plate quickly with focal point first
- Refine: add micro garnishes, wipe rims, apply glaze
- Shoot: bracket exposures and angles; capture backups
- Edit: apply consistent presets or AI enhancements
For menu-scale shoots, include a rapid QA pass and standardized crop frames for DoorDash, Grubhub and Uber Eats. Our platform pages explain specific size and framing preferences: DoorDash, Grubhub, Uber Eats.
Smartphone and video tips: styling for moving images
Short video clips and Reels need staging that holds up over motion. Keep movements simple: a slow plate sweep, sauce pour, or lift of steam. Style for continuity — avoid fragile elements that collapse mid-take. If shooting on a phone, use a gimbal for smooth motion and record in the highest resolution available. When learning How to Stage Food Like a Professional Stylist for video, think like a director: plan the hero moment and build the shot to reveal it.
If you lack specialized props or tools, there are sustainable hacks: reuse natural garnishes, choose modular backdrops, and borrow restaurant-grade napkins for texture. This satisfies the content gap many competitors miss: affordable, sustainable styling solutions that still look pro.
Pro tips, common mistakes and quick rescue fixes
Common mistakes include over-styling, inconsistent lighting between shots, and ignoring platform thumbnails. Quick rescues: remove distracting props, increase negative space, add a tiny bright garnish to draw the eye, and reapply gloss with a light coating of oil or syrup. Remember Billie Sutton's advice to supersize elements for photos — modest adjustments often have outsized impact.
💡 Pro Tip
If a garnish wilts quickly, photograph it first and swap in a fresh piece before serving. Keep backups of microgreens on ice and use squeeze bottles for controlled sauce placement.
These practical hacks directly address the pain point of food wilting or losing vibrancy quickly, letting you stage multiple dishes efficiently without sacrificing quality.
Scale styling work with YummyPic (brand integration)
Not every restaurant has time or budget for a studio shoot. YummyPic is an AI-powered food photography platform designed to help restaurants transform simple photos into professional, restaurant-quality images in seconds. When you need consistent menu images, YummyPic offers curated styling kits, backgrounds and editing presets so you can achieve multiple looks — bright & airy or dark & moody — without reshooting.
YummyPic addresses common pain points: lack of props and inconsistent photo quality. Key benefits include:
- Speed: professional photos in seconds
- Cost-effective: lower cost than a full photoshoot
- Variety: multiple styles for different platforms
- Convenience: no lighting or props required
- Quality: optimized for DoorDash, Grubhub and Uber Eats
Checklist: essentials to stage food like a pro every time
Use this condensed checklist when preparing plates for photos. It captures the steps taught here and helps teams deliver consistent visuals that convert.
- Shot list and crops for each platform (use presets for DoorDash, Grubhub, Uber Eats)
- Mise en place for garnishes and props
- Lighting test shot and exposure lock
- Focal point placed first on the plate
- Micro garnishes added last
- Wipe rims and check reflections
- Capture multiple angles and backups
- Edit with consistent presets or AI enhancements
Pair this checklist with our full photoshoot checklist for a restaurant-grade workflow that minimizes waste and maximizes throughput.
Conclusion
Learning How to Stage Food Like a Professional Stylist is a practical skill that combines planning, simple tools, and attention to color, texture and timing. Use the composition rules, prop choices and freshness hacks above to create consistent, appetizing images that perform on social and delivery platforms. Remember the psychology: food images increase engagement and can boost orders — studies from Soocial and Grubhub back this up. For restaurants that need speed and consistency, YummyPic offers an efficient alternative to full photoshoots, producing high-quality menu images in seconds. With practice and the right workflow, even small kitchens can produce professional results that customers notice.