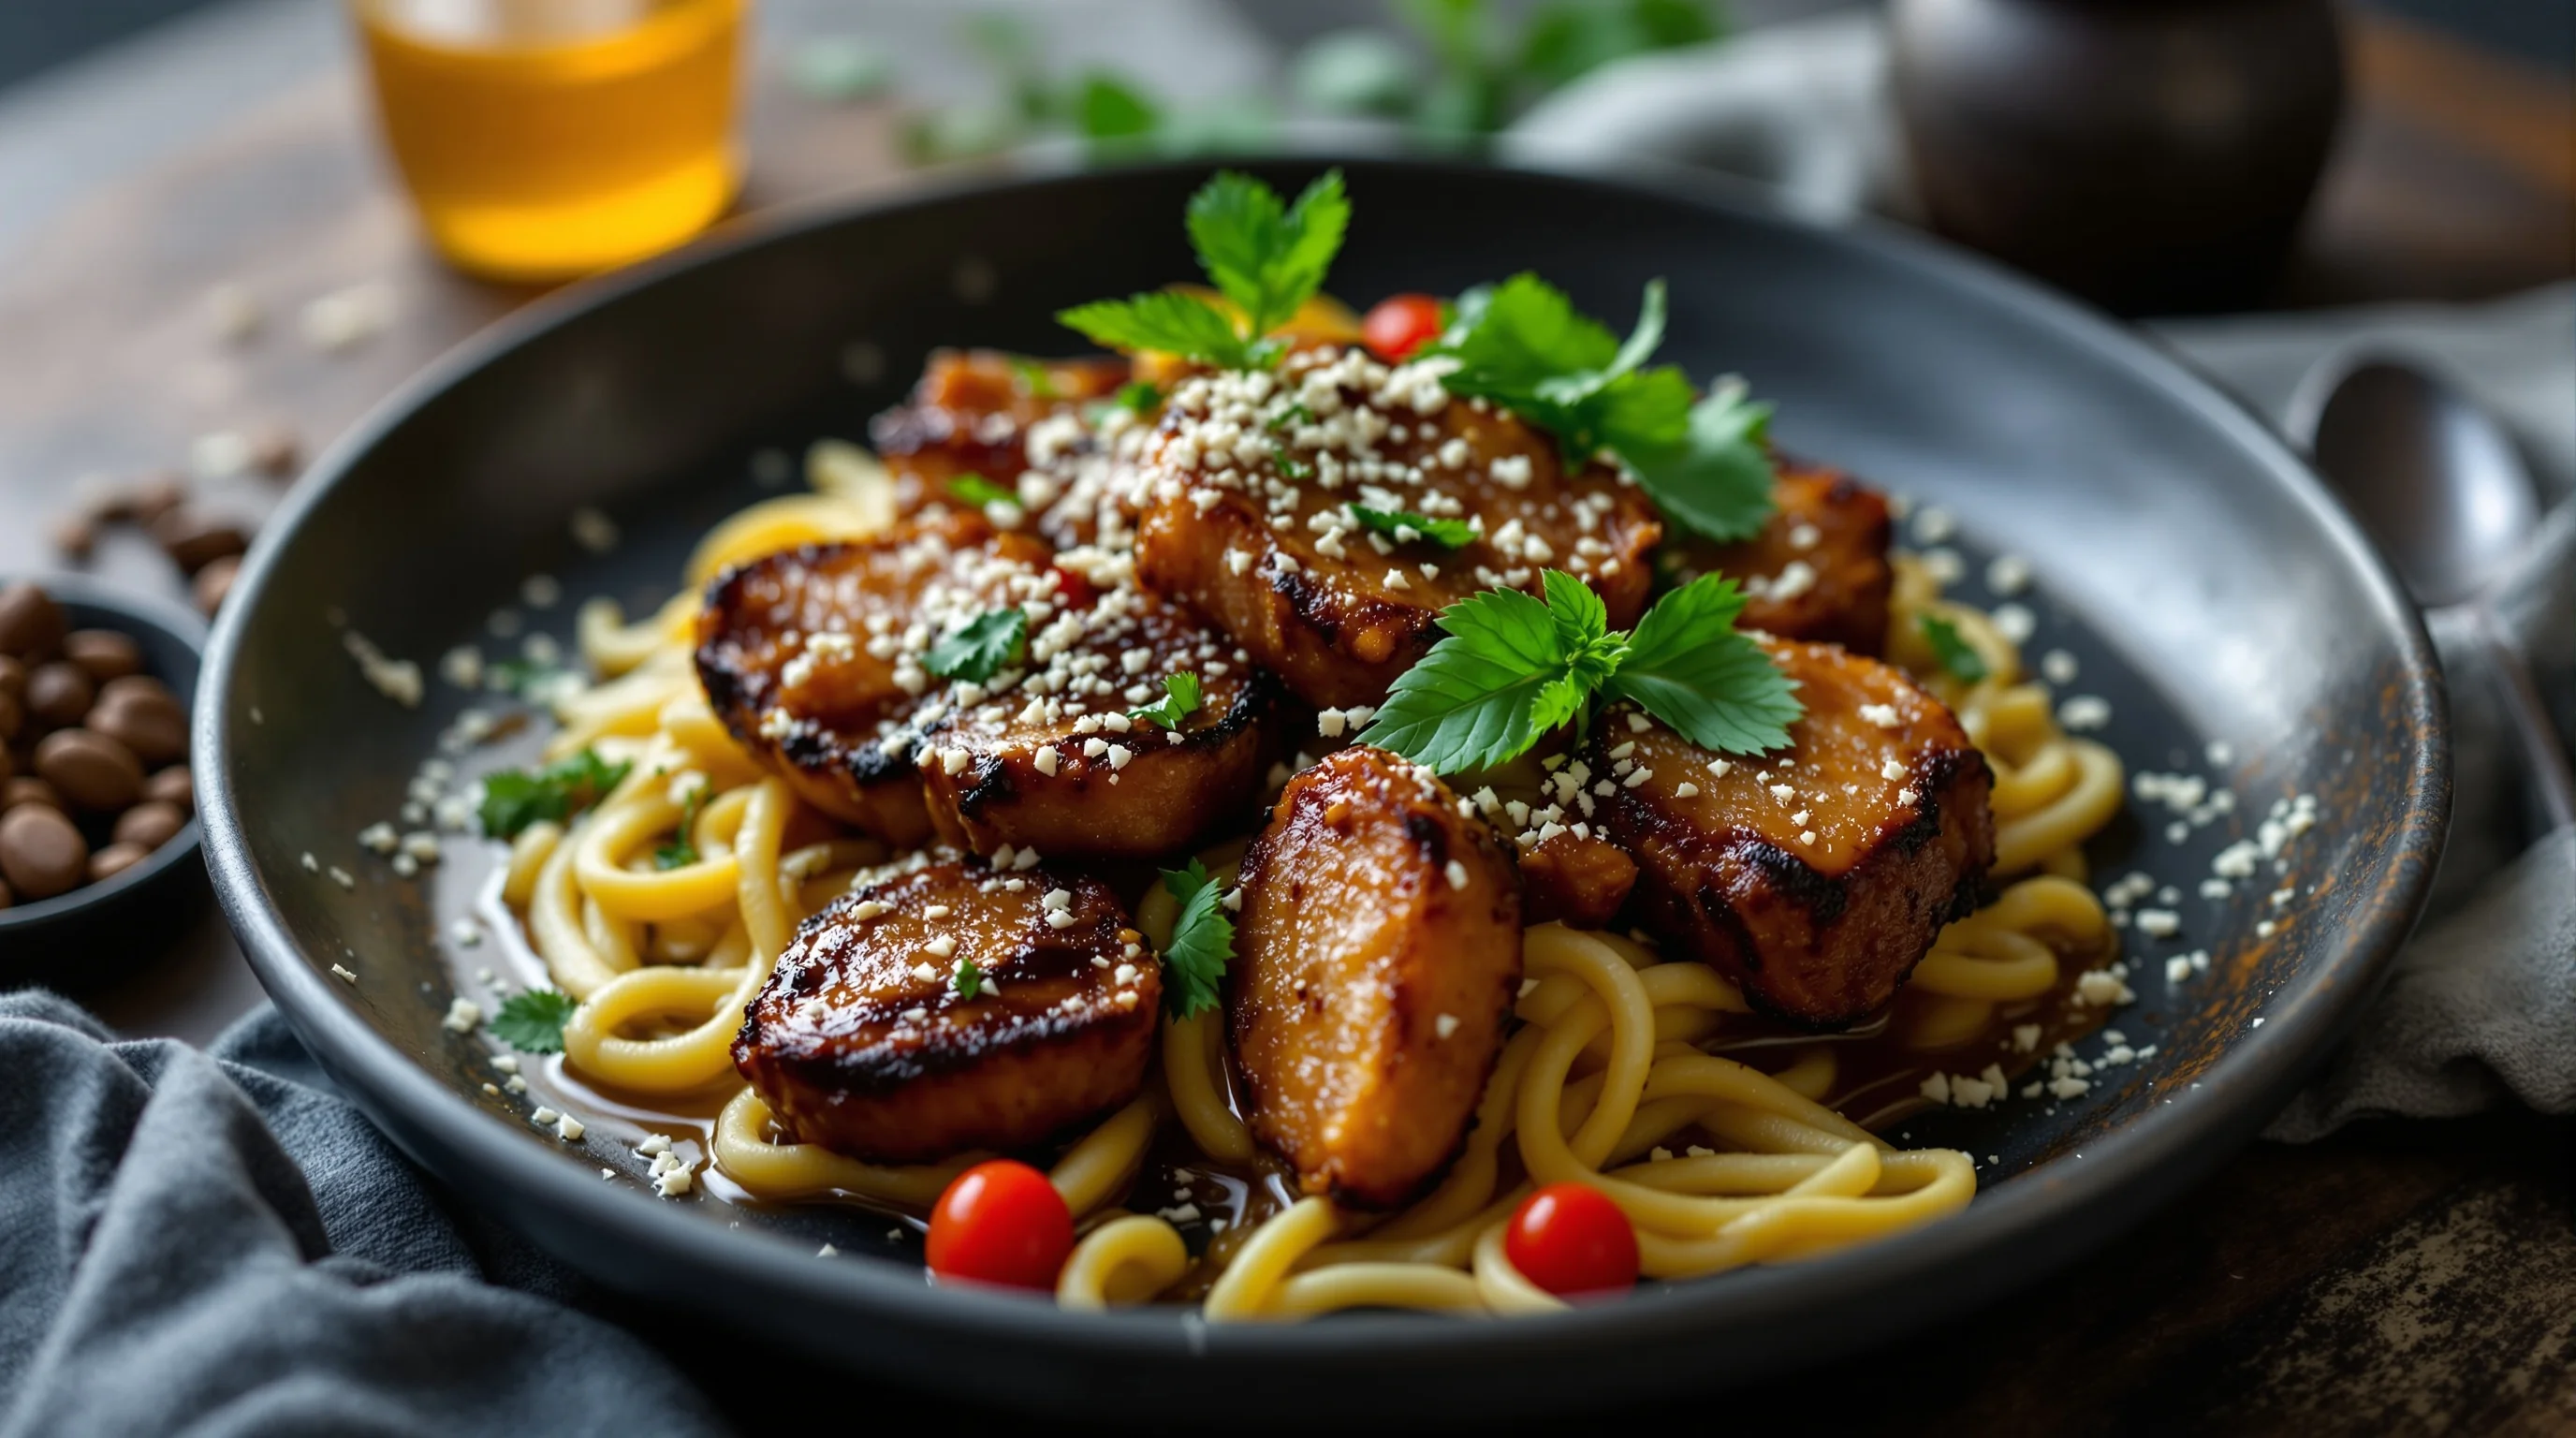
Introduction — The dark & moody look is not just a trend; es ist eine fotografische Tradition mit Wurzeln in barocken Stillleben. Dark & Moody Food Photos Using Natural Light emphasize texture, shadow and selective highlights to turn simple dishes into cinematic stories. This guide richtet sich an Restaurantbesitzer, Café-Manager and food creators who want to master low-key food photography using only natural window light — no studio strobes required. We'll cover the artistic principles, practical lighting setups, camera settings for low light, styling and props, smartphone and budget alternatives, plus a detailed editing workflow so Sie can achieve a consistent moody aesthetic across menus and socials.
What is the dark & moody style and where does it come from?
Dark and moody food photography draws directly on Baroque still-life painting techniques that prioritize chiaroscuro — deep shadow and narrow, directional highlights that shape form and texture. This historical approach explains why a single, controlled light source (oft ein Fenster) creates images that feel warm, mysterious and tactile. According to Mainstream Multimedia, the Baroque influence teaches us to 'restrict the light so it lands solely on the food' and to allow surrounding areas to fall into shadow, which enhances drama and focus.
Key facts to remember: use side or directional lighting from a large window to create texture (Food Photography Academy). Photographers commonly underexpose in-camera to protect highlight detail and deepen shadows (Digital Photography School). Simple tools such as black foam boards to absorb stray light and silver reflectors for selective highlights are central to the style — a practical tip echoed across the field.
How can I take dark and moody food photos using only natural light?
Start by choosing a large window with directional light (side or 45° backlight works best). Control the spread of that light with a diffuser — a white curtain, translucent shower curtain or purpose-made diffuser will soften harsh sun while preserving directionality. Place your dish so the strongest highlights fall on textures you want to emphasize: the glossy rim of a sauce, crumb structure of a cake, or steam rising from a soup. Then use black cards to block and absorb unwanted light on the fill side; they are inexpensive and dramatically increase contrast.
Practical sequence: set your scene, place your main light source, add a small reflector for key edge highlights if needed, and use black foam boards to deepen shadow areas. For more on styling basics that improve how the light sculpts the food, see How to Stage Food Like a Professional Stylist.
What lighting setup works best for moody food photography?
The ideal natural-light setup is minimal: one large, diffused directional source and one or two modifiers. Use side or near-back window light to create shadows and reveal texture. Add a diffuser when the sun is strong. Use black foam boards to kill spill light and a small silver or white reflector for selective fill. Food Photography Academy emphasizes 'creating directional lighting' and pro tutors often 'prop up pieces of card to restrict the light so it lands solely on the food' (Food Photography Academy, Helena Rose Murphy).
“Imagine capturing a simple plate of food and turning it into a captivating visual story that speaks of warmth, mystery, and depth... Shadows and contrast transform a mundane meal into something truly dramatic.”
Mainstream Multimedia
A second expert perspective: “Lighting is key in photography and you’ll need to learn how to work with it to intentionally create beautiful dark food photos.” Source: Linda Hermans Photography. Combining these principles, Sie sollten Ihre Lichtquelle einschränken (constrict your light), sculpt the scene with black cards and position reflectors carefully to add small, intentional highlights.
Camera settings for low-key, natural-light food photography
When working in lower light, prioritize image quality and control: mount the camera on a tripod to allow for slower shutter speeds without raising ISO. Use a low ISO (100–400) to keep noise at bay, an aperture between f/2.8 and f/5.6 to balance sharpness and background fall-off, and adjust shutter speed for correct exposure. Many photographers intentionally underexpose by 1/3 to 1.5 stops to protect highlights and deepen shadows — a technique recommended by Digital Photography School. Shoot in RAW to retain flexibility during editing.
- Tripod: prevents blur at slow shutter speeds — see our best tripods guide for picks.
- Lens: 35–85mm primes are versatile; for close texture shots consider a macro lens (see What Lens for Food Photography).
- ISO: 100–400 to minimize noise.
- Aperture: f/2.8–f/5.6 depending on depth of field needs.
- Shutter: tripod-enabled slow shutter speeds (1/10s to 1/200s depending on light).
- Shoot RAW and underexpose slightly to preserve highlights.
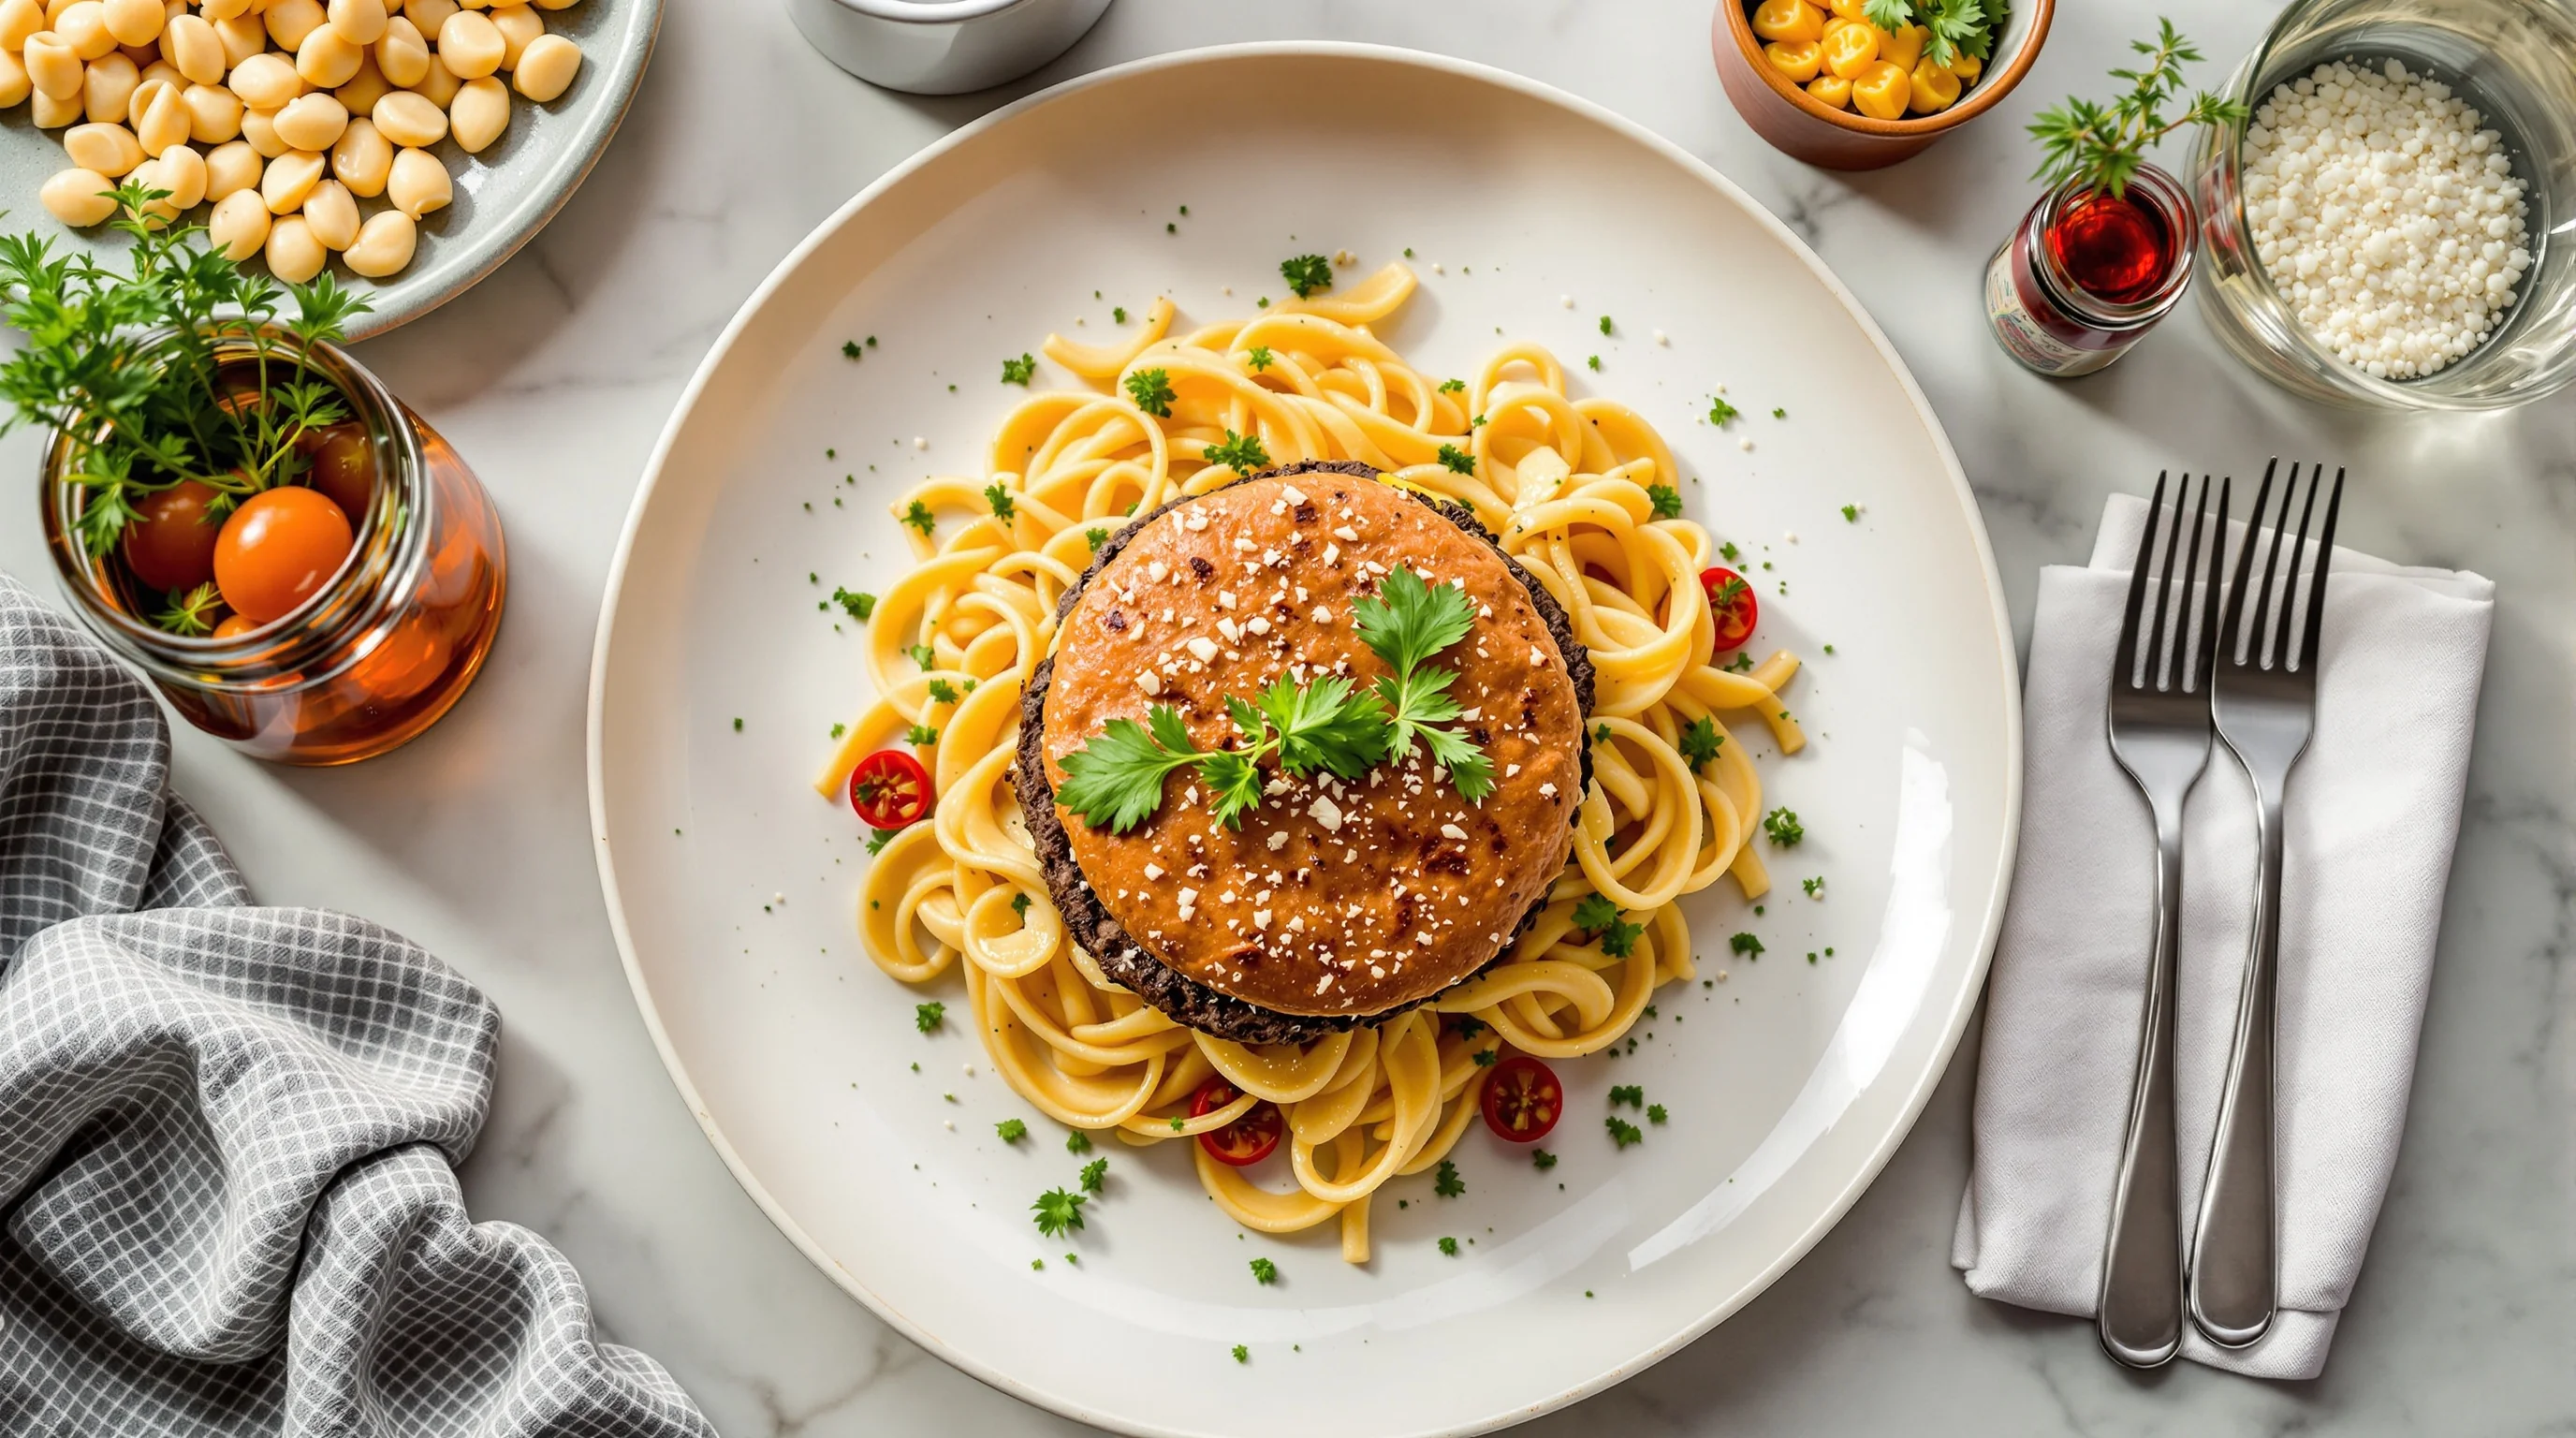
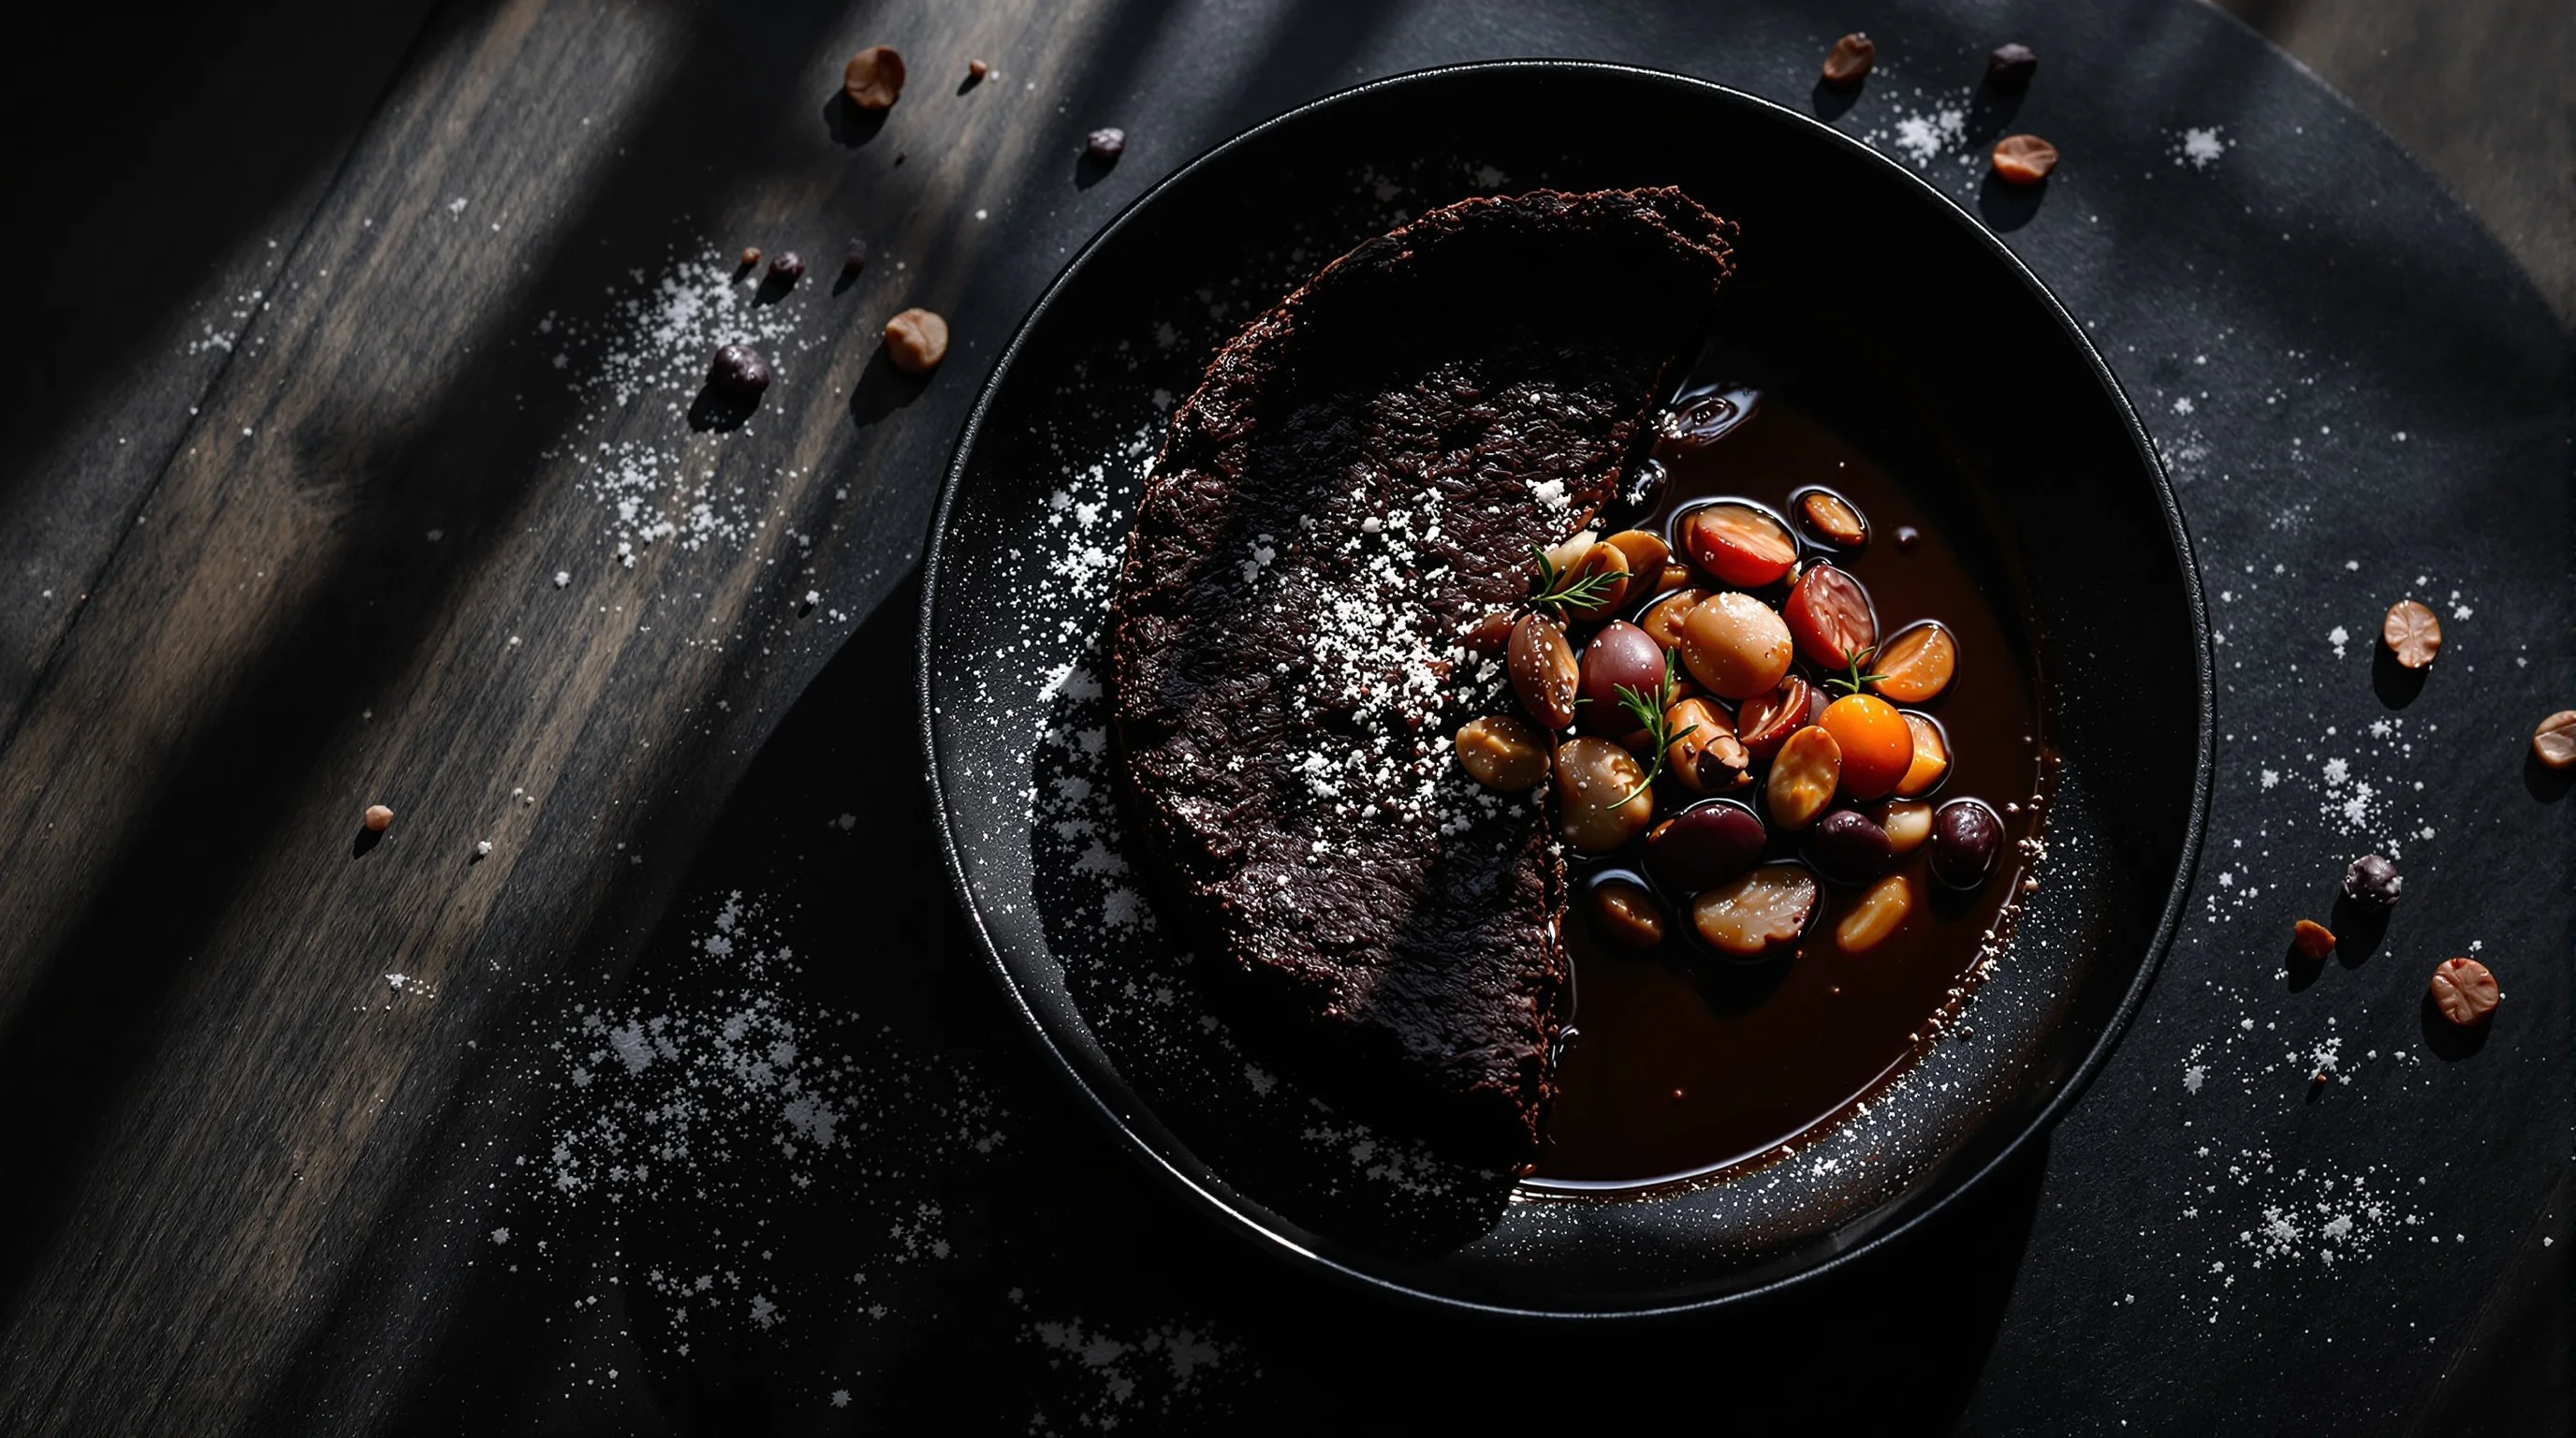
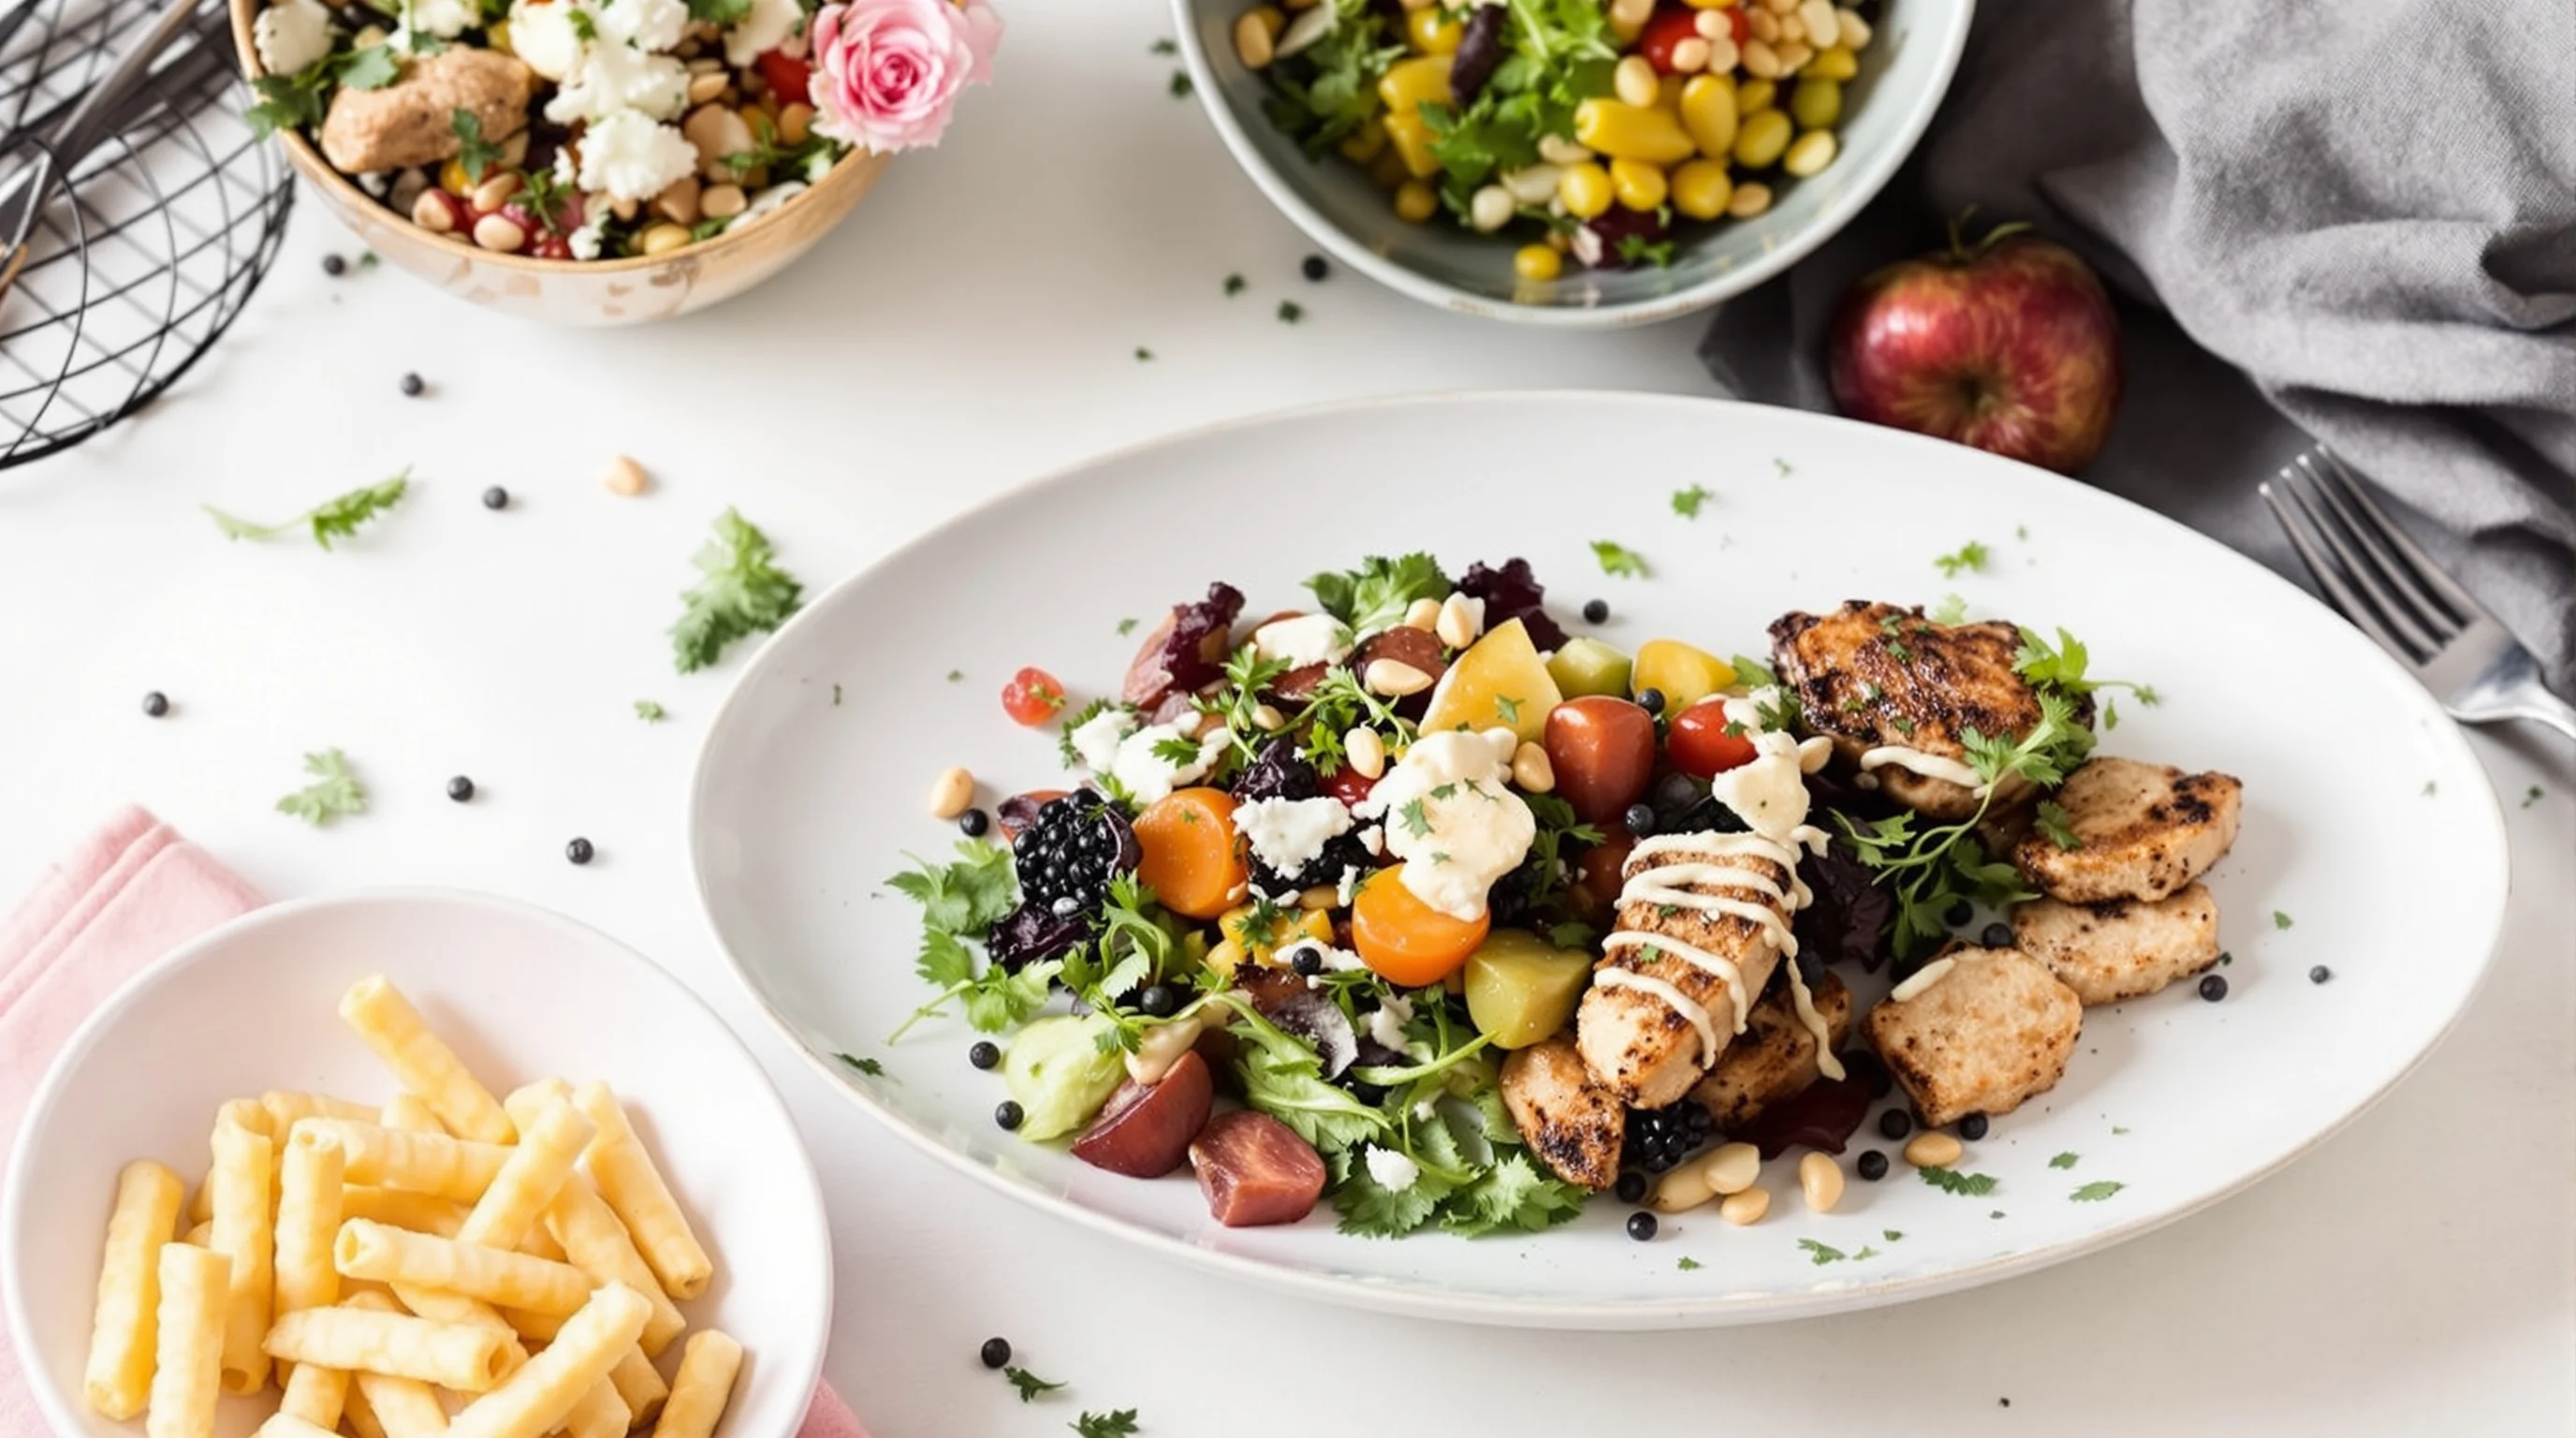
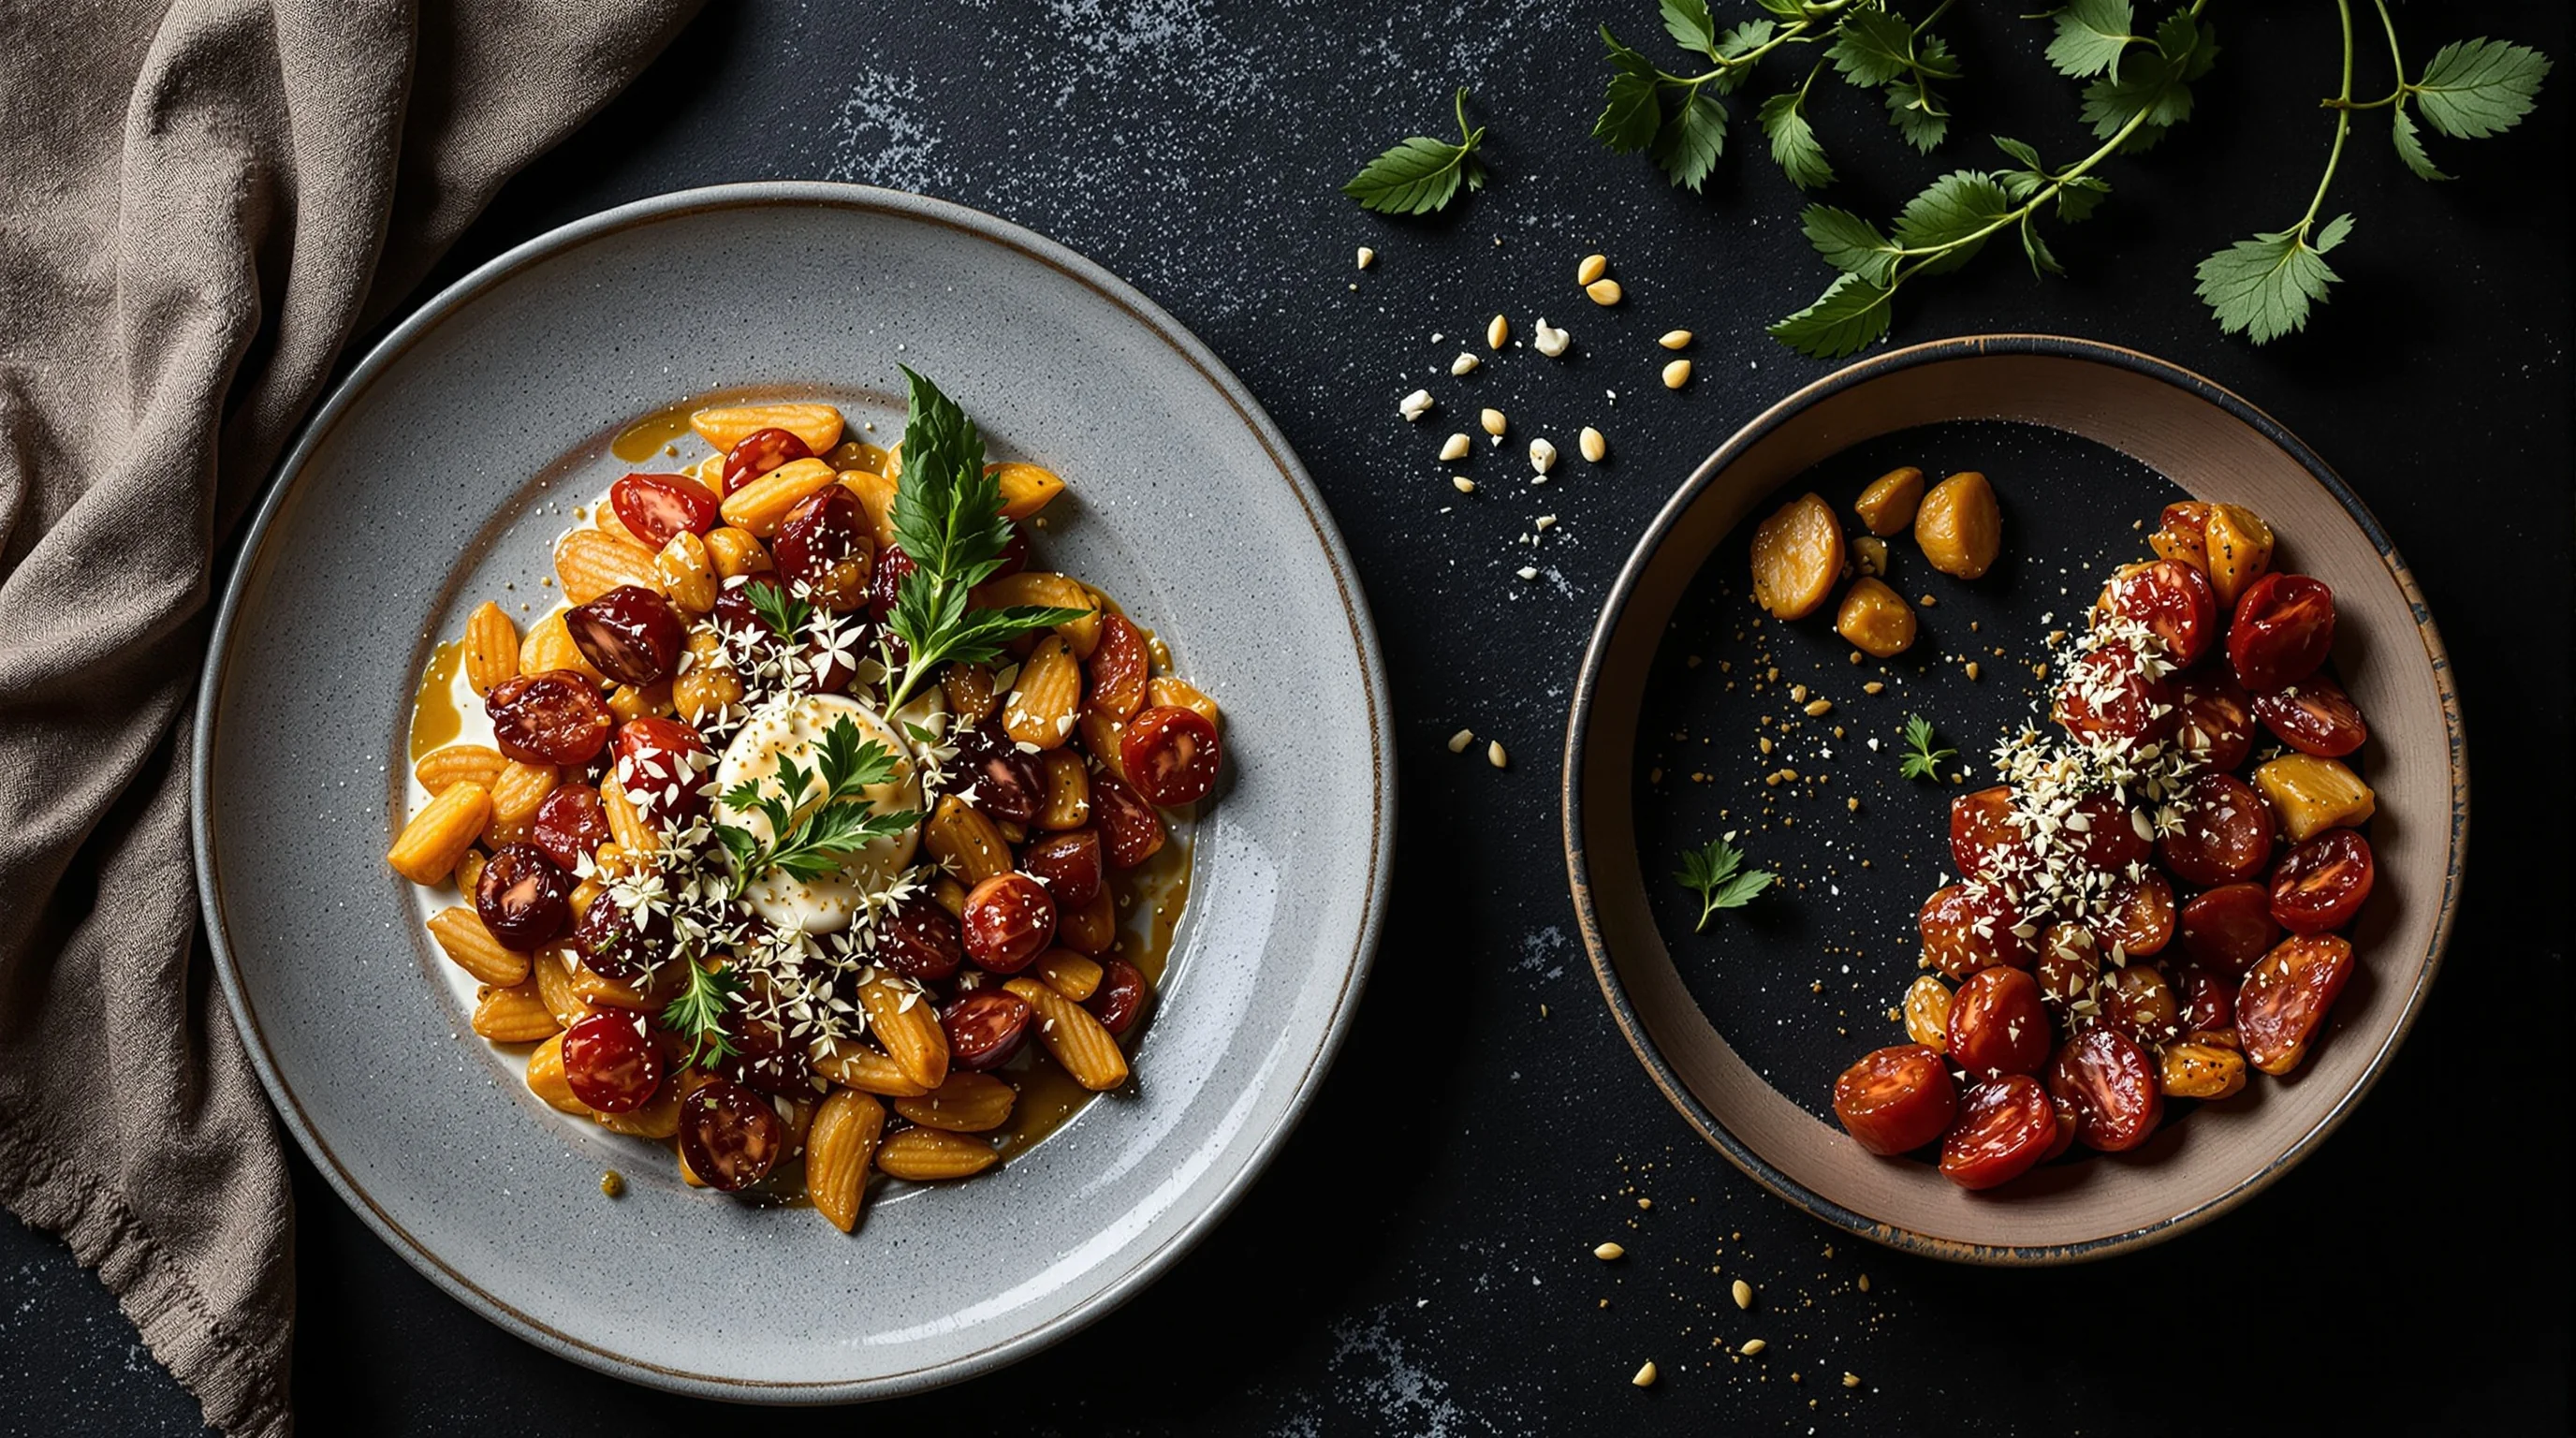
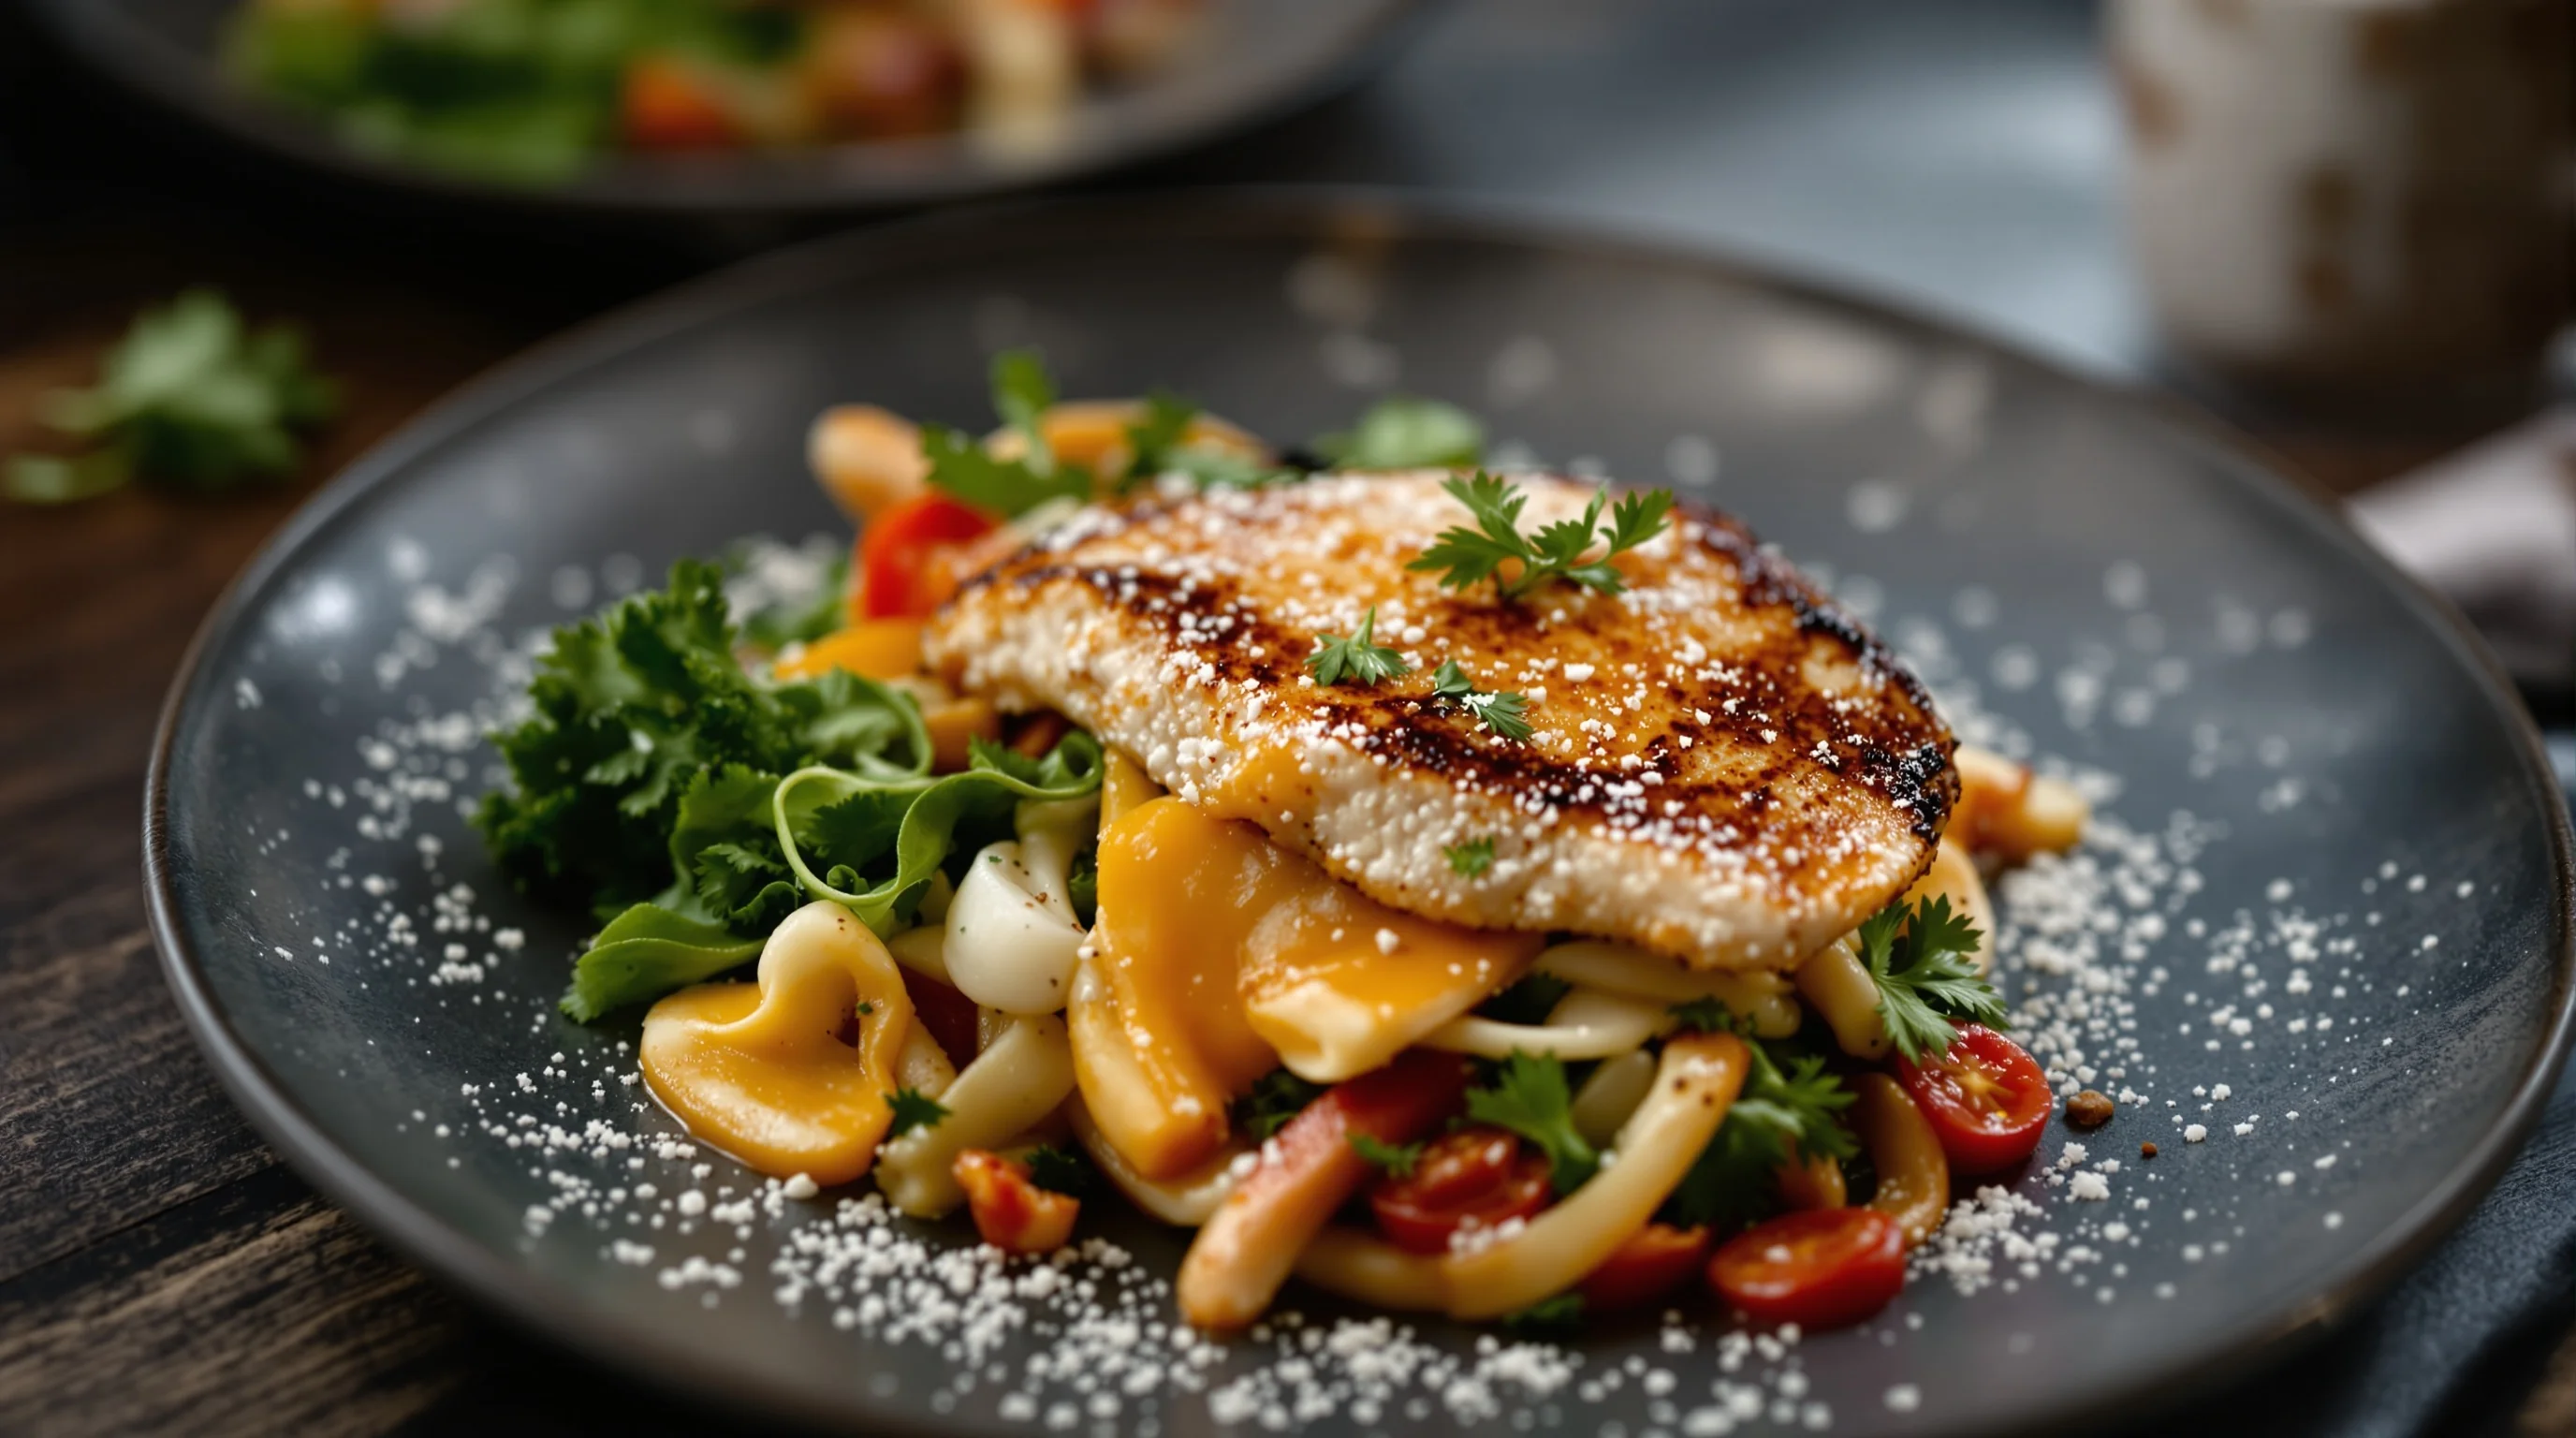
Styling, backdrops and composition for a consistent moody look
Dark backgrounds and muted props are central to the aesthetic. Choose deep-toned boards (charcoal, walnut, blackened metal) and fabrics with low sheen. Contrast is created by introducing one or two small color accents — a warm herb, a glint of sauce, or a ceramic with a matte glaze — so the food becomes the brightest element. Compositionally, negative space, rule of thirds and leading lines help direct the viewer through the scene and emphasize the focal texture.
If you need curated sets, consider YummyPic’s dark-toned backdrop sets and mood-inspired props to speed setup. For a deep dive into choosing and shooting backgrounds, read our Food photography backdrops guide.
Smartphone and low-budget setups that still look professional
You don’t need expensive gear to create powerful low-key images. Use a steady surface or inexpensive tabletop tripod, position your phone next to a diffused window, and use manual exposure lock to underexpose slightly. Clip-on neutral-density film or a simple card to block spill light can emulate black board techniques. Many modern phones shoot RAW (or DNG) — use that to gain editing headroom. Small hacks like propping a piece of black card, using a white index card as a small reflector, and working with side light transform smartphone shots.
Editing workflow: make the moody look sing
Editing is where the moody aesthetic is refined. Start by setting black point and pulling down midtones and highlights slightly to preserve depth. Increase local contrast and clarity on texture areas (crumbs, glaze, steam) and selectively dodge small highlights to draw attention. Color grade using split toning or selective hue shifts: warmer highlights with slightly cooler shadows often result in a cinematic feel. Finish with noise reduction if shooting at higher ISO and export sharpness tuned for the platform (Instagram, DoorDash, Uber Eats, etc.).
- Set black point and underexpose highlights.
- Use local adjustments to boost texture (clarity/structure).
- Selective dodge/burn to sculpt light.
- Apply subtle color grading: warm highlights, cool shadows.
- Export optimized for each platform; see platform pages like DoorDash Photography, Grubhub Photography, and Uber Eats Photography.
If Sie prefer one-click solutions, YummyPic offers moody presets and step-by-step tutorials that create consistent results across images. YummyPic's AI presets can produce multiple stylistic variations instantly, which is especially useful for restaurants that need a fast, cost-effective way to update menu and delivery photos without a full shoot.
Practical checklist for a dark & moody natural-light shoot
Before Sie shoot, run through this checklist to avoid common pitfalls: control your light, use black cards to absorb unwanted fill, shoot on a tripod, underexpose slightly and shoot RAW, style with matte props, and prepare a minimal post-processing plan. This workflow addresses the frequent pain points: flat images, blown highlights, noisy shadows and inconsistent edits.
- Choose a large diffused window and test light direction.
- Assemble black boards and a small reflector.
- Mount camera or phone on a tripod.
- Set exposure: low ISO, aperture for desired DOF, tripod-enabled shutter speed.
- Shoot RAW and take bracketed exposures if unsure.
- Style with matte props and limit bright colors.
- Edit with a repeatable preset or YummyPic workflow for consistency.
Troubleshooting common problems
If images look flat: add a black card to the fill side or increase contrast in RAW. If highlights are blown: underexpose by 1/3–1.5 stops or use spot exposure compensation. If shadows are noisy: use a tripod to lower ISO, or apply cautious noise reduction in post. For inconsistent color across shots, create a calibrated preset or use YummyPic’s presets to standardize tone across a batch of images.
Lens issues: for overhead and flat-lay shots be mindful of lens creep and focus drift — see our guide What Is Lens Creep and Why It Ruins Food Photos for fixes that keep your flat-lays sharp.
How YummyPic helps restaurants create dark & moody menu images
YummyPic is an AI-powered platform that transforms simple food photos into professional, restaurant-quality images in seconds. For teams with limited time, budget or lighting experience, YummyPic provides one-click moody presets, curated dark backdrop sets, and step-by-step tutorials that simplify the process of producing consistent low-key images for menus, delivery platforms and socials.
- Speed: Professional photos in seconds, ideal for busy restaurant schedules.
- Cost-effective: Fraction of hiring a traditional food photographer.
- Variety: Multiple styles from bright & airy to dark & moody.
- Convenience: No elaborate lighting or props required.
- Quality: Optimized outputs for DoorDash, Grubhub and Uber Eats.
If Sie need platform-ready images quickly, YummyPic can convert the same dish into several styles so you can A/B test which aesthetic drives more orders on each platform. Learn more about using photos that drive orders on our platform pages like DoorDash Photography, Grubhub Photography, and Uber Eats Photography.
Conclusion — Start small, iterate, and standardize
Dark & Moody Food Photos Using Natural Light are achievable with intention: control one window source, sculpt with black cards, use a tripod and underexpose slightly, style with matte props, and refine in RAW. Start with one dish, create a repeatable editing preset, and scale the approach across your menu. If time or skill is limited, YummyPic offers affordable presets and AI transformations that deliver consistent, platform-ready dark and moody images in seconds. With practice Sie can create a moody visual identity that makes dishes more memorable and increases conversions on menus and delivery platforms.